

After Faron we return to the heart of Hyrule. The plain around Hyrule Castle is one of the most dangerous, but also most productive regions in the game. Numerous guards patrol between the ruins, several Hinoxes and Stone Talus are waiting for Kilton’s later monster medals, three memory photos are almost directly on our route and one of the special horses from Breath of the Wild is waiting with the royal family’s gray horse. There are also eight shrines, five regional Side Quests, numerous DLC treasures and 89 Koroks outside the actual castle area. Hyrule Castle itself gets its own complete tour in the next chapter with its 25 Koroks, the Hylian Shield, the last souvenir photo in the castle and all of the unique treasures.
The shrines of the map section are Rota Ooh, Kaam Ya’tak, Noya Neha, Dah Kaso, Wahgo Katta, Katah Chuki, Namika Ozz and Saas Ko’sah. You can also find a brief overview in our guide to the shrines on the tower of the level. For the 100% pass, we’re going much further this time and connecting the shrines to all the important locations in the region.
Preparation for the Hyrule Field
Based on our progress so far, the guards on the plain are significantly less threatening than they were at the start of the game. Nevertheless, take a good shield, some ancient arrows and, if possible, the ancient shield. If you can parry lasers reliably, you don’t need any special consumables. Revali’s Gale+ is extremely useful at the Central Tower and between the ruins, while Urbosa’s Fury+ greatly shortens the numerous strength tests and Hinox fights. For the king horse you also need a lot of stamina or some Endura dishes. The Master Sword should also be in inventory – we need it right at the level stable for a Side Quest.
From the plain to the tower of the
plain
Teleport to the plateau tower and glide northeast. Our first destination is the Hyrule Garrison Ruins, southwest of the Central Tower. Throughout this area, deactivated and active guards are close together. Feel free to examine destroyed Guardians with A, as Ancient Screws, Springs, Gears and occasionally Reactor Cores are still needed for equipment and armor upgrades. Don’t walk blindly past what you think are wrecks: some of the guards lying on the ground only wake up when Link approaches.
Optional (DLC): Phantom Leggings
DLC 1 owners activate the magnetic module in the Hyrule Garrison Ruins. In the southeastern part of the ruins there is a destroyed guard, under or immediately next to which there is a chest marked “EX” in the ground. Pull it out and open it. Inside are the Phantom gaiters. Each piece of Phantom Armor increases Link’s attack power and already has a high level of basic protection, but cannot be improved on the Great Fairies. We also collect the remaining two parts in this chapter. You can find an overview of all expansion items in our DLC content.
Activate tower of the level
The Central Tower is located a little further northeast in the middle of an area full of active Guardian Runners. A direct sprint to the tower quickly ends in a crossfire of several laser beams. With Revalis Sturm+, the climb becomes much more pleasant: approach from a side where a hill or ruin offers at least short-term visibility, create an updraft and land as high as possible on the tower. Without Revalis Sturm+ you sprint from cover to cover and parry the lasers or eliminate particularly annoying guards with ancient arrows. As soon as Link reaches the first platforms, most of the runners lose visual contact. Climb to the terminal and activate the tower on level. This unlocks the map of central Hyrule.
Kaam Ya’tak Shrine – Formidable Power
From the tower, glide southwest to the foot of Daphnos Mountain. The Kaam Ya’tak Shrine is not hidden and is one of the longest normal shrines in the game. Several nano guards are already waiting in the first room. Kill them and take the first Treasure Chest with the Mushin Greatsword. You then have to set a heavy stone ball in motion: Use the stasis module on the large ball or the structure intended for it and transfer enough energy so that it breaks through the obstacles and triggers the mechanism.
The following rooms combine balls, switches, flammable obstacles and moving platforms. Pay particular attention to the side areas, as the shrine contains an unusually large number of Treasure Chests. In addition to a knight’s sword you will find a Ancient Core, a silver Rupee worth 100 Rupees and shortly before the end a diamond. In one of the last constructions you have to propel yourself upwards using a large seesaw or catapult. If the device freezes with stasis at the right moment or uses its movement, the Paraglider immediately opens and lands on the upper level. In front of the priest, check the sides of the last room again so that none of the five chests are left behind. You will then receive the Spirit Orb from Kaam Ya’tak.
Exchange Ruins – Tingle’s Hood
From Kaam Ya’tak we move southeast or east to the exchange ruins. The ruins themselves are small, but are populated by enemies and guard parts lying around. DLC owners activate the magnetic module and look for an EX chest in the southeastern part of the facility between rubble and collapsed walls. Inside is Tingle’s hood. Along with the shirt and pants, the full Tingle set increases Link’s running speed at night. The two missing parts are also on our route today.
Lake Kolomo – next souvenir photo
West or southwest of the exchange ruins lies Lake Kolomo. Look for the wooded slope on its western bank. In the right position between the trees you can see the golden glow of a place of remembrance. Investigate the location to restore the souvenir photo at Lake Kolomo. Pikango at the stable by the river can also point Link to this location. You can compare all of the memories that have been found so far and that are still open with our overview of the memory photos in Breath of the Wild.
Optional (DLC): Majora’s Mask
Directly south of Lake Kolomo lie the Kolomo Garrison Ruins. Activate the magnetic module there again and look for a partially buried EX chest. Inside is Majora’s Mask. The inconspicuous piece of armor is extremely practical: Bokoblins, Moblins, Lizalfos and Stal opponents do not immediately recognize Link as an enemy with the mask. She can therefore avoid large parts of the fights for later collection routes.
Plains Stable and Rota Ooh Shrine
Now go west to the stable on the plain. First activate the Rota Ooh Shrine on the hill so we can return here at any time. Inside begins the test “He who passes through the gate”. First, shoot the Crystal Switch, which causes the large central mechanism to rotate 90 degrees. Place the orange ball in the opening provided and use the changing positions of the structure to open up the gate and walkways. As you continue, stand on the large catapult block and trigger the Crystal Switch with an arrow. Link is thrown upwards; opens the Paraglider and first glides to the optional chest containing the Kingfisher Sword. Then repeat the process and end up with the priest Rota Ooh.
My Hero – Star Shard for the Master Sword
Aliza is waiting for the legendary hero under a tree near the stable. Since we already received the Master Sword during our previous tour of the Lost Woods, their Side Quest is “My Hero!” done in just a few seconds. Speak to her while the Master Sword is in Link’s possession. Aliza finally realizes who she is looking at and gives Link a Star Shard. Save it for upgrading rare armor pieces.
A Rare Find – luxury game for Trott
Trott at the Plain Stable is asking for a piece of raw luxury game. If you already own one, you can finish “The Carnivore” immediately. Otherwise, you can find luxury game particularly reliably with larger animals in cold regions, such as moose, rhinos and wolves in Hebra. Bring a piece to Trott. He pays 100 Rupees and, even after completing the task, buys additional raw luxury game from Link for 100 Rupees each.
The Royal White Stallion – the white gray
We receive the most important task at the stable from Toffa. He tells of a white horse that lives on Salphura Hill and is said to be a descendant of the royal family’s horse. This begins “The Horse of Kings”. Ride or walk northwest from the stable, crossing the Regencia River and approaching the plain at Salphura Hill. The horse you are looking for is easy to recognize: its coat is completely white.
Approach crouched from behind. A stealth dish or the Sheikah set makes sneaking much easier. Jump on the horse and immediately calm it down with L repeatedly. The white horse resists very strongly and uses up about two full stamina rings. If your meter isn’t enough, eat Endura or Endurance dishes while taming. Then ride carefully back to the plains stable, register the horse for 20 Rupees and talk to Toffa again. As a reward you will receive the king’s bridle and the king’s saddle. We cover other special horses in our guide to horses, Epona and the antique horse equipment.
Commemorative photo at Sanidin Park Ruins
Since we crossed the Regencia River for the mold anyway, we take the short border detour to Sanidin Park Ruins straight away. Follow the road at Salphura Hill to the ruins with the large horse statue. In front of the statue is the next glowing place of remembrance. Activate it now; otherwise we would have to ride the exact same route again later to take this photo.
Arena Ruins – Phantom Helmet
Back on the plains we visit the large arena ruins north of the Great Plateau. A Lynel is waiting in the center. He doesn’t matter for Kilton’s monster medals, so you don’t necessarily have to defeat him. Anyone who now has strong weapons and armor can take advantage of the opportunity for Lynel materials. DLC owners look for a buried EX chest on the ground floor along the northwestern outer wall using the magnet module. Inside lies the Phantom helmet. Together with the Phantom Leggings we collected earlier, all we’re missing now is the armor.
Digdok Suspension Bridge – Hinox and Dah Kaso Shrine
A blue Hinox sleeps south of the Digdok Suspension Bridge. Defeat him now, as each individual Hinox and Stalnox specimen must be killed at least once for Kilton’s eventual medal. An arrow in the eye brings down the giant; then you attack with a strong two-handed weapon. Urbosa’s Fury+ can remove a large portion of his energy at once. Below the Digdok suspension bridge is also the Dah Kaso Shrine. Only one awaits you inside A Minor Test of Strength against a Guardian Scout II. Defeat him, then open the chest with it Ancient Core and gets that Spirit Orb away.
Regencia River Temple Ruins – Midna’s Helmet
Northwest of the Central Tower lie the flooded temple ruins along the Regencia River. DLC owners need the magnetic module again here. At the western end of the complex there is a buried EX chest under or between a pile of stones. Pull it out and get Midna’s Helmet from Twilight Princess. The helmet provides resistance against guard attacks and is therefore particularly suitable for our tour of the plains.
Forest of Giants – Black Hinox
In the forest of the giants further southeast there is a black Hinox waiting and therefore a much stronger variant. Based on the performance of our Walkthrough so far, the difference should hardly cause any problems. Shoot in the eye, use your strongest weapons while stunning and make sure that the Hinox later protects his eye with his hand. A well-placed arrow during his attack moves opens a time window again. After the victory, we also mark this individual example as finished for Kilton’s eventual Hinox Medal.
River Stable and Wahgo Katta Shrine
Follow the Hylia River northeast to the stable by the river. Directly north of the building is the Wahgo Katta Shrine. “The Steel Bridge” begins inside. Stack the three large metal cubes with the magnetic module into a tower and climb up to first reach the Treasure Chest with Amber. Then take the long metal plate and place it from the upper cube platform to the raised level of the priest. It forms a bridge through which Link can easily reach his destination. The older ZeldaCollection shrine overview also mentions a Zanshin short sword at this point; for the current solution we are using the correct chest reward amber.
A Royal Recipe
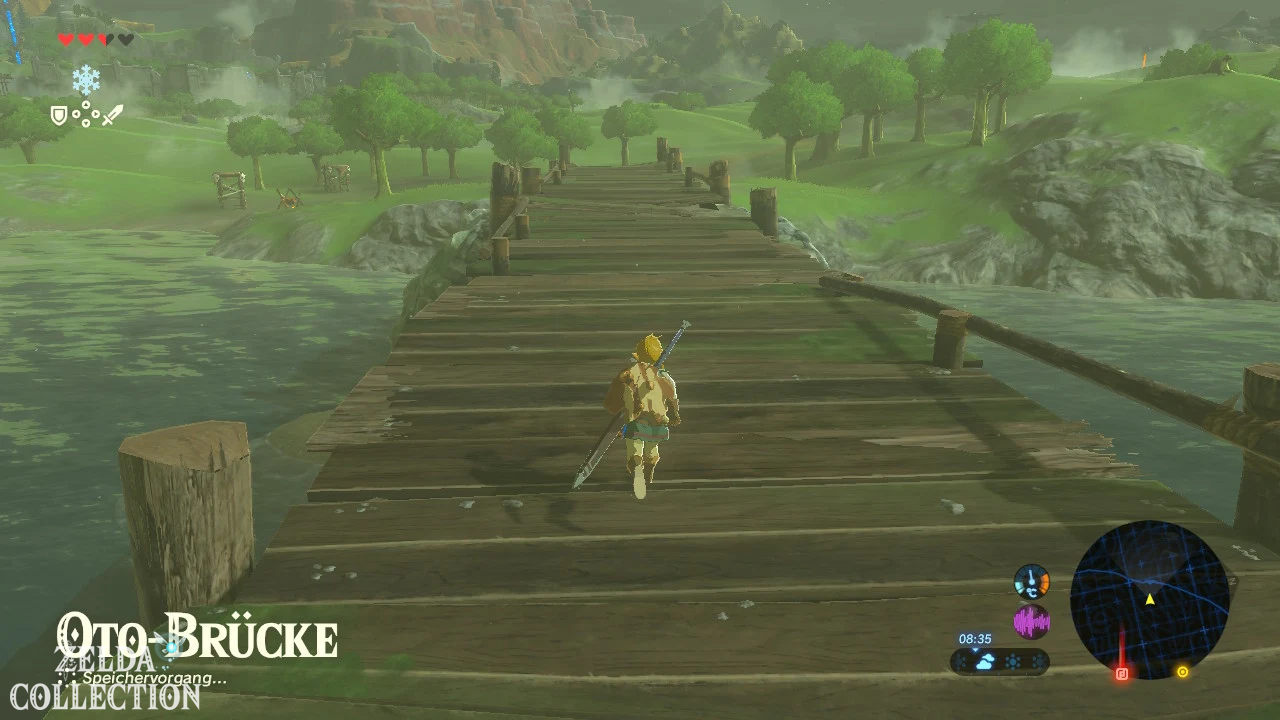
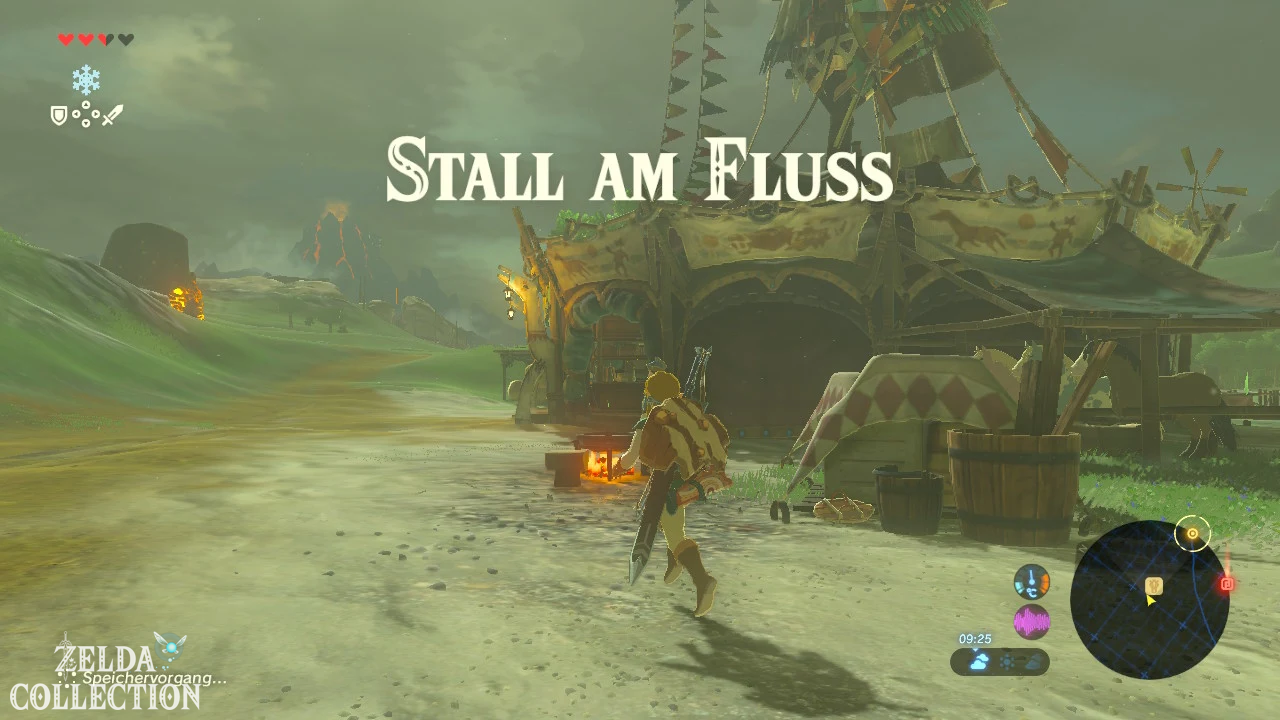
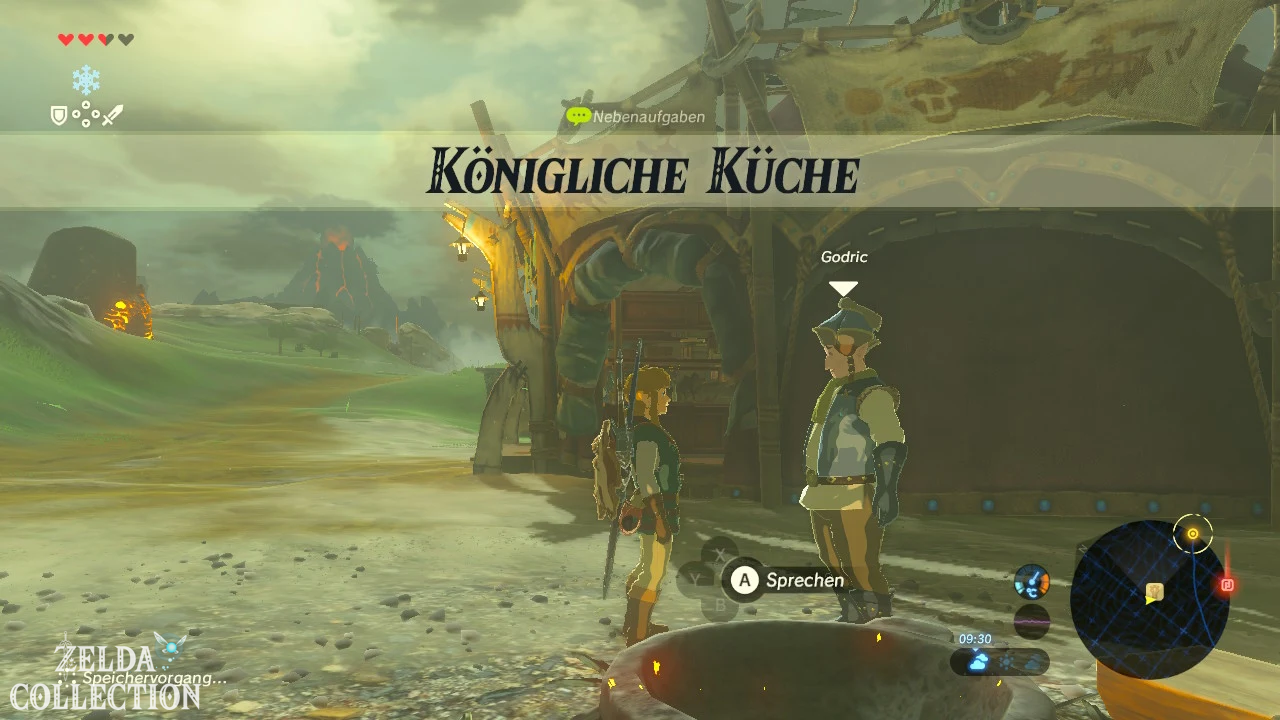
Speak to Gotter at the cooking fire. One of his ancestors worked as a chef in Hyrule Castle and Gotter would like to try some of the dishes that were once served to the royal family. This begins “Royal Kitchen”. The two recipes are in the library of Hyrule Castle. Since at the end of this chapter we will be making our way to the pier and the Saas Ko’sah Shrine anyway, we will read the books there in the intended sequence. However, if you want to complete the task immediately, you can cook the recipes now: For a fruit cake you need at least two different fruits, Tabanta wheat and cane sugar; the monster cake consists of monster essence, tabanta wheat, goat butter and cane sugar. One dish is enough to complete and 100 Rupees. Gotter is also happy to accept the second one.
The Royal Guard’s Gear
Parcy is also at the stable by the river. She raves about the black weapons of the royal body guard, but no longer dares to go to Hyrule Castle. Start with her “The Black Series”. You need any weapon or a shield or bow from the Guard series, for example a Guard sword, Guard two-hander, Guard halberd, Guard bow or Guard shield. We will also complete this task during our short trip to the castle library at the end of this chapter.
Mabe Village Ruins and Eastern Stable Ruins
From the stable by the river we move back to the west or northwest across the open plain. Two more Hinoxes live near the Eastern Stable Ruins and in the nearby Apple Forest. Defeat both if they haven’t been killed in your game yet. The wide plain offers enough space to keep your distance and hit your eyes with arrows. In the Mabe village ruins, it’s worth taking a closer look at the deactivated guards.
Optional (DLC): Tingle’s Pants
There is another EX Chest in the ground near a destroyed Guardian near a small body of water in the Mabe Village Ruins. Pull it out with the magnetic module and open it. You will receive Tingels pants. All we’re missing is Tingle’s shirt.
Commemorative photo northeast of Bottomless Swamp
To the east or northeast of the Bottomless Swamp there is a small forest stretching along the Hylia River. Look for the golden glow within this forest. There is one of the harder-to-recognize memory photos because the original image hardly contains any prominent landmarks. Activate the memory before we head north again.
Gongol Hill – Namika Ozz Shrine
East of Hyrule Castle lies Gongol Hill. The Namika Ozz Shrine is located in a large circular depression or in the remains of a huge hollow tree trunk. There is one waiting inside A Modest Test of Strength against a Guardian Scout III. Use perfect dodges, shield parries, or Urbosa’s Fury+. Once the guard is defeated, the path to the priest opens. In the Treasure Chest lies one Ice lance.
Stone Talus around the Gongol and Crenel hills
In the area east of Hyrule Castle and around the Crenel Hills there are several individual stone Stone Talus, including glowstone or rare variants. Proceed the same way for each specimen: wake up the supposed rock, climb onto its back and smash the ore vein. If the Stone Talus has to get up first, you can immediately get on its back with Revalis Sturm+. For Kilton’s eventual Stone Talus Medal, every single Stone Talus in the world must be defeated at least once; The variant does not play a role in counting the specific opponent, but the Location does. You can find an overview of these later medals in our Kilton guide.
Old Fairground – Souvenir Photo and Phantom Armor
Now we approach Hyrule Castle from the south. The circular Old Fairground is located between numerous active guard runners. Move carefully from ruin to ruin or clear the guards with ancient arrows. In the center of the facility is the next golden glow. Examine it to recover the souvenir photo from Old Fairground.
Optional (DLC): Phantom Armor
There is an EX chest in the shallow water southeast of the central platform. It can be recognized immediately with the magnetic module. Pull it out of the ground and open it. Inside is the Phantom Armor. Together with the Phantom helmet and Phantom gaiters, the complete Phantom set is now collected.
Katah Chuki Shrine – A Minor Test of Strength
West of the ruins of Hyrule City, the Katah Chuki Shrine lies open between the ruined walls. A Guardian Scout II awaits inside and with it another easy test of strength. Based on our progress in the game so far, a few hits are enough. Behind the fight, open the Treasure Chest with the King’s Halberd and take the Spirit Orb with you.
Nocturnal Stalnox north of the cathedral
North or northeast of the ruins of Hyrule Cathedral, only large bones lie on the ground during the day. Return at night to see a Stalnox rise from it. Shoot his eye and attack the body while stunned. Towards the end the eye falls out completely; destroys it before the Stalnox can use it again. This completes another copy for Kilton’s Hinox Medal.
Castle Town Prison – Tingels Shirt
West of the castle moat lies the former Schlossstadt prison on an island. DLC owners activate the magnetic module here. In the central area of the ruins, just south of the three stone figures, the last EX chest of the Tingle set is in the ground. Inside lies Tingle’s shirt. The hood, shirt and trousers are now complete. The complete set increases Link’s running speed at night.
Noya Neha Shrine – Hidden Show of Strength
On the same large island west of Hyrule Castle is the hidden Noya Neha Shrine. Look for a cave on the river bank. The access is blocked by both thorns and brittle rock. Burn the thorns with a fire arrow or firearm and then blow up the rocks with a remote bomb. One follows in the shrine A Minor Test of Strength against a Guardian Scout II. After the victory you open the chest with one Knight’s shield and take that Spirit Orb in contrast to.
Rare Stone Talus west of Hyrule Castle
There is also another stone Stone Talus on or near one of the islands west of the castle, depending on Location a rare variant with particularly valuable ore deposits. Defeat him now too. Since we are in this area for Noya Neha anyway, the detour only costs a few minutes and saves us having to travel separately later for Kilton’s medal.
Short advance to Hyrule Castle
For the last shrine in the region we have to go into the actual castle area for the first time. A full exploration will follow in the next chapter. Swim or glide to the northwest side of the castle and look for the low water access towards the pier. The Zora Armor can help reach higher sections of water. Stay down in the rock and follow the tunnel until you reach the jetty. You don’t have to use the main gates or fight your way through the entire castle.
Unlock Saas Ko’sah Shrine
In the pier you will see a large ring of smaller torches. In the middle there is a huge, unlit fire bowl. Ignite it with a fire arrow, firearm, or flaming torch. Rising from the ground is the Saas Ko’sah Shrine. Be sure to activate the input immediately. This means Hyrule Castle has an extremely practical fast travel point that we can use in the next chapter.
Saas Ko’sah Shrine – A Major Test of Strength
The final shrine of the level’s tower contains one A Major Test of Strength against a Guardian Scout IV. Unlike many difficult tests of strength, normal stone pillars are missing. For this purpose, several metal blocks are embedded in the ground. As soon as the Guardian prepares his spin attack, lift a block with the magnetic module and use it as an obstacle. His normal attacks work perfectly with dodges and shield parries. Urbosa’s Fury+ and strong guardian or ancient weapons shorten the fight significantly. After the victory, collect Guardian Sword++, Guardian Lance++ and Ancient Battle Ax++ if you have space. The Treasure Chest behind the gate contains a Fire sword. Then you take the eighth one Spirit Orb this map section.
From the pier to the library
Leave the shrine, but stay in the castle for a moment. Follow the stairs up from the pier. You can enter the library behind a movable metal shelf or via the hidden passage. Here we complete two open Side Quests without looting the rest of the castle yet. Defeat the Lizalfos in the room or sneak past them as inconspicuously as possible with Majora’s Mask.
The two secret farm recipes
There are two cookbooks in the library. Read both. One describes the fruit cake, the other describes the monster cake. We have now found the clues for “Royal Kitchen” regularly in the game. The fruit tart is made from various fruits, Tabanta wheat and cane sugar; the monster cake made from monster essence, Tabanta wheat, goat butter and cane sugar.
Guard shield for “The Black Series”
Several bookshelves in the library are made of metal and can be moved using the magnetic module. Behind one of them is the king’s study or an adjacent secret area. Here you can take a Royal Guard’s Shield from the black series. It is completely sufficient to meet Parisses Side Quest. Leave other unique rooms and the rest of the castle tour untouched; We will deal with this in detail in the next chapter.
Now teleports you back to the Wahgo Katta Shrine. Cook one of the two royal dishes at the stable by the river and give it to Gotter. For “Royal Kitchen” you will receive 100 Rupees. Then equip the Royal Guard’s Shield and talk to Parcy. This also completes “The Black Series” and you will receive a Golden Rupee worth 300 Rupees.
All eight shrines on the tower of the
level
| Shrine | exam | Treasure |
|---|---|---|
| Rota Ooh | Whoever passes through the gate | Kingfisher sword |
| Kaam Ya’tak | Huge power | Mushin Greatsword, Knight’s Sword, Ancient Core, Silver Rupee, Diamond |
| Noya Neha | A Minor Test of Strength | Knight’s Shield |
| Dah Kaso | A Minor Test of Strength | Ancient Core |
| Wahgo Katta | The steel bridge | Amber |
| Katah Chuki | A Minor Test of Strength | King’s halberd |
| Namika Ozz | A Modest Test of Strength | Ice lance |
| Saas Ko’sah | A Major Test of Strength | Fire sword |
All 89 Koroks in the Hyrule Field
For the Korok count, we separate the region exactly from the castle. In the Tower of the Plain area are 89 Koroks outside of Hyrule Castle. The 25 seeds inside the castle will be collected in the next chapter. Work through the following list as you walk from south to north. Many seeds are located directly next to the shrines, ruins, memories and mini-bosses already described.
| # | Location | solution |
|---|---|---|
| 1 | South of Digdok Suspension Bridge | Jump into the water lily circle in the water. |
| 2 | Waterfall south of the | Complete the stone circle at the base of the waterfall. |
| 3 | East of Digdok Suspension Bridge | Place the missing stone in the circle. |
| 4 | Northwest of Digdok Suspension Bridge | Lift small stone. |
| 5 | Southwest of Rota Ooh Shrine | Lift a stone on or near a tree. |
| 6 | Southwest of the arena ruins | Shoot the acorn in the fallen tree trunk. |
| 7 | Hill southwest of Arena | Lift stone. |
| 8 | Upper level of Arena Ruins | Lift the small stone on the north side. |
| 9 | Southeast of the arena | Capture moving sparkles on the floor. |
| 10 | North of the arena | Activate tree stump and reach the target ring in time. |
| 11 | West of the arena ruins | Lift stone on the ledge. |
| 12 | Northeast of the stable on the | Activate the wind turbine and shoot the targets that appear. |
| 13 | West of Aquame Bridge | Complement incomplete triangular stone pattern. |
| 14 | Regencia River | Throw stone into the stone circle in the water; Cryonis helps. |
| 15 | Regencia River further north | Place the chained metal ball with magnetic module into the hollow trunk. |
| 16 | Northeast of the bridge | Shoot the acorn in the tree. |
| 17 | North of road | Lifting stone at the old well. |
| 18 | Under the Aquame Bridge | Shoot hanging acorn. |
| 19 | North end of Aquame Bridge | Lift stone on the western ledge. |
| 20 | North of Aquame Bridge | Complete metal cube puzzles using the magnetic module. |
| 21 | Northeast of it | Place the missing stone in the stone circle. |
| 22 | Southeast of Lake Aquame | Capture moving swirls of light. |
| 23 | Hills west of Lake Kolomo | Activate wind turbine and shoot balloons. |
| 24 | Kolomo Garrison Ruins | Burn or blow away piles of leaves and lift stone. |
| 25 | Lake Kolomo | Jump into the circle of water lilies from above. |
| 26 | Northwest of Lake Kolomo | Shoot the hanging acorn in the large tree. |
| 27 | Southern Windmill Grassland | Follow yellow flower sequence west. |
| 28 | Exchange Ruins | Capture moving sparkles. |
| 29 | East of Daphnos Mountain | Place the apple in the empty offering bowl. |
| 30 | Old tree stump | Jump into the circle of water lilies from above. |
| 31 | Southern Temple Ruins | Retrieve metal cubes from the water and complement the block pattern. |
| 32 | Temple Ruins | Climb the single wall and examine the sparkles. |
| 33 | Forest of Giants | Follow the sequence of flowers from the large tree stump. |
| 34 | Northeast of Old Tree Stump | Climb the tall flagpole and examine sparkles. |
| 35 | Northeast of the tower of the | Lift small stone between the rocks. |
| 36 | Western Passeri Grassland | Capture moving swirls of light. |
| 37 | Western Passeri Grassland | Shoot the acorn in the tree. |
| 38 | Eastern Passeri Grassland | Shoot the balloon above a tree trunk. |
| 39 | Eastern Passeri Grassland | Activate the wind turbine and hit the moving target between the trees. |
| 40 | Southeast of the Passeri Grasslands | Shoot the acorn at the destroyed car. |
| 41 | Hyrule Garrison Ruins | Climb the flagpole and examine sparkles. |
| 42 | Eastern Windmill Grassland | Catch moving vortex of light. |
| 43 | Group of trees northeast of Lake Kolomo | Capture flying sparkles. |
| 44 | Hills northeast of Lake Kolomo | Place the missing stones in the circle. |
| 45 | Southwest of Whistle Hill | Climb the big tree and lift the stone. |
| 46 | North of the Eastern Stable Ruins | Activate wind turbine and shoot two moving targets. |
| 47 | South of the stable by the river | Activate wind turbine and hit three balloons. |
| 48 | whistle hill | Shoot the acorn in the big tree. |
| 49 | West of the Bottomless Swamp | Place the apple in the free bowl of the five statues. |
| 50 | Eastern Stable Ruins | Touch yellow flowers in order one to five. |
| 51 | Mabe Village Ruins | Lift stone on the hill. |
| 52 | Northeast of the stable ruins | Lift stone on the hill. |
| 53 | Southwest of Rebonae Bridge | Roll the large rock from the tower into the depression in the ground. |
| 54 | Under the Rebonae Bridge | Raise stone on the western bank. |
| 55 | Apple forest northwest of the bridge | Bring the three apple trees to the same fruit pattern. |
| 56 | Under Orsedd Bridge | Shoot hanging acorn. |
| 57 | Northwest of Orsedd Bridge | Capture moving sparkles on the Hylia River. |
| 58 | North East of Orsedd Bridge | Activate the wind turbine on the large tree trunk and hit three targets. |
| 59 | Western Crenel Hills | Lift single stone. |
| 60 | West of Namika Ozz Shrine | Climb the tall thin tree and examine sparkles. |
| 61 | Southeast of Namika Ozz | Lifting stone in a tree stump. |
| 62 | North of the Thims Bridge | Throw stone into the circle in the water; Cryonis can serve as a platform. |
| 63 | Pond west of Crenel Hills | Jump into the water lily circle. |
| 64 | Northwest Crenel Hills | Carry metal cubes across the river and complete block patterns. |
| 65 | Eastern Hyrule Forest Park | Shoot the acorn in the big tree. |
| 66 | Western Hyrule Forest Park | Lift stone on the old well or fountain. |
| 67 | East of the Boneyard Bridge | Throw a stone into the circle in the water. |
| 68 | Hyrule Cathedral Ruins | Burn piles of leaves and lift the stone underneath. |
| 69 | Castle town watchtower | Climb the flagpole and examine sparkles. |
| 70 | Castle town watchtower | Remove metal door with magnetic module and lift stone. |
| 71 | Eastern outer wall of the castle town | Activate the wind turbine and shoot five balloons. |
| 72 | Old fairground | Climb the highest pillar and lift the stone. |
| 73 | South gate of the castle town | Hit the Hyrule coat of arms or shield symbol with an arrow. |
| 74 | Western external wall | Activate tree stump and reach the target ring at the well in time. |
| 75 | Northwest of the old fairground | Lift stone on the outer wall. |
| 76 | Quarry Ruins | From the western section of the wall, shoot the balloon between the trees. |
| 77 | West of the Old Quarry | Lift stone on the rocky hill. |
| 78 | North of Gustaf Mountain | Blast brittle rocks and lift stone underneath. |
| 79 | East of Carok Bridge | Climb the rock formation and lift the stone. |
| 80 | Northwest of the Old Quarry | Complete the stone circle on the top of the hill. |
| 81 | North side of the Old Quarry | Blast brittle rocks and lift the exposed stone. |
| 82 | Western water storage tank | Complete the spiral row of stones. |
| 83 | Northern Castle Moat Bridge | Jump into the water lily circle. |
| 84 | Island west of Hyrule Castle | Raise stone on the southwest hill. |
| 85 | West side of the same island | Activate wind turbine and hit moving target above the tree. |
| 86 | Castle City Prison | Place the rusted shield on the free statue. |
| 87 | North of prison | Retrieve metal cubes from the water and complete block patterns. |
| 88 | Island northwest of Hyrule Castle | Lift the stone on the large pillar. |
| 89 | Bridge in front of Hyrule Castle | Slide under the bridge and shoot the acorn in the western niche. |
100% status after Hyrule Field
This tour completes the map section of the tower of the level outside of the actual castle tour. All eight shrines – Rota Ooh, Kaam Ya’tak, Noya Neha, Dah Kaso, Wahgo Katta, Katah Chuki, Namika Ozz and Saas Ko’sah – have been completed. Of the Side Quests we have completed My Hero!, The Carnivore, The Horse of Kings, Royal Kitchen and The Black Series. The white horse of the royal family is registered and the royal saddle and bridle are in our collection.
We also took the memory photos at Lake Kolomo, Sanidin Park Ruins, northeast of the Bottomless Swamp and the Old Fairground. The Hinoxes, the Stalnox, and the regional Stone Talus on our route were defeated for Kilton’s eventual Monster Medals. After this chapter, owners of DLC 1 will own the complete Phantom set, the complete Tingle set, Midna’s helmet and Majora’s mask. The Koroks covers all 89 seeds outside of Hyrule Castle. The missing 25 Koroks within the castle belong to the next chapter and will be collected there in a separate route.
With Saas Ko’sah we already have the most important fast travel point for the coming section. Next we explore Hyrule Castle in its entirety: from the pier, library and dungeon to the dining hall, training ground, Zelda’s chambers and royal study up to the roofs of the castle. We get the Hylian Shield, all guard and DLC equipment, the souvenir photo in the castle, the missing mini-bosses, all 25 Koroks and every relevant unique treasure – without triggering the fight against the Calamity Ganon prematurely.