

After the joint attack with Teba, Link finds himself on the back of Divine Beast Vah Medoh. Four guns are destroyed, the protective field has disappeared and Revali’s spirit shows us the way into the Titan’s interior. As in Vah Ruta, you must first have a Titan card and then five terminals be activated. However, the central feature of Vah Medoh is completely different: the entire mechanical bird can be tilted to the left or right via the map. This changes slopes, moving platforms, balls and air currents throughout the entire dungeon.
We collect all eight Treasure Chests on the way. The Ancient Core and the Giant Ancient Core are particularly important, as both will later be needed for high-quality ancient equipment and armor upgrades. After defeating the final boss, Vah Medoh can no longer be entered normally. Therefore, take the optional chests with you before finally activating the main control unit.
For better orientation, left and right wings in this solution refer to Link’s line of sight from the titan’s tail to its beak. So if Link is standing in the main room and looking forward towards his head, the left wing is on the left and the right wing is on the right.
Main objective “Divine Beast Vah Medoh” – Enter the Titan
After Teba’s farewell, Link lands on Vah Medoh’s tail. Don’t run inside yet. Turn around and go to the back of the titan. A Treasure Chest is blocked there by Sludge of Hatred. The associated orange eye is located slightly to the side of the tail construction. Shoot it with an arrow and the mud will disappear.
[Optional – Treasure Chest 1] Open the uncovered chest and take the Sapphire. Gems are still needed for armor improvements and as a source of money, so the short detour is worth it.
Then return to the entrance and walk into Vah Medoh. Directly in the first large room, a powerful updraft rises from the ground. There is another hate eyeball on the right wall. Destroy it with an arrow so that the mud disappears and the room can fully open.
To the titan card of Vah Medoh
The card terminal is on the opposite side of the main room. You can move the movable metal platforms with the magnetic module and build a path this way. However, it is easier to use the permanent updraft at the entrance. Jump in, open the Paraglider and glide over the middle area.
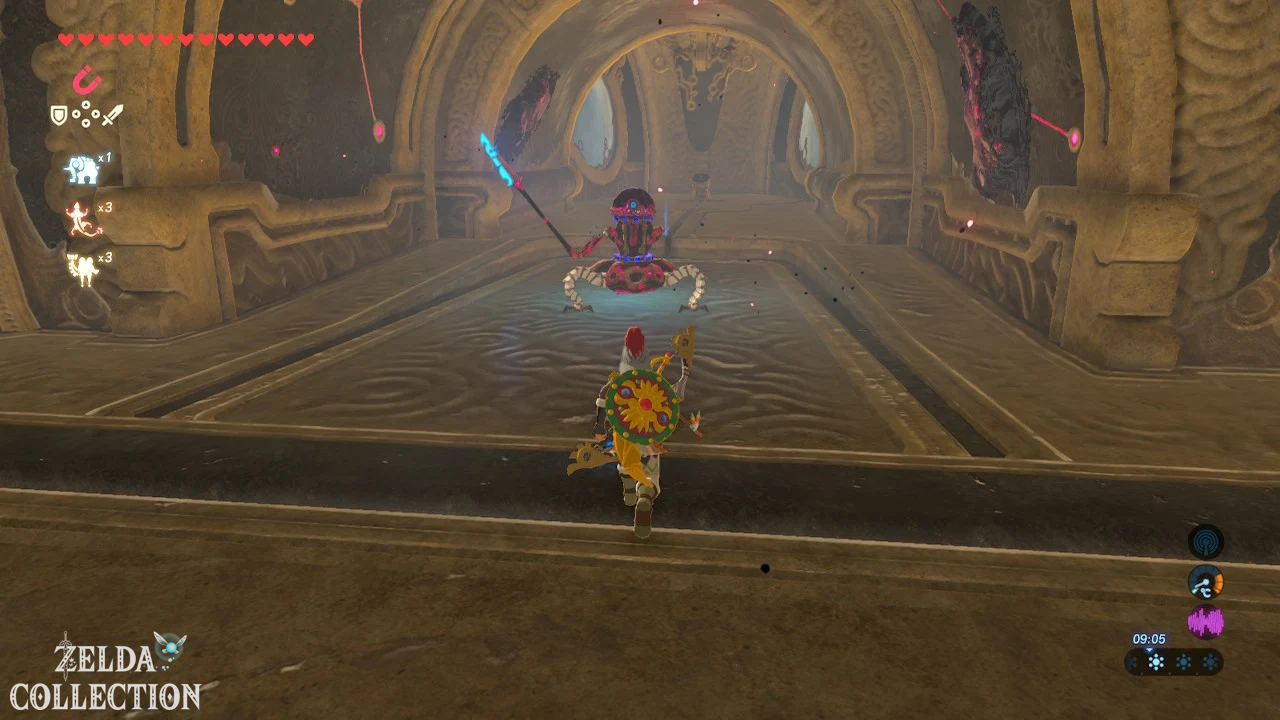
On the other side there is a Nano-Watchdog 2.0 waiting. Defeat him and collect his weapon and the ancient materials. The guiding stone is behind the opponent. Insert the Sheikah Slate and download the Vah Medoh Divine Beast Map.
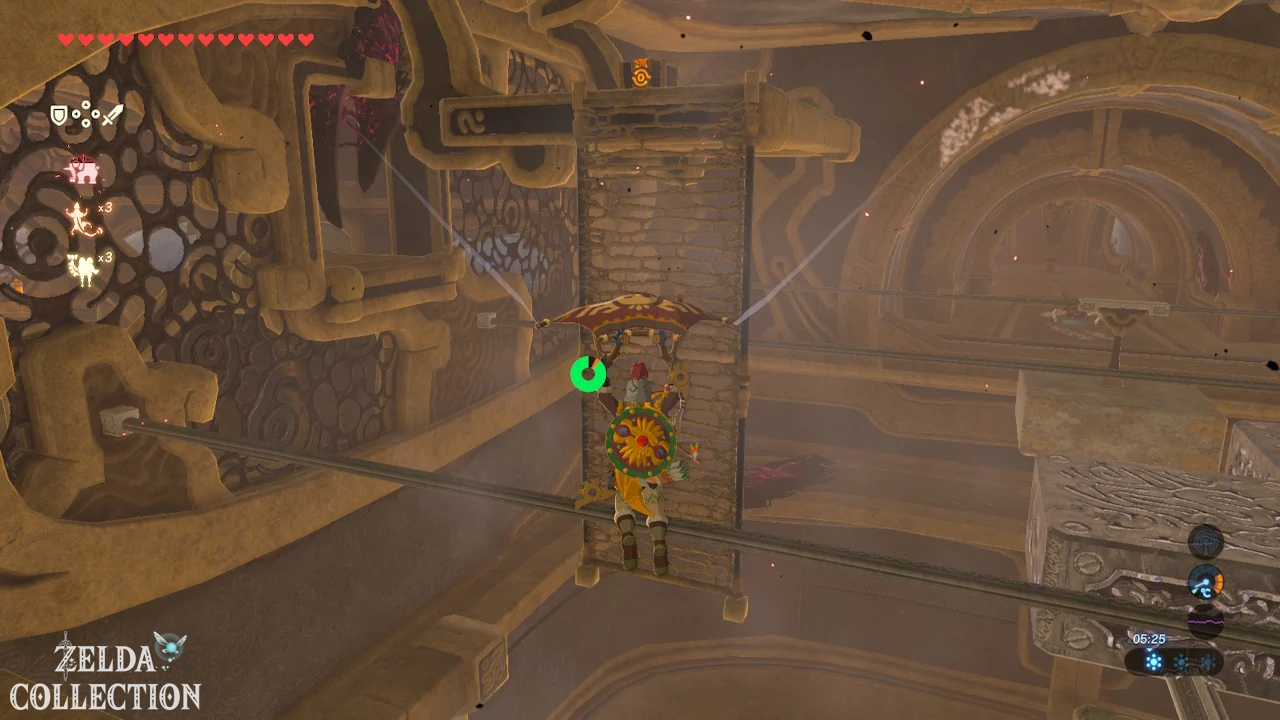
The five terminals and the main control unit appear on the map. Additionally, you can now place Vah Medoh in three positions: tilted to the left, horizontally or tilted to the right. The move affects the entire Titan. Platforms on rails begin to roll and balls follow the new gradient.
This is how the tilt of Vah Medoh
works
Opens the map and selects one of the two outer positions. Once confirmed, the Titan will take a few seconds to tilt. Meanwhile, Link can continue to move. This is exactly what many puzzles take advantage of: you stand on a moving platform, tilt Medoh and let yourself be automatically transported to the other end of a rail.
The inclination also influences your gliding distance. If one wing is raised, you can slide significantly further down from there. This mechanism largely replaces classic keys and switches in Vah Medoh. If a goal seems unattainable, a different inclination or an existing updraft is usually the solution.
Optional: Five bomb arrows in the main room
[Optional – Treasure Chest 2] After receiving the map, turn back towards the main room. Below the platform with the guidestone you will see a Treasure Chest behind Mud of Hate on a lower level. Slide down carefully. The path is open enough that you can reach the chest without falling completely to the Titan’s floor.
Open it and you will get five bomb arrows. These arrows are extremely useful for the later fight against Windblight Ganon. So try not to waste them on normal curse enemies or nano guardians.
Optional: Antique axle at the bottom
[Optional – Treasure Chest 3] Then drop down to the lowest level of the central interior. Towards the front Titan area is another chest that is completely encased in Ooze of Hatred. The eye sits within the black mass and can be hit with the bow through one of the openings.
Shoot it. The mud will dissolve and you can open the chest with a Ancient Axis. Ancient Axes are required for Purah’s Bomb Module+ and later for various items in the Akkala Institute.
Optional: Ancient Core in the main room
[Optional – be sure to take it with you] Return to the updraft at the entrance and let yourself be carried as far up as possible. From there, look at the raised platform above the entrance to the left wing. At the bottom there is a climbable wall or ladder.
Glide from the updraft directly to the wall, hold on and climb up. On the platform is a Treasure Chest with a Ancient Core. This find is significantly more valuable than ordinary guardian parts. If you have not yet unlocked the Stasis Module+ at Purah, this core can already be one of the three required reactor cores.
Then shoot the hate eyeball nearby to completely clear access to the left wing.
Terminal 1 – Left Wing
Enter the left wing. Directly in a raised niche to the left sits another Eye of Hate. Shoot it down. The first control terminal becomes visible, but is on a platform that is initially too high.
Go to the top of the ramp at the entrance to the wing. Open the Titan map and tilt Vah Medoh so that the left wing faces downwards. As the entire Titan moves, the gradient in space changes. Jump off the ramp and glide with the Paraglider into the previously unreachable niche.
Land in front of the terminal and activate the first terminal. Revali confirms the progress. Four seals are still missing.
Optional: two-handed sword over the left wing
[Optional – Treasure Chest 4] Return to the upper ramp area and first place Vah Medoh horizontally again. Then tilt the Titan again so that you gain as much height as possible above the wing from the end of the ramp.
Opposite or above the locked area there is a Treasure Chest on a high platform. Jump off and glide across. The included weapon scales as you progress in the game: at this point it is usually a Knight’s Greatsword; At more advanced levels, this can become a king’s two-hander.
A king’s two-handed sword in particular deals excellent damage. If the weapon inventory is full, it is better to throw away a weaker Bok or Reise weapon.
Terminal 2 – Bomb, Wind and Metal Ball
Jump down from the chest platform. In the same wing, an orange Crystal Switch sits next to a round pipe. Behind the pipe you will see a crumbling stone wall. Select the round remote bomb and let it roll through the pipe. If necessary, tilt Vah Medoh so that the bomb reaches the blockade safely and detonates it. The first stone wall breaks.
Then throw a second round bomb through the same pipe. First let them roll to the end and then hit the Crystal Switch. A window opens and a powerful stream of air blows the bomb sideways into the next area. As soon as it is next to the second fragile wall, you ignite it too.
A large metal ball will be revealed behind the wall. Now tilt Vah Medoh in the opposite direction. The ball rolls towards you. Then grab it with the magnetic module and pull it as far as possible onto the recessed guide or into the intended channel.
Tends Vah Medoh back again. The ball now rolls along its rail and hits the large pressure switch with full force. The grate at the end of the room opens. Go through and run up the short ramp. The second terminal is waiting there.
Optional: Photograph Cursed Lizalfos
[Optional – Hyrule Compendium] Create multiple maws of Ooze of Hatred inside Vah Medoh Cursed Lizardfoss. If the corresponding entry is still missing from your Hyrule Compendium, the corresponding eye does not destroy immediately.
Make a Cursed Lizard appear, take a few steps back and photograph it. The enemies have hardly any health and permanently disappear from this area as soon as the associated hate eyeball has been destroyed. Vah Medoh is therefore one of the most convenient places to take your own photo of this type of opponent.
Terminal 3 – Under the left wing
Leave the room with the second terminal and look for an open window on the left outer wall of the wing. Jump out and turn towards the middle of the titan. On the outside of the wing lies an area of Mud of Hatred. Shoot the eyeball there. This exposes an updraft.
A second eye blocks the passage back into the central interior. Eliminate this too. Then turn outwards again. Between your position and the large propellers of the left wing there is a small room or platform on the underside of the Titan.
Slide there. Inside, the third control terminal is completely free. Activate it and then return to the main area using the updraft or through the opened passage.
Switch to right wing
Open the Titan card and now tilt Vah Medoh in the other direction so that the right wing faces downwards. This makes moving through the main room much easier.
Glide or run through the central interior and leave Vah Medoh on the right side. Directly after the exit there is a ramp on the left that leads up. Run up and look straight ahead over the wing. In the distance sits an orange eye of hatred.
Shoot it. The black mass disappears and opens a space on the outside of the wing.
Terminal 4 – Outer Right Wing
Jump off the ramp and glide to the room you just opened. The tilt of Vah Medoh gives you enough range. Enter the room and follow the ramps or platforms up.
At the highest point is the fourth control terminal. No additional puzzle is required once the Hate Eyeball is destroyed and the wing is properly tilted. Activates the seal. Only one checkpoint is missing.
Optional: Ten Ice Arrows in the right wing
[Optional – Treasure Chest 5] From the fourth terminal, go through the side door into the adjacent interior of the right wing. Immediately look at the ceiling. There is a hate eyeball hanging there along with a black monster opening and a Treasure Chest surrounded by mud.
Destroys the eye. The corruption disappears and the Treasure Chest falls to the floor. Open it and take it ten Ice Arrows with.
Ice Arrows can completely freeze opponents and thus eliminate even stronger monsters for a short time. We save part of it for the later Hebra areas.
Terminal 5 – Wind turbines and battering ram
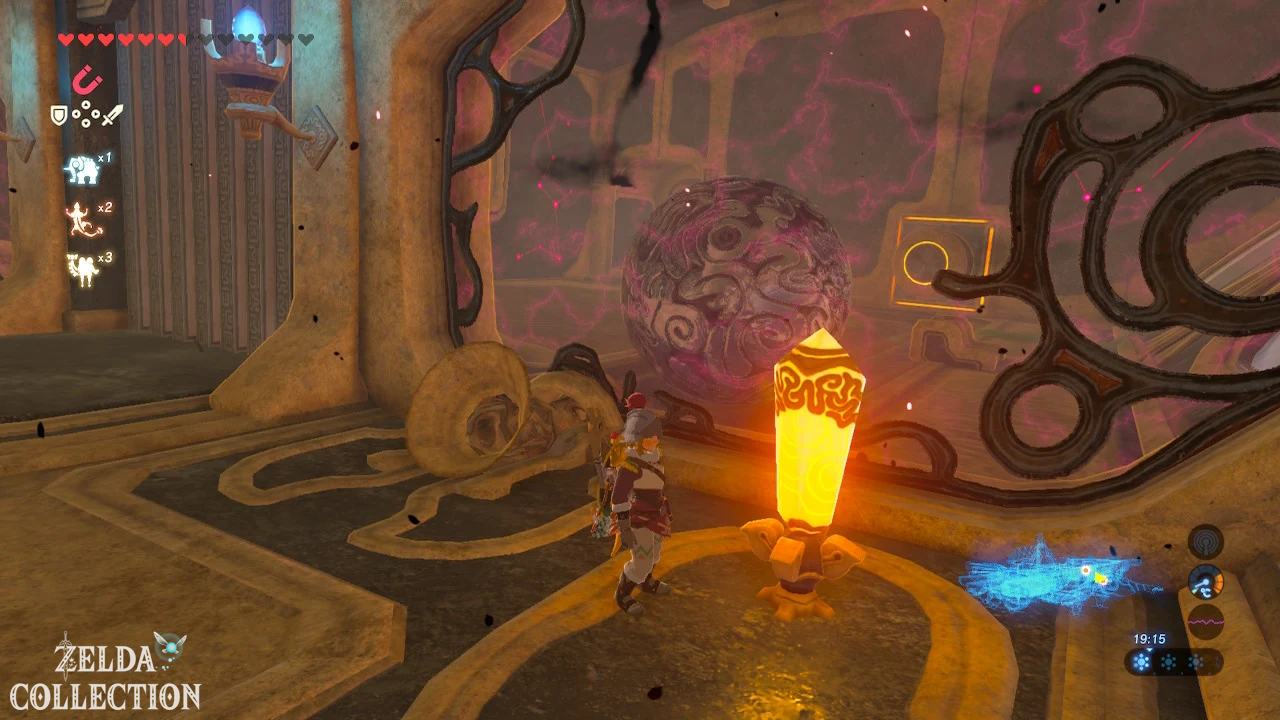
In the same room there is a Crystal Switch. Hit him. As a result, the windows of the sash open and a strong stream of wind flows through the entire room. Above you you can see two small wind turbines or propellers that are connected to mechanisms in the ground.
One of the propellers sits on a sliding metal block. Grab this block with the magnetic module and hold it tight. Now open the Titan map and tilt Vah Medoh so that the room is clearly pointing downhill in the direction of the large battering ram.
While Medoh tilts, you continue to keep the metal block exactly in the airflow with Magnesis. This causes the propeller attached to it to continue rotating. The mechanism sets the large stone battering ram in motion. He slides down the slope at high speed and hits the heavy pressure switch.
The grid in front of the last terminal opens. Run through and activate the fifth terminal. Revali speaks up and explains that now only the main control unit is left.
Optional: Arch in the right wing
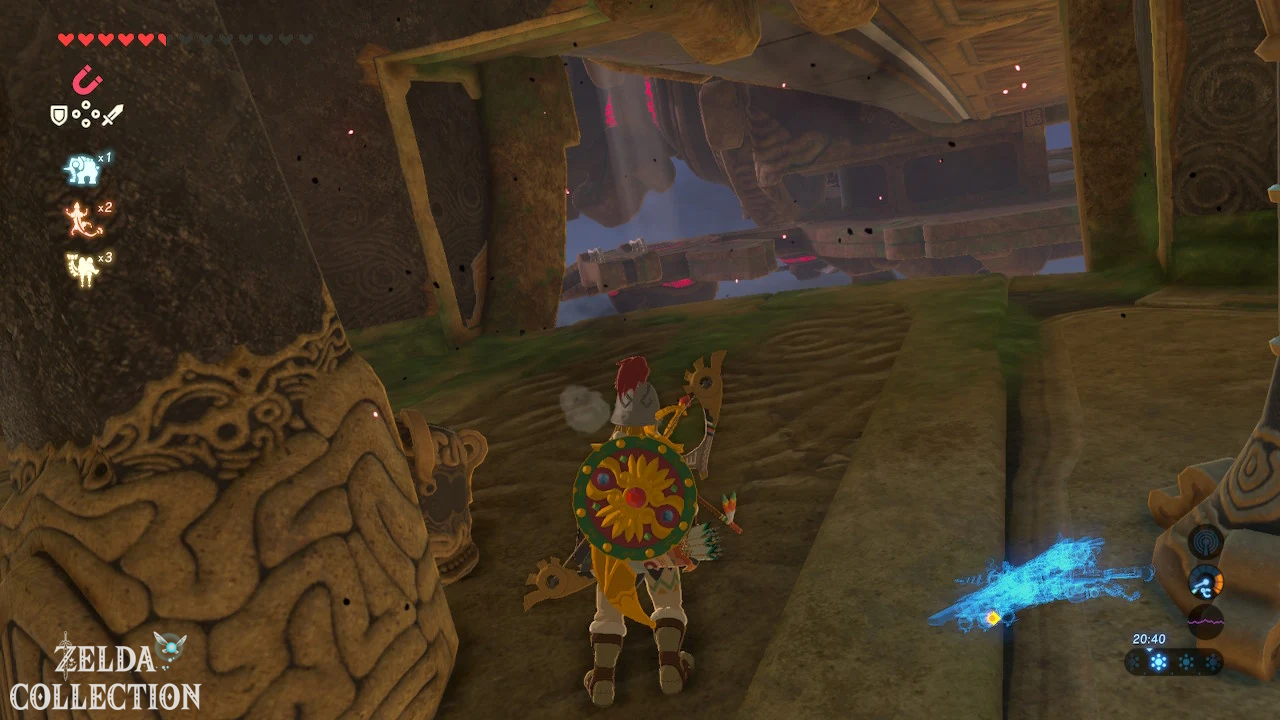
[Optional – Treasure Chest 6] Don’t leave the fifth terminal area yet. Stand on the slightly raised floor below the crystal switch. Strong wind continues to flow into the room through the open windows.
Jumps into the airflow and opens the Paraglider. Let yourself be carried onto the raised platform directly above or to the side of the pressure switch. There is a Treasure Chest.
This weapon also partially adapts to Link’s game progress. In a normal passage you will often find a knight’s bow; at higher world scaling it can already be a royal bow. Both variants are excellent preparations for Windblight Ganon.
Optional: Giant Ancient Core on Vah Medoh’s Beak
[Optional – be sure to take it with you] Now let’s get the most valuable treasure in the entire Titan. Return to the main room and use the central updraft to get up Vah Medoh’s back to reach.
Go as far as possible towards your head on the right side and stand near one of the front updrafts. Open the Divine Beast Map and tilt Vah Medoh so that the side you are standing on is raised. This means that Link is significantly higher than the tip of the beak.
Jump into the updraft and open the Paraglider. Now slide straight forward Vah Medoh’s beak. At the very top there is a small platform with a Treasure Chest. Therein lies a Giant Ancient Core.
This item is significantly rarer than a normal Ancient Core. Ancient armor and high-quality weapons from Robbie’s Institute will require several of these later. Therefore, under no circumstances should you sell the giant core for fast Rupees.
Optional: Last weapon chest in the left wing
[Optional – Treasure Chest 7] If you have already opened the raised chest in the left wing at the second terminal, you already have this treasure. Otherwise, check the high platform above the left wing entrance on the map or in the room again.
Tilt Vah Medoh so that the opposite wing rises and slide from the upper ramp to the platform. The chest contains the aforementioned scaling two-handed sword. Depending on your progress, you get a knight or king version.
Optional: All eight Treasure Chests in Vah Medoh
If you followed our route, you have now opened all of the Divine Beast’s Treasure Chests:
- Sapphire on the tail of the titan
- Ancient Core on the raised platform in the main room
- 5 bomb arrows on the deeper main room platform
- Ancient Shaft on the lowest level
- 10 Ice Arrows in the right wing
- Arch in the right wing, depending on the game progress
- Two-handed sword in the left wing, depending on the game progress
- Giant Ancient Core on Vah Medoh’s Beak
The Giant Ancient Core and the normal reactor core are particularly valuable in the long term. Bombs and Ice Arrows help immediately against the following boss. The weapons can have different quality levels depending on Link’s previous game progress, which is why better variants may appear in the chests when the game is very advanced.
To the main control unit of Vah Medoh
Returns from the beak or wings to the central area. Put Vah Medoh as horizontally as possible . Then use the large updraft near the entrance and let yourself be carried onto the titan’s back.
There is the main control unit. Don’t examine them yet. As soon as Link uses the Sheikah Slate, the fight against Windblight Ganon begins immediately.
Unlike the water curse, the bow is the most important weapon here. Windblight Ganon stays in the air for much of the fight and fires from long range. However, the constant updrafts on Vah Medoh allow you to constantly take slow-motion shots from the Paraglider.
Prepare Before Windblight Ganon
Save the game manually and check your arrow supply. A good knight, king or falcon bow makes the boss fight much easier. Normal arrows are sufficient, but the remaining Bomb Arrows do excellent damage. Use it especially when you get a sure hit on Ganon’s eye in slow motion mode.
Maintains two levels of cold protection. Vah Medoh remains high above Tabantha and correspondingly cold during the boss fight. Anyone who discards all Rito pieces because of stronger armor can suddenly suffer cold damage.
Mipha’s Grace should also be ready for use if possible. If the elephant symbol is grayed out, you can still leave the titan before the boss and return later. All five terminals remain activated.
Hyrule Compendium before boss fight
[Optional] If you complete the Hyrule Compendium with your own pictures, check the Titan’s special enemies and weapons again in front of the main control unit. Cursed Lizalfos are no longer available everywhere in the dungeon after their hatred maws are destroyed, but you can still find the various guardian weapons again later.
In the following boss fight, you should aim the Camera Rune at Windblight Ganon immediately after the start. As with Water Curse, this is the easiest opportunity to register the boss in the Hyrule Manual with your own photo.
Main target “Divine Beast Vah Medoh” before Windblight Ganon
With all five terminals activated, the dungeon is completely solved, but the main goal “Divine Beast Vah Medoh” is not yet completed. Windblight Ganon continues to trap Revali’s spirit within the Titan, preventing Vah Medoh from being used against Hyrule Castle.
In the next chapter we defeat Windblight Ganon in both phases of the fight, get the second Titan Heart Container of our journey and receive Revali’s Gale. We then return to the Rito village, get the eagle bow and complete the most important side and shrine tasks that only become available after liberating Vah Medoh.