

Around the Central Tower lie in The Legend of Zelda: Breath of the Wild in total 8 regular shrines. The region covers large parts of the Hyrule Plain and extends right up to Hyrule Castle, which is why there are not only numerous here Bokoblins and Moblins, but above all encounters many active and destroyed guards. Three of the shrines consist of smaller or medium-sized tests of strength, while Kaam Ya’tak, one of the longest puzzle shrines in the entire game, awaits you. The region’s best-hidden shrine is Saas Ko’sah, deep within the docks of Hyrule Castle, while Noya Neha lies hidden behind brush and a crumbling rock face along the moat.
For our 100% walkthrough for Breath of the Wild you should kill all eight shrines together with the surrounding map locations and enemies if possible. Wahgo Katta at the stable by the river, Rota Ooh at the stable on the plain and Saas Ko’sah within Hyrule Castle are particularly useful, as they will later serve as valuable fast travel points. If you have difficulty with the numerous guards, you can also use the antique set and improve it on the Great Fairies.
Overview of all 8 shrines at the Central Tower
| # | Shrine | Location / Special feature | Important Treasure Chest |
|---|---|---|---|
| 1 | Ruyo rope | On a hill near the stable of the plain; rotating construction and catapult | Kingfisher sword |
| 2 | Kaam Ya’tak | Southwest of the Plains Tower; one of the longest mystery shrines | Mushin Greatsword, Knight’s Sword, Ancient Core, Silver Rupee, Diamond |
| 3 | Noya Neha | West of Hyrule Castle behind bushes and brittle rocks; light test of strength | Knight’s Shield |
| 4 | Dah Kaso | Below Digdok Suspension Bridge; light test of strength | Ancient Core |
| 5 | Wahgo Katta | North of the stable by the river; Stack metal cubes to form a bridge | Amber |
| 6 | Katah Chuki | West of Hyrule City Ruins; light test of strength | King’s halberd |
| 7 | Namika Ozz | In the hollowed out tree trunk on Gongol Hill; medium strength test | Ice lance |
| 8 | Saas Ko’sah | Pier under Hyrule Castle; light a fire bowl; big show of strength | Fire sword |
Preparation for the tower of the
level
The actual shrines in this region are not exceptionally difficult to reach, but the Hyrule Field is one of the most dangerous open areas in the game due to its numerous guardians. Several Guardian Runners patrol especially around the Central Tower, the ruins of Hyrule City and Hyrule Castle. Therefore, either move with a fast horse, use cover or learn the perfect shield block against sentinel beams as early as possible. Ancient Arrows are also extremely effective, but due to their cost, they should not be wasted on each individual enemy.
Several shrines in this region contain Nano Guardians, providing a good opportunity to collect Guardian weapons and ancient materials. Saas Ko’sah is particularly worthwhile as soon as your equipment is strong enough for a big test of strength.
1. Rota Ooh Shrine – Whoever passes through the gate
The Rota Ooh Shrine is located on a hill right next to the stable on the plain, making it one of the easiest shrines to find in the region. Inside you can see a large construction that can be rotated 90 degrees using a Crystal Switch. First shoot the switch with an arrow. On the left side this opens a path to a small Treasure Chest, where you will find the Small Key.
Operate the Crystal Switch again and use the key to open the locked gate. Take the ball there and throw it into the grid-like basket on the rotating structure. Shoot the Crystal Switch again; As a result of the rotation, the ball falls into its intended depression and activates a catapult in the middle of the room.
Stand on the catapult and let yourself be thrown upwards. Open the Paraglider in the air and slide to the raised edge on the back wall. There is the optional Treasure Chest with the kingfisher sword. Then return to the catapult and let yourself be thrown up again. At the highest point, draw your bow, shoot at the Crystal Switch during slow motion and land on the now rotated construction. From there you can walk directly to the priest.
2. Kaam Ya’tak Shrine – Formidable Power
Kaam Ya’tak Shrine is located in a depression southwest of the Central Tower at the foot of Daphnos Mountain. Despite the name “Formidable Force”, it is not a normal test of strength, but an exceptionally long puzzle shrine with several physics, stasis and motion control tasks. At the same time you can collect five valuable Treasure Chests here.
At the beginning, make the large ball on the chain with stasis or the magnet module swing so that it hits the massive stone door. Behind it, large spiked balls roll across the corridor; freeze them with Stasis and walk past. Two Nano Guardians 2.0 are waiting in the next room. Defeat them and open the first chest with the Mushin Greatsword.
Then shoot through the rope of the burning lamp. The flame sets the wooden platform on fire, causing a stone ball to fall and ram the nearest door open. Behind this door you will find the second Treasure Chest with a knight’s sword. After more nano-guards, you have to hold onto a tilting stone slab with stasis in order to safely walk over it; Shortly afterwards the third chest awaits with a Ancient Core.
In the next section, you use the motion controls to hit a giant hammer against a stone ball and send it into its opening. Then combine a Floor Switch and Stasis to catapult another ball over a rising ramp. Shortly before the end, behind destructible boulders, lies the fourth Treasure Chest with a Silver Rupee worth 100 Rupees. In the last area you will also find a diamond. Finally, use Stasis to throw the large battering ram against the last stone door and then use the Crystal Switch to catapult yourself onto the raised platform near the priest.
3. Noya Neha Shrine – hidden west of Hyrule Castle
The Noya Neha Shrine is located on the island with the prison ruins west of Hyrule Castle and is not directly visible from the outside. Look for a rock wall near the river or moat with dense thorn bushes growing in front of it. Burn the thorns with a fire arrow, firearm, or ignited object. Behind it, brittle rocks appear, which you blow up with a long-range bomb. Only then can you reach the hidden cave entrance and the shrine.
Inside there is a light test of strength waiting. The Guardian Scout II carries a Guardian Ax and has significantly fewer health points than the Guardians from the major tests of strength. Use the pillars in the room as the opponent prepares their spinning charge, or perfectly dodge their normal strikes to trigger a Flurry Rush. After the victory, the path to becoming a priest opens; the optional Treasure Chest contains a knight’s shield.
4. Dah Kaso Shrine – under Digdok Suspension Bridge
The Dah Kaso Shrine is located west of the Great Plateau, directly below the Digdok Suspension Bridge. If you travel over the bridge, you can easily miss the shrine because it is much lower on the river. Jump off the bridge and glide down with the Paraglider or approach along the shore.
One awaits you here too easy test of strength against a Guardian Scout II, this time with a Guardian Lance. The basic strategy is the same as Noya Neha: stay on the move, use perfect evasive maneuvers and let the opponent crash into one of the pillars during his spin attack. After the fight there is one on the way to the priest Treasure Chest with a Ancient Core. This is significantly more valuable than the actual guardian weapon, as you can use the reactor cores for that later Antique set and various antique equipment needed.
5. Wahgo Katta Shrine – The Steel Bridge
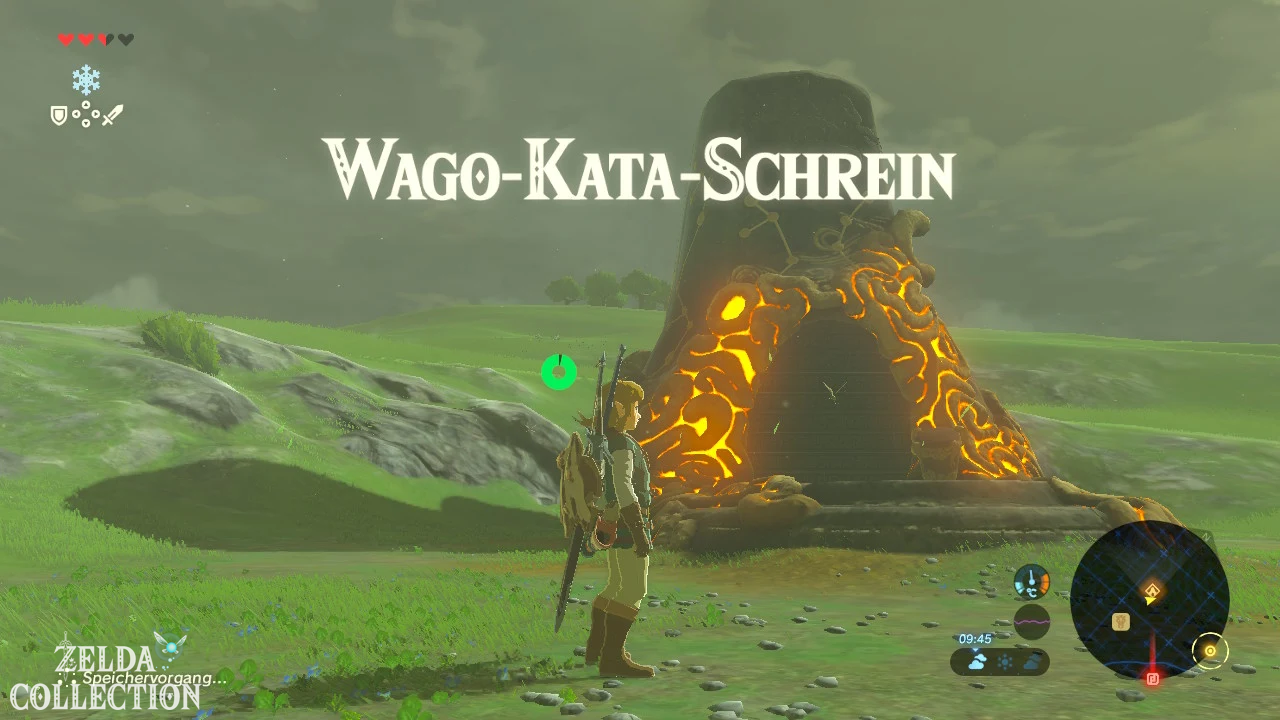
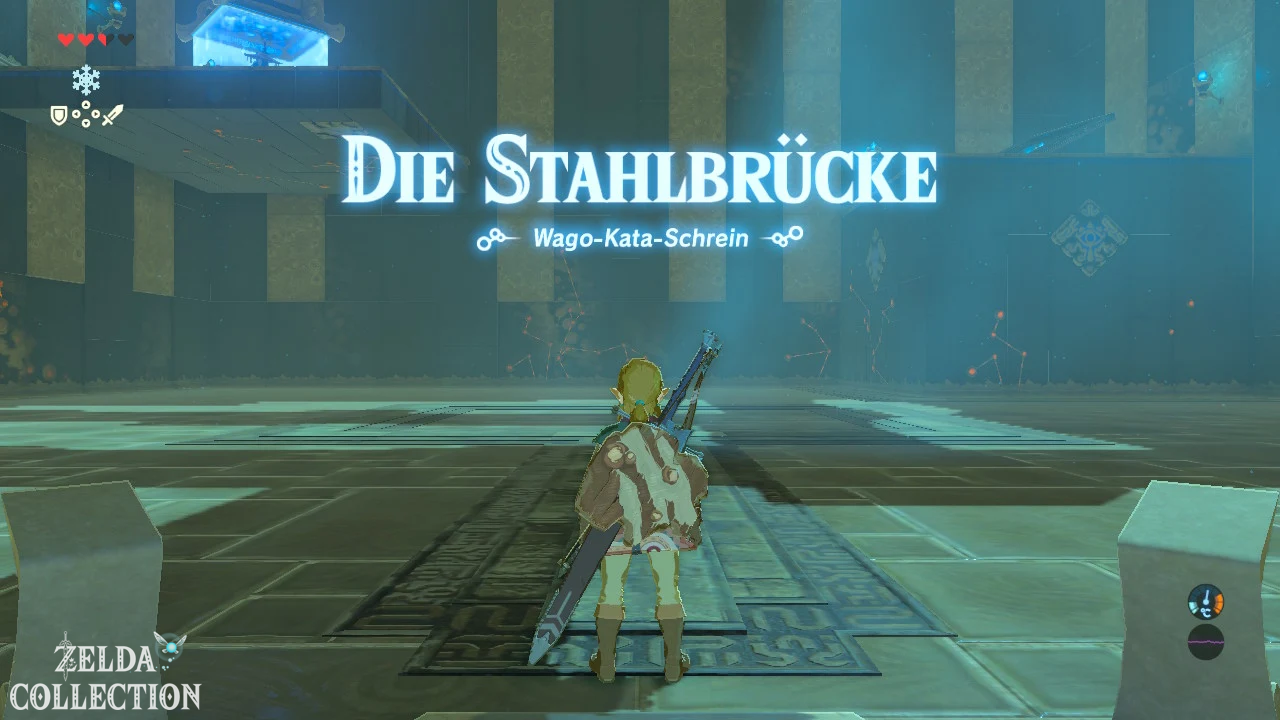
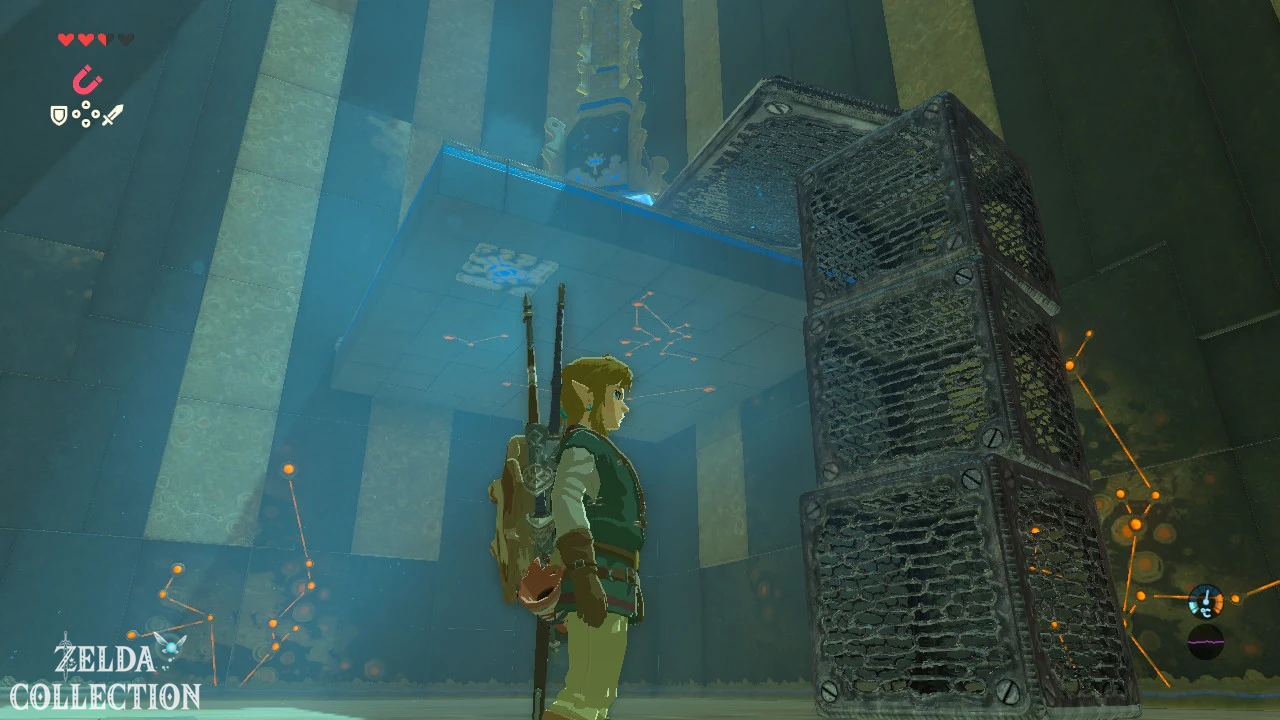
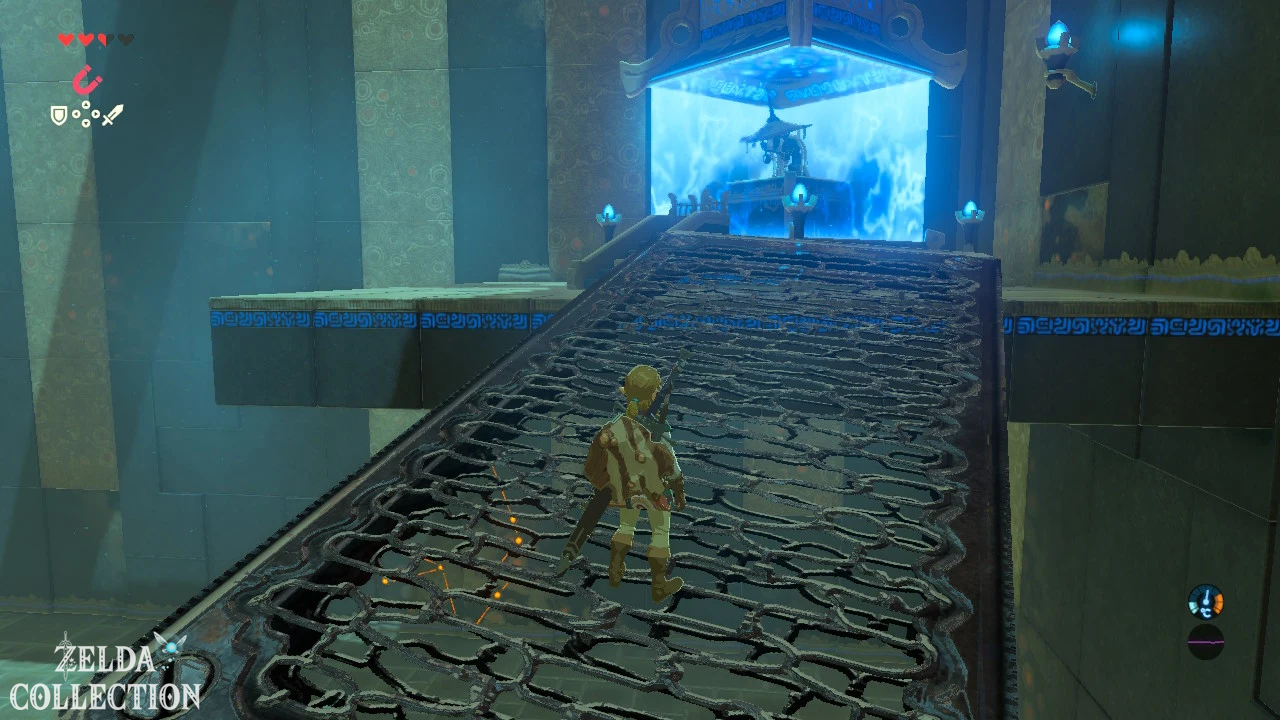
The Wahgo Katta Shrine stands immediately north of the Stable on the River and is therefore an important fast travel point for the southeastern part of the Hyrule Plains. The puzzle is one of the shortest in the entire region and can only be solved using the magnetic module.
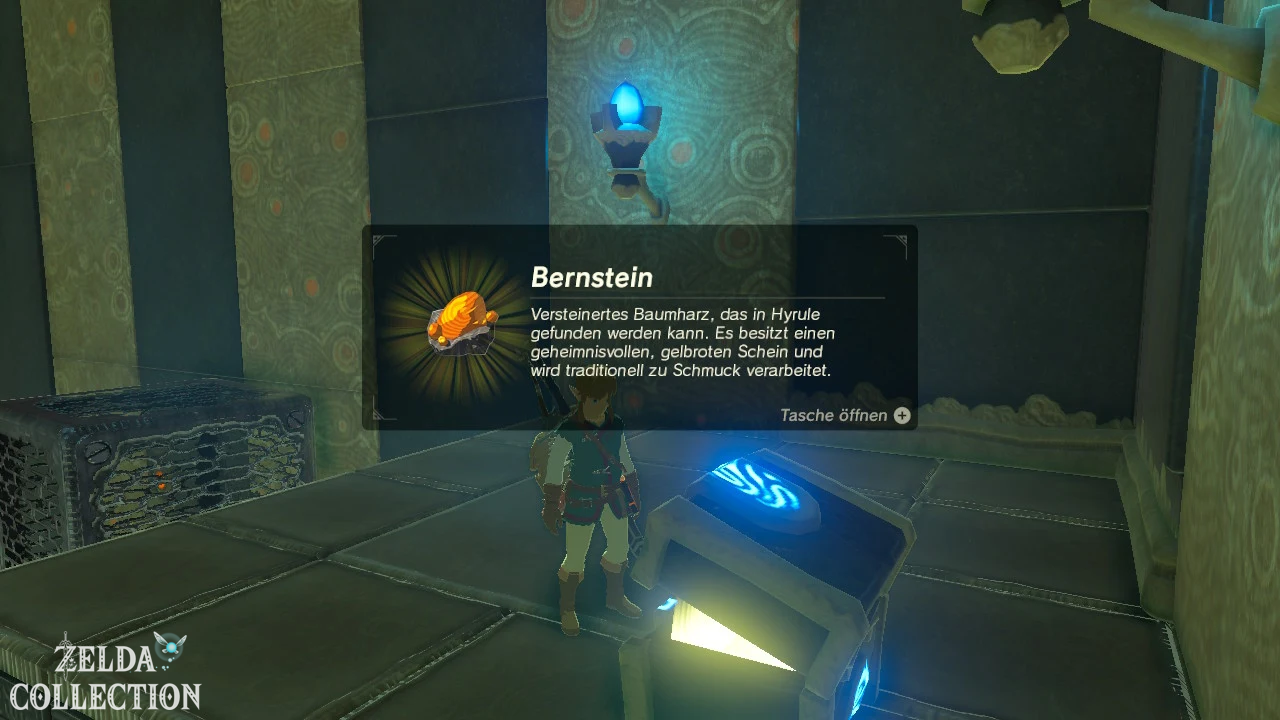
To the right of the entrance are three large metal grid cubes. First climb onto the stacked cubes and open the Treasure Chest at the top. Contrary to older information, it does not contain a Zanshin short sword, but rather a amber.
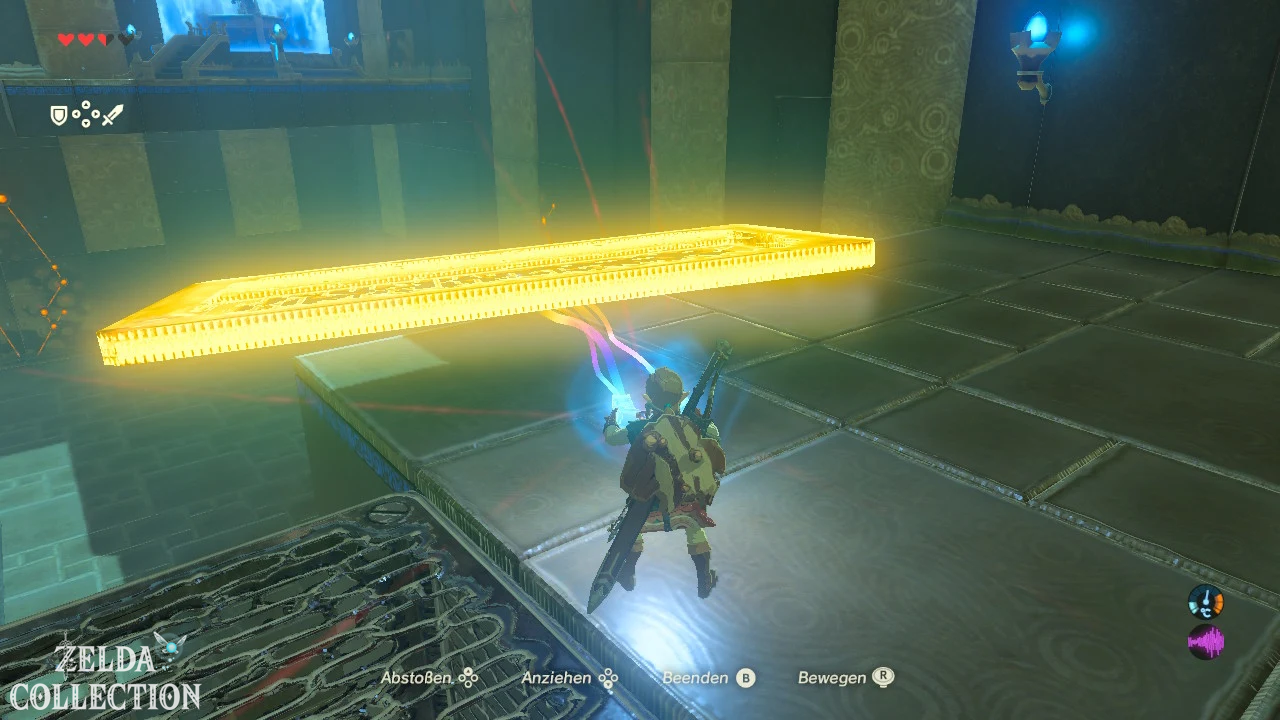
Then take the three metal cubes with the magnetic module and stack them below the raised platform in the corner. Climb up and take down the long metal plate. Now bring the dice near the priest’s platform and stack them again. Place the long metal plate on the cubes so that it creates a sloping bridge to the altar platform. Climb up over the construction and get the Spirit Orb.
6. Katah Chuki Shrine – easy test of strength near Hyrule City
Katah Chuki Shrine is located west of the Hyrule City Ruins. Several dangerous enemies and guards are at work in the open area surrounding the shrine, but the shrine itself is easy to spot. As soon as you have activated it, you will have a practical fast travel point in the immediate vicinity of the castle.
Inside, the third light test of strength follows this tower region. The Guardian Scout II uses a Guardian Lance. After the victory, the exit opens and on the way to the priest you will find a Treasure Chest with a king’s halberd. Since the weapon can have additional bonuses depending on Link’s internal game progress, opening the chest is also worthwhile in the later game.
7. Namika Ozz Shrine – medium test of strength on Gongol Hill
Namika Ozz Shrine is located east of Hyrule Castle on Gongol Hill. The entrance lies within a striking formation that looks like a huge hollowed-out tree stump or tree trunk. The shrine does not have to be unlocked through a task and can be activated directly.
Inside, a medium test of strength awaits against a Guardian Scout III. This uses a Guardian Lance+ and a Guardian Axe+ and has significantly more health than the Nano Guardians from Noya Neha, Dah Kaso and Katah Chuki. Use the pillars again against his whirling attack and watch out for the circular laser attacks in the later phase. When the Guardian charges up for his final beam attack, you should defeat him quickly or plan a shield block or enough distance.
After the fight you will find a Treasure Chest with a Ice Lance in front of the priest.
8. Saas Ko’sah Shrine – secret dock of Hyrule Castle
The Saas Ko’sah Shrine is the most extraordinary shrine in this region, as it lies entirely within Hyrule Castle. You can find him in the underground pier on the north side of the castle. One of the most convenient entrances is from the Hyrule moat into the large cave entrance on the northwest side of the castle. Swim or glide in and follow the footbridges and stairs up.
There is a huge fire bowl in a large area on the pier. Ignite it with a fire arrow, firearm, or other flame. Only then does the Saas Ko’sah Shrine rise from the ground. Be sure to activate it even if you don’t want to complete the test of strength yet, because Saas Ko’sah is the only regular shrine directly within Hyrule Castle and therefore an excellent fast travel point later.
One awaits you inside big test of strength against a Guardian Scout IV. He carries several ++ class weapons and has correspondingly high health and attack power. Use the familiar strategies from the other tests of strength: perfect dodges, pillars against the rotating charge attack and quick attacks during his charging phases. After the victory there is one waiting Treasure Chest with a Fire sword before your this Spirit Orb received.
Four tests of strength around the tower of the
level
Half of the shrines in this map section consist of tests of strength. Noya Neha, Dah Kaso and Katah Chuki each contain a Guardian Scout II, making them great for practicing timing for dodges and shield blocks. Namika Ozz significantly increases the challenge with a Guardian Scout III, while Saas Ko’sah within Hyrule Castle represents a great test of strength in its own difficulty class.
| Shrine | exam | opponent |
|---|---|---|
| Noya Neha | Test of strength – light | Guardian Scout II |
| Dah Kaso | Test of strength – light | Guardian Scout II |
| Katah Chuki | Test of strength – light | Guardian Scout II |
| Namika Ozz | Test of strength – medium | Guardian Scout III |
| Saas Ko’sah | Test of strength – difficult | Guardian Scout IV |
Which shrines are the easiest to miss?
Of the eight shrines, Noya Neha and Saas Ko’sah are likely to remain undetected by most players for the longest time. Noya Neha is hidden from view in a cave and is also hidden by thorns and brittle rock. Saas Ko’sah is even located beneath Hyrule Castle and only appears when you light the large fire bowl in the pier. The Sheikah sensor can work at both shrines, but it doesn’t tell you that the actual entrance is much deeper or hidden behind a wall.
Dah Kaso is also occasionally overlooked because the shrine is not at the level of the Digdok suspension bridge, but far below on the river.
Saas Ko’sah as a fast travel point for Hyrule Castle
For later full exploration of Hyrule Castle, Saas Ko’sah is one of the most valuable shrines in the entire game. Once the shrine has been activated, you can return directly to the pier at any time and from there use a hidden entrance to the library and other areas of the castle. This means that after a detour to cook, shop or improve your armor you don’t have to overcome the moat and the outer defenses again.
Kaam Ya’tak – one of the largest shrines in Breath of the Wild
Kaam Ya’tak stands out clearly from most other exams. While many shrines only contain a single puzzle or short battle, Kaam Ya’tak combines stasis, magnetic module, fire, motion controls, physical battering rams, moving platforms, and multiple nano-guardians. At the same time, the shrine has five optional or en route Treasure Chests, making it one of the most extensive tests of the original 120 shrines.
Therefore, take a little more time for Kaam Ya’tak and check in particular whether Mushin Greatsword, Knight’s Sword, Ancient Core, Silver Rupee and Diamond have been collected before leaving.
Are there DLC shrines at the Central Tower?
No. Unlike, for example, the Hebra, Desert, Lanayru or Eldin regions, DLC 2 “The Champions’ Ballad” does not add an additional shrine to the Central Tower map section added. The region therefore remains with the eight shrines listed above even with the expansion pass installed.
Central Tower – 100% Shrine Checklist
| # | Shrine | For full score |
|---|---|---|
| 1 | Ruyo rope | Complete + collect Kingfisher Sword |
| 2 | Kaam Ya’tak | Collect all five important Treasure Chests |
| 3 | Noya Neha | Uncover cave entrance + Knight’s shield |
| 4 | Dah Kaso | Test of Strength + Ancient Core |
| 5 | Wahgo Katta | Complete + Amber |
| 6 | Katah Chuki | Test of Strength + King’s Halberd |
| 7 | Namika Ozz | Medium Test of Strength + Ice Lance |
| 8 | Saas Ko’sah | Discover the pier, light the fire bowl and complete the big test of strength |
Completed all 8 Shrines of the Central Tower
Once you have completed Rota Ooh, Kaam Ya’tak, Noya Neha, Dah Kaso, Wahgo Katta, Katah Chuki, Namika Ozz and Saas Ko’sah, all of them are complete eight regular shrines in the Central Tower region completed. You mastered five different tests of strength, completed one of the longest puzzle shrines in the game and, with Saas Ko’sah, unlocked an extremely important teleport point within Hyrule Castle.
For our complete Breath of the Wild Walkthrough, numerous Koroks and map locations, guards, several Hinoxes and Stalnoxes, various remain in the level Stone Talus’s and full exploration of Hyrule Castle. With the eight shrines activated, you already have excellent fast travel points around the entire central region.