

All five terminals of the Divine Beasts Vah Medoh are activated. Now all that’s missing is the opponent who defeated Revali a hundred years ago and has retained control of the titan ever since: Windblight Ganon. Since we have already defeated Waterblight Ganon in Vah Ruta, Wind Curse is the second of the four Titan bosses in our save and has correspondingly 1,200 life points. The order of the Titans influences the health of their respective Ganon curses: The first has 800, the second 1,200, the third 1,600 and the fourth 2,000 life points.
The fight suits Vah Medoh perfectly. Windblight Ganon stays mostly in the air and attacks from long distances, while several updrafts on the Titan’s back carry Link up again and again. If you use the bow consistently and take advantage of the slow motion in free fall, you can conduct the fight in a much more controlled manner than in pure close combat. After the victory, we get the second Heart Container from a Titan, free Revali and receive one of the most useful skills for further exploration Revali’s Gale Hyrule’s.
Photograph Windblight Ganon for the Hyrule Handbook
[Optional – Recommended] Examine the main control unit on Vah Medoh’s back. As soon as Ganon’s wind curse appears, you should not attack immediately, but rather briefly open the Camera Rune. Hold the boss in the search frame until his name appears and save the image in the Hyrule Compendium. After his defeat, the opponent disappears from the normal game world; If you would like your own image instead of a manual entry purchased later, you should take advantage of the opportunity now.
Then switch back to the bow. A falcon’s bow, knight’s bow, or the best other bow in your inventory works great. The bomb arrows from Vah Medoh cause a particularly high amount of damage, but normal arrows are also sufficient. Due to the low temperatures on Titan, at least two levels of cold protection should still be active.
Windblight Ganon – First Phase
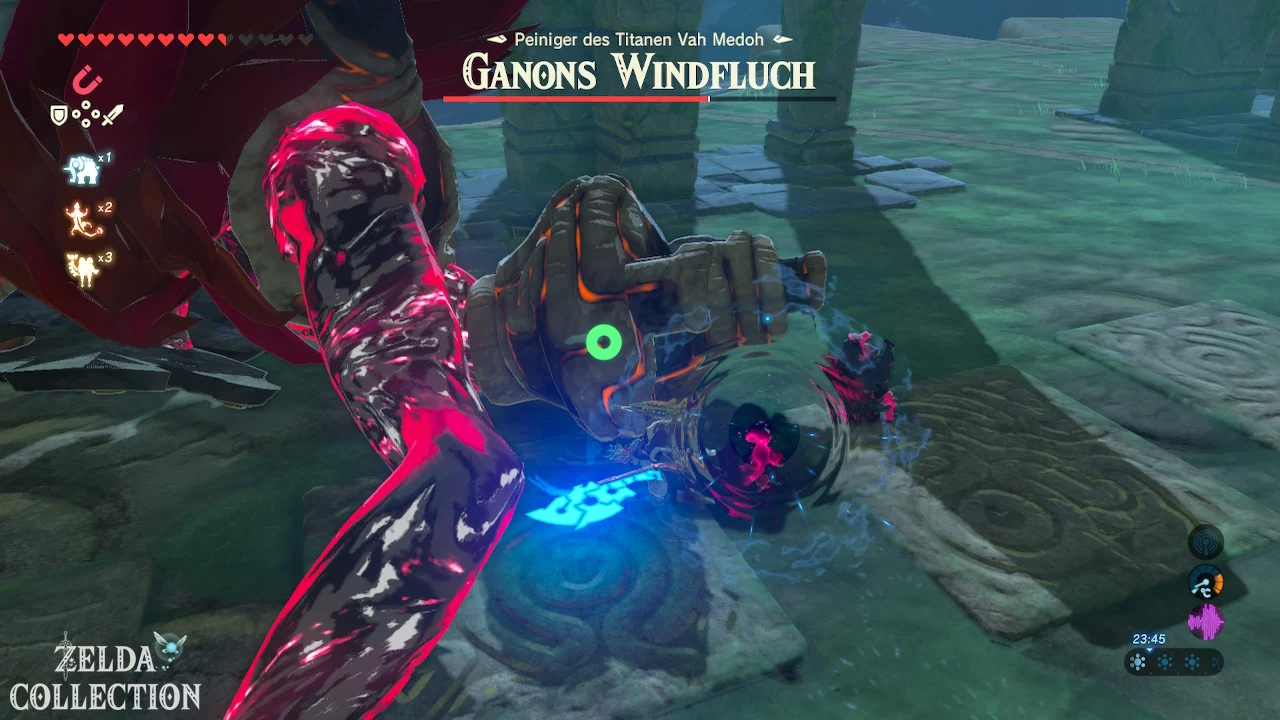
Windblight Ganon features a large arm that functions like an ancient cannon. In the first phase of the fight, he repeatedly teleports between different positions above the arena and uses two attacks in particular. In the first, he fires several quick energy shots directly at Link. In the second, he creates a large tornado that slowly moves across Vah Medoh’s back.
Stays moving during energy shots and runs sideways to the direction of flight. The individual projectiles are fast, but travel relatively straight. Anyone who is already confident with perfect defense can also reflect direct projectiles with a precisely timed shield block. This is not necessary – sidestepping is more reliable and protects high-quality shields.
The tornado cannot be blocked effectively. As soon as you see Windblight Ganon preparing the wind attack, simply move sideways out of its path. The swivel moves significantly slower than Link and is more dangerous if you no longer pay attention to the ground while archery.
The updrafts against Windblight Ganon use
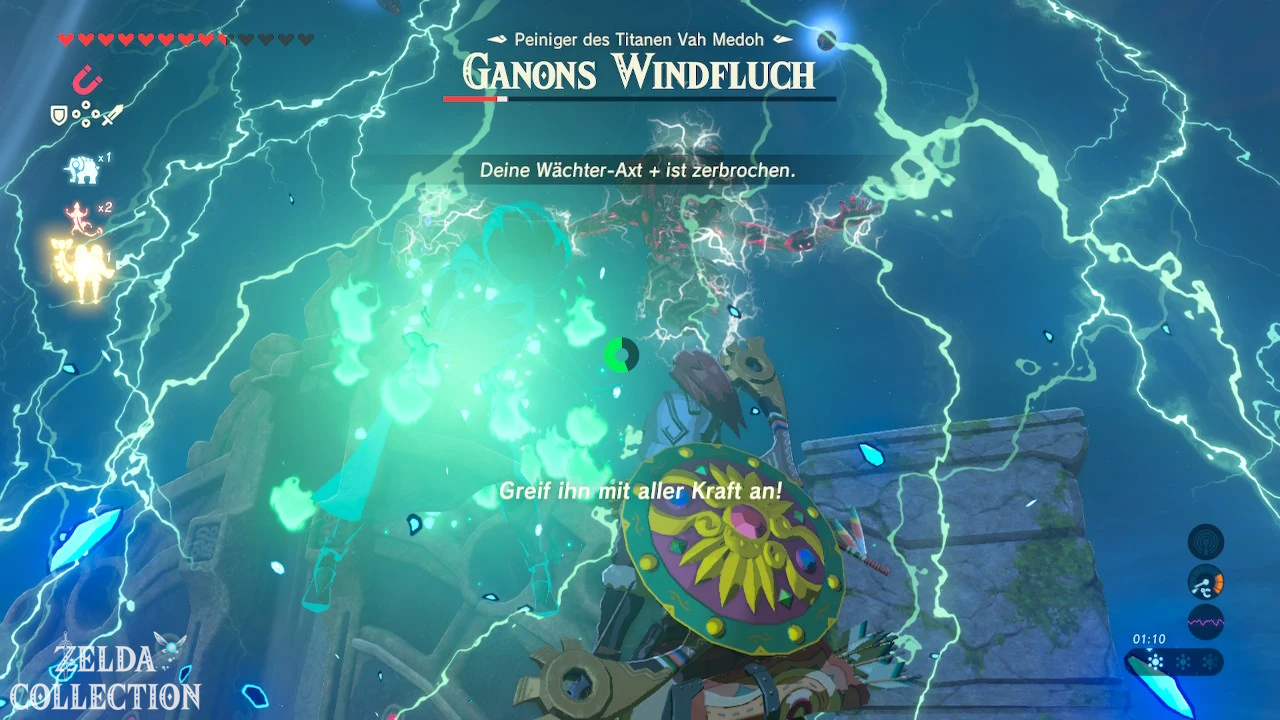
The easiest method against Wind Curse is the numerous updrafts in the arena. Run into one of them and open the Paraglider. As soon as Link is floating a few meters above the ground, let go of the sail and draw the bow. Time slows down and Windblight Ganon becomes a much easier target.
Aim at the big blue eye if possible. Hits there cause increased damage and can knock the boss out of the air. If he falls to the ground, put away your bow, land next to him and attack with your strongest melee weapon. Before he stands up again, you take a few steps back.
This strategy works particularly effectively with bomb arrows: use the updraft, draw the bow in the air, aim at the eye and land a sure hit. Don’t try to frantically fire multiple bomb arrows from a long distance. A clean slow-motion shot is much more valuable than three missed shots.
Attack Ganon’s Wind Bane with melee weapons
The boss often hovers high above the ground, but occasionally teleports to low positions. If he is within range, you can attack him normally with a sword, spear or two-handed sword. However, don’t stand right in front of his cannon arm for too long. Wind Curse can quickly strike back from close range or teleport.
The best melee opportunity comes after being stunned by arrows. While Windblight Ganon lies motionless on the ground, you can safely land multiple hits. A strong two-handed weapon does excellent damage here; For normal combat, however, a one-handed weapon with a shield remains safer.
Windblight Ganon – Second Phase
With about half of his health, the second phase of combat begins. Windblight Ganon summons four small floating cannons that move around him. The devices can absorb his energy shots and then redirect them towards Link from multiple directions. This makes it more difficult to simply dodge sideways.
You can destroy the small cannons with bomb arrows, but they will respawn after a while. Therefore, concentrate primarily on the boss himself. Use the updraft again, draw the bow in the air and look for a clear angle on his eye. During slow motion, the trajectories of the auxiliary cannons can be assessed much better.
Windblight Ganon continues to use his tornadoes. Additionally, the redirected energy shots become more dangerous because they can come from different angles. Don’t stay in the same spot for long and use the entire arena.
Bomb arrows in the second phase
The remaining Bomb Arrows from Vah Medoh are now particularly valuable. The explosion radius makes precise hits easier and causes significant damage. Wait until Ganon’s wind curse floats relatively free of his small cannons, rises up with an updraft and shoots in the eye or directly on the body during slow motion.
After several hits, the boss will fall to the ground again. Land next to him and follow up with the strongest melee weapon. When bomb arrows become scarce, simply switch to normal arrows. The fight does not require any specific elemental ammunition.
Stasis+ vs. Windblight Ganon
[Optional] If you have already unlocked the Stasis Module+ at Purah, you can freeze Windblight Ganon for a very short moment. The effect lasts much shorter on bosses than on normal monsters, but is enough to prepare a difficult shot or create a short gap in the attack.
Stasis+ is not a requirement. Due to the large updrafts, Windbane is one of the bosses where the bow is particularly strong.
Defeat Windblight Ganon
Keep switching between updraft, slow-motion shot and melee once the boss falls. When his health is completely drained, Windblight Ganon disintegrates and Revali’s Titan is finally free from the influence of the Cataclysm.
This defeats the second Ganon curse of our journey. The main goal “Free the Divine Beasts” is now half accomplished: Vah Ruta and Vah Medoh are back on Link’s side.
Heart Container of Windblight Ganon
After the battle, another Heart Container appears in front of the main control unit. Be sure to record it before activating the terminal. The Heart Container immediately increases Link’s maximum health by one full heart and, like all normal Heart Container, counts towards the later requirement for the Master Sword.
With Vah Ruta and Vah Medoh we have already received two additional hearts from the Titan bosses alone. Together with the numerous shrines he has completed, Link should now be much more resilient than he was at the start of the journey.
Vah Medoh Main Control Unit Activate
Now examines the main control unit. The game warns again that Vah Medoh can no longer be entered normally after final activation. If you have followed Chapter 14 completely, all of the valuable Treasure Chests are already in your possession – including the Giant Ancient Core on the beak.
Confirms activation. Link uses the Sheikah Slate and expels the last remnants of Ganon’s influence from the Titan.
Revali’s farewell
Revali’s spirit appears one last time inside Vah Medoh. Even after Link’s victory, the proud Rito can’t help but feel a certain arrogance. At the same time, however, he recognizes that Link has accomplished the task that Revali himself had failed at a hundred years ago.
Before Link leaves the Titan, Revali gives him his special flying technique: Revali’s Gale. This gives Link an ability that fundamentally changes the way he explores the open world.
Revalis Sturm – This is how the stretching force
works
To use Revalis Sturm, stand on solid ground and hold down the jump button X. A powerful air current begins to gather around Link. Release X and Revali’s force will throw Link vertically upwards. Then open the Paraglider and use the gained height to glide.
Has the ability three loads. After three uses, a recharge time of approximately begins six minutes. As soon as the eagle on the left of the screen is completely filled again, all three charges are available again. The ability charges much faster in Hyrule Castle.
Revali’s Gale can be deactivated in the important items menu. Normally there is no reason for this. The ability makes it easier to climb towers, steep rock faces, Koroks, shrines and numerous abbreviations are so clear that they are used almost constantly for further solutions.
[DLC] In the later Champions’ Ballad, Revalis Sturm can be improved to Revalis Sturm +. The normal charging time then drops from six to around two minutes.
Vah Medoh sets his sights on Hyrule Castle
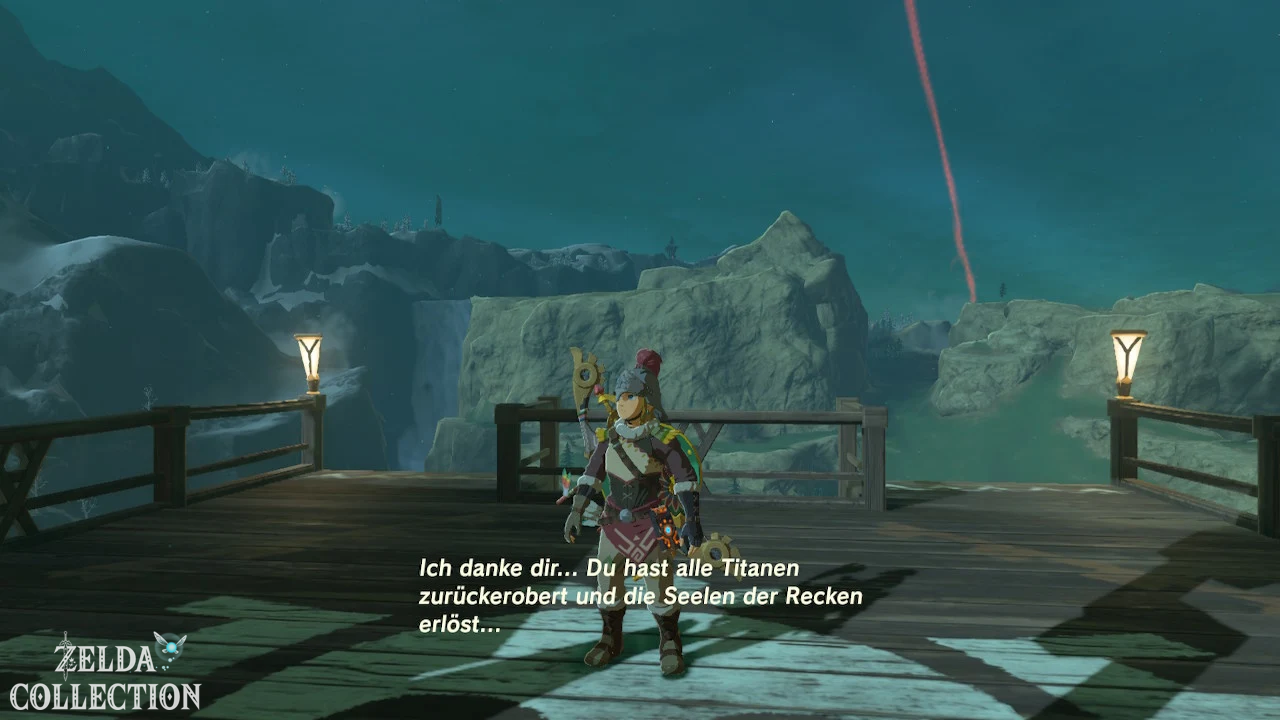
After Revali’s farewell, the Titan sets off again. Vah Medoh lands on the high rock tower above the Rito village and directs his massive energy beam towards Hyrule Castle.
Like Vah Ruta, Medoh will also play an important role in the final battle against the Calamity Ganon. Each freed Titan later drains part of the final boss’s health. With two Titans freed, we have already secured half of that support.
Complete main objective “Divine Beast Vah Medoh” at Kaneli
Link will be taken back to the Rito village after the sequence. Go to Kaneli on the top level and report the victory. The chief is relieved that Vah Medoh is no longer a threat and Teba has returned safely to the village.
This officially completes the main objective “Divine Beast Vah Medoh”. In the main target “Free the Divine Beasts” only Vah Rudania is missing from the Gorons and Vah Naboris from the Gerudo.
Eagle Bow obtained from Revali
After talking to Kaneli, you can open the large Treasure Chest next to him. Inside lies the Eagle Bow, the personal weapon of the Rito warrior Revali and one of the best bows in the entire game.
The Eagle Bow has an attack power of 28 per arrow and fires the same with every shot three arrows at the same time, but only uses one arrow from the inventory. If all three projectiles hit the same large target, up to 84 points of basic damage is possible. In addition, the bow has high durability and draws faster than many other strong bows.
Be sure to photograph the Eagle Bow for the Hyrule Handbook before using it or storing it in Link’s House. The bow is great for slow-motion shots from Revali’s Gale, dragon materials, and larger enemies.
Have eagle bow repaired
Like almost all normal weapons in Breath of the Wild, the eagle bow can break at some point. However, he is not completely lost. The Rito bow maker Harth can make a new eagle bow at any time.
For this you need a swallow arch, a diamond and five wooden bundles. A swallow arch is regularly located in the Rito village or at the airport and can appear there again. We should therefore continue to not sell diamonds indiscriminately.
As long as the existing eagle bow is still in the inventory or, for example, on a bow holder in Link’s house, Harth will not produce a second copy. The new production is intended to replace a lost or broken bow.
Teba and Tulin to Vah Medoh
After talking to Kaneli, visit Teba. His injury has now largely healed. He explains that the Eagle Bow is unusually heavy for an ordinary Rito and that Revali was only able to use it so effectively in aerial combat because of its extraordinary power.
Teba is convinced that Link can use the weapon better than himself. He later returns to the airfield with his son Tulin to train with him. This ends the immediate story arc surrounding Teba’s attack on Vah Medoh.
Side Quest “Find Kheel!”
[Optional – recommended] After Vah Medoh is freed, Amali stands near the Akh Va’quot Shrine and is very worried about her youngest daughter Kheel. The girl has disappeared. Amali suspects that despite the distance, Kheel flew alone to the Brothers Rocks west of Lake Oronini.
This starts the Side Quest “Find Kheel!”. Thanks to Revali’s Gale, the path is now very short. Leave the village to the west, create an updraft at a suitable ledge and glide across the lake towards the striking rock formation.
Kheel is actually standing by the brothers’ rocks, completely unharmed, waiting angrily for her four sisters. Talk to her. So you know that she is doing well, and at the same time the much more important shrine task “The Brothers Rocks” begins.
First return briefly to Amali and report that Kheel is safe. As a thank you, you will receive a purple Rupee worth 50 Rupees. Then we go back to Kheel and we look after her sisters.
Shrine task “The Brothers Rocks”
[Optional – required for all shrines] Kheel explains that she wanted to practice an old Rito song with her four sisters. However, none of them came to the agreed meeting point. Link should find Notts, Kotts, Genli and Gurli in the village and send them to the test.
Teleports you to Akh Va’quot Shrine. The four girls are all in or close to the village, so the search only takes a few minutes.
Gurli – get goat butter
First look for Gurli in the general store “The Slippery Falcon”. She completely forgot that she was expected at the singing rehearsal. At the same time, she explains that the sisters wanted to get ingredients for Genli’s favorite meal.
Gurli gives Link a portion of goat butter and then flies straight to the brothers’ rocks.
Kotts – maxi salmon at the village pond
Go all the way down the spiral village path and cross the bridges towards the mainland. Kotts stands at one of the small ponds at the entrance to the village and tries to catch fish.
She has already caught a Maxi Salmon and is giving it to Link. She then heads off to the singing rehearsal.
Notts – Tabanta Wheat
The last ingredient has Notts. She practices her song on a high ledge above or to the side of the village. Musical notes above their location make them visible from a distance.
Now Revali’s Gale immediately shows its benefits: Instead of climbing around the rock needle for a long time, you hold down X, let yourself be catapulted upwards and glide directly to Notts’s ledge. Speak to her. She gives you Tabanta Wheat and also flies to the Brothers Rocks.
Genli and the maxi crispy salmon
Genli sits by the cooking pot in the village and continues to refuse to go to the rehearsal unless she gets some crispy salmon. Now that we have all the ingredients, your wish can be fulfilled immediately.
Put together in the cooking pot:
- 1x maxi salmon
- 1x Tabanta wheat
- 1x goat butter
This creates a maxi crispy salmon. Give the dish to Genli. After eating, she keeps her promise and flies to her sisters.
Optional: Korok at the Brothers Rocks – stone circle
[Optional – required for 100%] Return to the Brothers Rocks. Right next to the rock formation there are three trees next to an almost complete circle of small stones. A stone is missing.
Look for the single matching rock a few meters northeast and place it in the gap. Once the circle is complete, a Korok will appear and give you a Korok Seed.
Optional: Korok south of the Brothers Rocks
[Optional – required for 100%] South of the Brothers Rocks grows a single yellow Korok flower. Touch her. The flower disappears and reappears a few meters away.
Follow the sequence of flowers over the slope and touch all the flowers that appear one after the other. At the end another Korok appears. Since both Korok puzzles are directly related to the shrine task, we save ourselves an additional visit to the Brothers Rock area later.
Song of the Five Rito Sisters Solve
Speak to Kheel now. As a thank you for all the sisters arriving, she gives Link a Korok Fan. If you don’t have a free weapon slot, you should throw away a weak ordinary weapon – the fan is needed immediately for the puzzle.
The five sisters stand next to each other and sing their song. Pay attention to the order of the votes. There are five large rocks with openings around the orange platform. Between one and five small stone pillars protrude from the top of each rock.
Stand on the ancient platform with the Korok Fan and create wind through the openings in the rocks in this order:
4 → 5 → 3 → 1 → 2
Every rock blown correctly produces a sound. After all five tones are played in the correct order, the platform responds and the Voo Lota Shrine rises from the ground. This completes the shrine task “The Brothers Rocks”.
Voo Lota Shrine – Ways of the Wind
Enter the Voo Lota Shrine and climb the ladder. At the end of the short corridor there is a Crystal Switch. Hit him. The floor opens beneath Link and you fall into a large room full of lava.
Opens the Paraglider immediately. A side stream of air grabs Link and carries him to a safe platform. From here follow the various wind tunnels. The real difficulty is the spiked walls: In several passages you have to briefly close the Paraglider with B, fall down a bit and open it straight away again in order to slide under the spikes.
On one of the rear platforms there is a Treasure Chest with a Small Key. Be sure to get him – without him the door to the priest cannot be opened.
Optional: Fire Sword in Voo Lota Shrine
[Optional – highly recommended] Before sliding back to the locked gate, look for a side ramp on the next platform. From the end you can slide to a small separate platform with a second Treasure Chest.
Inside is a fire sword. The elemental weapon is extremely useful in the Hebra Mountains: it can instantly defeat ice enemies, thaw frozen objects, and even provides Link with warmth while it is drawn. Photograph her for the Hyrule Handbook and take her with you.
Then use the additional air currents to return to the central area. Open the gate to the priest with the Small Key and take the Spirit Orb.
Voo Lota Shrine belongs to the Tabanta Tower region. You can also find all six shrines in this map section on ZeldaCollection under Tabanta Tower Shrines.
Shrine task “The Riddle of the Rito Song”
[Optional – required for all shrines] Return to the Rito Village and find Bedoli in Revali Square. Since Vah Medoh was appeased, she has been singing an old song there about the black Rito Tower and the midday sun. However, Bedoli only remembers the first part of the text and refers Link to her sister Laissa.
Find Laissa in the village. If you tell her the beginning of the song, she will perform the second half. The full clue describes a platform south of the village on which the shadow of the large rock pillar falls at midday. A heart-shaped ray of light is said to be awakened there with fire.
Find Heart Shadow south of the village
Go to Revali Square and look across Lake Oronini to south. On the opposite side you can see an orange ancient platform at the foot of the Kalfen mountain. Thanks to Revali’s Gale, you can start directly from the village and glide almost there.
The solution only works at lunchtime. It’s best to put a bundle of wood on the platform, light a campfire and wait until Midday. Then you observe the shadow of the high rock pillar of the Rito village.
About against 12:40 to 12:50 p.m the shadow falls exactly over the platform. A clearly visible thing appears through an opening in the rock Heart of sunlight. The platform begins to glow orange. Now you have to light a fire on her.
The easiest way is to shoot a fire arrow at the previously placed wood or hold a firearm to the fuel. As soon as the fire burns at the right moment, the platform reacts and the Bareeda Naag Shrine rises in the immediate vicinity. This concludes “The Riddle of the Rito Song”.
Bareeda Naag Shrine – Cannons
Enter the shrine and turn directly to the right. There is a wall of brittle rock there. Blow it up with a remote bomb and open the Treasure Chest behind it. Inside is a falcon bow. The fast Rito bow is ideal for aerial combat and is a good substitute if you want to spare the eagle bow for particularly important opponents.
Then climb the ladder at the big cannon. Throw a round remote bomb into the opening. When you ignite it, the explosion shoots an ancient ball out of the cannon like a projectile. The first shot destroys the wooden box in front of the target and activates several moving obstacles.
Throw in a new round bomb. Watch the moving walls and detonate the bomb exactly when the trajectory to the target is clear. If the ball hits the switch on the opposite wall, the gate to the priest opens.
Optional: Diamond in Bareeda Naag Shrine
[Optional – be sure to take it with you] Don’t go to the priest yet. Behind his altar the path leads to a second cannon. The principle remains the same, but this time the actual target also moves.
Place a round bomb in the cannon and observe the rhythm of obstacles and target. Ignites slightly before the free trajectory opens completely because the bullet requires a short flight time. After a successful hit, another area opens with a Treasure Chest.
Inside lies a diamond. The rare material is used, among other things, to remake the eagle bow and other warrior weapons. So take it with you and don’t sell it hastily.
Then return to the priest and get the Spirit Orb.
Use Revali’s Gale for further exploration
With Vah Medoh freed, the exploration of Breath of the Wild changes noticeably. Many tall towers, rock pillars and Korok puzzles that previously would have required long climbs can now be reached with a single use of Revalis Sturm. Especially in the Hebra Mountains, the ability saves enormous amounts of time and stamina.
The three charges should still not be completely wasted on small differences in height. Revali’s Sturm is most valuable on near-vertical rock faces, on long gliding routes, and in places where rain prevents normal climbing. Once all charges have been used up, simply wait for six minutes of regeneration or continue exploring as normal.
Continue to the Hebra Mountains
With Revali’s Gale, the eagle bow and at least two parts of the Rito set, Link is excellently prepared for the far north. In the next chapter we explore Tabantha and the Hebra Mountains in detail. Numerous hidden shrines, krog seeds, shrine tasks, ice hinoxes, rock taluses and the huge north labyrinth await you there.
The next big advance leads into the forest of the Koroks. There we meet Hestu again, complete the three Korok tests and finally get closer to the Master Sword. Before that happens, however, we will make extensive use of Revali’s Gale to explore the northwest Hyrule’s as completely as possible.