

Our next major target in The Legend of Zelda: Breath of the Wild is “Impa the Wise”. King Rhoam sent Link to Kakariko Village to have the Sheikah leader explain what happened to Hyrule one hundred years ago and how Princess Zelda can be saved. However, the path from the Dueling Peaks stable to Kakariko Village is also one of the most important early sections for a complete game state: We meet Hestu for the first time and thus unlock the inventory expansions for weapons, bows and shields, collect more Koroks, reach Kakariko Village, solve the Ta’loh Naeg Shrine, buy useful early armor parts and awaken the first Great Fairy with Cotura.
In the village itself we also integrate several secondary objectives directly into our path. These include “The Only True Rattles”, “Escaped Chickens”, “The Burning Arrow”, “A Playmate for Priko” and the four tasks from “Coconut Kitchen”. However, content that is only possible after restoring the Camera Rune in Hateno Village is deliberately not yet enforced. In this way we avoid unnecessary backtracking and later complete Kakariko Village with the shrine task “The Stolen Jewel”.
On the way to Kakariko Village – Blood Moon and Kakariko Bridge
Leave the Dueling Peaks Stable on the road to North. If you have registered your horse from the last chapter, you can ride a large part of the route comfortably. Stay on the road if possible: horses follow paved paths automatically as long as you don’t constantly steer them in the opposite direction. On the way you will meet various travelers and possibly Hino, who will tell you something about the phenomenon of the blood moon. When the sky turns red at night and the music sounds increasingly threatening, a blood moon begins at midnight. Normal enemies that have already been defeated and many weapons in the overworld will then appear again. This is important for our Walkthrough because rare enemies and materials are not permanently lost.
Follow the road to Kakariko Bridge. The actual climb to the village begins behind it. Before we reach Kakariko Village, however, there is a Side Quest waiting that is more important for the rest of the game than many main quests.
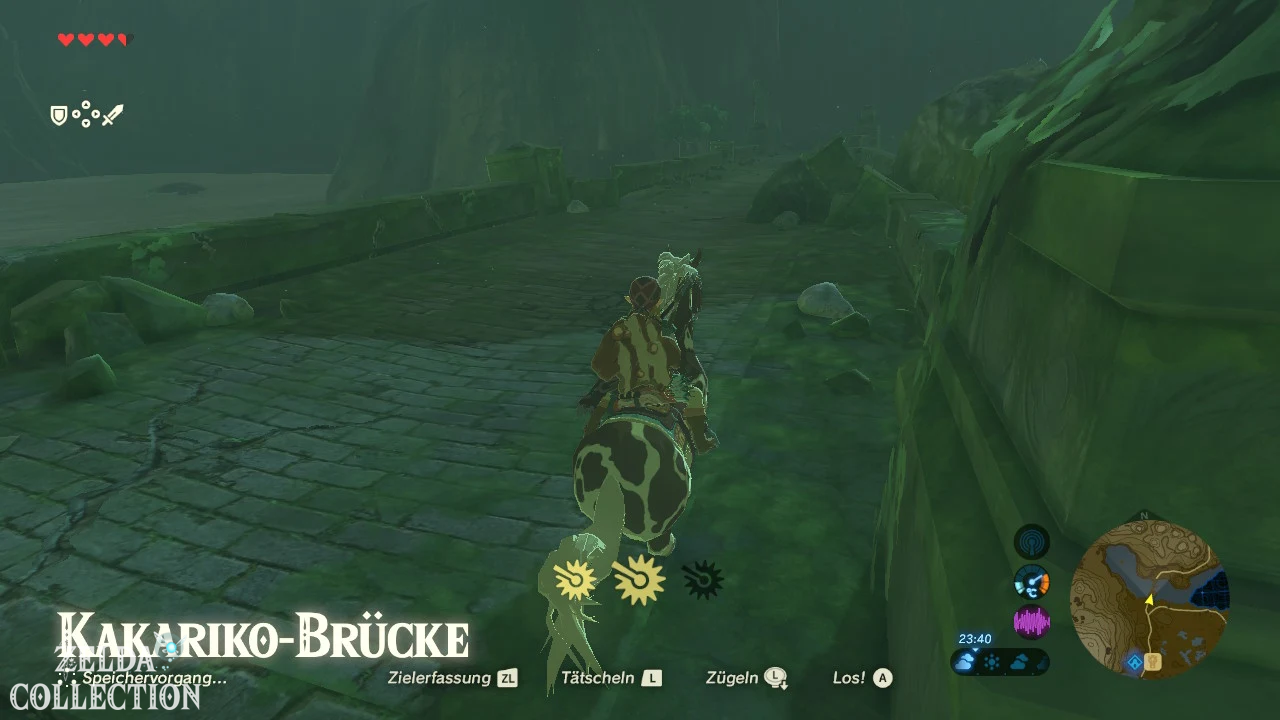
Optional: Korok at Kakariko Bridge
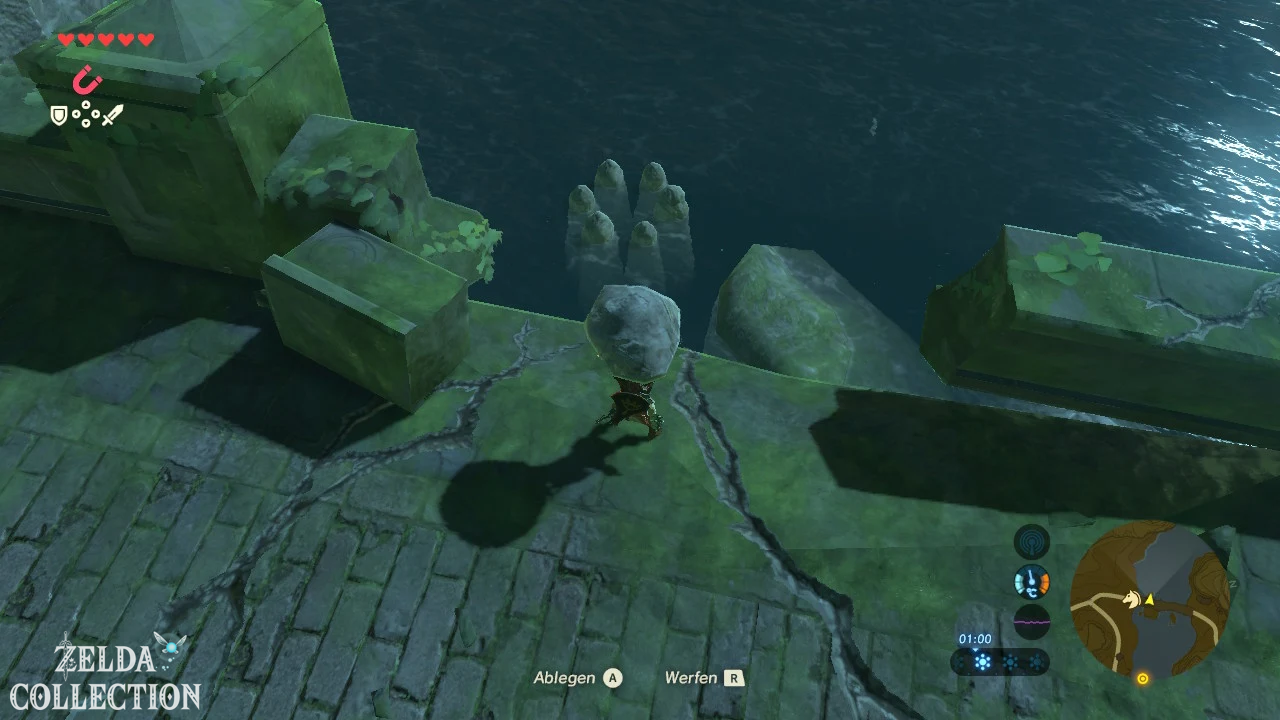
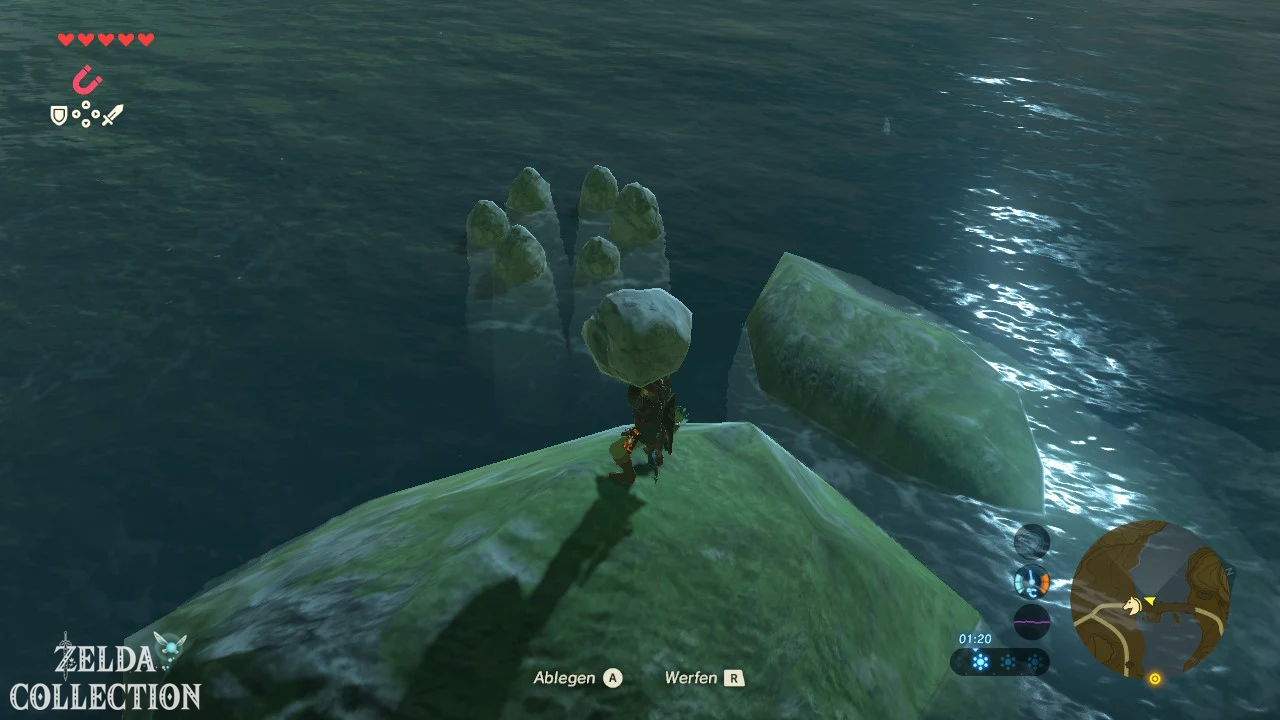
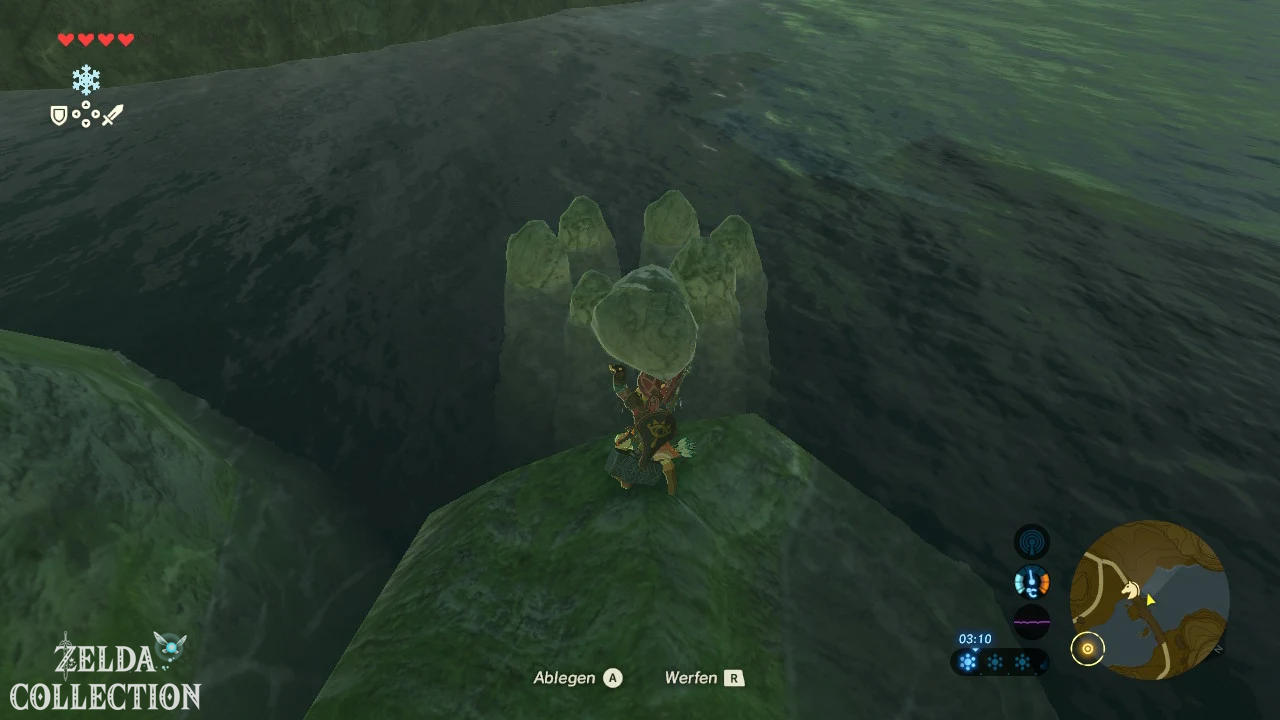
[Optional – required for 100%] There is a small stone on or right next to the Kakariko Bridge. In the water below you can see a circle of rocks. The task is to throw the stone exactly in the middle of the circle. From a height, this is more difficult than it initially sounds. Therefore, use the cryomodule to create an ice block directly in front of the stone circle. Throw the stone so that it lands on the ice or just in front of it and jumps into the center of the circle. If the throw is successful, another Korok appears.
We take this seed with us straight away because we can use every available Korok seed at Hestu. For all inventory slots you need a total of 441 of the 900 seeds; However, for the normal course of the game, just a few early finds are enough to make Link’s chronically small weapon bag much more pleasant.
Find Side Quest “The only true rattles” – Hestu
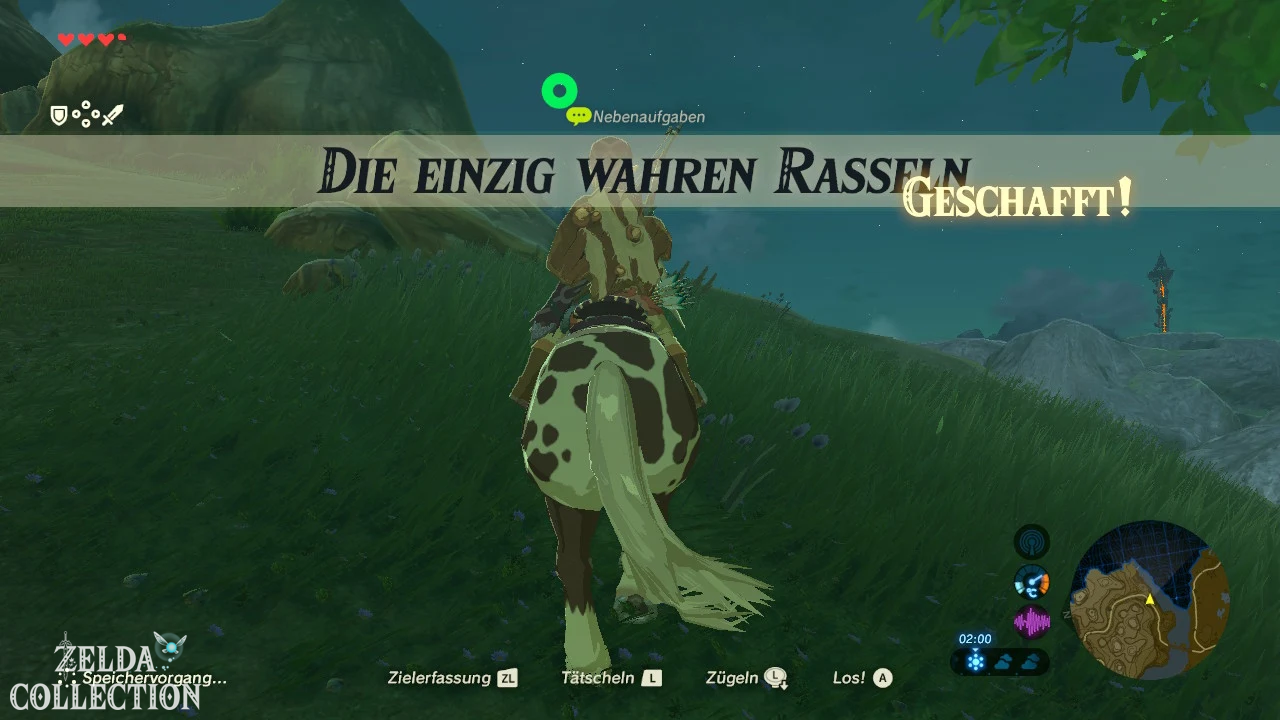
Follow the road further uphill after the bridge. Finally, at the side of the road there is an unusually large Korok: Hestu. Speak to him and you start the Side Quest “The only true rattles”. A group Bokoblins stole his beloved rattles and hid them in a small monster camp just a few meters away.
Go up the slope to the marked camp. Several Bokoblins guard a Treasure Chest. Use terrain and bombs if you want to save ammo and weapons. A round bomb can be rolled from the raised edge directly into storage; Alternatively, the soldier’s two-handed sword made from Bosh Kala is ideal for quick, heavy hits. Once all enemies have been killed, the chest opens. Inside are Hestu’ rattles.
Bring her back. Hestu notices that the Korok seeds have disappeared from his rattles – the very seeds that the little Koroks give you all over Hyrule. From now on you can exchange these for additional inventory slots at Hestu.
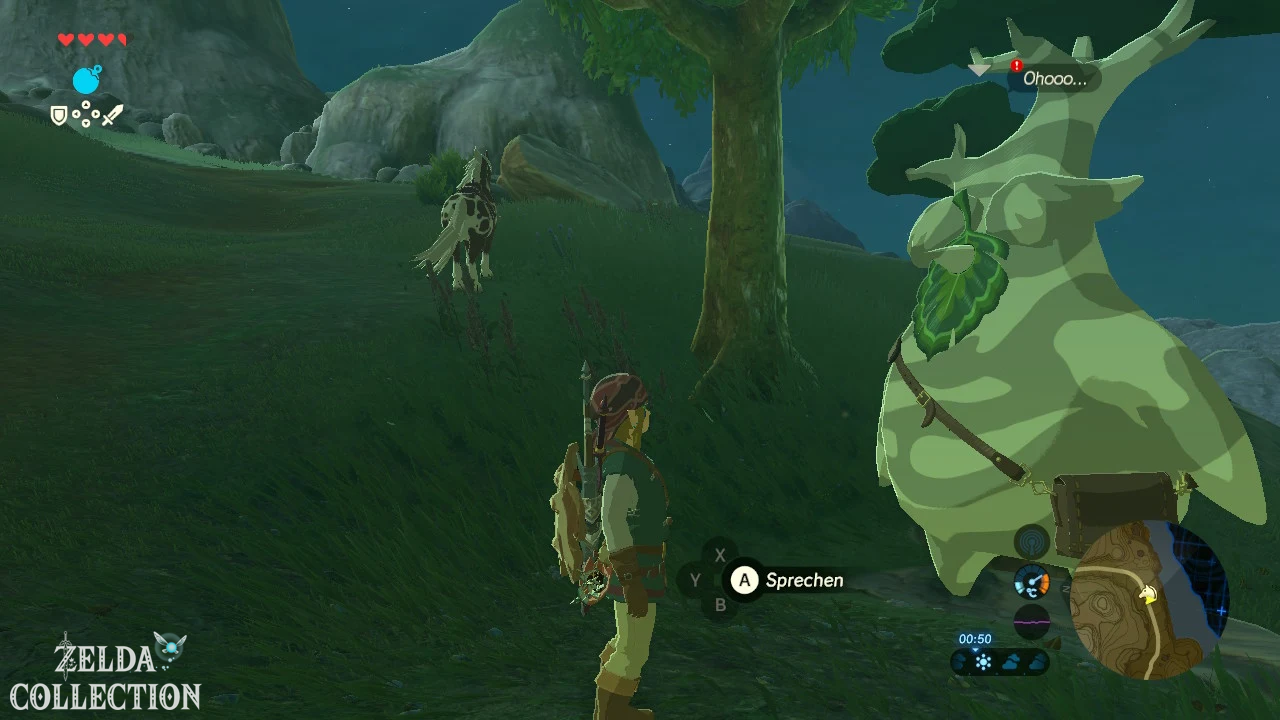
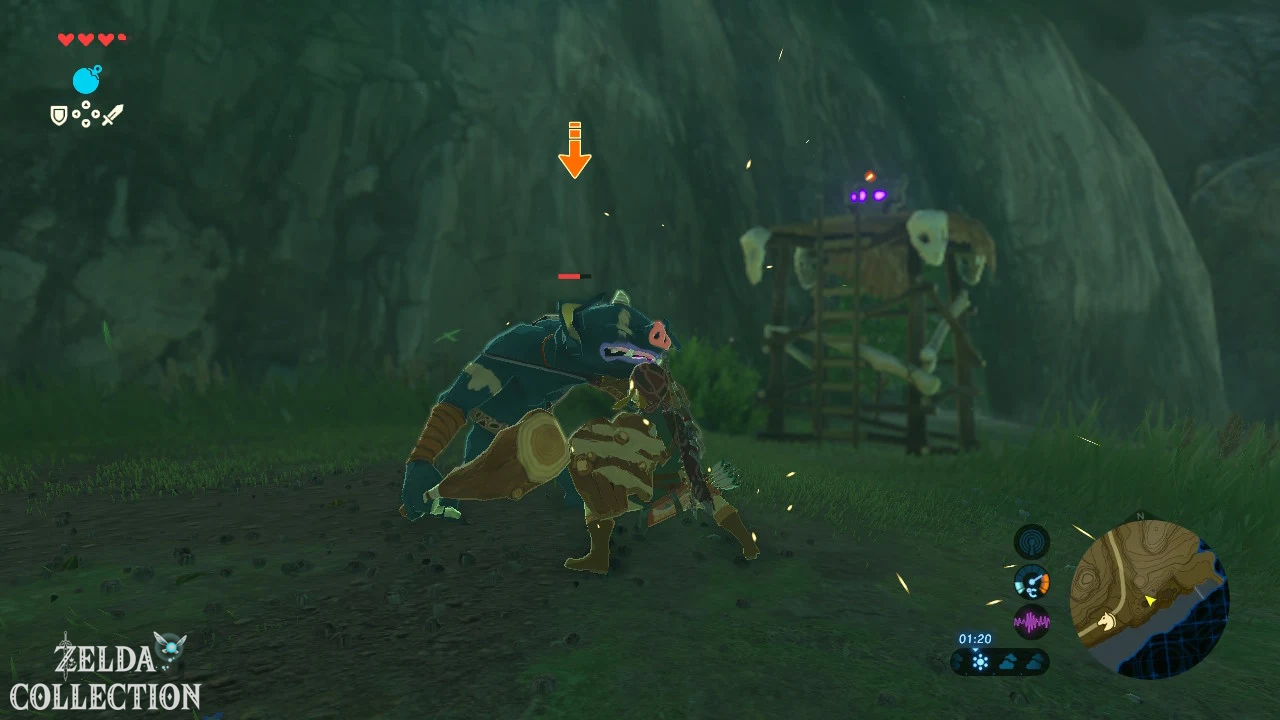
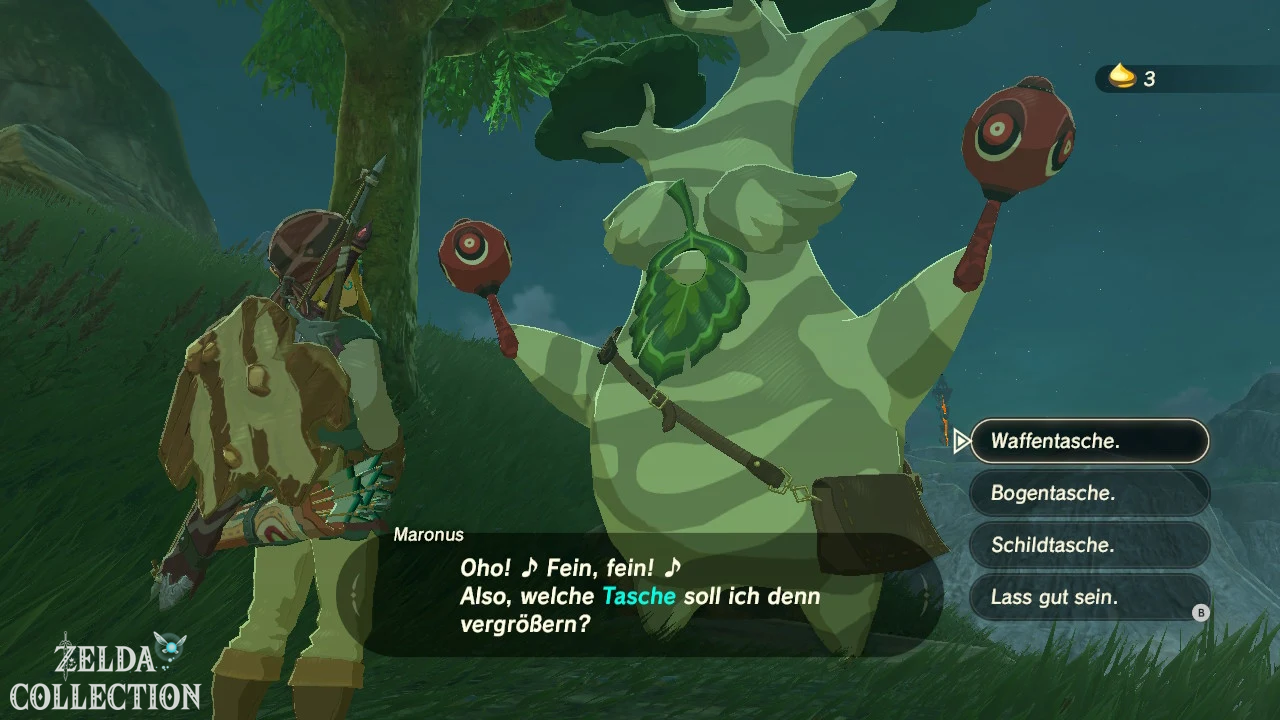
Which bag should expand Hestu first?
At its first position, Hestu only allows two inventory expansions before heading towards the Korok Forest. Each category has its own price tier: the first expansion costs one seed, the second in the same bag costs two seeds. Since we have already incorporated a number of Koroks into the route since the Great Plateau, you should have more than enough seeds.
For our solution, we recommend enlarging the weapon bag twice. Weapons often break, have very different areas of application and are initially the inventory category where lack of space is the most annoying. This means you can, for example, keep a one-handed weapon, a two-handed sword, a spear, an iron hammer and several replacement weapons at the same time. If you prefer to play in a variety of ways, you can also choose an additional bow space as a second extension. Shields are less urgent at this early stage.
After two dances, Hestu explains that he wants to move on. Later we meet him first at various stables and finally permanently in the forest of the Koroks. From this point on, our regularly collected Korok seeds actually become playfully valuable.
Optional: Korok puzzle on the way to Kakariko Village
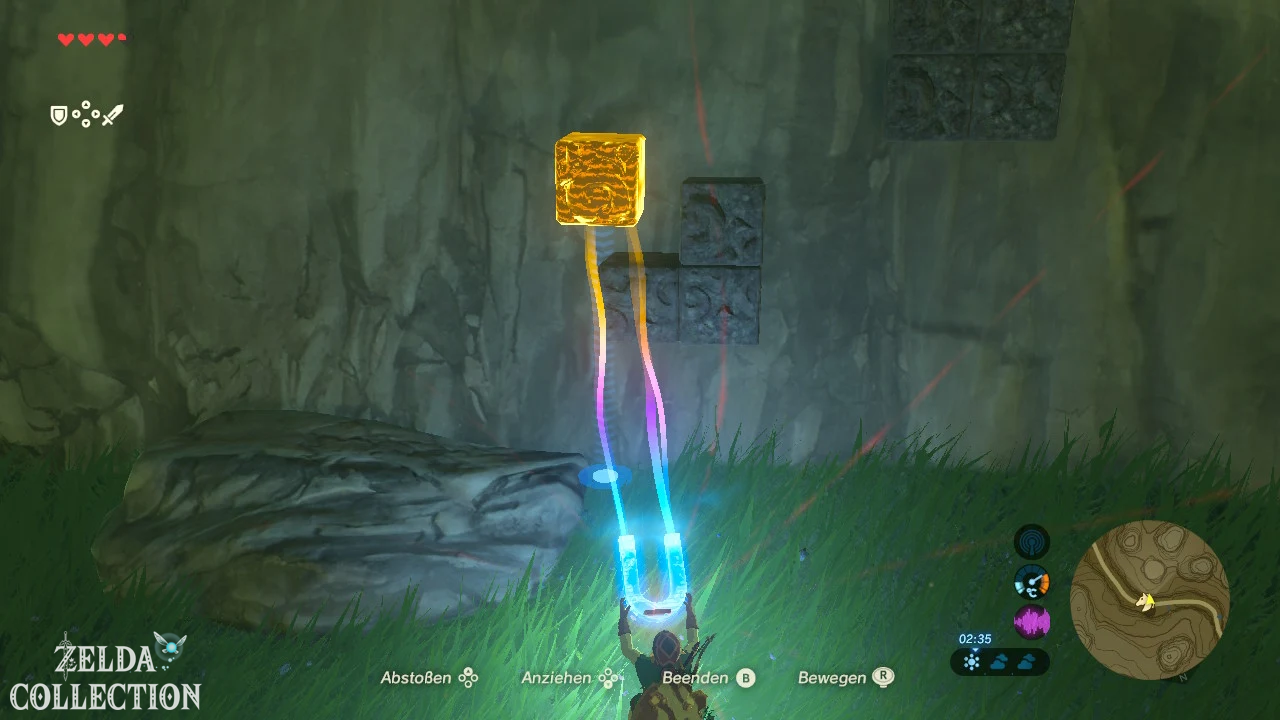
[Optional – required for 100%] Continue following the road. At the rock formations west of the path – the Pillars of Levia – you will discover an arrangement of metal blocks. A single moving cube lies nearby. Activates the magnetic module and inserts it into the formation so that it exactly matches the opposite pattern. A Korok then appears.
Shortly before the actual village entrance is the large Sheikah gate. Look at the eye at the top. There are already a few arrows in it and give you a pretty clear clue. Shoot an arrow straight into your own eye. Another Korok appears. Such small visual clues are typical of Breath of the Wild: If something in the landscape looks strikingly symmetrical, incomplete or deliberately arranged, there is often a Korok puzzle behind it.
Reach Kakariko Village
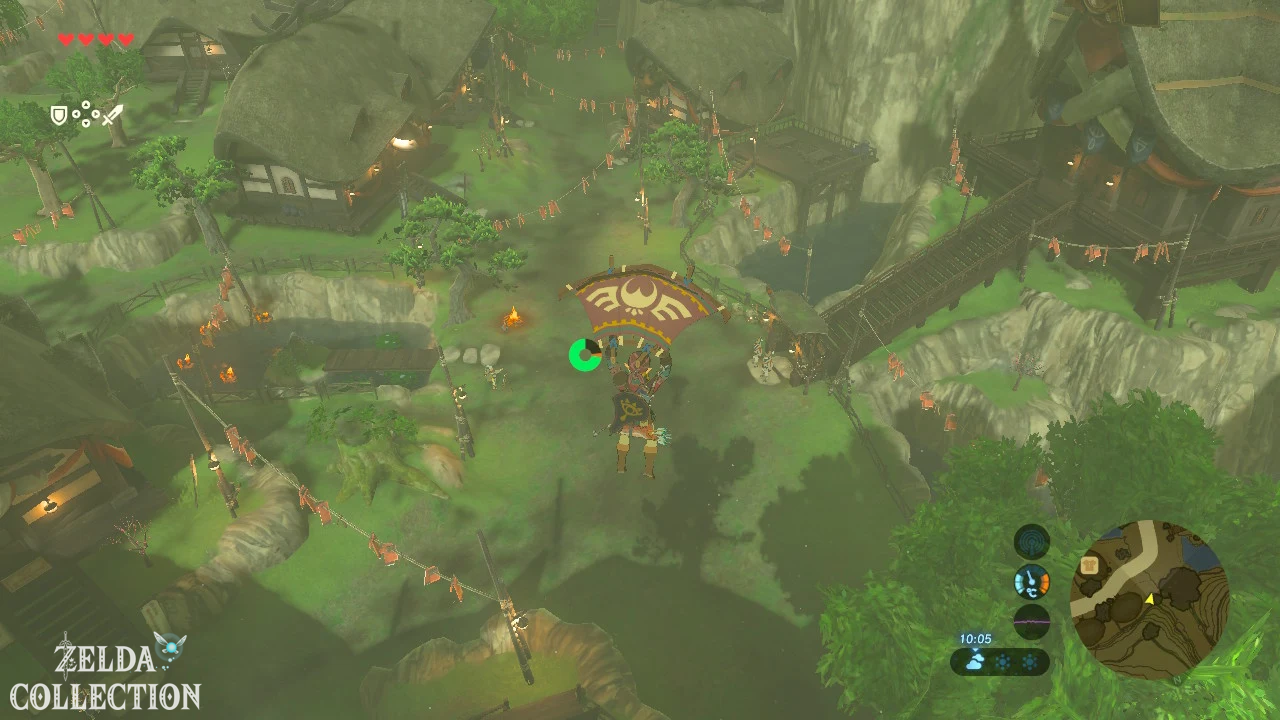
The Kakariko Village opens behind the gate. Between waterfalls, rice fields and Sheikah houses lies one of the most important settlements in the early game. You can easily leave your horse at the village entrance. This means that a registered animal is not lost and can be picked up from a stable later.
Before we examine all the shops and Side Quests, let’s first do the main goal “Impa, the Wise”. Many Side Quests Kakarikos are only unlocked after Link has spoken to Impa.
Main objective “Impa the Wise” – Find Impa’s house
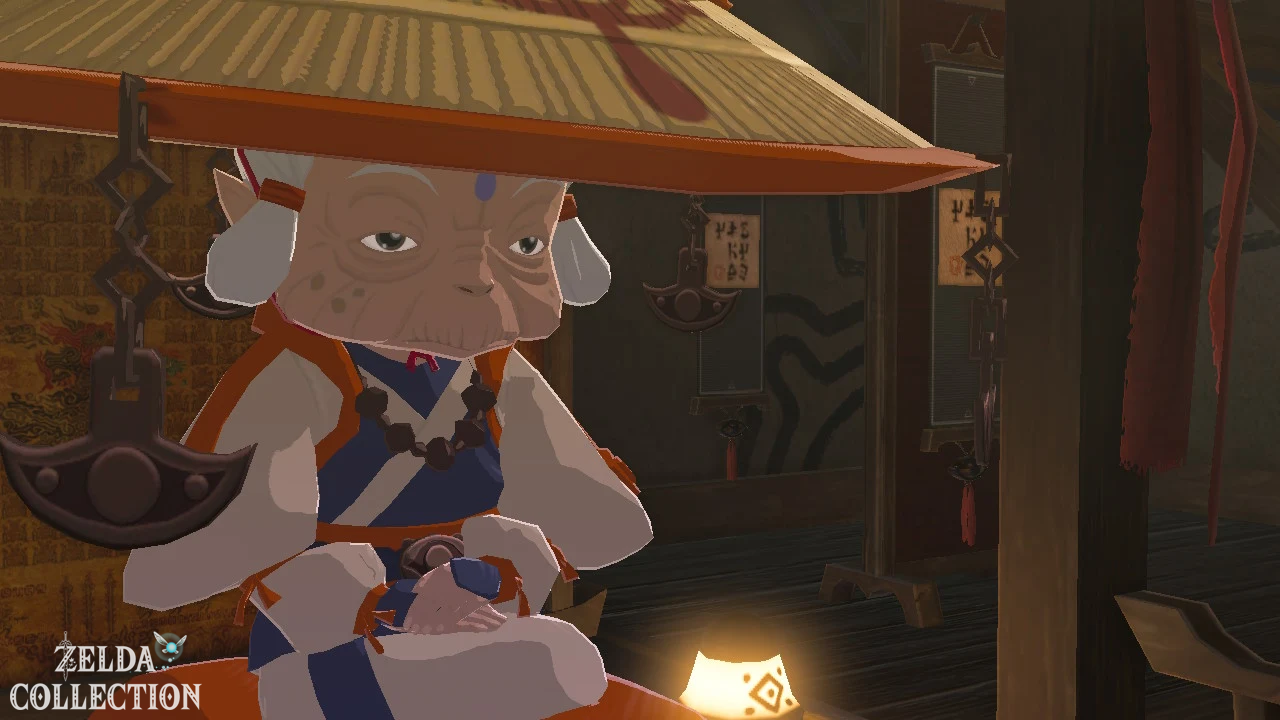
Follow the main path through the village to the large building at the northern end. Two Sheikah guards stand at the bottom of the stairs. Talk to them and then go upstairs. In the house you first meet Paya and finally the very old Impa.
Impa recognizes Link immediately, despite his hundred-year sleep. In a longer conversation she talks about the prophecy about the Calamity Ganon, the four Titans and the Champions of the various peoples. A hundred years ago, Hyrule wanted to defeat the devastation with the unearthed Sheikah machines. However, Ganon took over both the Guardians and the four Titans, leaving the Champions within to die. Zelda has kept Ganon prisoner in the castle ever since, but her power is not unlimited.
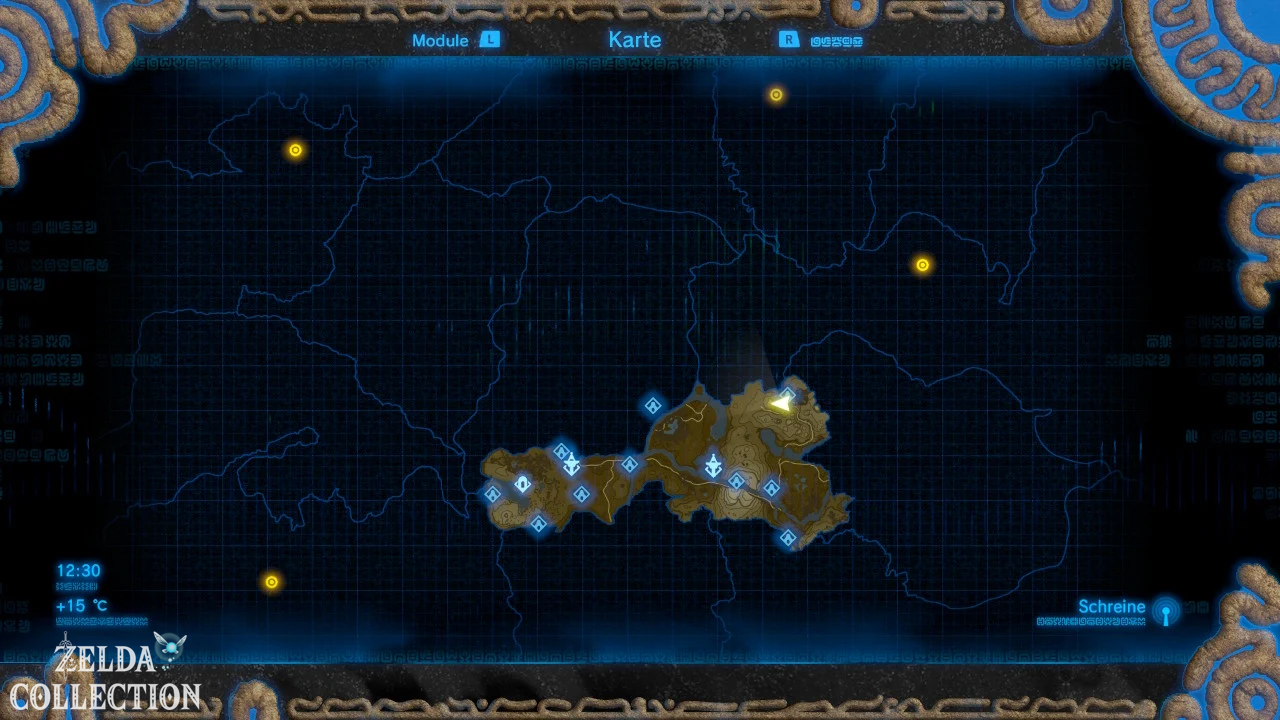
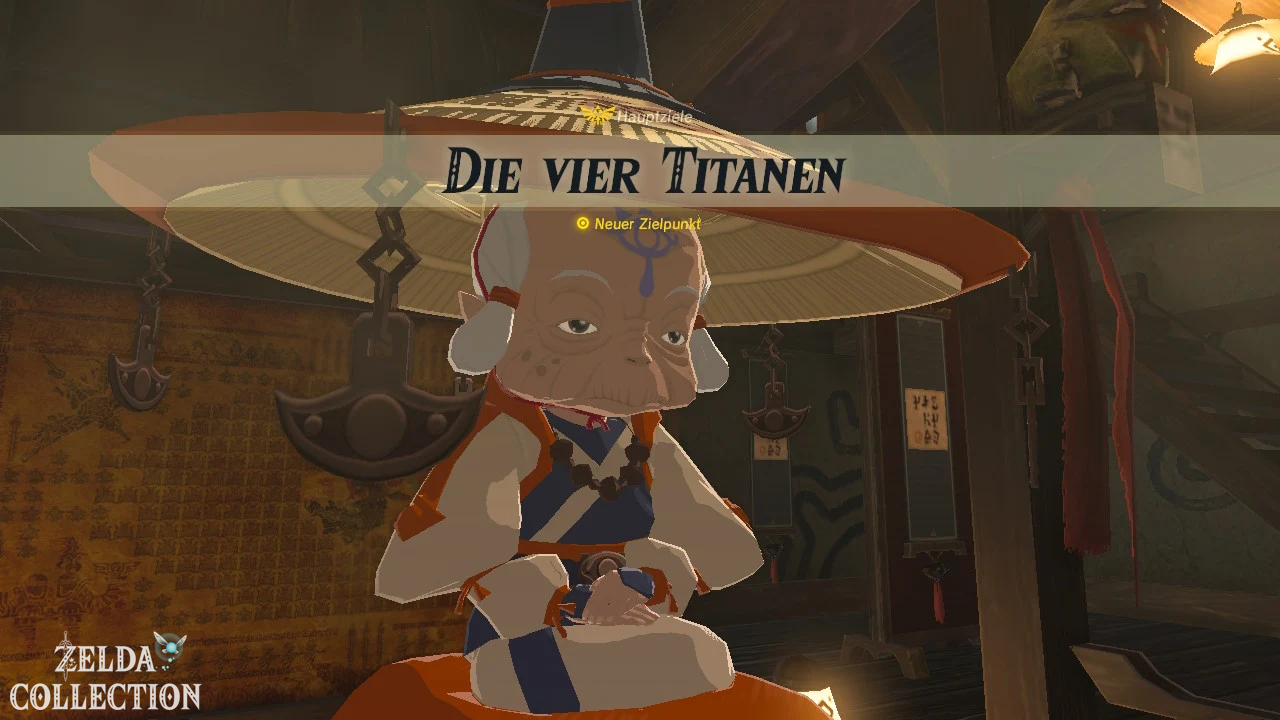
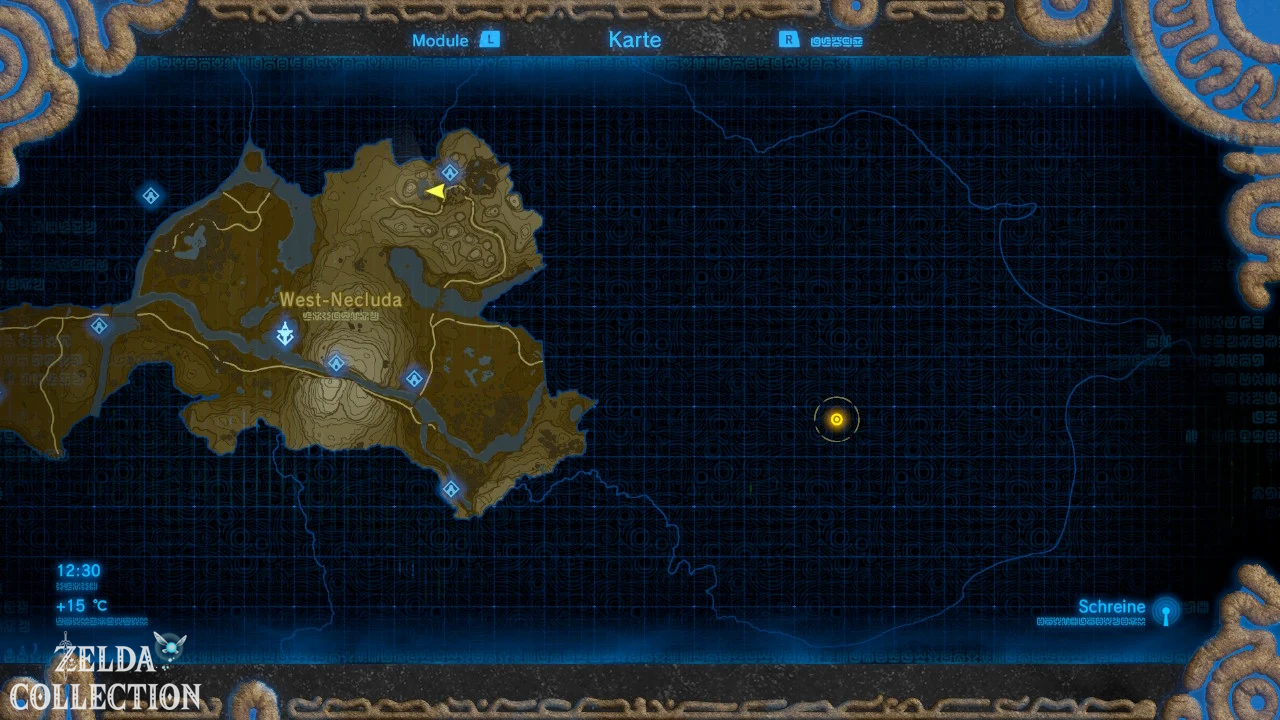
Impa therefore gives Link the new main target “Free the Divine Beasts”. The four major target regions of Zora, Gorons, Rito and Gerudo appear on the map. Our Walkthrough will tackle them in the order Vah Ruta → Vah Medoh → Vah Rudania → Vah Naboris. Mipha’s ability provides additional security early on, while Revali’s Gale provides a huge advantage for exploration Hyrule’s afterwards.
Main objective “Zelda’s Legacy” unlocks
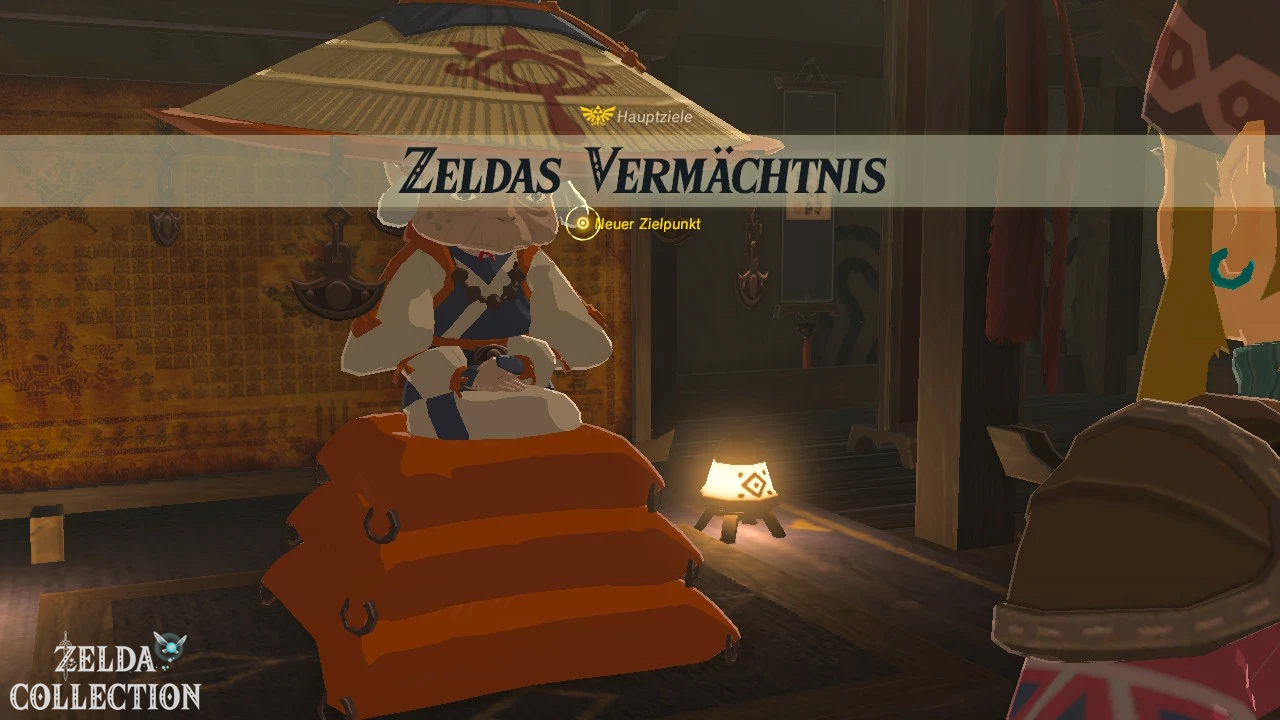
Impa also realizes that Link’s Sheikah Slate is still missing important functions. She is therefore sending you to Hateno Village to the research institute there. This begins the main objective “Zelda’s Legacy”. There we meet Purah, restore the Camera Rune and get access to Zelda’s old photo album. Only then can another large part of the memory search begin.
This conversation completes the main goal “Impa, the Wise”. Our next story destination would be Hateno Village – but we’re not leaving Kakariko Village yet. There are too many permanent improvements and meaningful secondary goals practically right next to each other.
Optional: Korok for the sacrificial statues
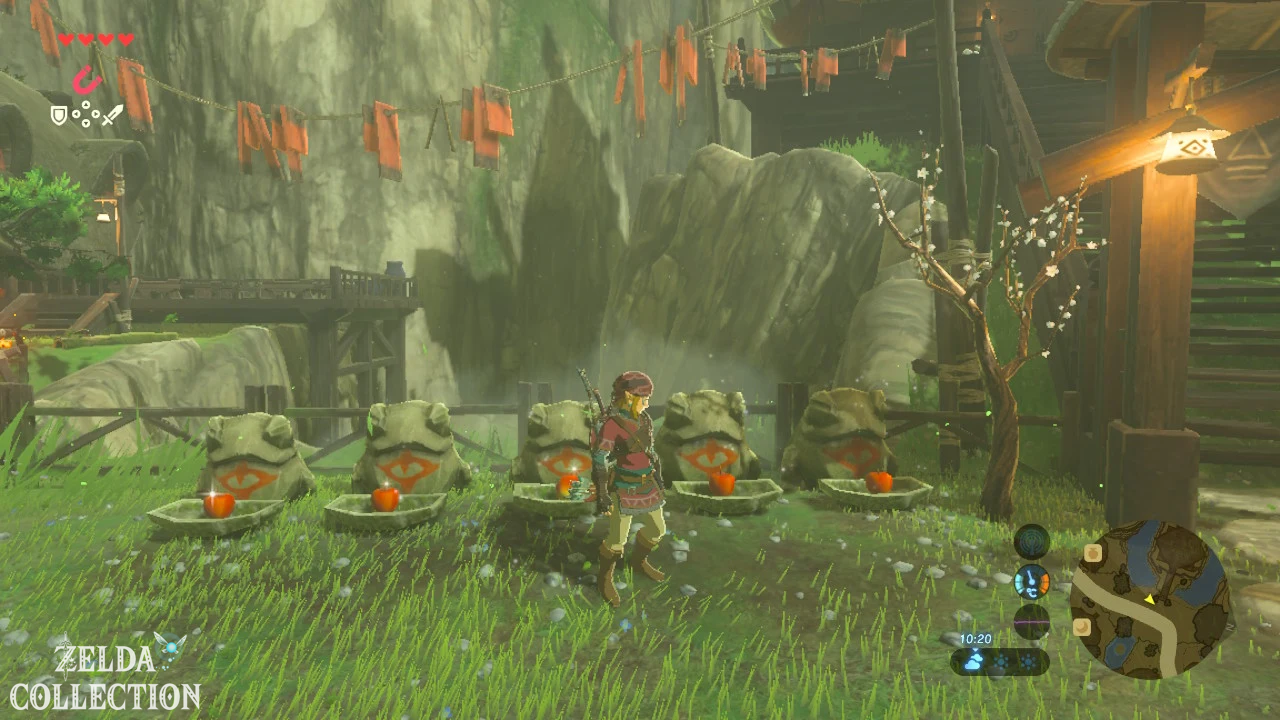
[Optional – required for 100%] To the west or below the stairs to Impa’s house there are several small stone figures with sacrificial bowls. Almost every bowl contains an apple, only one is empty. Place a apple from your inventory into the free bowl. Once the pattern is complete, a Korok will appear.
Don’t take the apple back afterwards. If you remove a victim from such puzzles, the solved situation will not be reversed, but there is no reason to destroy the beautiful little scene because of a single apple anyway.
Optional: Korok in the pond at Impa’s house
[Optional – required for 100%] East of Impa’s house is a small pond. In it you can see a circle of water lilies. Climb to an elevated spot on the bank, jump off and land as precisely in the middle of the circle as possible. Another Korok appears.
In and around Kakariko Village, there are more seeds hiding on the surrounding ledges. Some require additional climbing paths that we can connect more efficiently later during our full Necluda exploration. The two village Krogs here, on the other hand, are practically directly between our next destinations.
Buying Kakariko Village armor – what’s worth it?
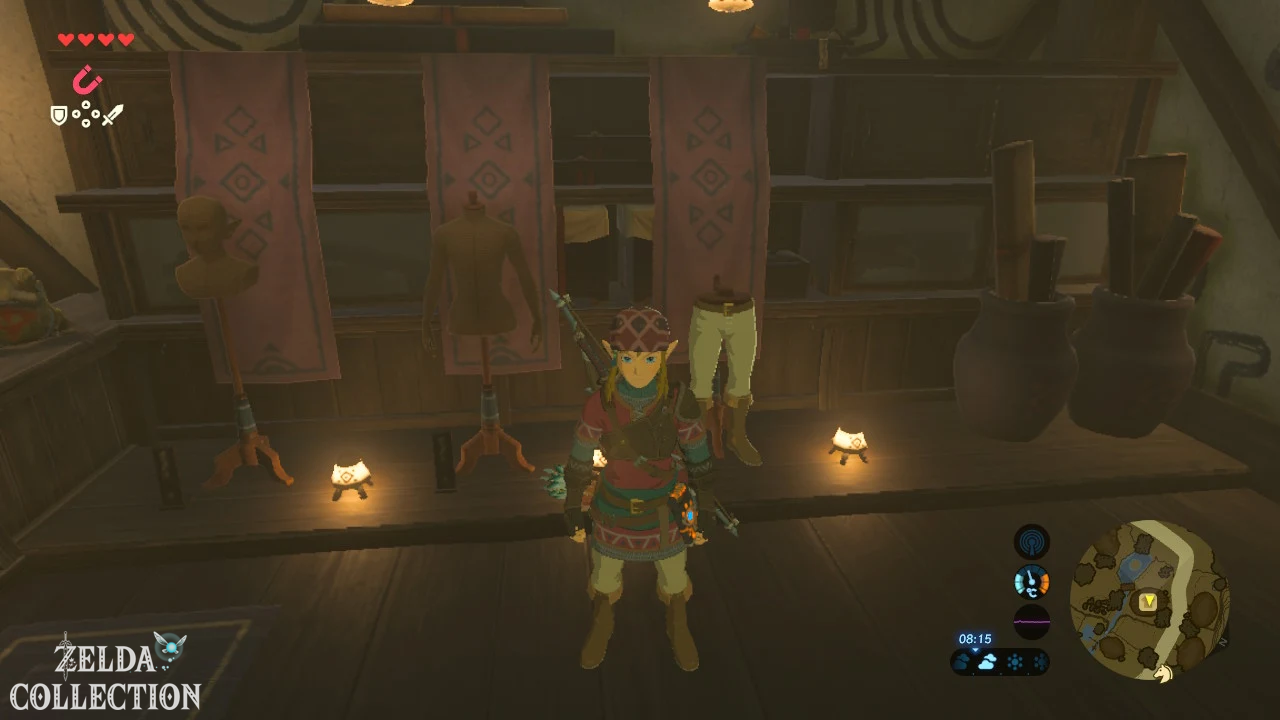
[Optional – highly recommended] Visit the boutique “Scarlet” or the village armor shop. Two complete sets are offered here. The inexpensive Hylia set consists of a Hylia hood, Hylia robe and Hylian Trousers. If you followed our route, you already have the Hylian Pants for free from the ruins near Great Plateau. Therefore, only buy Hylia Hood for 60 Rupees and Hylia Robe for 120 Rupees. Together with the pants they create a solid early defense and can be improved cheaply with the Great Fairy.
The second offer is the Ninja or Schleich set. The mask, top and pants each increase Link’s stealth ability. The complete set costs a whopping 1,800 Rupees. It’s great for catching insects and fairies, sneaking up on horses or enemies, and later with a double upgrade it’s also interesting for its set bonus. However, at this point, 1,800 Rupees is better spent on armor upgrades, arrows, and other important purchases. We will therefore only buy the complete Schleich set when our money reserves are more comfortable.
You can find a complete overview of the equipment in our special guide to the armor in Breath of the Wild.
Ta’loh Naeg Shrine – Combat Lore of Kakariko Village
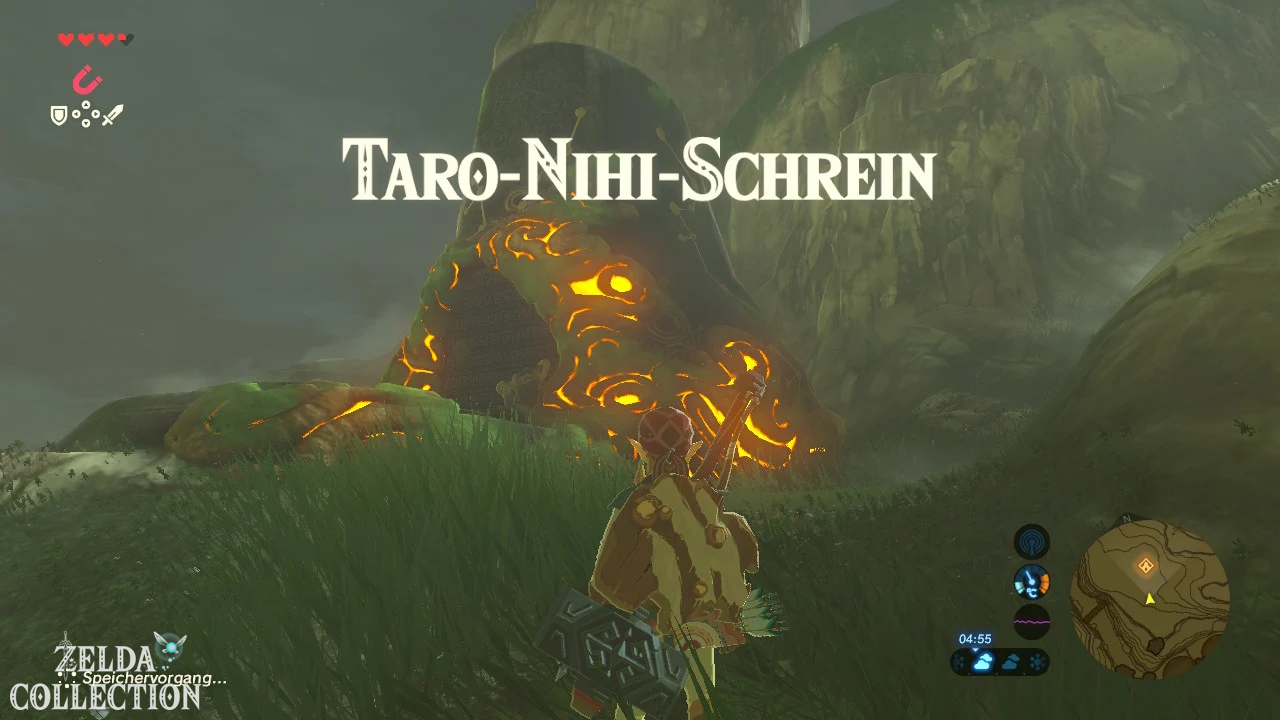
From the village, follow the steep path northeast. Above Kakariko Village lies the Ta’loh Naeg Shrine. Be sure to activate it – regardless of whether you complete the test immediately, it will now be the most convenient fast travel point for Kakariko Village and the Great Fairy.
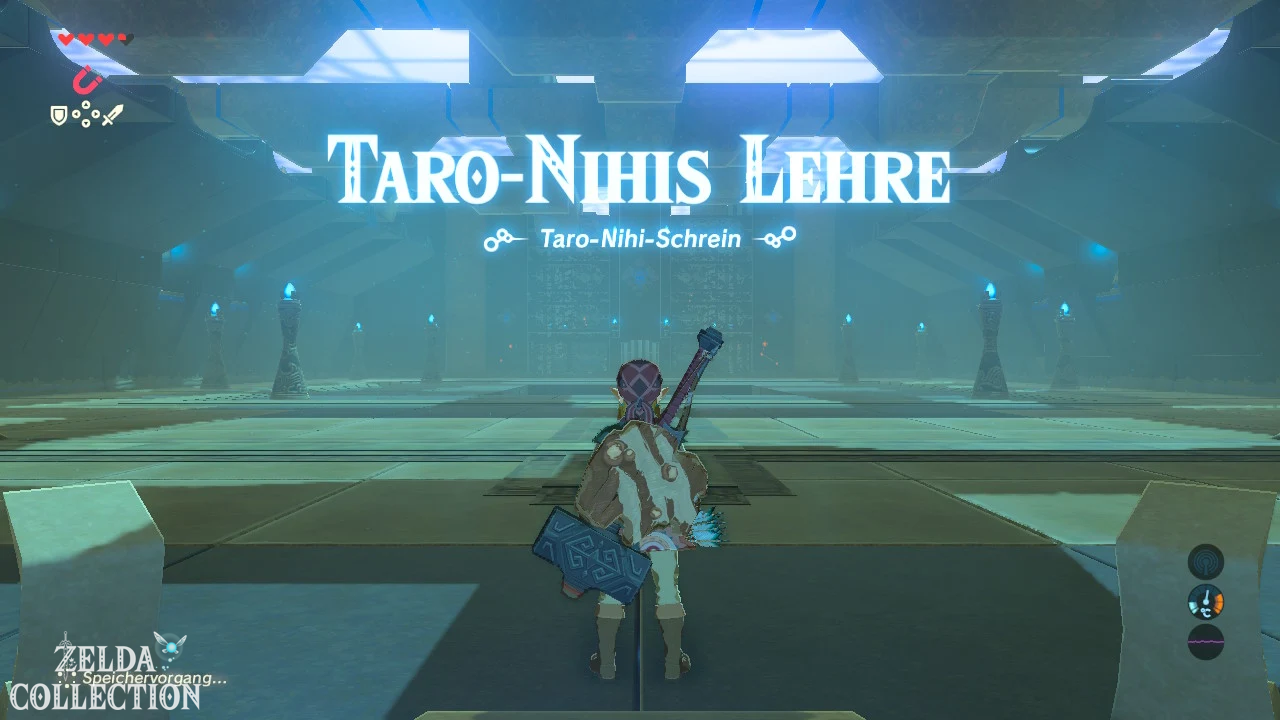
Two Treasure Chests are waiting in the shrine on the left and right. Open both. You will receive a Zanshin short sword and a Goshin shield. If necessary, equip the better equipment and go to the middle. A nano guard does not serve as a normal opponent, but as a training partner. Ta’loh Naeg’s teaching explains some of the most important combat techniques in the entire game.
First you have to move sideways at the last moment. Target the guard with ZL and jump to the side just before his horizontal attack hits. If the timing is correct, one will begin Flurry rush or slow motion phase, in which you perform a quick series of hits with Y. The game then calls for a backflip against a vertical attack. Hold ZL again, move the stick backwards and jump immediately before the hit.
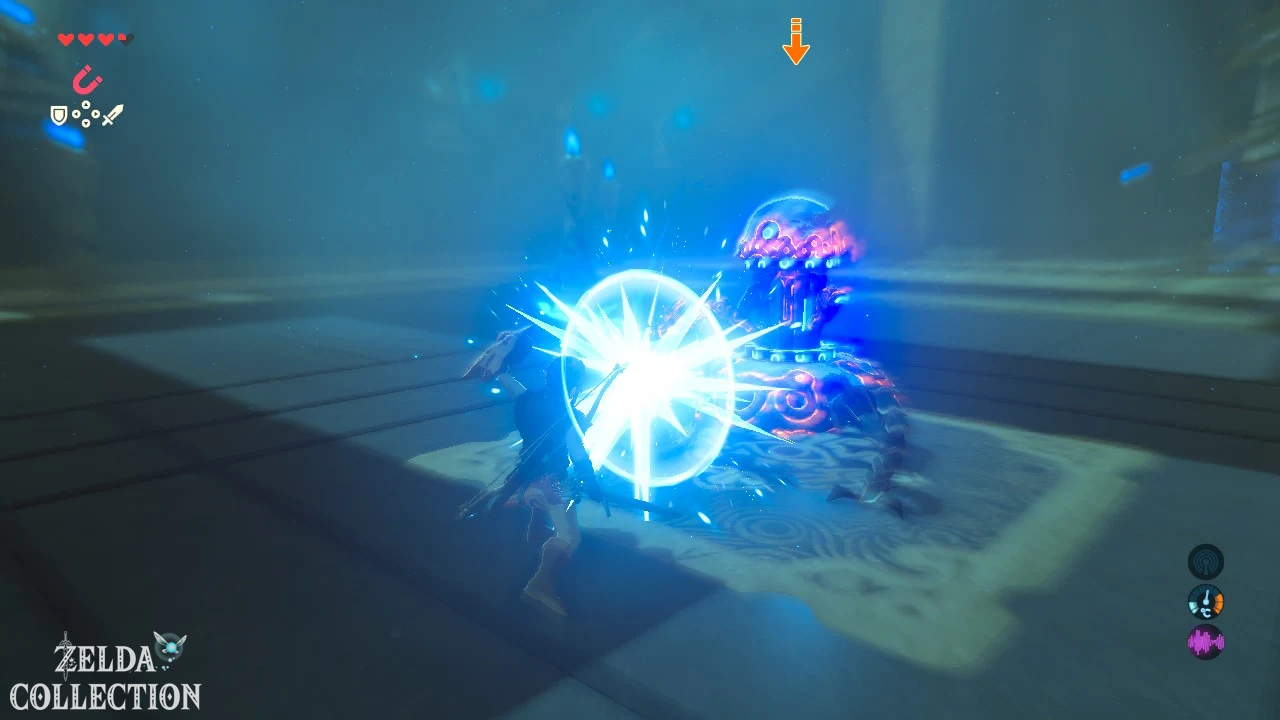
Next you practice the perfect defense. Have your shield ready and press A at the exact moment the attack hits. The hit is reflected back and the opponent is thrown off balance. This technique is later extremely powerful, especially against sentinel lasers. Finally, perform a charged attack by holding and releasing Y.
After training you can defeat the Nano Guardian and take his Guardian weapon with you. Also open the third chest in front of the altar with a Opal. Afterwards you will get another Spirit Orb.
We cover other shrines in the region via our chronological route; For a pure overview of the location you can also use our special guide to the shrines at the Dueling Peaks Tower.
Optional: Great Fairy Activate Cotura now
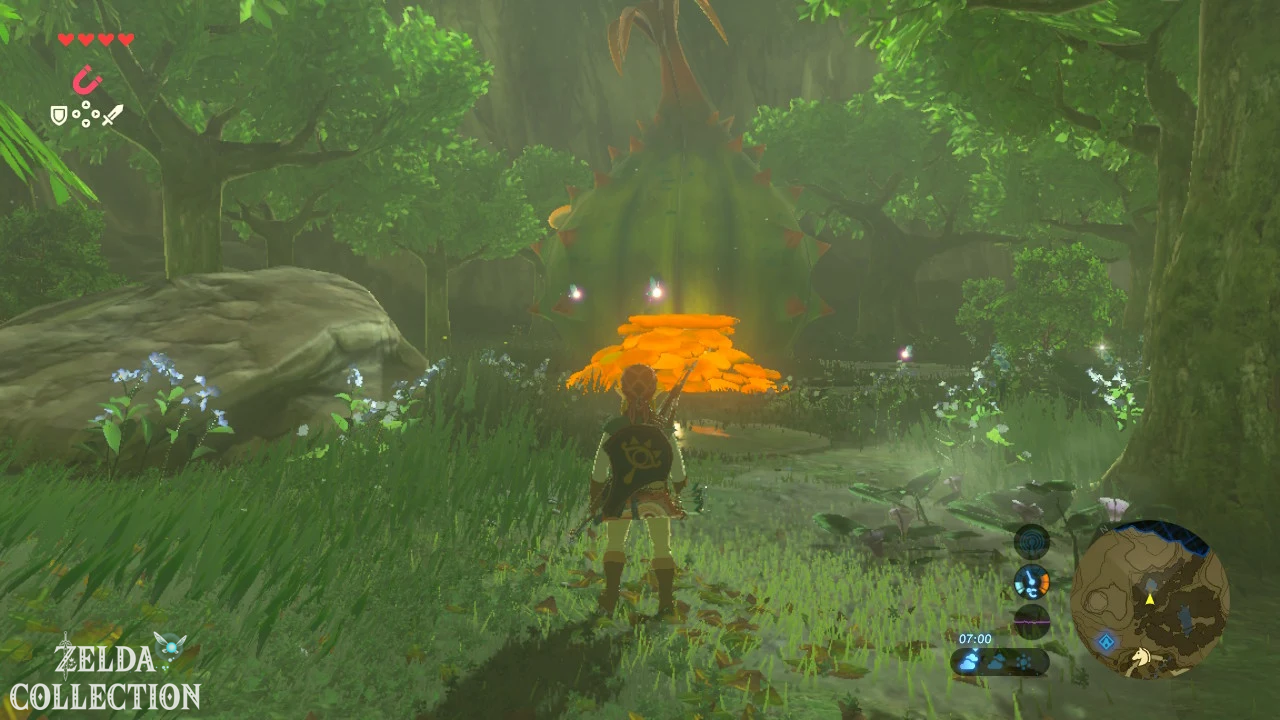
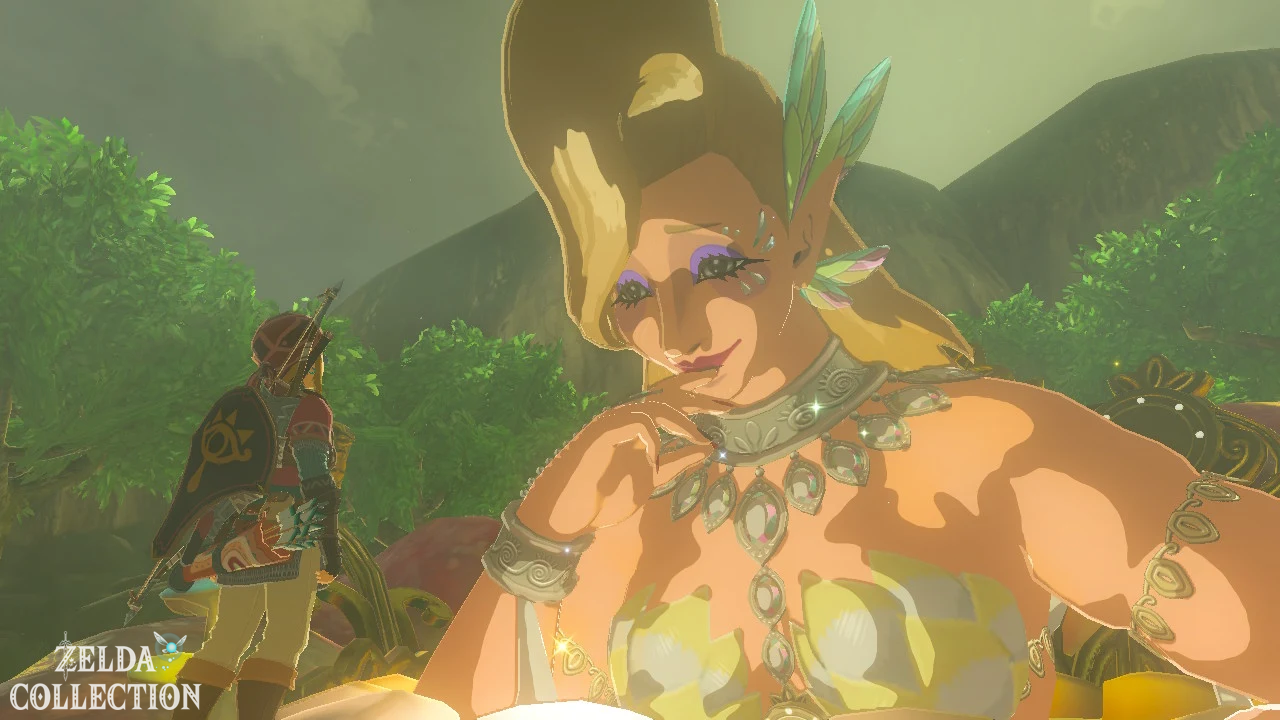
[Optional – strongly recommended] Don’t leave Ta’loh Naeg towards the village, but follow the forest path further north or northeast. Between the trees you discover a gigantic closed flower bud. Examine her. The Great Fairy Cotura asks for Rupees to restore its power.
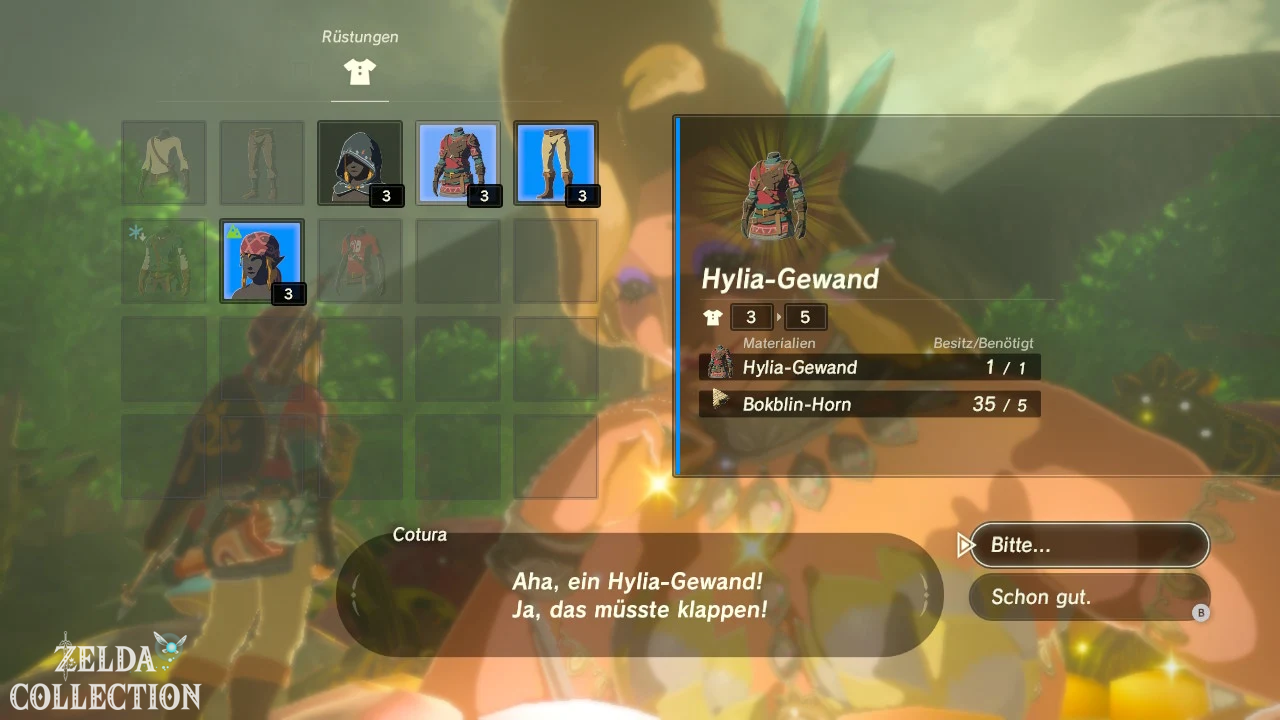
Since Cotura is the first Great Fairy on our route, it only requires 100 Rupees. Be sure to pay the amount. From now on, Cotura can permanently improve your armor as long as you have the required materials. The cost of additional fairy sources increases significantly, but even this first level makes a noticeable difference in Link’s defense.
Directly improves the armor pieces for which you have enough materials. The Hylia set in particular requires very common monster parts at the first level, making it ideal for early upgrades. Anyone who regularly fought Bokoblins on our route and took their horns with them should be able to strengthen several parts immediately.
We also cover all four Locations and how the upgrades work in our ZeldaCollection special guide to the Great Fairies in Breath of the Wild.
Optional: Fairies and rare materials at Cotura’s source
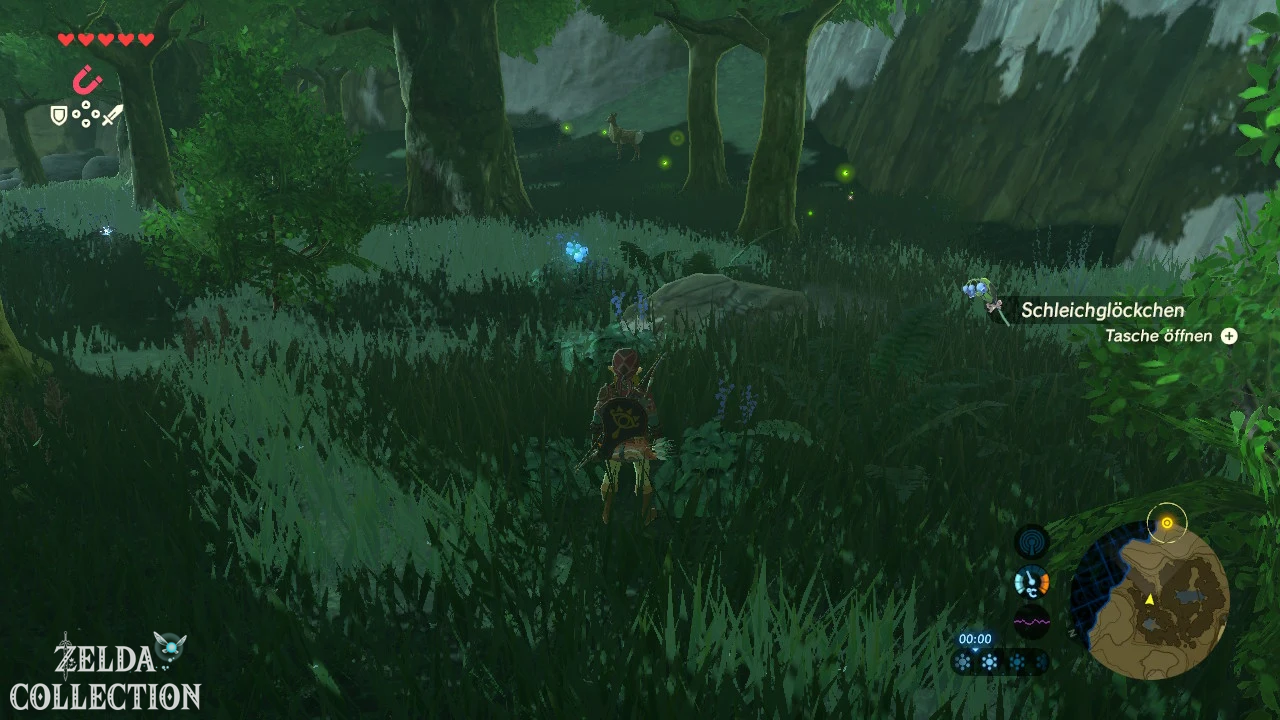
[Optional – highly recommended] Several small fairies float around the fairy spring. Just move crouched and as slowly as possible. If you run towards them, they will fly away. If you have already purchased parts of the Stealth set or corresponding Stealth dishes, collecting them will be even easier.
Fairies are automatically activated when Link loses his last heart and can prevent a game over. You don’t need to store them in bottles in Breath of the Wild. They are an excellent safety reserve, especially in front of our first Titan.
Also examine the plants around the spring. Valuable materials such as princess gentian and various herbs grow here. Don’t sell rare plants too quickly: many are needed for later armor improvements. You can find a large overview of materials on ZeldaCollection under ingredients and materials.
Main objective “The Legendary Fairy Spring” – not yet available
[Deliberately postponed to Chapter 5] Maybe you have already seen the painter Pikango in Kakariko Village. Later, he starts the main objective “The Legendary Fairy Spring” and wants to see a photo of Cotura’s Spring. Although we can free the fairy now and use her services, the actual task can only be completed once Link has received the Camera Rune back from the research institute in Hateno Village.
That’s exactly why we’re freeing Cotura now, but postponing the completion of the quest. After the main goal “Zelda’s Legacy”, we teleport back via Ta’loh Naeg, photograph the source and complete the task within a few minutes. This order saves an unnecessary full climb.
Side Quest “Escaped Chickens”
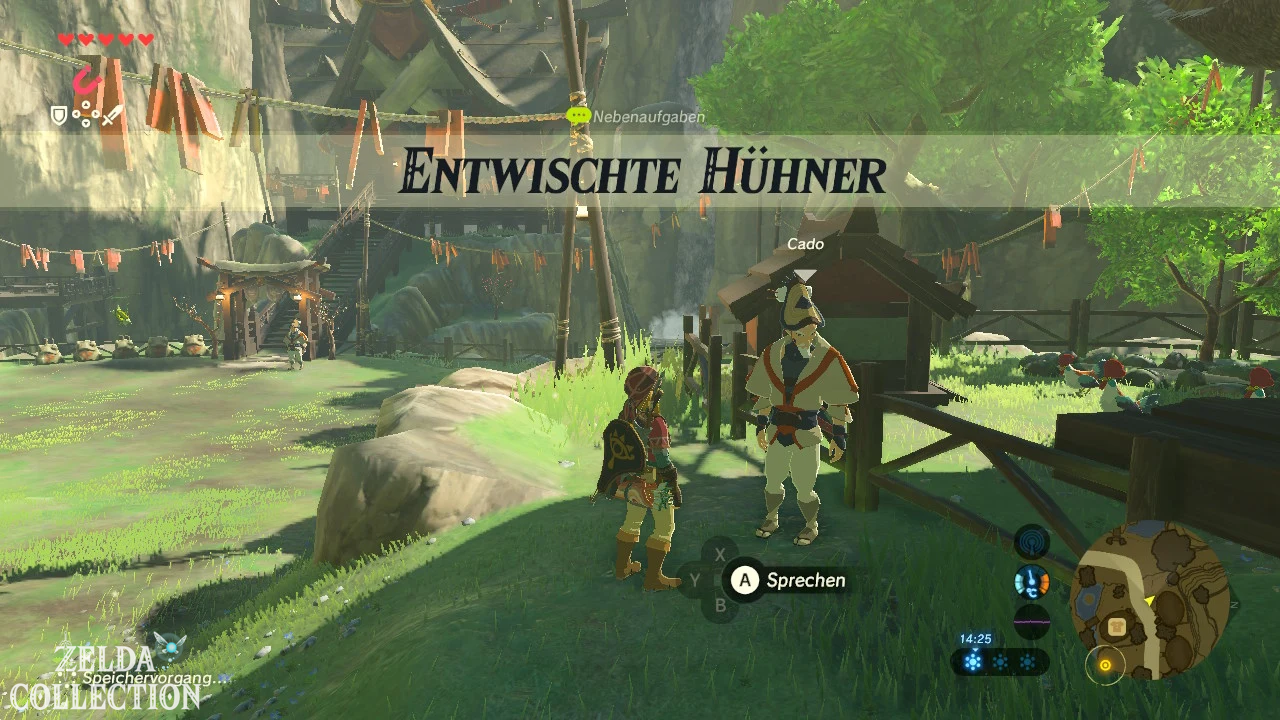
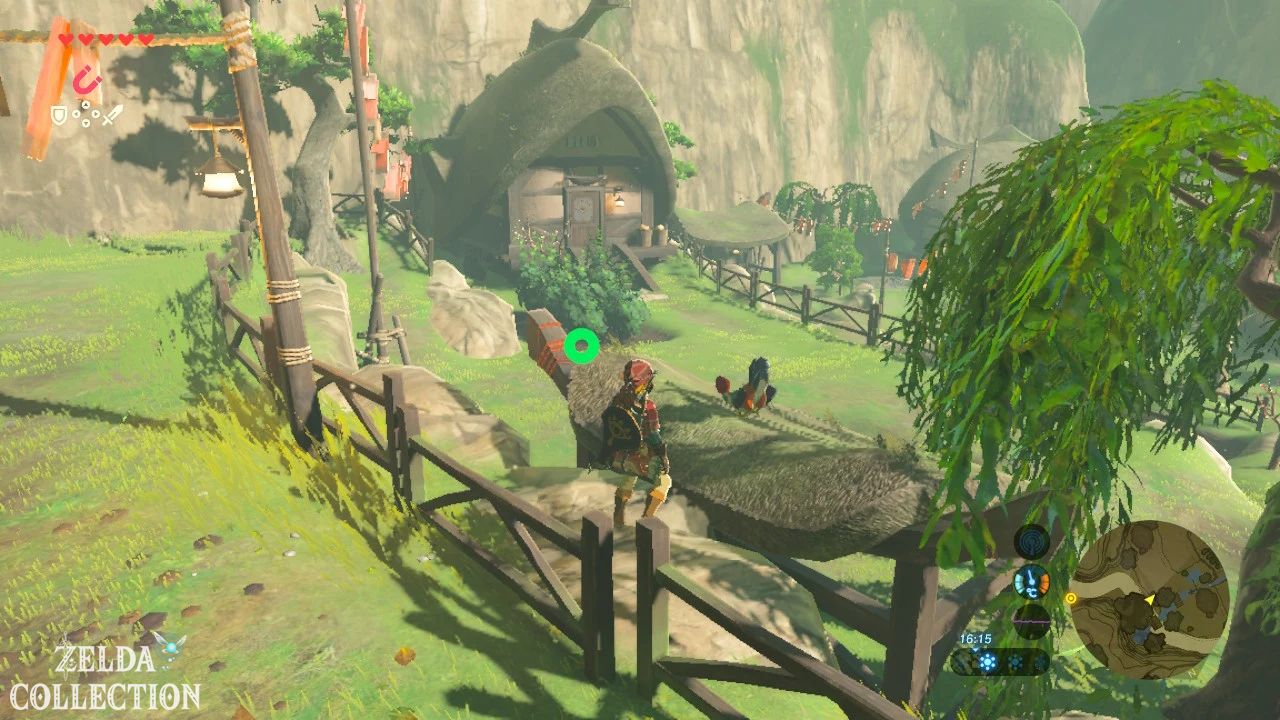
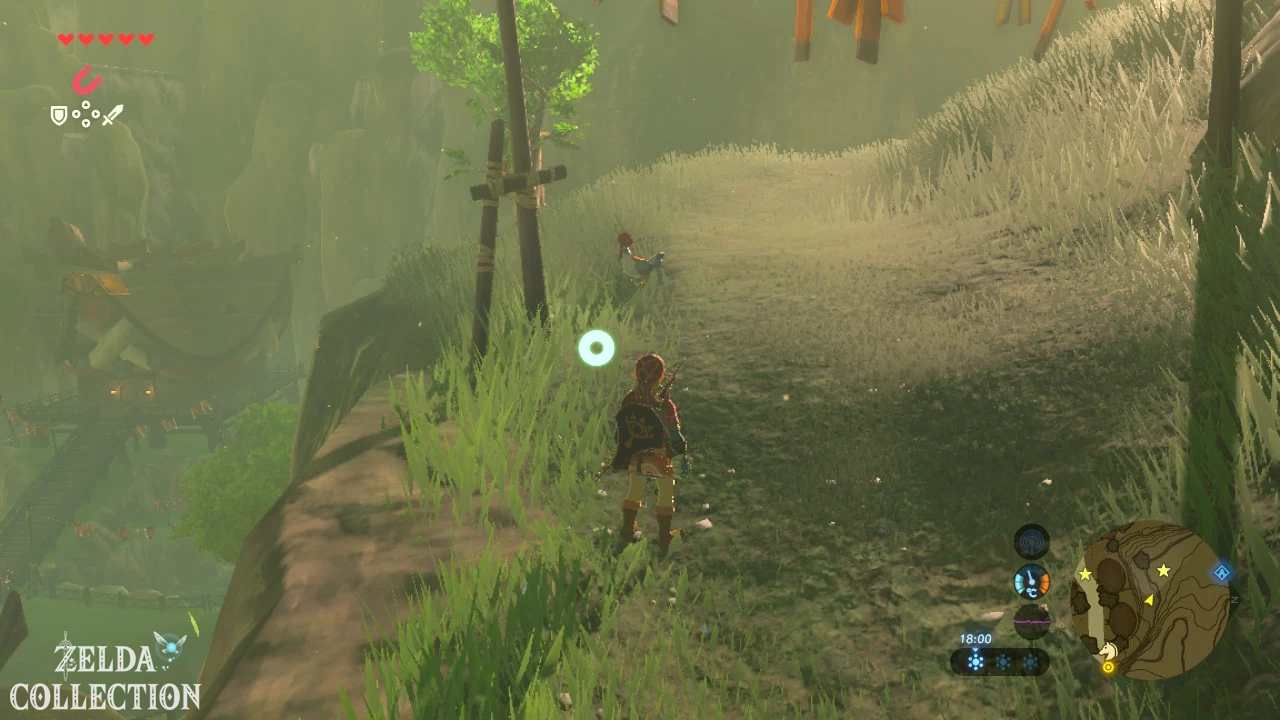
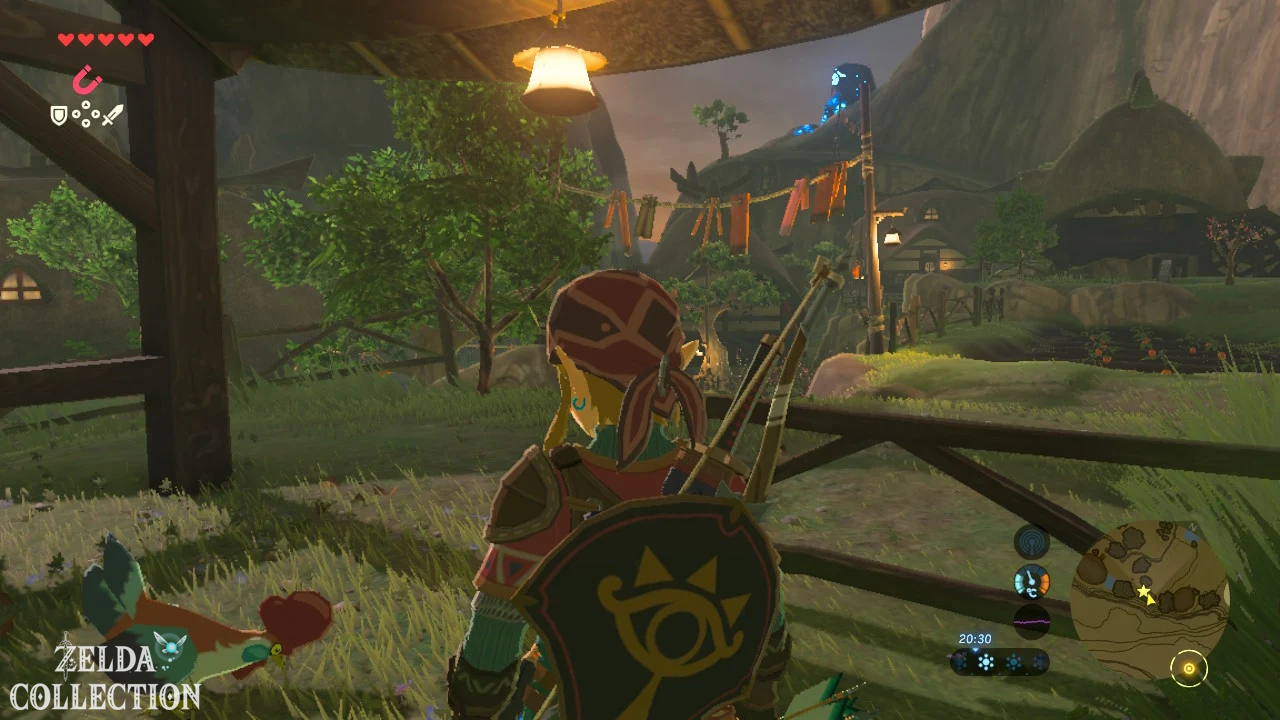
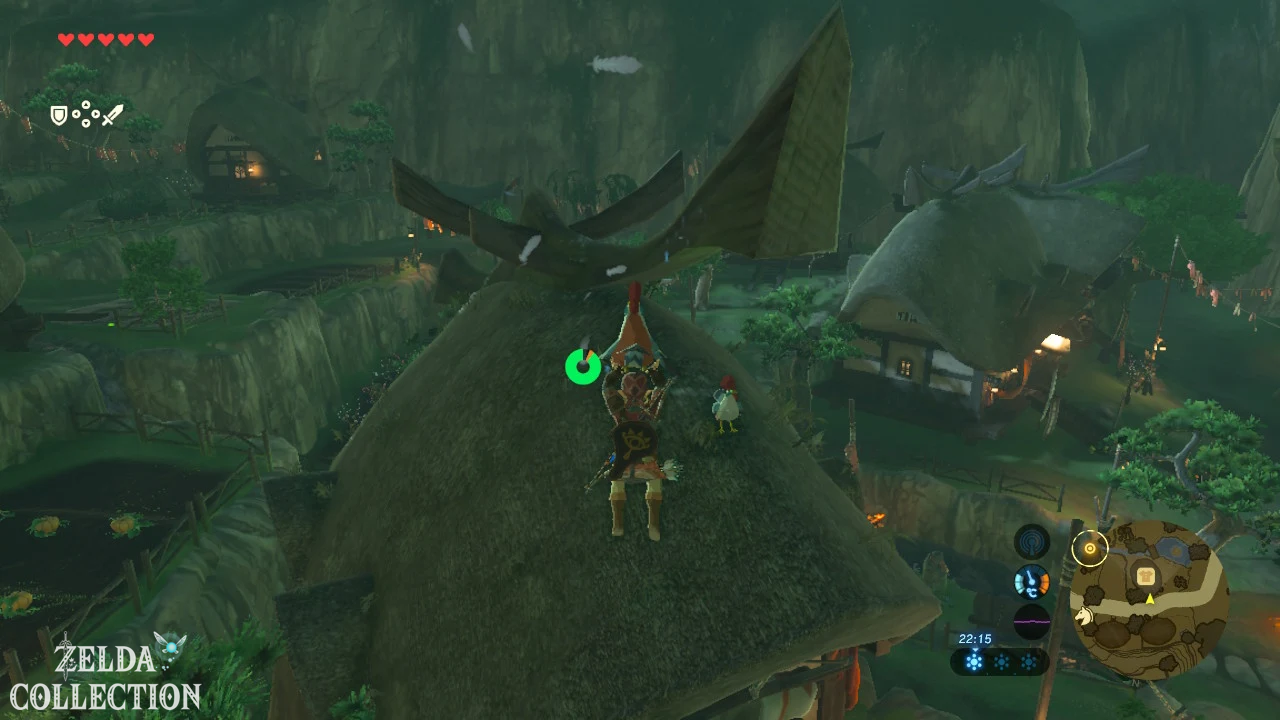
[Optional – required for all shrines] After talking to Impa you can during the day Cado the Side Quest “Escaped Chickens” start. Seven of his ten chickens have disappeared from the enclosure. You have to pick up each animal and throw it back over the fence.
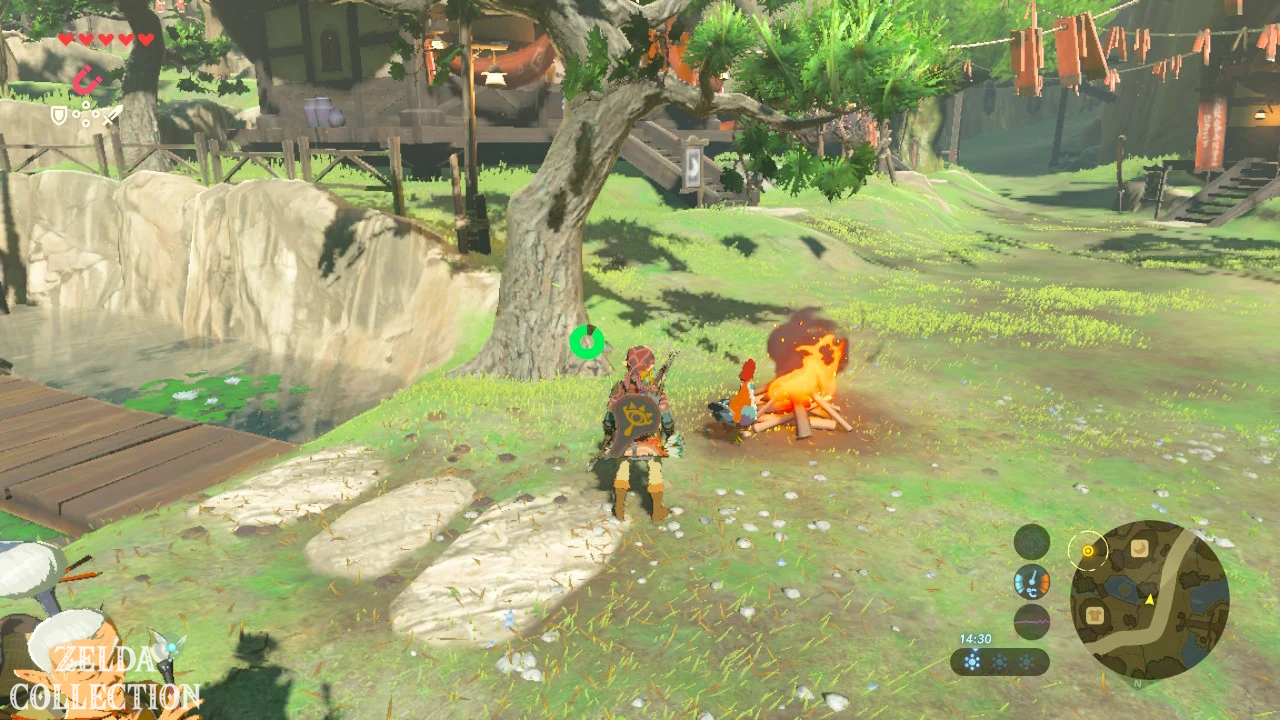
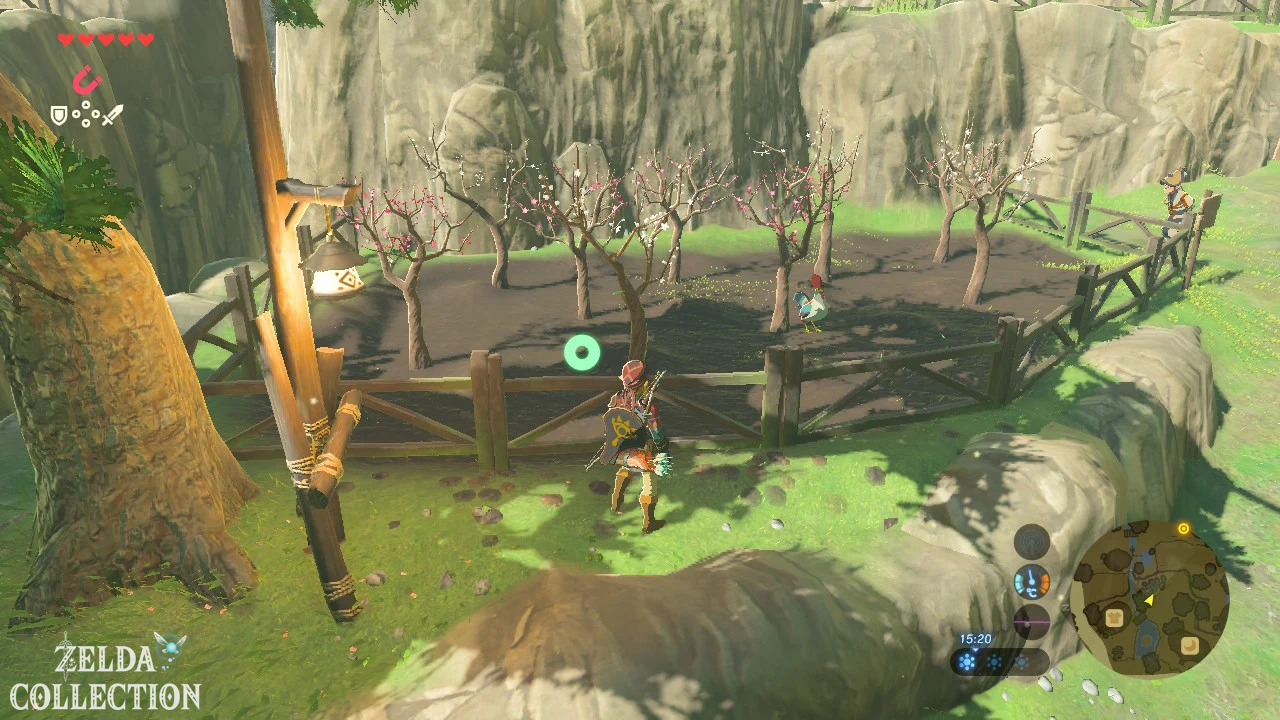
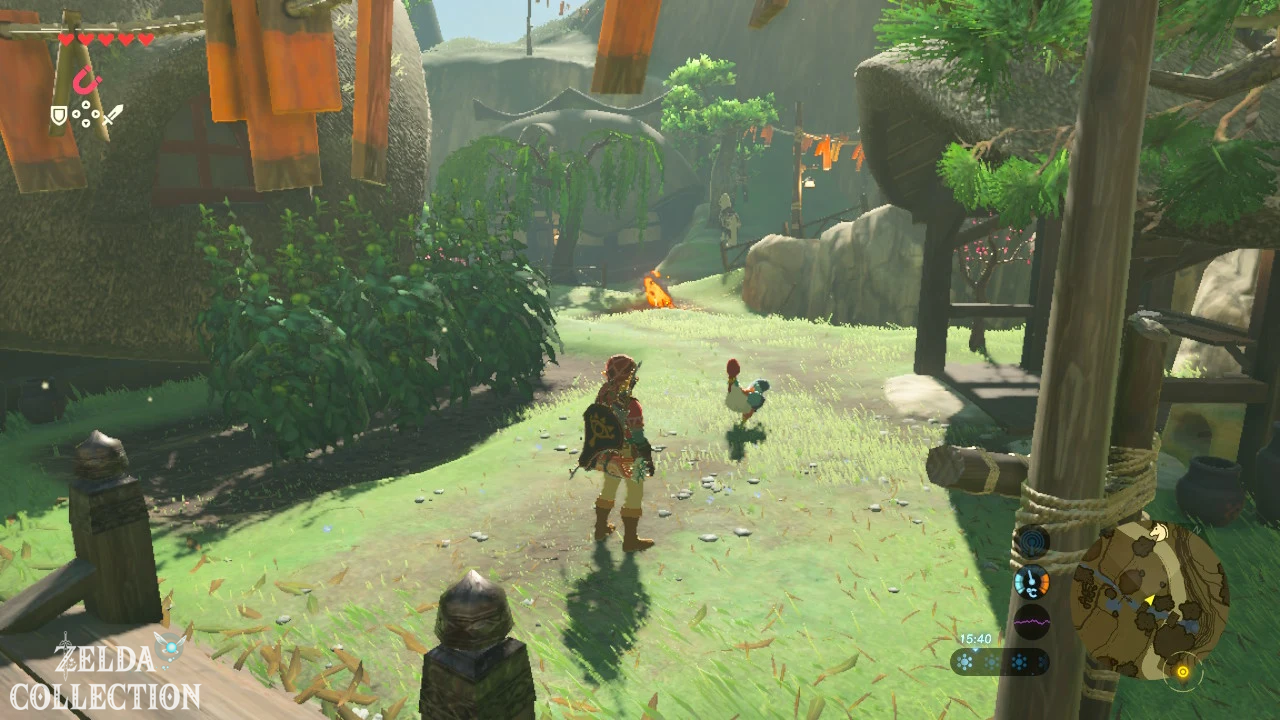
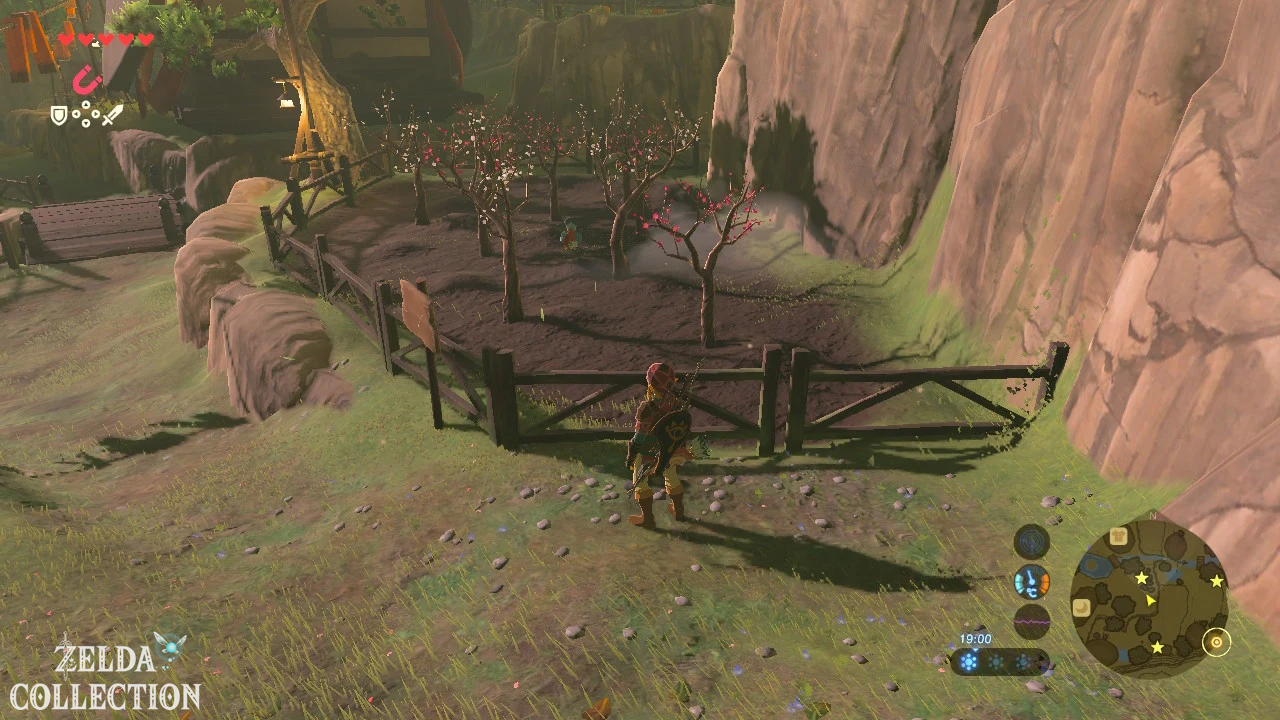
The seven outliers are spread entirely within Kakariko Village. There is one chicken on the path to the Ta’loh Naeg Shrine, one near the campfire by the goddess statue, one on or near the roof of the armor shop, one under a small shelter, one to the east by the vegetable fields, and one on or near a roof at the village entrance. The most uncomfortable chicken is in Mellie’s fenced plum garden. She guards her trees during the day and immediately throws Link out. So wait until the evening, when she has left the garden, and then get the chicken.
Take all seven animals back to the enclosure and talk to Cado again. You will receive a purple Rupee worth 50 Rupees. More important than the money, however, is the later meaning: “Escaped Chickens” is one of the requirements for the shrine task “The Stolen Jewel” and thus for the Lakna Rokee Shrine.
Side Quest “The Burning Arrow”
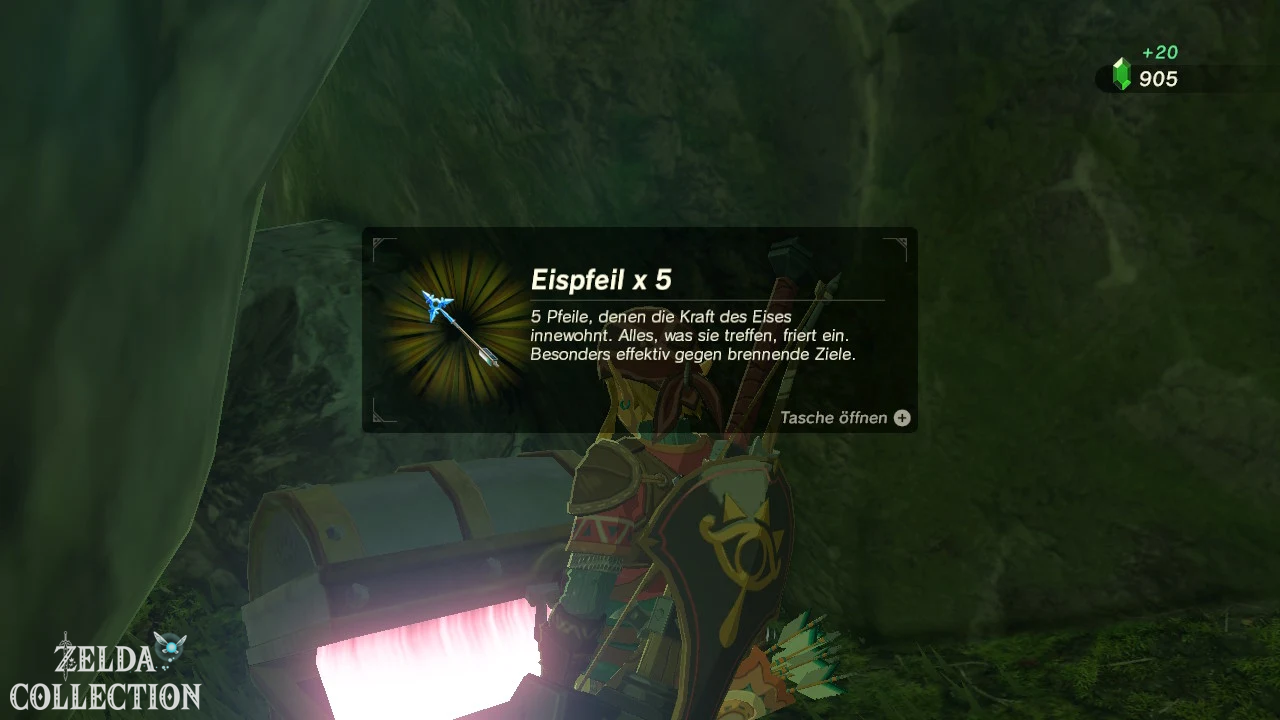
[Optional] After talking to Impa, visit the arrow shop and talk to Rola. This starts the Side Quest “The Burning Arrow”. Rola wants the four torches behind the goddess statue in the village to be lit.
You can buy Fire Arrows for it, but you don’t have to waste valuable special ammunition. Take a normal arrow, draw the bow and hold the arrowhead to a nearby campfire. As soon as it burns, shoot it at one of the torches. Repeat this for all four. Alternatively, you can of course use existing Fire Arrows or a firearm.
Then return to Rola and you will get 20 Rupees. At the same time, you practice one of the most flexible mechanics in the game: normal wooden weapons and arrows can absorb fire and thereby solve puzzles, start campfires or set enemies on fire.
Side Quest “A playmate for Priko”
[Optional] During the day, little Priko walks through the village. Talk to her and offer to play with her. This starts the Side Quest “A playmate for Priko”. Depending on the game you choose, you have to look for them or catch them up.
The simplest variant is the hide-and-seek game. Priko is hiding near Impa’s big house. Search the porch or the side behind the building and talk to her. As a reward you will receive rock salt. The quest itself is short and lies entirely within the village, so there’s no reason to put it off.
Side Quest “Coconut Kitchen”
[Optional] Between approximately noon and early evening, Koko stands at the cooking pot next to the ingredient shop. Speak to her and you start “Koko’s Kitchen”. Koko wants to prepare a dish for her younger sister Priko, but she is missing a Spur Carrot.
You don’t even have to leave the village. The shop directly next door sells spurt carrots for 16 Rupees. Buy one and give it to Koko. As a thank you, you will receive a spurt vegetable cream soup. At the same time, you will learn a simple recipe for dishes that temporarily increase Link’s movement speed.
Side Quest “Coconut Kitchen 2”
Speak to Koko again after completing the first task. For “Coconut Kitchen 2” she needs goat butter. This is also sold in the directly adjacent shop and only costs 12 Rupees. Give it to Koko and you will receive a butter apple.
The actual reward is less important than the quest line itself. Koko playfully introduces you to different categories of ingredients and at the same time tells you more about her family and her late mother.
Side Quest “Coconut Kitchen 3”
In the third task, Koko is missing a piece of Wild. If you have followed our route so far, you probably still have normal game from the hunt on the Great Plateau or the path to Kakariko Village in your inventory. Just give her a piece.
If not, leave Kakariko Village for a moment and hunt a goat or other mammal in the area. A clean headshot with a bow is usually the easiest method. For the game you get a Defense Meat Pumpkin, which temporarily increases Link’s defense.
Side Quest “Coconut Kitchen 4”
The fourth and final cooking task requires Stamina Honey. If you have already looted a beehive on the Great Plateau, you can complete the task immediately. Give Koko a piece of honey and you will get a Stamina Honey Apple.
If you don’t have any honey, we won’t search half the starting area for it. On our next route to Hateno Village we pass forest areas where several beehives are much more easily accessible. Then just leave “Koko’s Kitchen 4” open and finish it the next time you visit Kakariko Village. This Side Quest is not necessary for immediate story progress.
Why “Dancing Lights” isn’t starting yet
[Deliberately postponed until later] At night you can already see numerous creepworms in Kakariko Village. Feel free to collect five of them when you come across them – sneak up slowly and pick them up with A. However, the associated Side Quest “Dancing Lights” cannot yet be fully started on our route at this point.
Requirements include “Escaped Chickens” and the main goal “The Legendary Fairy Spring”. For this we need the camera from Hateno Village. As soon as the Camera Rune is restored, we return, photograph Cotura’s spring, complete the main objective and then deliver five creepworms to Lasli at night. This means that the path to the shrine task “The Stolen Jewel” is almost completely prepared.
Shrine quest “The Stolen Jewel” comes later
[Deliberately postponed until later] There is a large orange Sheikah ball clearly visible in Impa’s house. Anyone who tries to take it with them will find that it is currently taboo. It is part of the shrine task “The Stolen Jewel” and later opens the hidden Lakna Rokee Shrine east of Kakariko Village.
Three tasks must be completed to unlock: “Escaped Chickens”, “The Legendary Fairy Spring” and “Dancing Lights”. Since one of them requires the Hateno Village Camera Rune, we cannot currently open this shrine the regular way. We catch up with it immediately after our visit to the research institute and thus prevent the Kakariko Village plot from dragging on unnecessarily over many later chapters.
Optional: Spirit Orb exchange
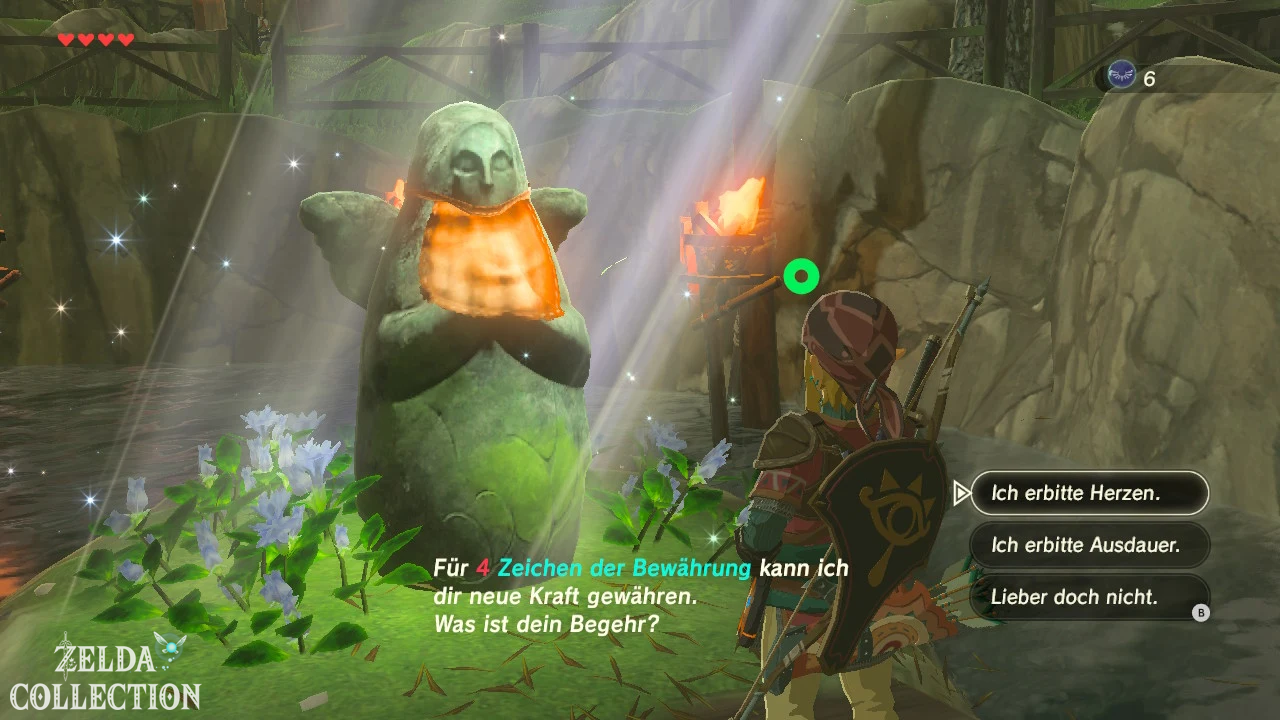
[Optional – recommended] In the middle of Kakariko Village stands a statue of the goddess. If you have completed enough shrines since Great Plateau and have at least four Spirit Orb again, you can exchange them for a heart or stamina container here.
After our first Heart Container on the plateau, we now recommend the first endurance container. More stamina improves virtually every form of exploration: climbing, swimming, gliding, charged attacks, and taming stronger horses. We will later need 13 real hearts for the Master Sword, but the large number of shrines on our route means we can continually expand both values.
Preparation for the main goal “Zelda’s Legacy”
We have now completed the currently useful part of Kakariko Village. Link now knows the truth about the Four Titans, has the new main target “Free the Divine Beasts” and is supposed to travel to Hateno Village for “Zelda’s Legacy”. At the same time, we unlocked Hestu, enlarged the weapon bag, completed Ta’loh Naeg’s combat training, awakened Cotura and already completed several Kakariko Village side objectives.
Before leaving the village, restock your arrows if necessary and cook some meals. Dishes with maxi ingredients are particularly useful now, if you already have some, as well as endurance dishes for long climbing sections. Don’t randomly buy up all the shop stocks – we still need Rupees for Cotura, armor and later purchases.
Continue to Hateno Village – Main target “Zelda’s Legacy”
In the next chapter we leave Kakariko Village towards Hateno Village. We follow the main goal “Zelda’s Legacy”, activate the Hateno Tower and reach the research institute of Purah. There the Sheikah stone gets its Camera Rune back, the Sheikah sensor is later expanded to the Sensor+ and we open the next big branch of the main story: the search for Zelda’s memory photos.
We use the path at the same time for more shrines, Koroks and high-quality equipment and also start two of the most important long-term side content of the game in Hateno Village: Link’s later own house and the preparation for building Tarrey Town. Once the camera is active, we briefly return to Kakariko Village to complete “The Legendary Fairy Spring”, “Dancing Lights” and finally “The Stolen Jewel” without unnecessary additional travel.