

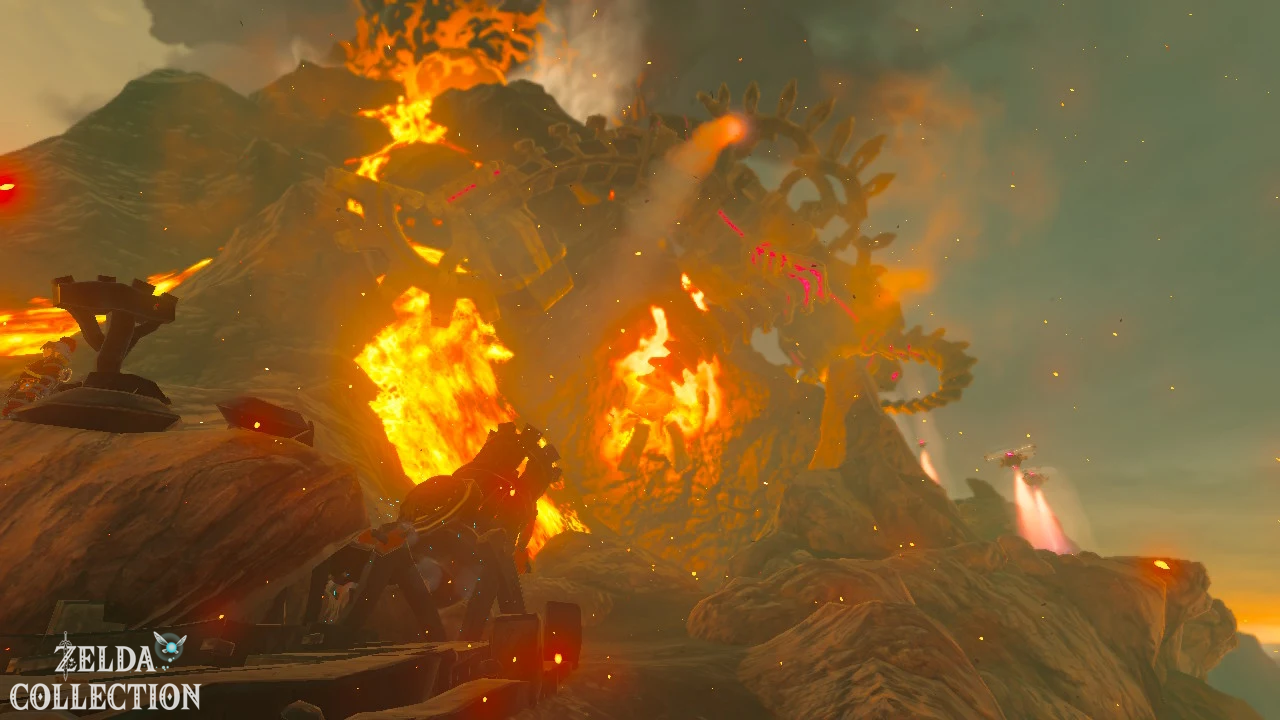
Yunobo is freed from the abandoned northern mine, Bludo knows about it and the memory of the Champions Daruk has returned. This begins the actual attack on Vah Rudania. Before Link can enter the Divine Beast, he must first reach Yunobo at the Bridge of Eldin and then climb the Death Mountain with him. Rudania monitors the route with flying guard drones and responds to any intruders discovered with a massive volcanic eruption.
For this section you still need two levels of fire protection. With anti-fire armor and anti-fire trousers you are permanently protected. If you only have one piece of armor, you have to supplement the second level with sufficiently strong fire protection medicine. Normal arrows, a usable bow and some metal weapons also belong in the luggage. Bomb arrows remain in the quiver on the Death Mountain: In the extreme heat, they ignite immediately after being drawn and practically explode in Link’s face.
From Goron City to the Goron source
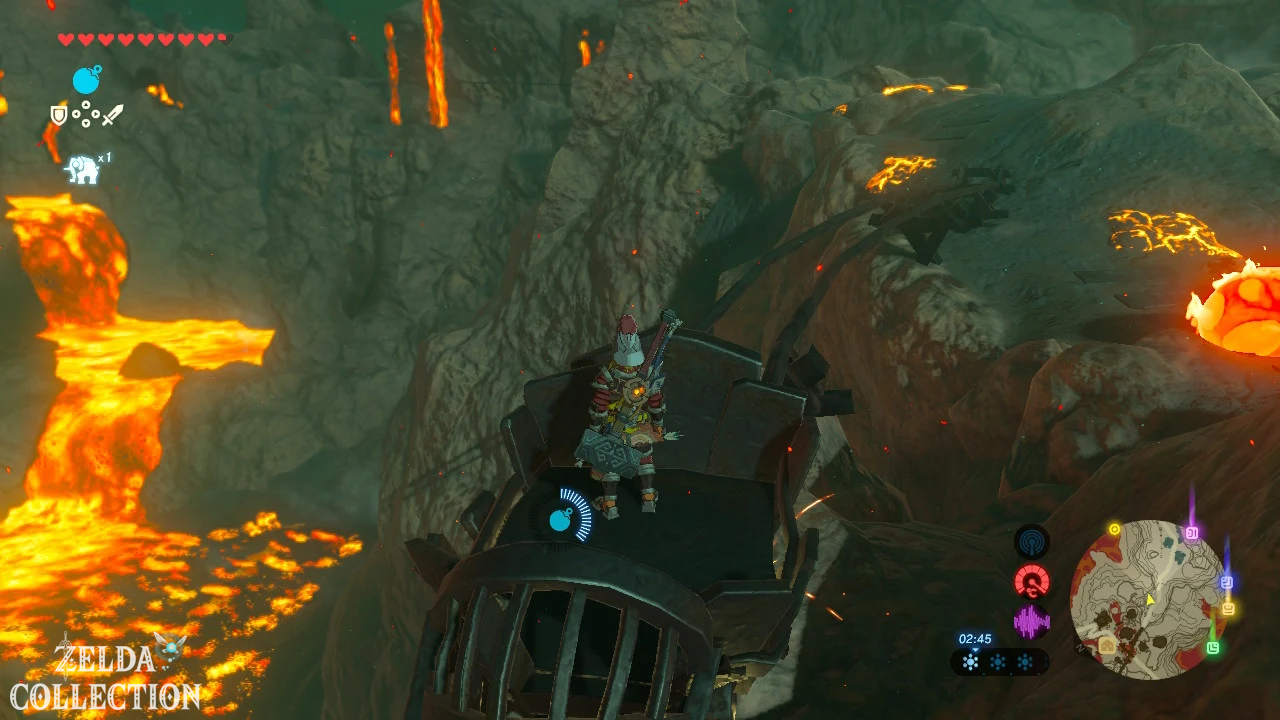
Leave Goron City in a northerly direction and follow the ascending path above the town. You don’t have to walk through the abandoned northern mine again. The regular route leads around the rock and over the large Goron bridge above the settlement. If you want to move faster, you can use the old mine carts along the way: place a cart with the magnetic module correctly on the rails, climb into it and place a round bomb in the back area. The explosion accelerates the car on the tracks. Several controlled detonations take you to the other end of the track.
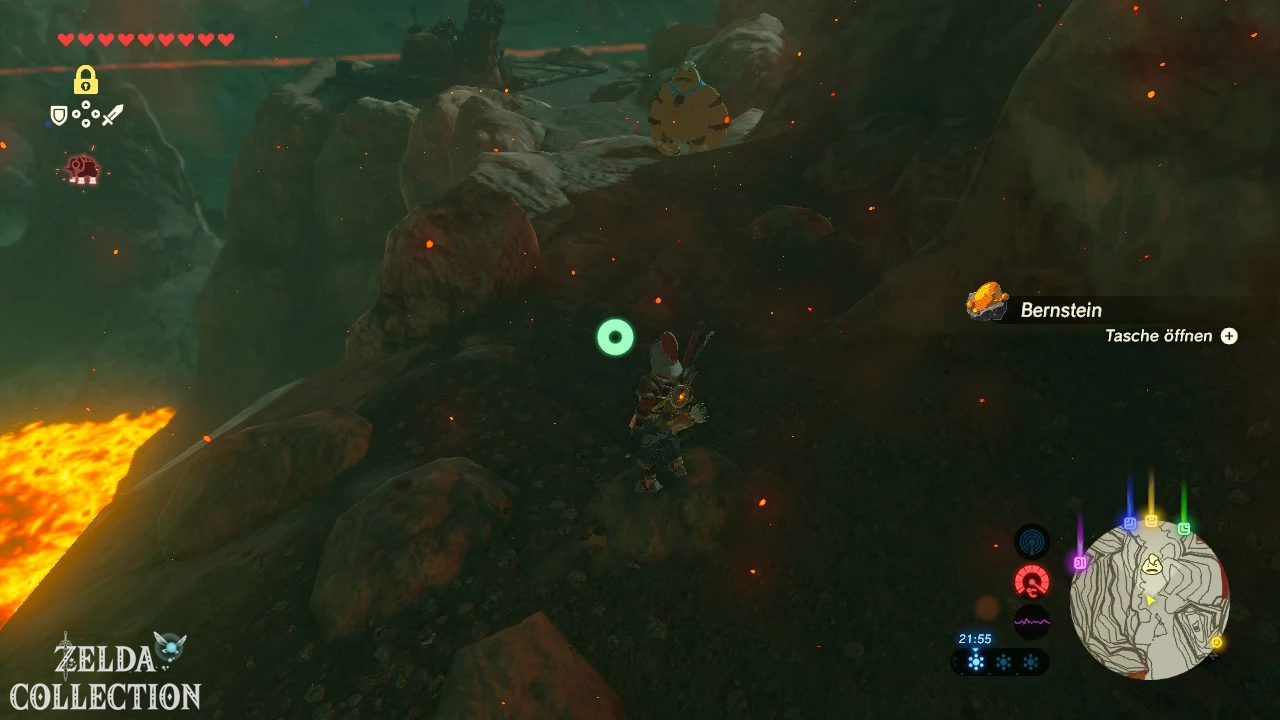
Optional – Korok: We’ll get one right in this area Korok which has not yet been collected in previous chapters. Hold on northwest of Goron City to the old mine cart track. Run or drive to the northern end of the route and look around right next to the tracks. There is a single small stone on the rocky ground. Lift it and the Korok appears. Since the Location is almost exactly on our route to the Goron Spring, it’s not worth saving this seed for a later Eldin collection round.
Then follow the main path again. A little later you will reach the Goron source. The hot water is exceptionally helpful here: climb in and wait a moment if you have lost hearts due to enemies or falling volcanic rock. The source gradually regenerates Link’s energy, making it an ideal final resting place before the attack on Rudania.
Optional: Secret of Death Mountain and Ore Drills
Optional – Side Quest: In the Goron spring, the young Goron Dugby sits up to his neck in water. Speak to him. Because his mouth is under water, it is difficult to understand anything of his story. Nevertheless, the Side Quest “Secret of Death Mountain” starts. Dugby has hidden treasure between the Spring and the Bridge of Eldin and will allow you to keep it if you find it. If you visit him at night, he will lie outside the water and murmur a much more understandable note in his sleep: The treasure is above a lava fall.
We take him with us immediately because his hiding place is directly on our further path. Leave the spring to the east and follow the path towards the Bridge of Eldin. Shortly afterwards you will reach a striking rock formation several lava falls flow down over the edge. Orient yourself at the middle lava fall and climb to the rock step above. The heat is still extreme here, so your two-stage fire protection must remain active.
Once at the top, walk around the small peak and look for a clearly cracked rock face on the back. Blow them up with a normal bomb. Behind it lies the sought-after ore drill. Be sure to put the weapon in your inventory. The ore drill is made of metal and is therefore well suited to the volcanic environment; It is particularly practical for smashing ore deposits and brittle rock walls.
To complete the task, you must show Dugby the find. The shortest route leads back to the Goron Spring. Speak to him with the ore drill in your inventory and he will recognize his hidden treasure. You can then keep the weapon and “Secret of Death Mountain” is completed. Then head east again on the same path. The short way back is worth it because we can complete the Side Quest completely and don’t have to return specifically to the Death Mountain later.
Daqa Koh Shrine – Flight Duration
Optional – Shrine: Before you meet Yunobo at the bridge, you should activate the Daqa Koh Shrine and complete it directly. It is a little off the road between the Goron Spring and the Bridge of Eldin. This shrine is one of the shrines in the Eldin Tower area and only takes a few minutes on our route.
Inside the test “Flight Duration” is waiting. In the middle of the room, a large platform moves up and down regularly. On top of it is a massive cube with a crystal on top. As soon as the platform rises, the cube is thrown into the air and touches the switch on the ceiling for a moment. This causes the gate in front of the priest to briefly open.
First stand on the moving platform and let yourself be thrown upwards. Opens the Paraglider at the highest point. Before we take the exit, we get the shrine’s only Treasure Chest: If you look back towards the entrance from the center, you will see a raised platform above to the side. Use another spin and glide over to her. In the chest is a Silver Rupee worth 100 Rupees.
Returns to the central platform. For the actual solution, you have to ensure that the cube stays on the ceiling switch longer. Wait for the platform to throw it up again and use Stasis Module on the cube at the right moment as soon as it reaches the switch on the ceiling. This means the grille remains open. Let yourself be thrown up, put up the Paraglider and glide through the open passage to the priest. You will receive another Spirit Orb.
Then leave the shrine and continue on the way to the Bridge of Eldin. By activating it, you also have an excellent teleport point for this part of Death Mountain.
Save Yunobo at Eldin Bridge
The closer you get to the bridge, the more clearly Rudania and the Death Crater can be seen above you. Follow the marker up the mountain. Shortly before the bridge you discover Yunobo, who is from two Moblins is harassed. The enemies are much more dangerous than normal ones Bokoblins and can quickly deprive Link of several hearts with heavy weapons.
Since both Moblins are initially busy with Yunobo, you can open the fight to your advantage. If possible, sneak up on an enemy from behind and start with a sneak attack. Alternatively, you can hit the head with a bow, Ice Arrows to quickly knock out an opponent, or Revali’s Gale if you want to attack from above. With the Master Sword you have already received, you have enough power at this point anyway. Just avoid hectic fights right on the edge of the rock – one hit can send Link flying back a long way.
Once both Moblins are defeated, talk to Yunobo. Link explains that Bludo won’t come because of his back pain. However, the Eldin Bridge is raised, blocking the only reasonable route across the lava pit. Luckily there is a Goron Cannon right next to it.
Lower Eldin Bridge
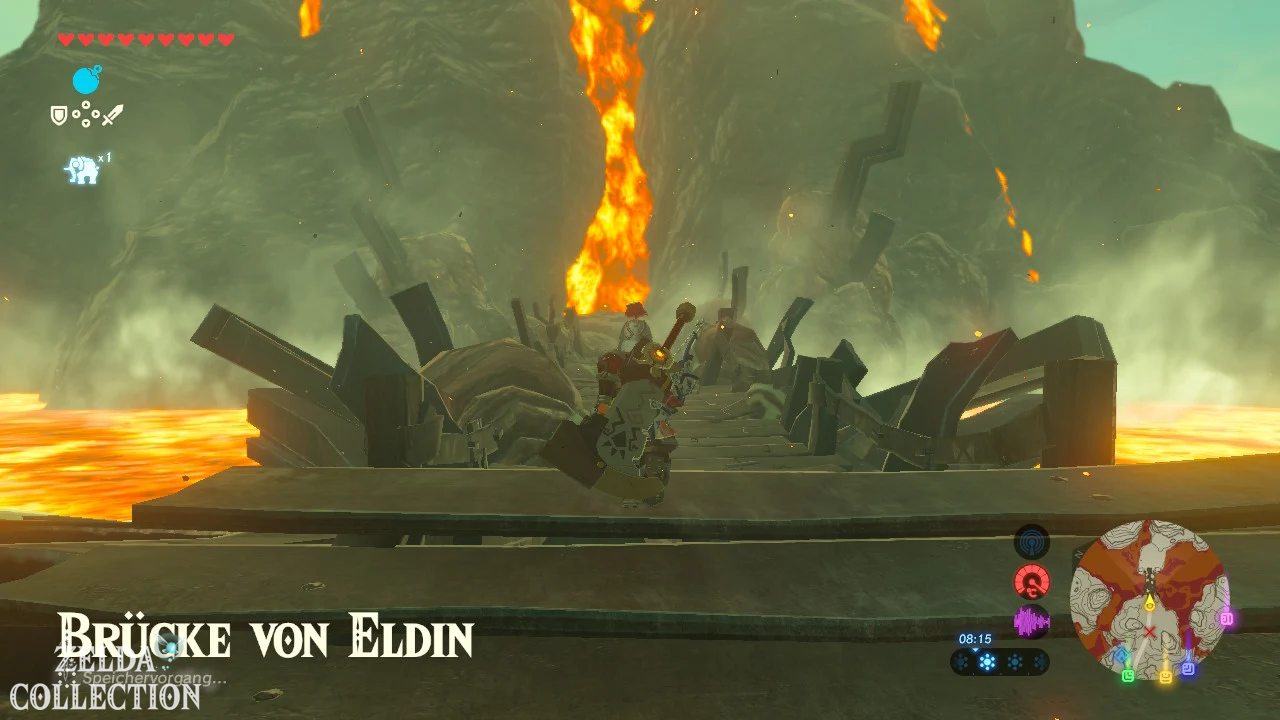
Yunobo climbs into the cannon barrel himself and protects himself with Daruk’s Protection. Place a round bomb in the opening of the cannon. Then hit the lever on the side to make the pipe rotate. Wait until the cannon is pointing directly at the raised Eldin bridge, then detonate the bomb. Yunobo is shot across the lava pit and crashes into the bridge’s mechanism. Thanks to Daruk’s protection, he survives the impact unscathed and the bridge lowers.
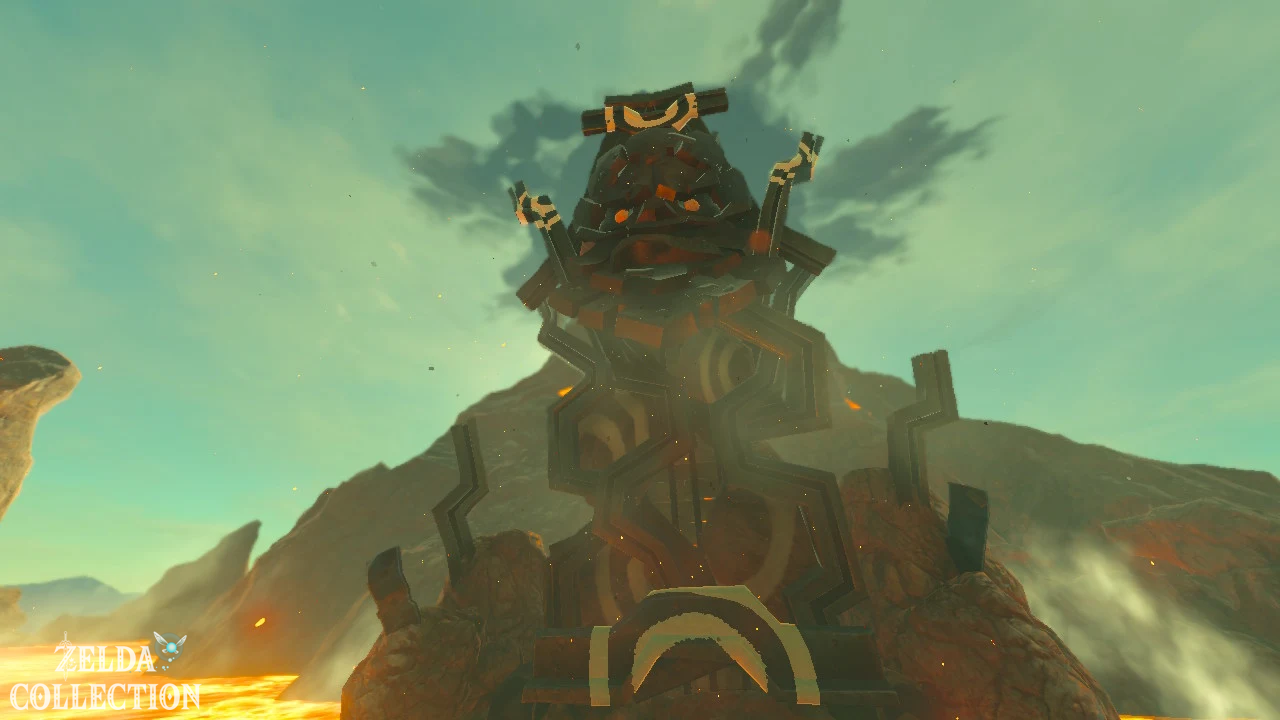
Cross the bridge. Behind it begins Death Mountain Stage 8 and a cutscene shows Vah Rudania sending out his flying guardian drones. From now on you not only have to guide Link, but also Yunobo through their search cone.
Vah Rudania’s Guardian Drones bypass
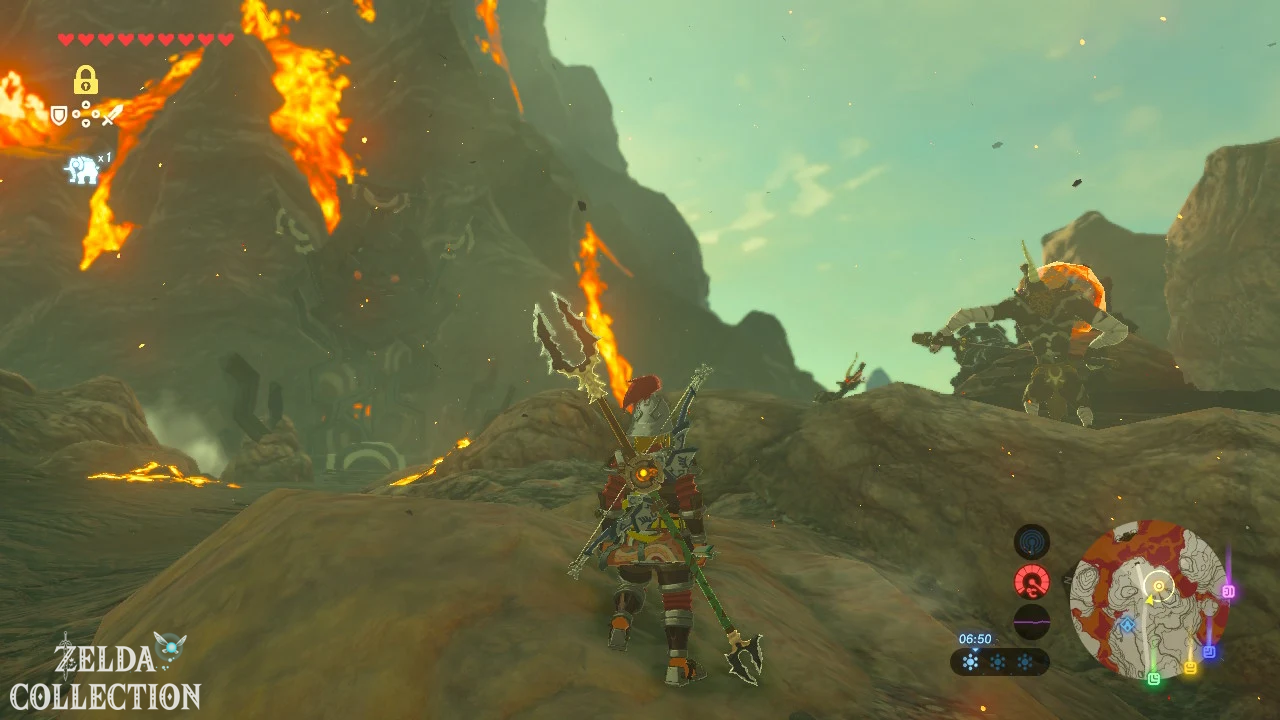
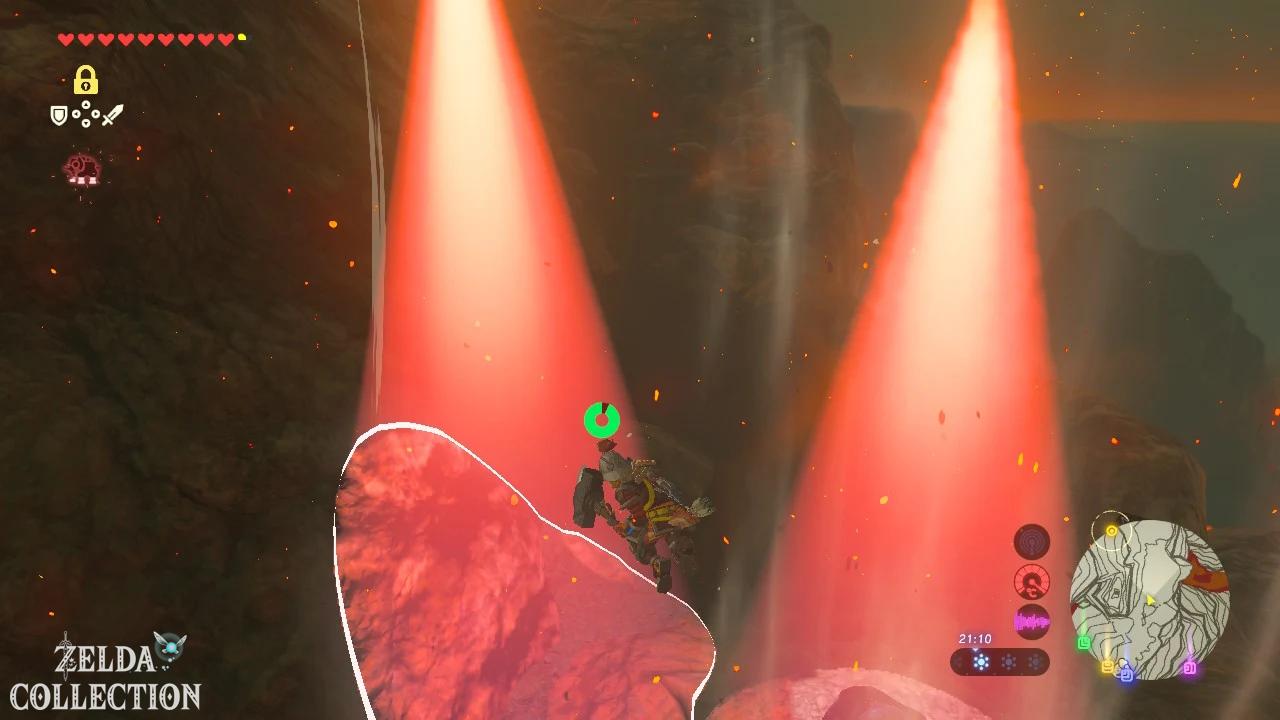
The most important command for the following section is Left Whistle. Press down on the control pad to have Yunobo alternate between following or following. Use this consistently. As soon as a Guardian Drone spots Link or Yunobo, its search cone turns red and Rudania triggers a massive eruption. Glowing boulders of lava then hit the area and make orderly ascent almost impossible.
The first drone patrols over the narrow path. Here you don’t have to fight at all. Let Yunobo follow, wait for the drone to move away from the path and walk under the large jutting rock. There you are protected from their search cone. As soon as she has passed you again, move further out of her surveillance area.
This won’t work on the next drone. Your beam of light blocks the entire passage. Whistle to make Yunobo stop and climb the left rock wall alone. There are large boulders at the top. Push one of them over the edge and let it fall onto the drone. A direct hit destroys it instantly. Then, if necessary, clear one of the rocks from Yunobo’s path, jump back down and whistle again so that he follows you.
In principle, you can destroy some drones with ancient arrows, but that would be an expensive waste for these opponents. The environment provides a free solution for almost every monitoring unit. In addition, Revali’s Gale and the magnetic module come towards us in several places.
First cannon hit against Vah Rudania
A little later you reach the first cannon. Yunobo immediately realizes what needs to be done and climbs in. Place another round bomb in the loading mechanism and hit the lever once until the pipe points left towards Rudania. Detonate the bomb. Yunobo hits the Titan with Daruk’s Protection, forcing it to retreat further towards the summit.
This makes the process for the rest of the ascent clear: We bring Yunobo safely to the next cannon, shoot him against Rudania and drive the titan step by step into the crater.
Metal cubes against the guard drones
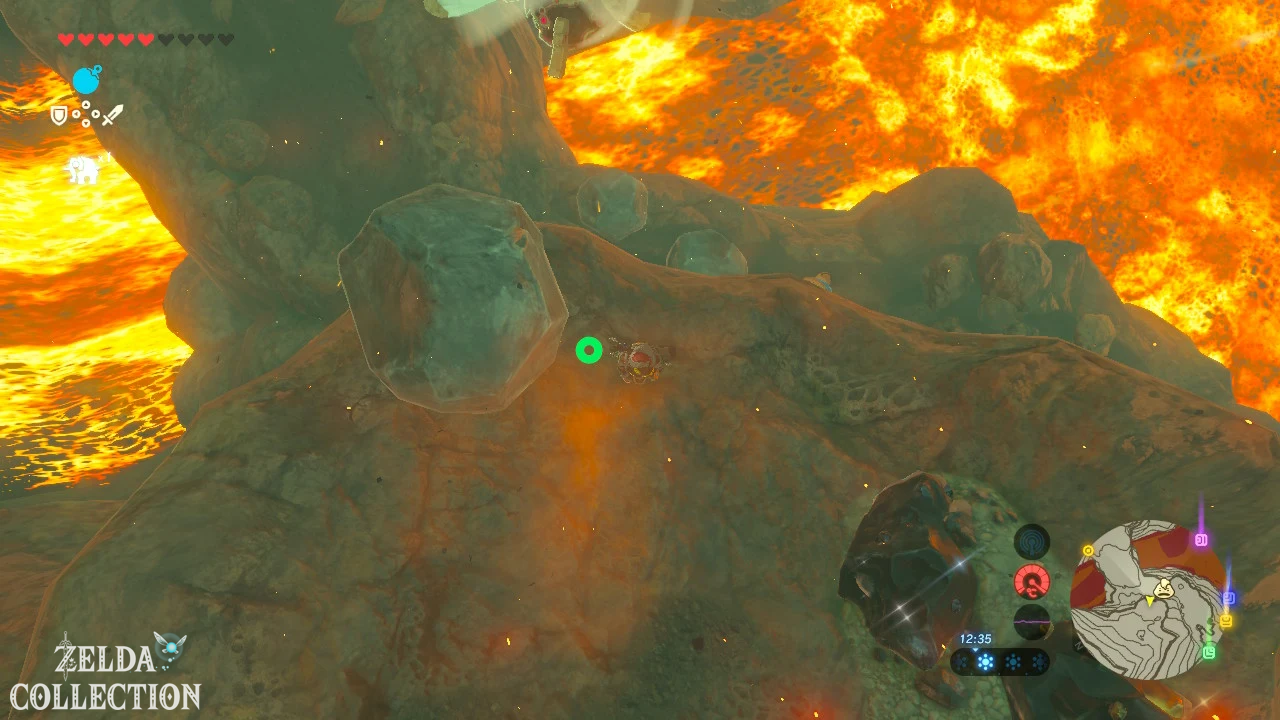
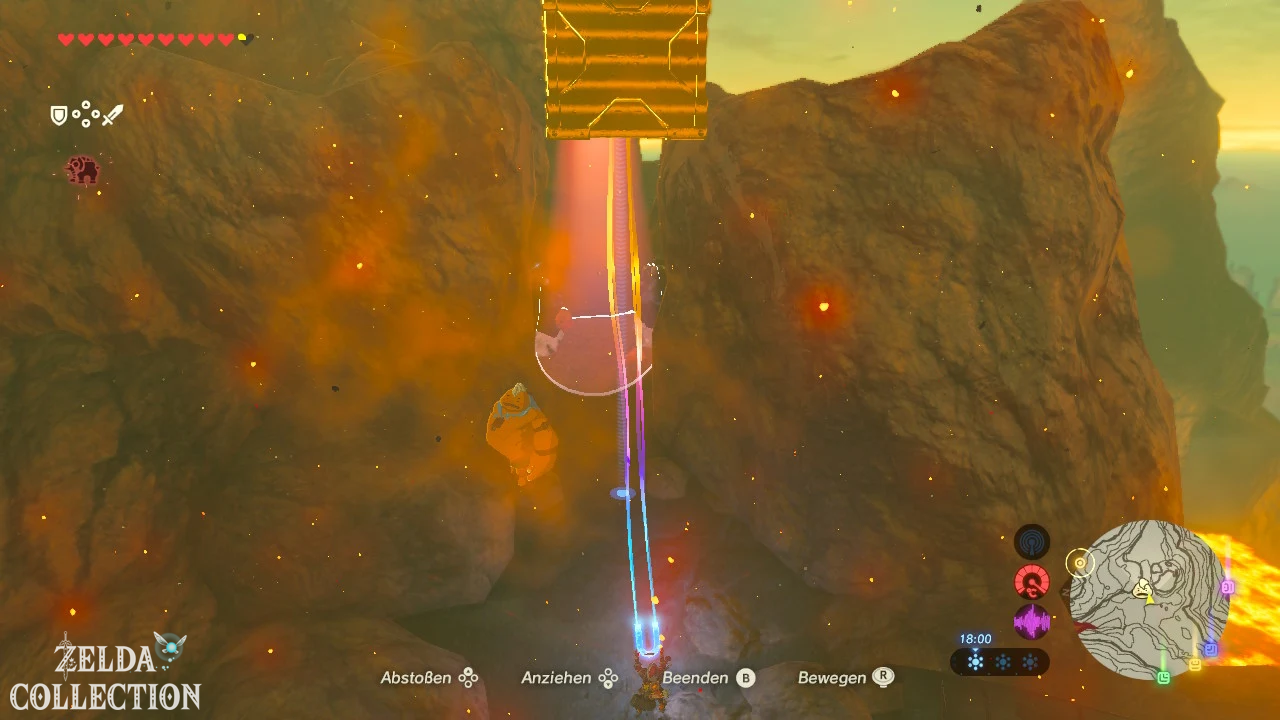
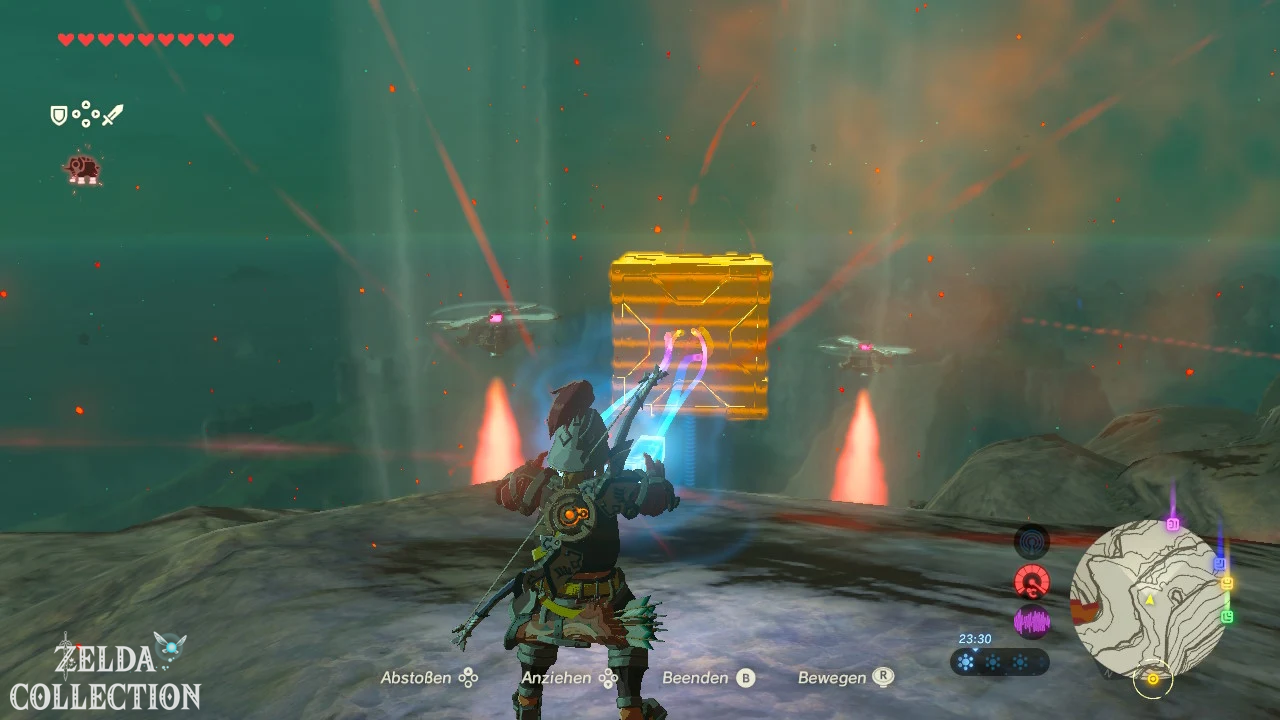
After the first hit, the surveillance areas become more complicated. If in doubt, whistle too often and let Yunobo stand at a safe distance while Link examines the surroundings. Large metal cubes lie on the elevated rock surfaces to the left of the path. These are the easiest weapon against the drones. Lift a cube with the magnetic module and ram it into a Guardian drone. You don’t have to deliver a precise blow – just strong contact is usually enough to knock them out of the sky.
Another drone monitors a narrow passage between two rocks. Here too you have several options. You can hit a metal cube directly at them, or position one of the metal objects between the rocks to block their search cone. If you get rid of the drone completely, things will be much easier with Yunobo. That’s why we prefer the offensive variant with the magnetic module on this route.
If you still need a metal cube, don’t carelessly drop it somewhere after destroying a drone. Take him part of the way. Several of the following guards can be taken care of without having to look for a new solution every time.
Second cannon hit against Vah Rudania
A Moblin is waiting at the next cannon position. First leave Yunobo behind and finish off the opponent alone. A metal cube can even serve as a weapon here: lift it up with the magnetic module and throw or press it against the Moblin. Of course, normal combat also works. With Revali’s Gale you can rise above the enemy if necessary and fire several slowed bow shots from the air.
As soon as the space is free, Yunobo will follow. He sits back in the cannon. Insert a round bomb, point the tube with the lever at the titan and fire. After the second hit, Vah Rudania climbs even higher to the Death Mountain.
In the next section, several drones patrol the path at the same time. Don’t try to just pull Yunobo under all the searchlights. Send him to standby with a whistle and take care of the surveillance units first. On the right you can use a small rocky peak as an elevated position. For the higher hovering drones you will find more metal cubes on the left side. Climb up or use the hot updrafts together with the Paraglider to gain altitude faster. As soon as you have reached a cube, use the magnetic module to remove the remaining drones.
There are several more monitoring units at different heights. Stick to the same method: Yunobo waits outside the light cone, Link climbs to the left side of the rock and uses the metal parts lying there. In one place there is a large metal plate in the ground instead of a cube. It can also be lifted with the magnetic module and hit against a drone.
Last cannon on Death Mountain
Shortly before the summit, more Moblins guard the last cannon. Here, too, you should leave Yunobo behind first. Use the updraft to get to the higher rocky area and eliminate the enemies. If you have a metal cube within reach, you can use it again as an improvised hammer. Otherwise, Ice Arrows are very useful because they freeze one enemy immediately and give you time to kill the second Moblin.
Summon Yunobo once the path is safe. He climbs into the cannon one last time. Load a round bomb, turn the gun towards Rudania and fire the third hit.
This time the Divine Beast finally gives in. Under a powerful eruption, Vah Rudania retreats into the crater of Death Mountain. Link follows him and lands on the back of the giant mechanical salamander. The most dangerous part of the climb is now over.
Divine Beast Vah Rudania enter
Before you go inside, turn around at the starting point. Run across Rudania’s back towards his tail. There is an easy-to-miss Treasure Chest. Open it before entering the titan. Such chests on a Titan should generally be taken immediately, because after completing the dungeon you will no longer be able to return to Vah Rudania.
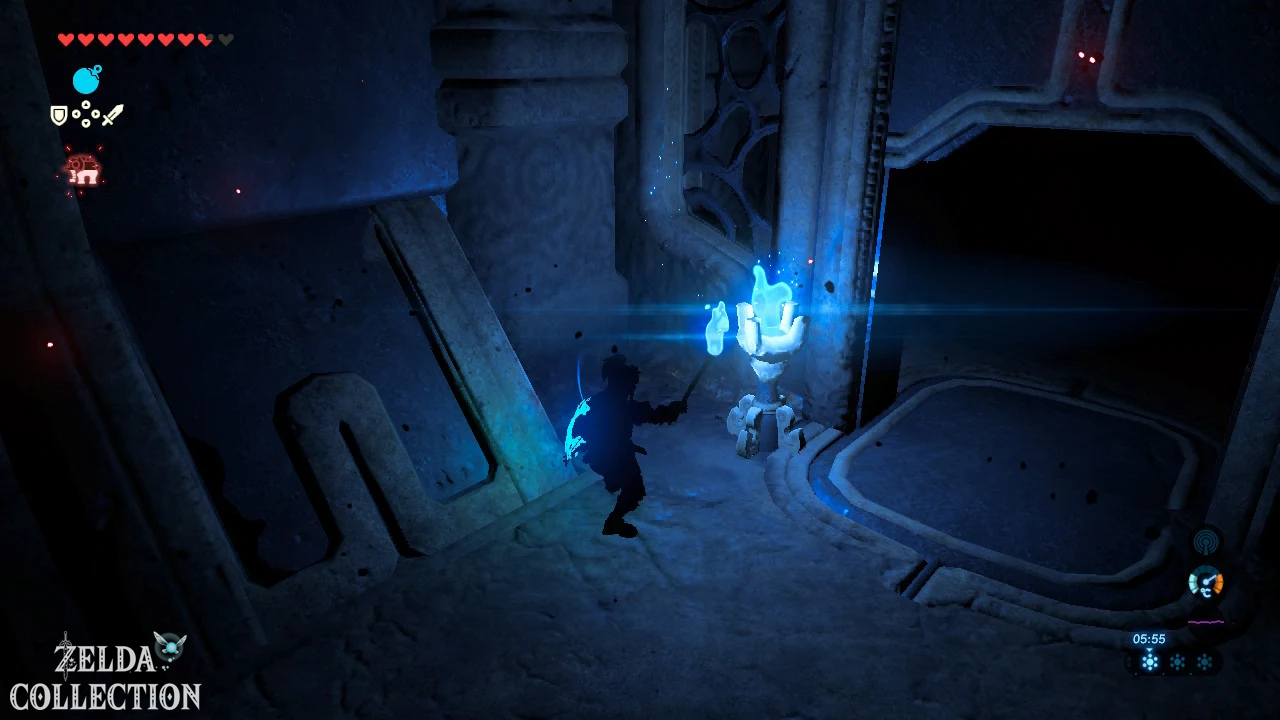
Then run to the entrance and first activate the Sheikah point there. This registers the access. Inside you can expect a special feature that none of the previous Titans had in this form: Vah Rudania is initially completely dark. You only see a few orange and blue light sources as well as the eyes of the Ooze of Hatred.
The first three Treasure Chests in the dark Vah Rudania
Don’t go ahead blindly yet. In the first room there are three shining eyes – one on the left, one on the right or further back and one on the ceiling. Shoot each eye with a normal arrow. This causes the associated mud of hate to disappear, one at a time Treasure Chest becomes accessible.
From these three chests you will receive a bone bokstock, five Ice Arrows and – particularly important for the further solution – a torch. Under no circumstances should you leave the torch behind. If your weapon inventory is full, it is better to temporarily part with an ordinary weapon. The torch makes the next section much easier.
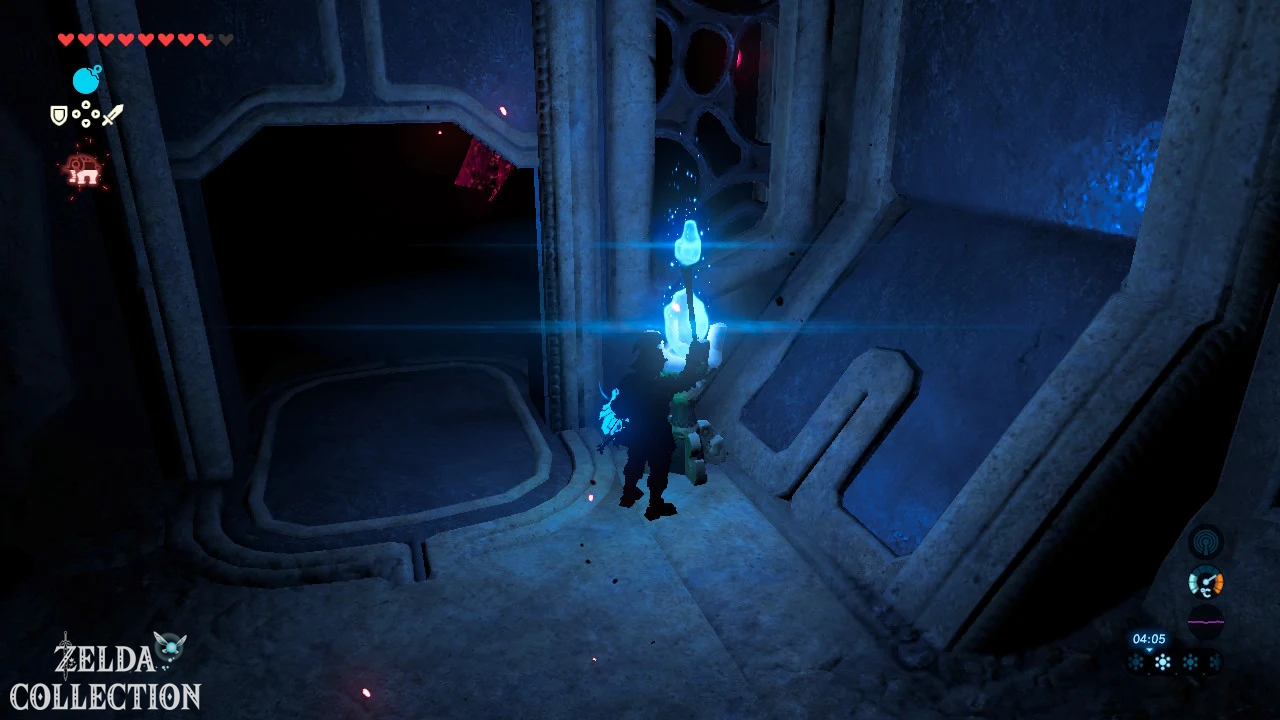
Near the entrance there is a blue flame. Light the torch there and carry the fire to the unlit fire bowl at the other end of the room. Runs normally; While sprinting, Link puts the torch away and the flame goes out. Once the fire bowl is burning, the grate opens to the next section.
A small guard is waiting behind the gate. He has little energy and should be killed in just a few hits. Then pay attention again to the mud of hate. Destroy the visible eyes in the room with arrows to reveal the paths and several more Treasure Chests. You don’t have to search every corner here in the dark: our immediate goal is the Titan map. Once we have it, the entire interior will be illuminated and orientation will be much easier.
Titan card obtained from Vah Rudania
Continue carrying the blue flame through the opened area. Look for another unlit brazier in the back corner and set it on fire with the torch. This will open the adjacent grille. Behind it is the card terminal.
Activate it with the Sheikah Slate. Link now receives the titan card from Vah Rudania – and at the same time it finally becomes light in the entire dungeon. The positions of the five terminals as well as two commands to change the position of the titan appear on the map.
Vah Rudania’s core dungeon mechanics are significantly different from Ruta and Medoh. The entire mechanical salamander can be rotated 90 degrees. Depending on which position you choose on the map, previous walls become floors, ramps turn vertical and objects roll in a completely different direction. Many of the upcoming puzzles therefore only work if you switch between the two positions.
With this we have completely completed the climb to the Death Mountain, completed the Side Quest at the Goron spring, solved the Daqa Koh shrine including Treasure Chest, collected an additional Korok, Vah drove Rudania into the crater with all three cannon hits and received his map. In the next chapter we start directly with the five terminals, take all the Treasure Chests that are still accessible and then face Ganon’s fire curse.