

After activating the first Sheikah Tower, Link finally knows a way to leave the Great Plateau and we continue to solve the main goal The Isolated Plateau.
The old man owns one Paraglider, with which the huge abysses around the starting area can be safely overcome. In exchange he first demands the treasure of a nearby shrine. As it turns out shortly afterwards, however, not one is enough for him: Link has to master all four shrines on the plateau and four Spirit Orb collect. This chapter takes you along an optimized route Oman Au, Ja Baij, Owa Daim and Keh Namut. At the same time we get the winter doublet, important early weapons and Treasure Chests as well as almost all the Korok seeds in the region, which can be reached at this time without unnecessary backtracking.
Oman Au Shrine – The magnetic module
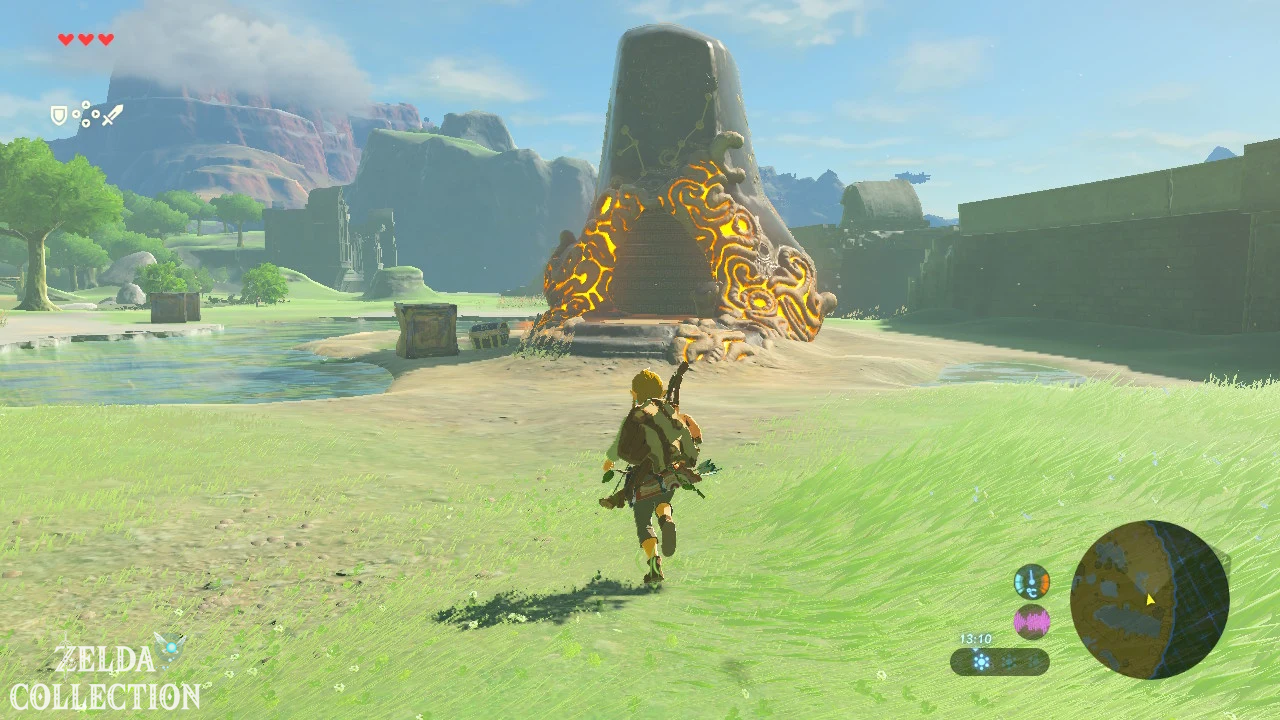
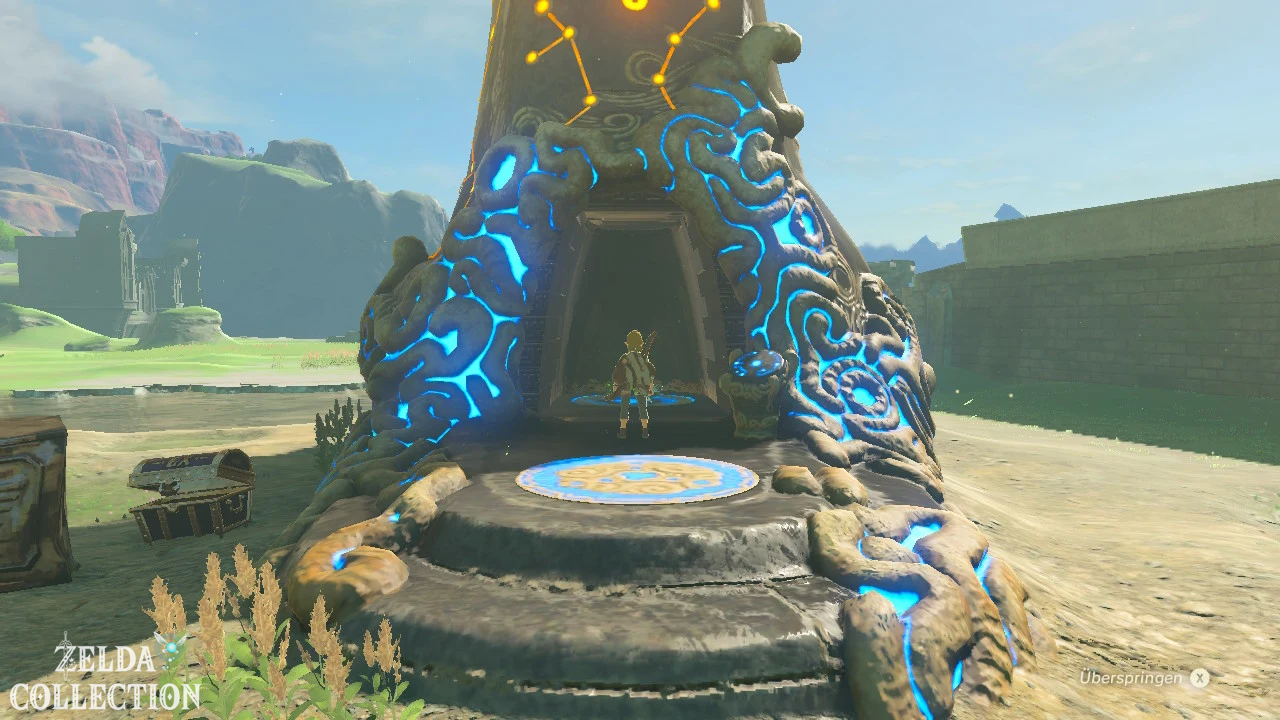
From the tower of the plateau you can already see the orange glowing Oman Au Shrine to the northwest. As in the previous chapter, carefully climb down from the tower and run to it. First activate the terminal in front of the entrance. This will save the shrine on your map as a fast travel destination – an important habit for the entire adventure, because even if you don’t want to solve a shrine right away, you can always teleport here later.
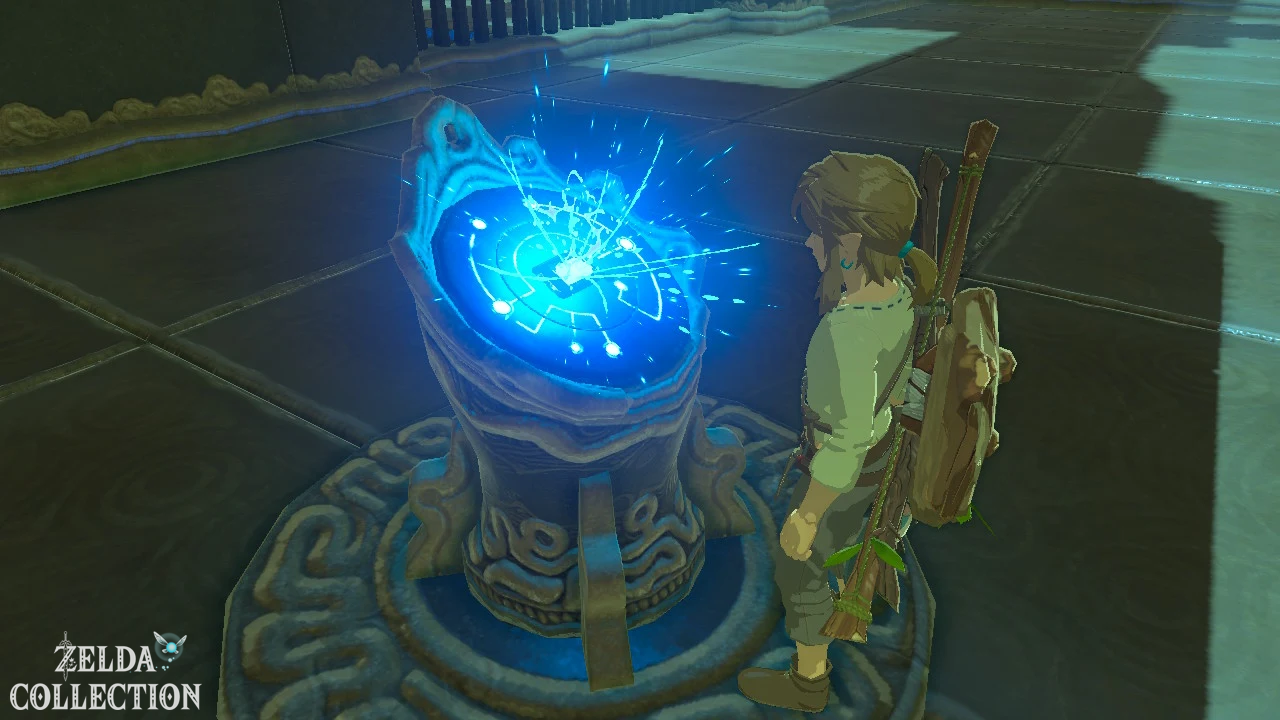
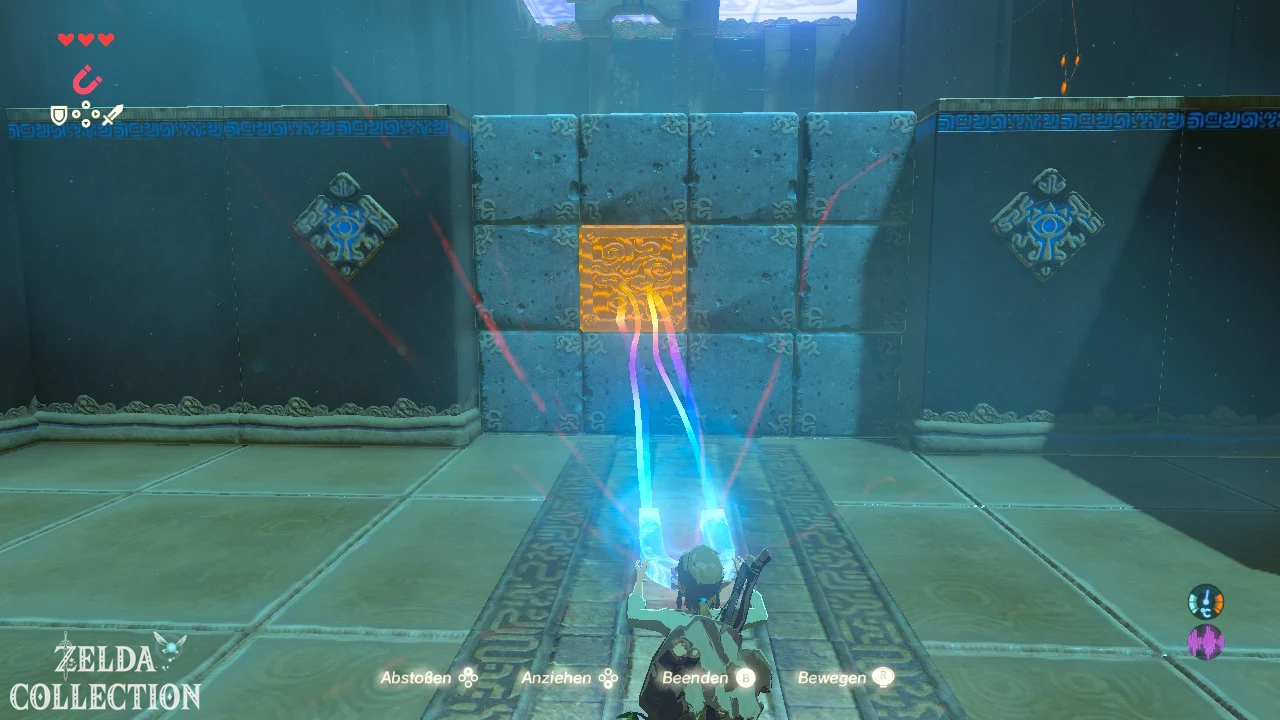
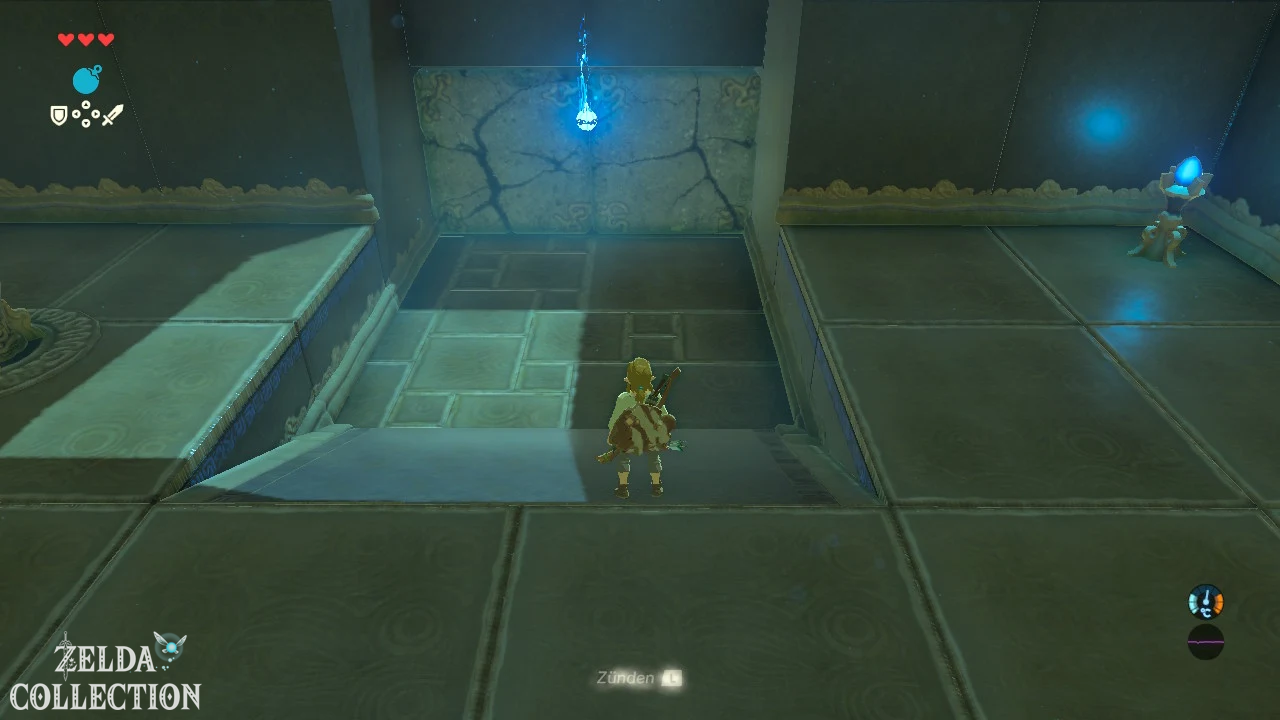
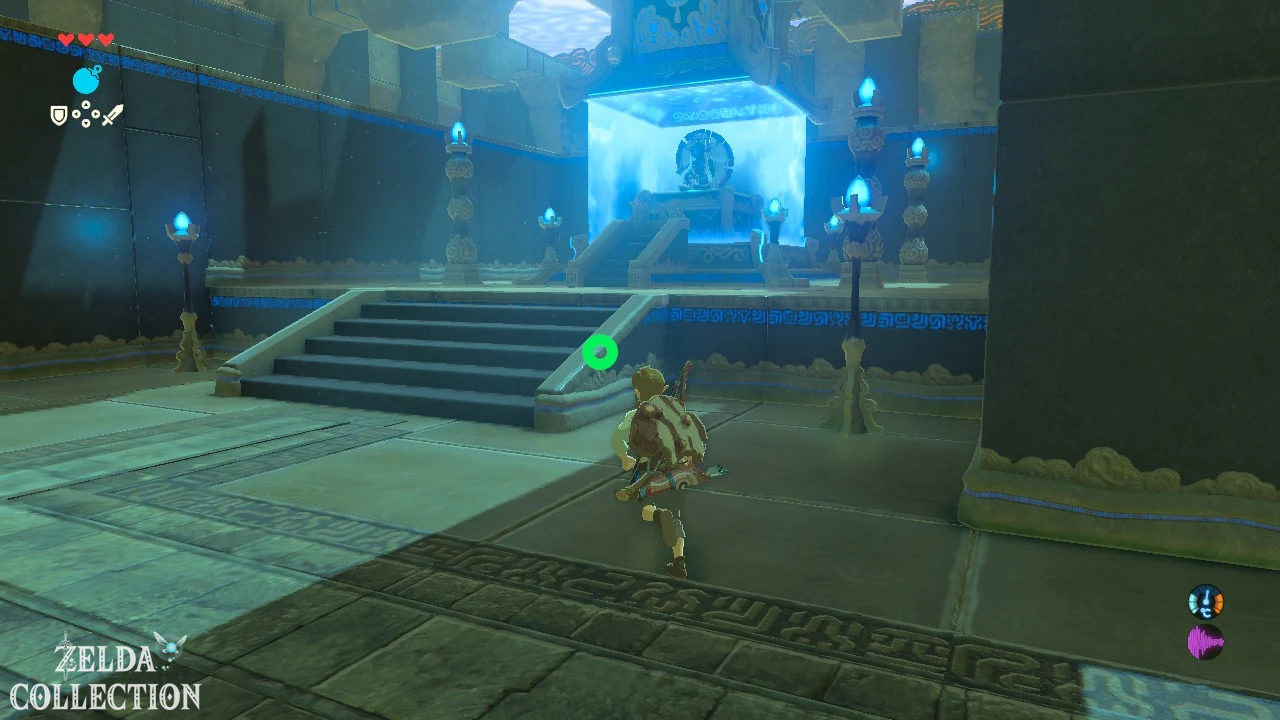
Inside, insert the Sheikah stone into the first terminal and get the magnetic module. This allows you to detect, lift, rotate and move metal objects through the air. Activate the module and examine the metal plates in the floor. Lift one of them out and jump down through the resulting opening. In the next section, there is a single metal cube stuck between several stone blocks. Pull it out and calmly use it like a battering ram to push the remaining blocks out of the way.
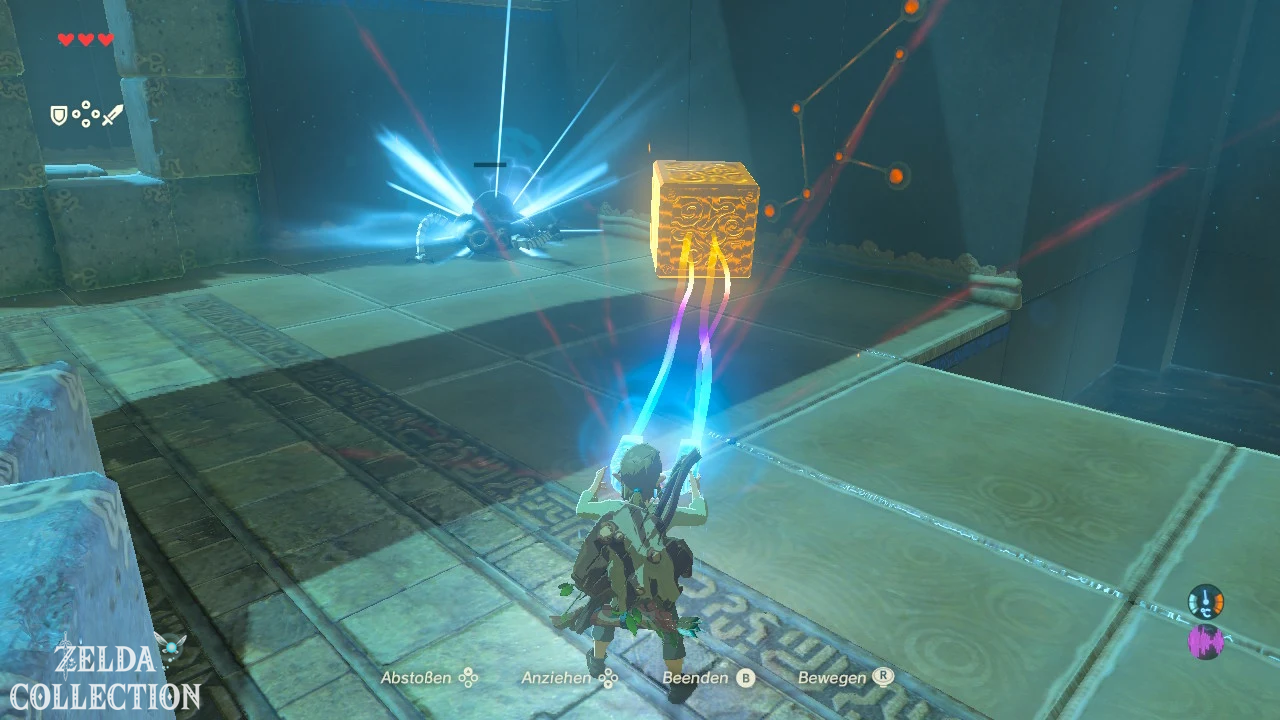
The first little guard of the game is waiting behind it. You can fight him normally with your weapon, but the magnetic module already shows how freely Breath of the Wild uses its puzzle mechanics: Grab a heavy metal block and let it fall on the guard or push him back with it. After the battle, collect the ancient materials – even the smallest Guardian parts will be interesting for equipment, upgrades and sales later.
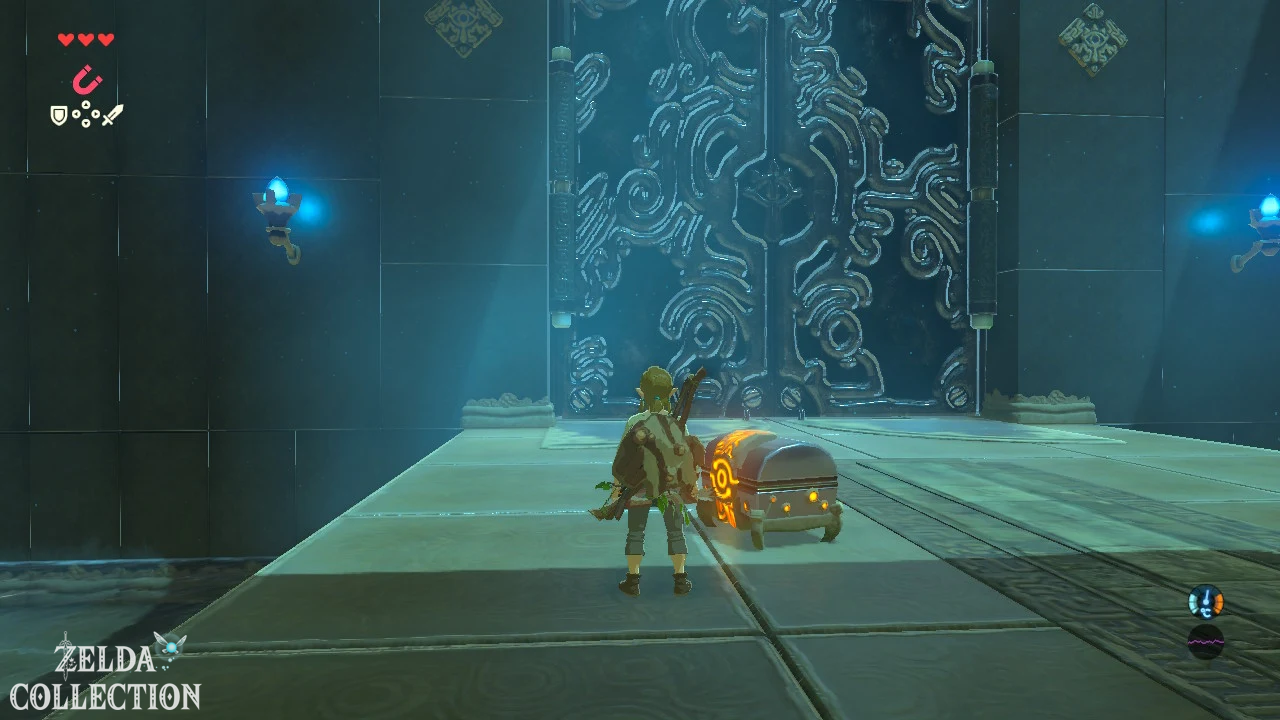
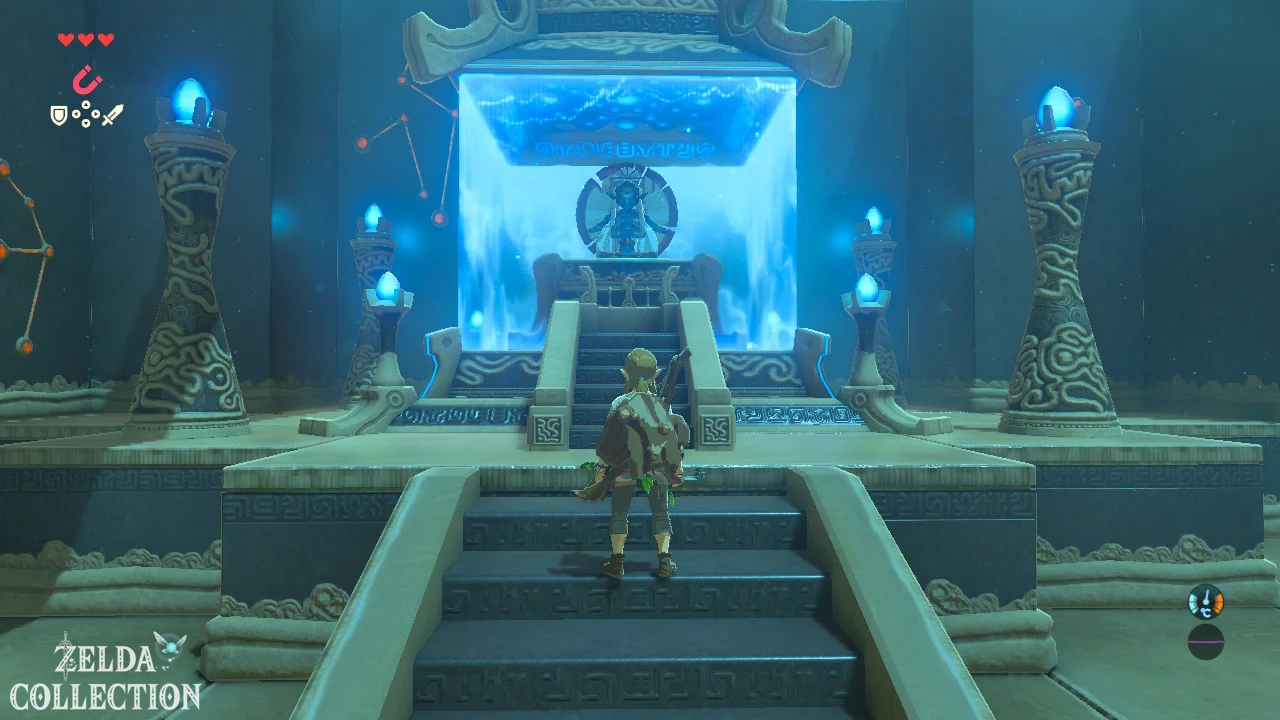
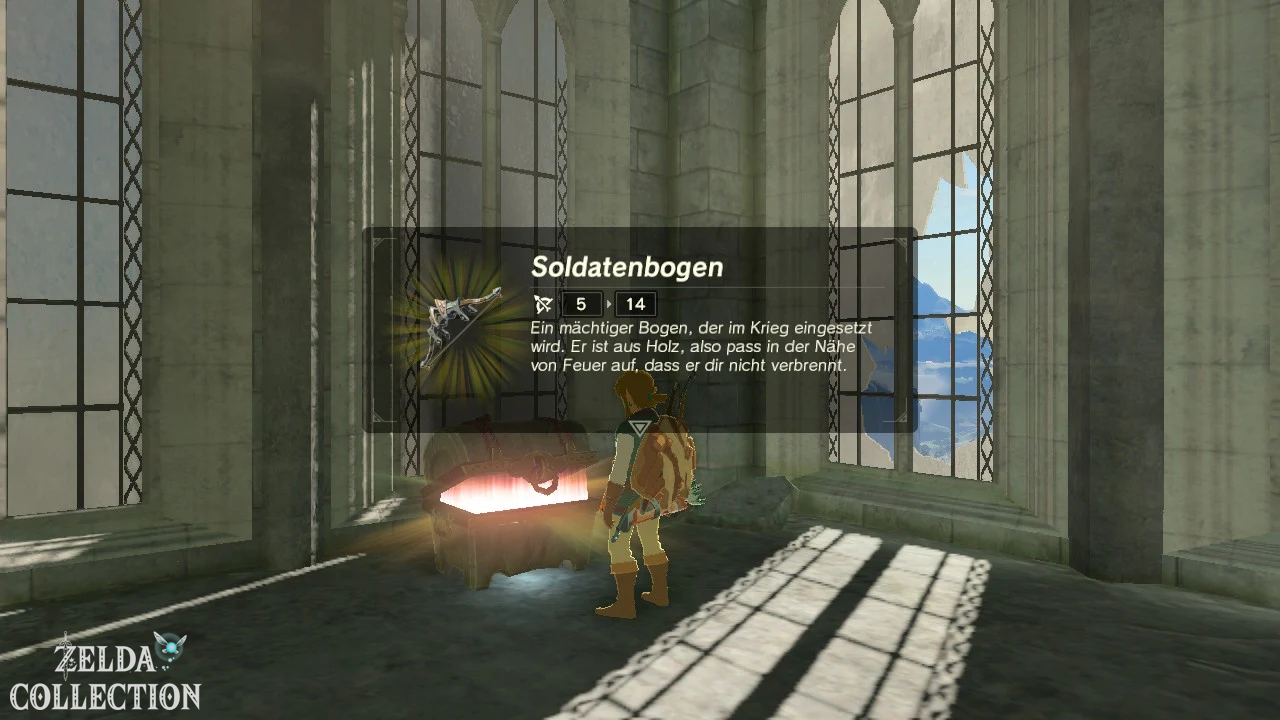
Cross the first metal plate and then use the magnetic module to turn it so that it bridges the next abyss. Before you go to the exit, look to the top left. A metal Treasure Chest stands on an elevated platform. Pull them towards you with the magnetic module. Inside lies a travel bow, which is considerably more useful than the simplest bok bows on the plateau. Then lift apart the two large metal doors in front of the altar and talk to the priest Oman Au. You get your first Spirit Orb.
[DLC] Rupee right before Oman Au
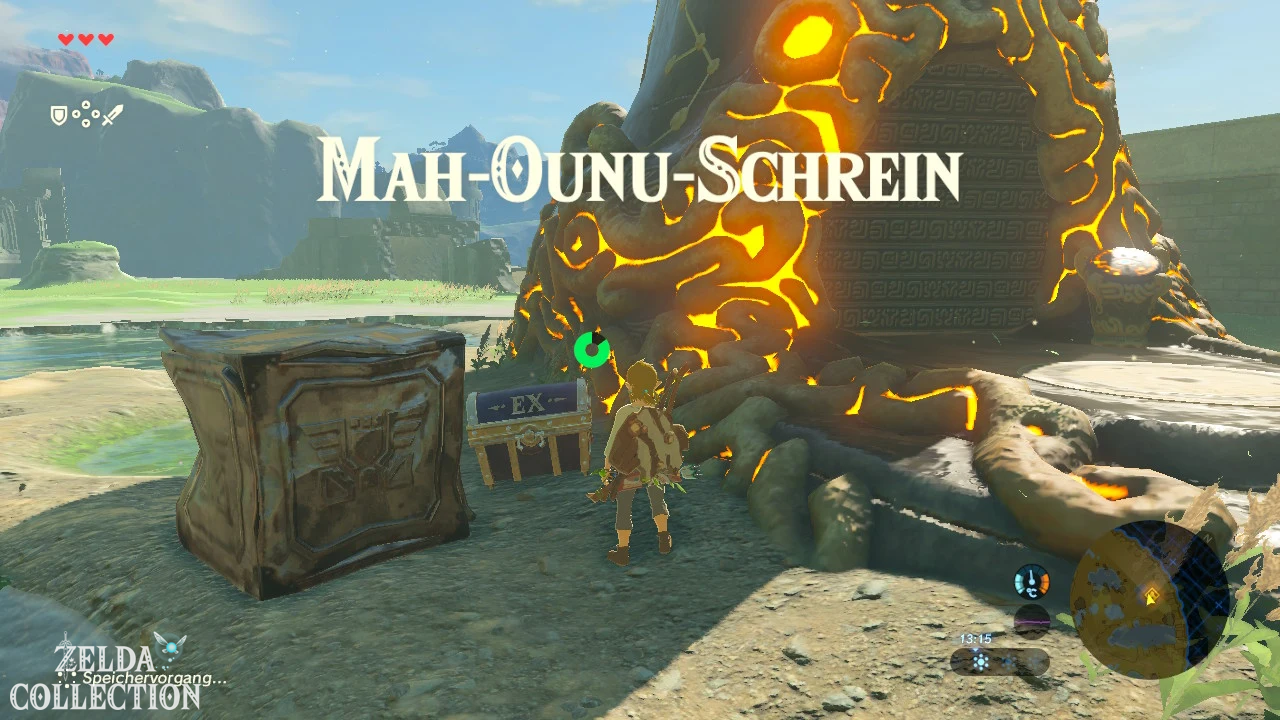
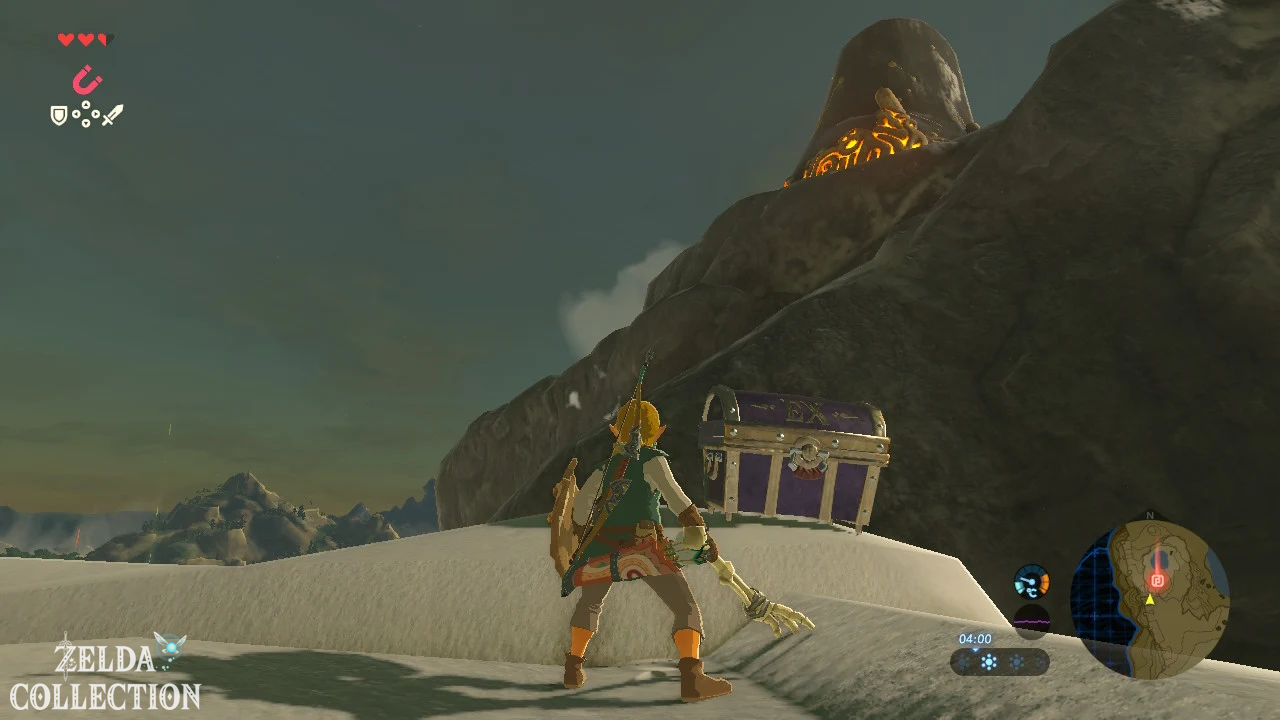
[Optional – DLC] If you have the expansion pass, there is a purple Treasure Chest with large EX lettering right next to the Oman Au Shrine. Inside is a Rupee. Be sure to take him with you. The gemstone is a valuable cash reserve, especially in the beginning, even if we generally won’t sell high-quality gemstones indiscriminately right away – some will be needed later for armor upgrades and jewelry.
There are a total of three of these bonus boxes on the Great Plateau. The other two are at Ja Baij and Keh Namut and are automatically taken along on our normal route.
Optional: Two Treasure Chests and two Koroks at Oman Au
[Optional – recommended] Now that you have the magnet module, it’s worth taking a quick walk around the shrine. There are two metallic Treasure Chests in the water west of Oman Au. Activates the magnetic module, pulls both out of the water and opens them. You get amber and opal. Gems are an excellent emergency reserve for Rupees in the first few hours, but keep a few for later armor upgrades if possible.
At the southern end of the small body of water you will also see a hollowed out tree stump with a heavy metal ball on a chain. Grab the ball with the magnetic module and place it in the opening of the trunk. A Korok appears and gives you another Korok Seed. There are also two large rocks to the west of the shrine with a smaller stone between them. Lift the small stone and you will immediately find the next Korok. Together with the Water Lily Korok from Chapter 1, you already have three seeds before you have even left the plateau.
The three remaining shrines from the tower mark
After leaving Oman Au, the old man reappears and changes the terms of his deal: he now wants the treasures or symbols for the Paraglider all four shrines of the plateau. Therefore teleport yourself directly to Tower of the plateau. Open the map, select the tower and confirm fast travel. The old man is already waiting at the top and explains the binoculars and the map markings to you.
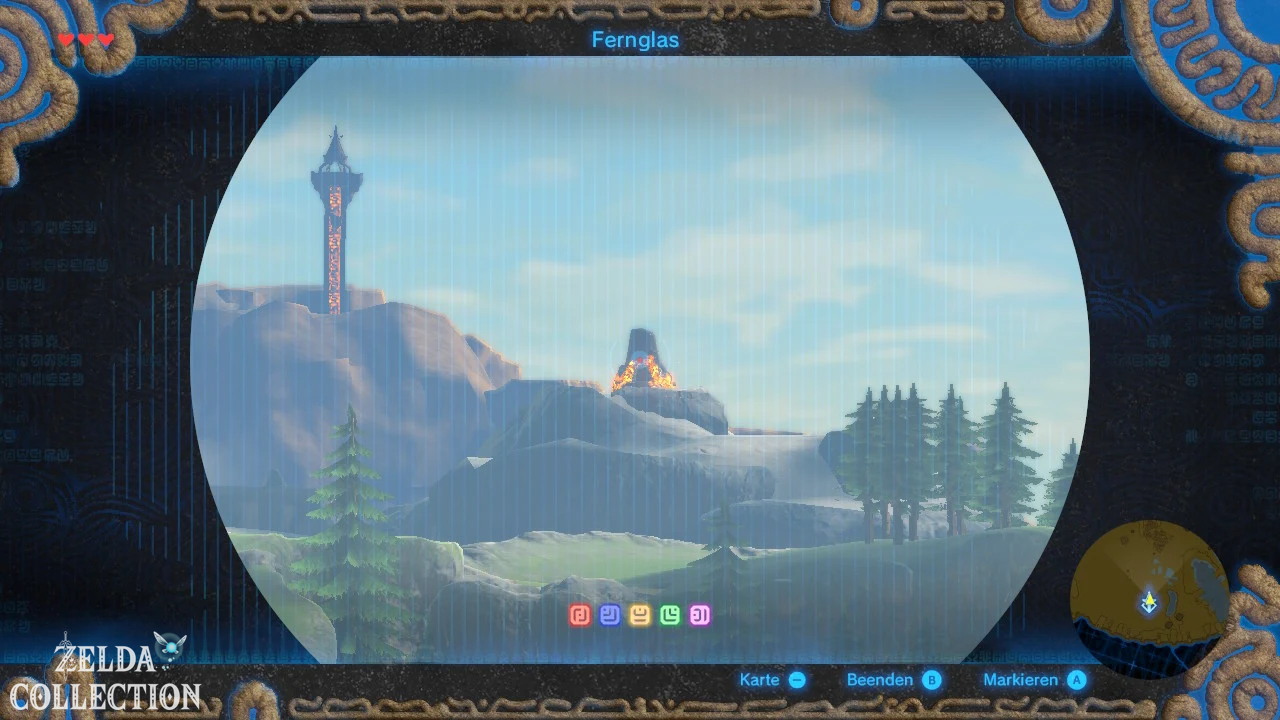
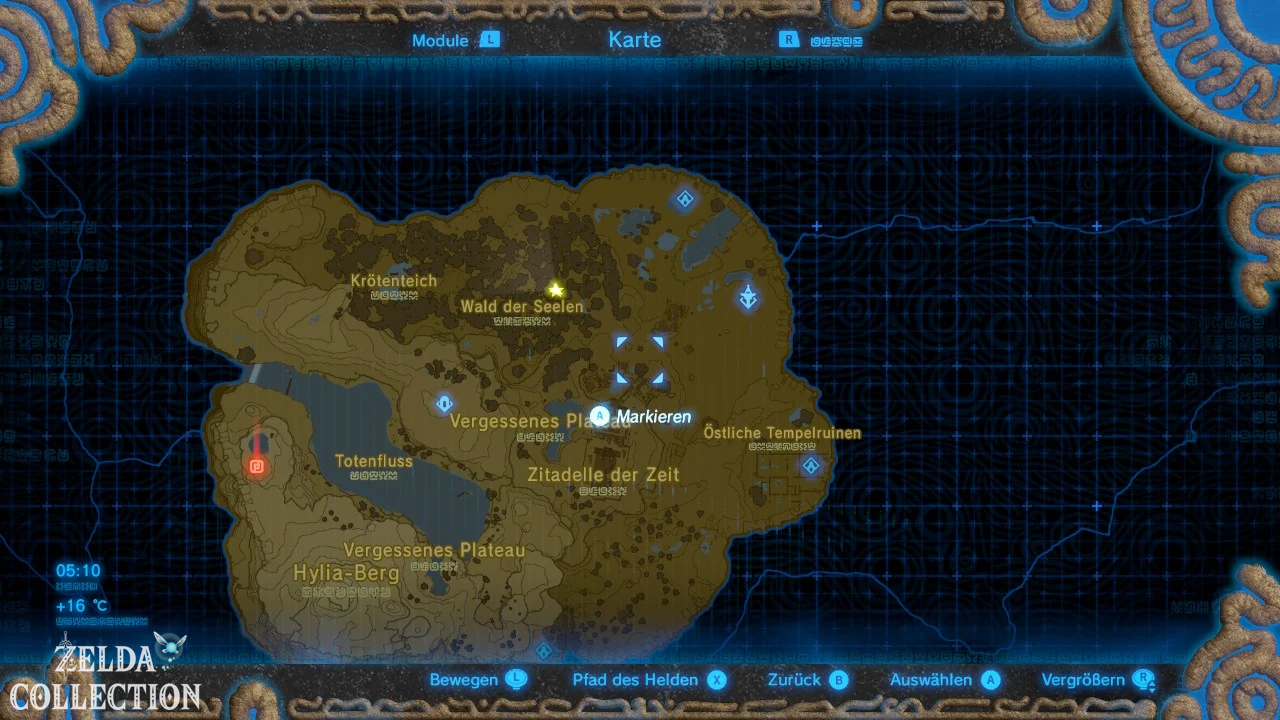
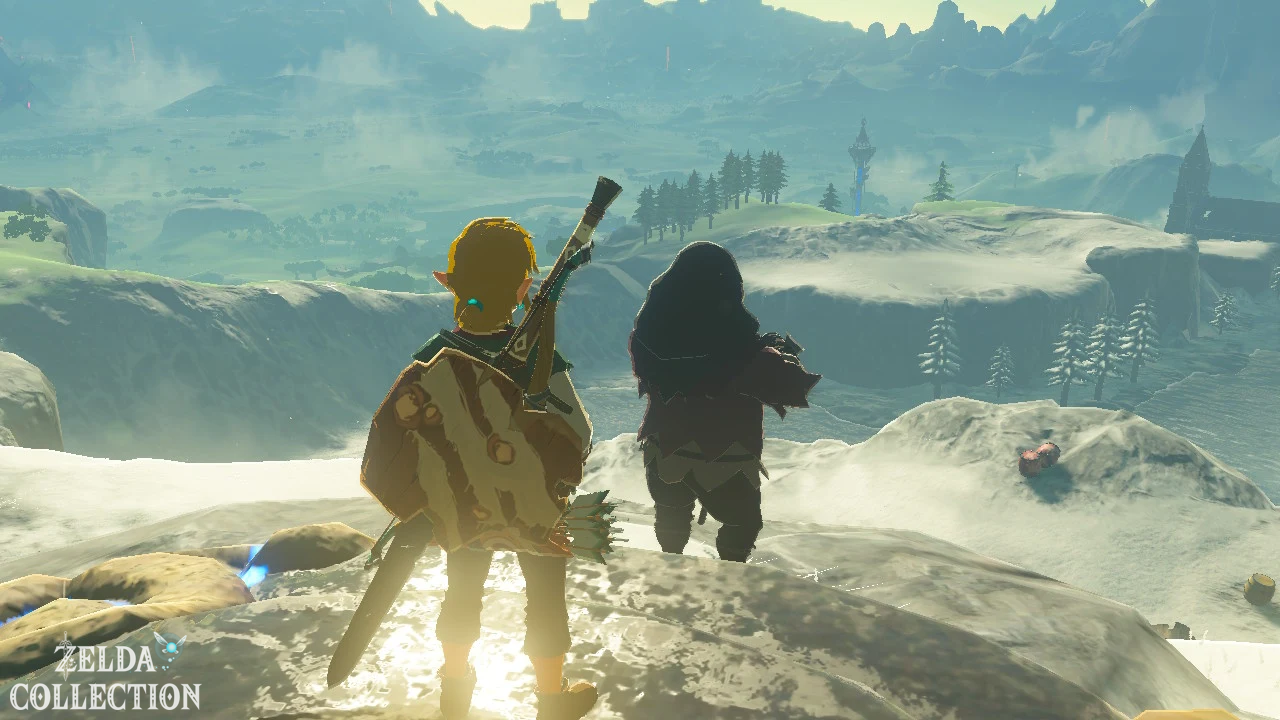
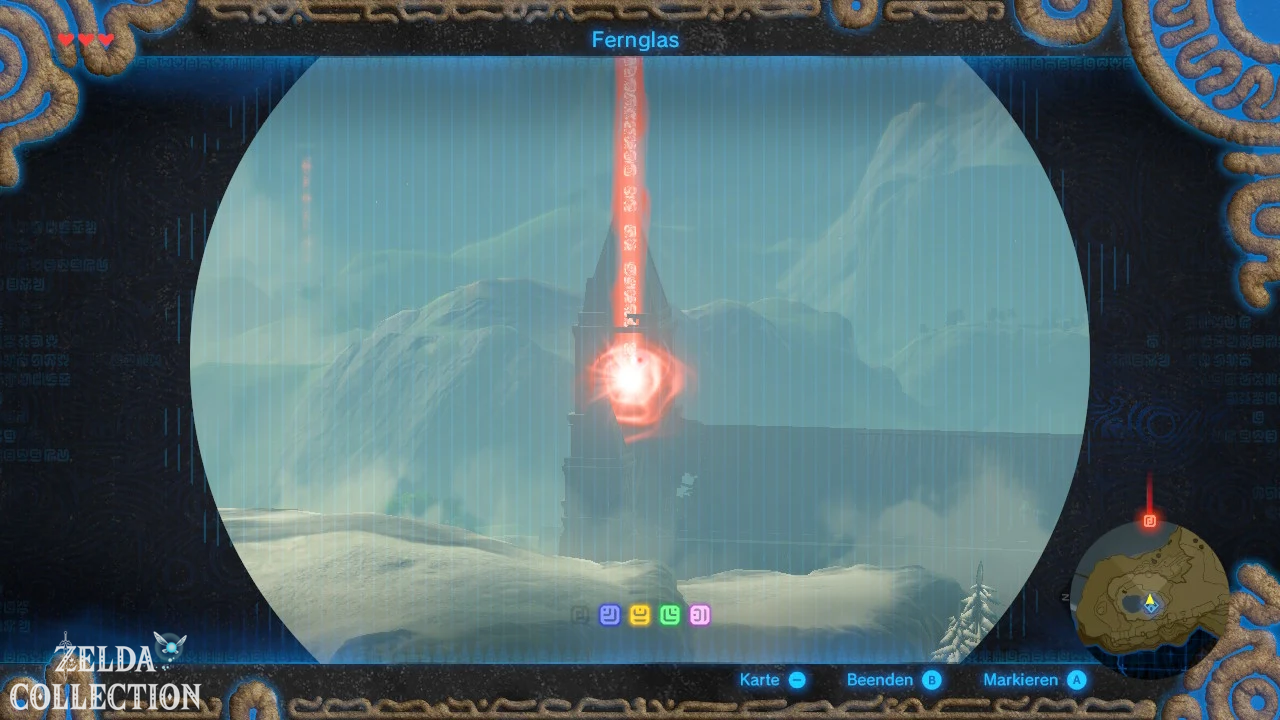
Activate the binoculars and look for the three shrines that glow orange. Ja Baij is located south or southeast in the ruins of the eastern abbey. You can see Owa Daim to the southwest on an elevated rocky plateau. Keh Namut lies far to the west in the snowy mountains. Place a colored pin on all three. You should stick to this method for the rest of the Walkthrough: We mark interesting shrines, towers and eye-catching places from a distance from towers, mountain peaks or other vantage points.
Next we take Ja Baij. That’s where we get the bombs, and infinitely usable bombs make both enemy camps and several Korok puzzles on the rest of the plateau much easier.
To the Eastern Abbey and Ja Baij Shrine
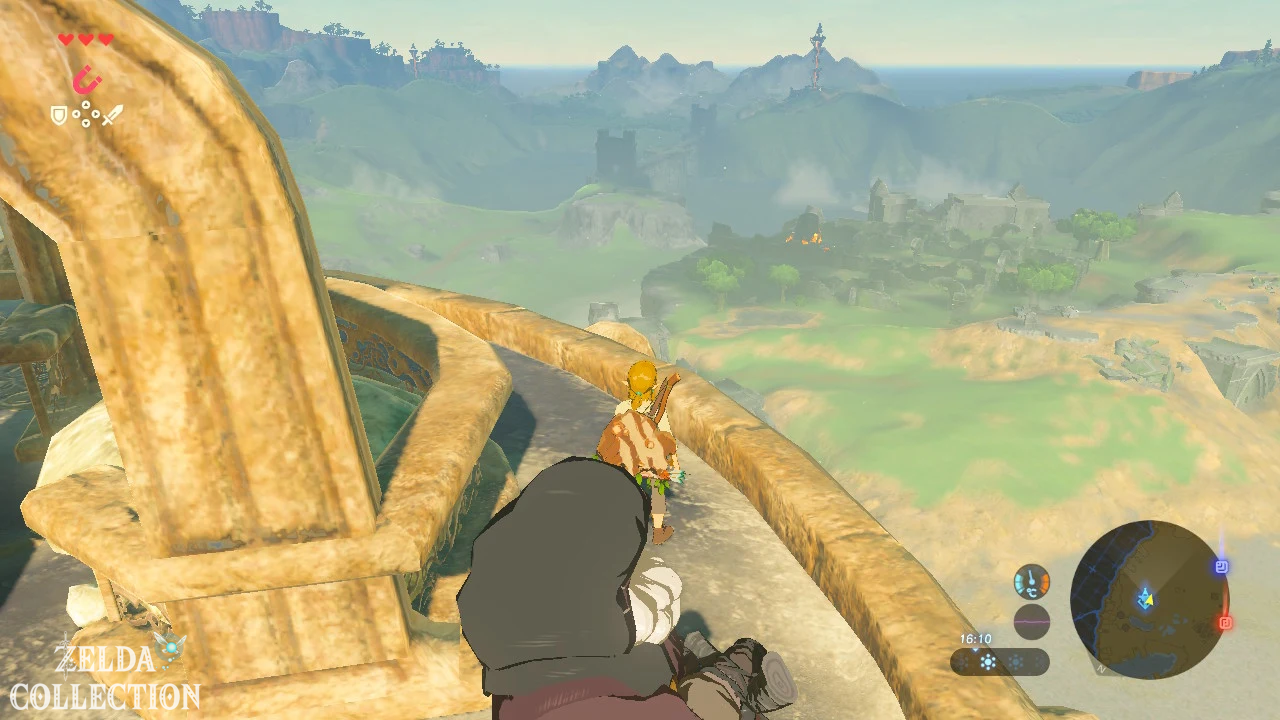
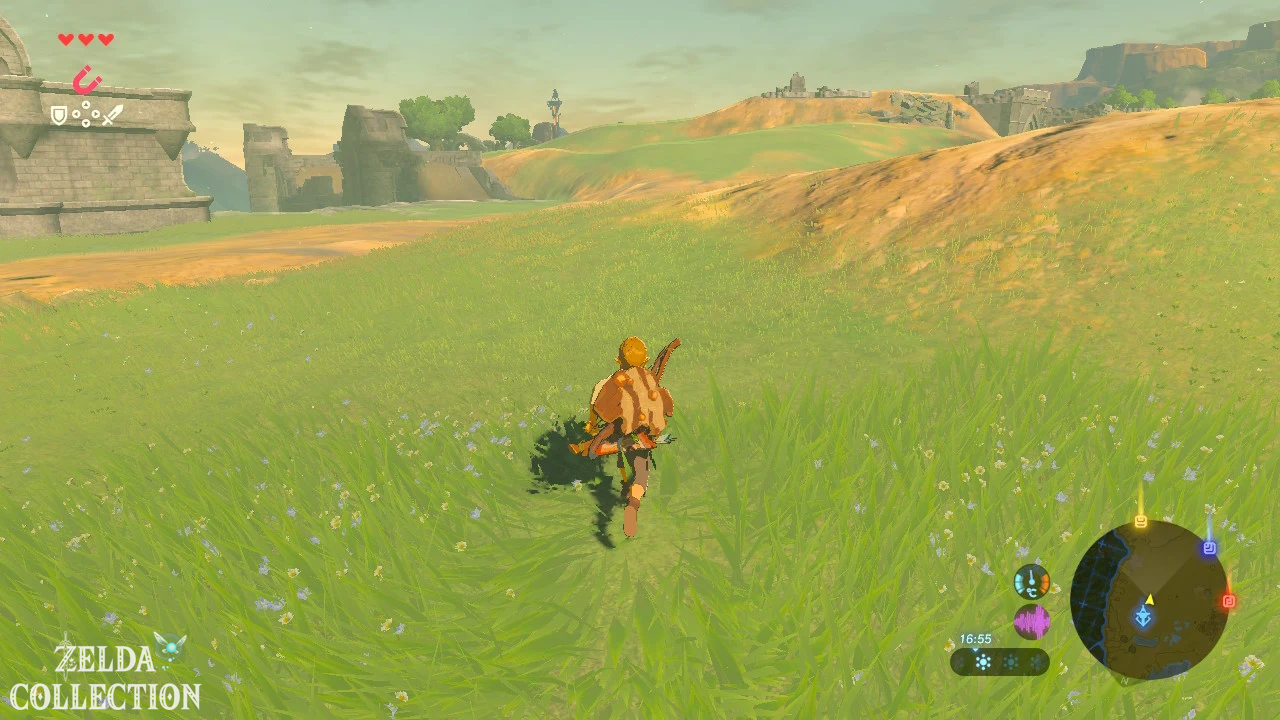
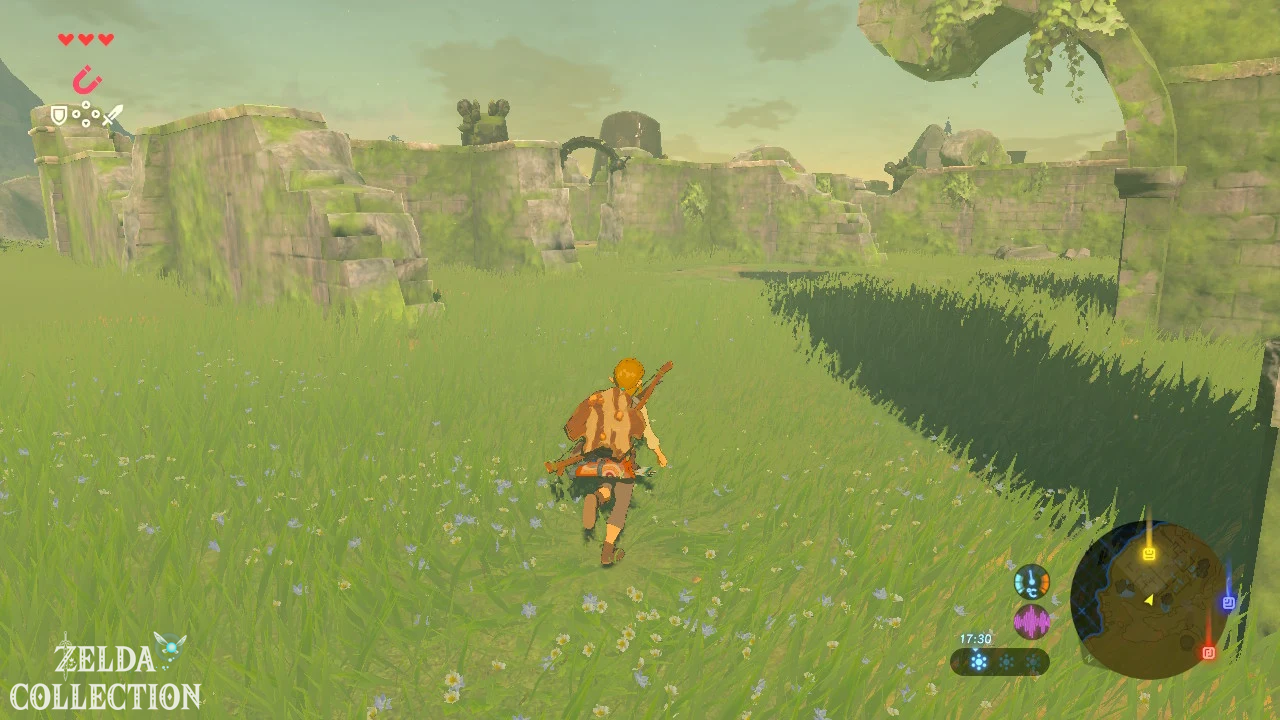
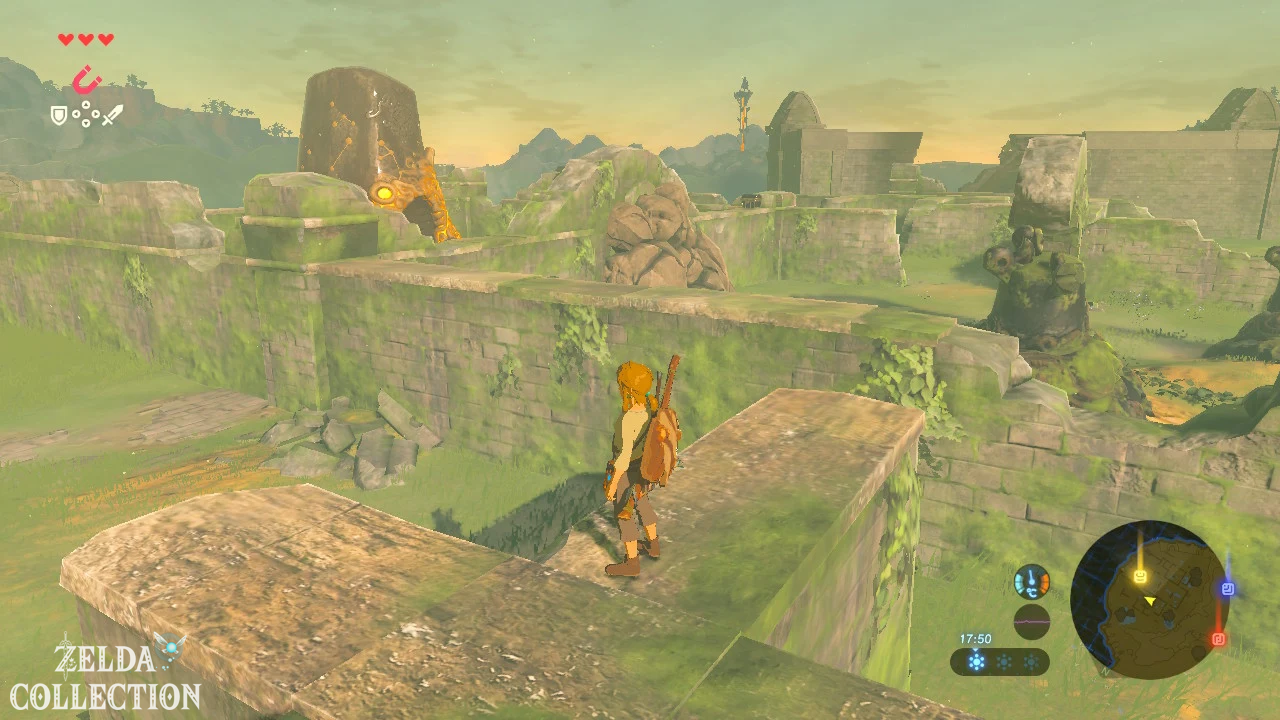
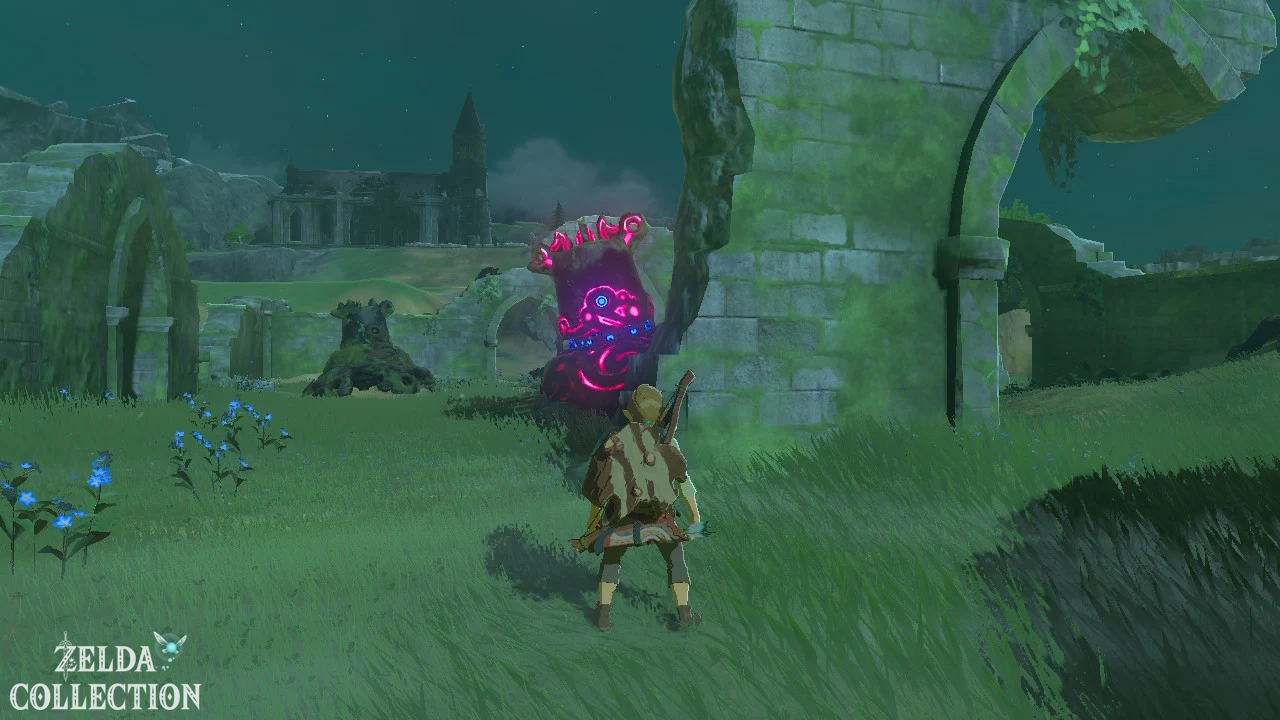
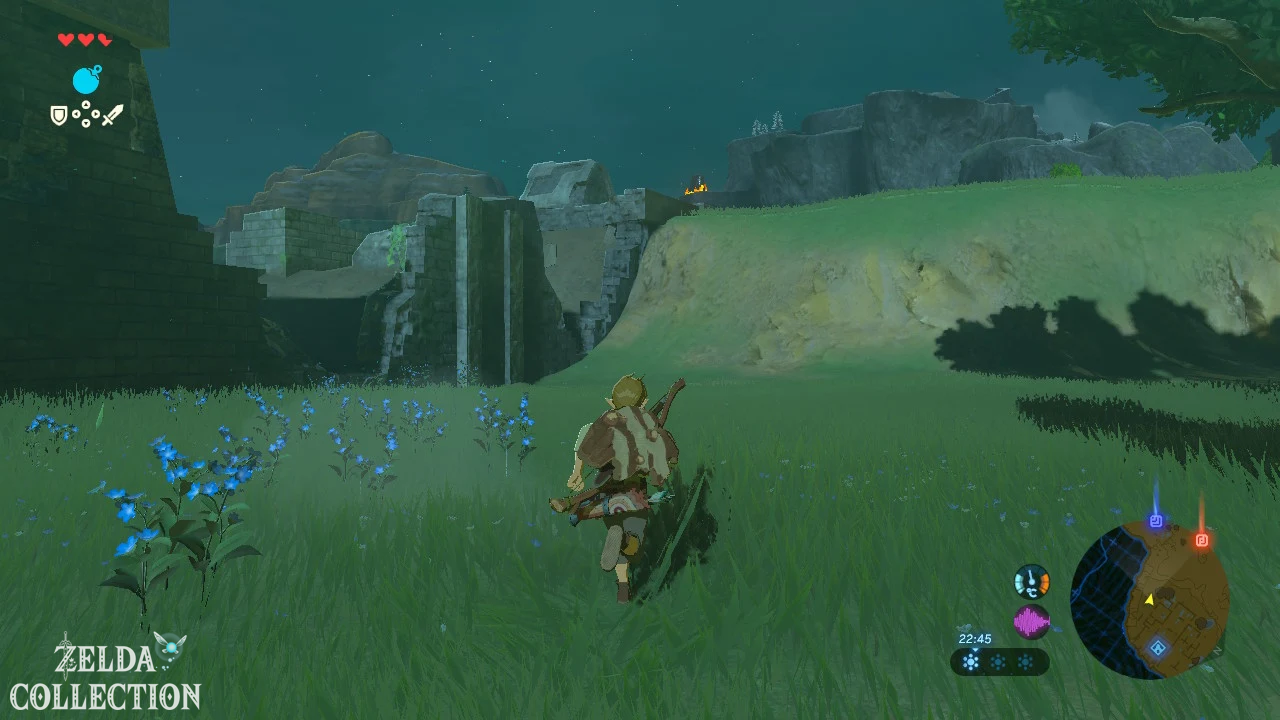
Climb carefully from the tower and walk south to the eastern abbey. The ruins are full of motionless guards. Many of these are actually destroyed, but some can lock onto Link and take out Link almost instantly with a single laser hit. Watch out for the red aiming laser light and don’t try to heroically fight a fully functional Guardian at this point. Instead, use the walls as cover and move between the ruins to the shrine.
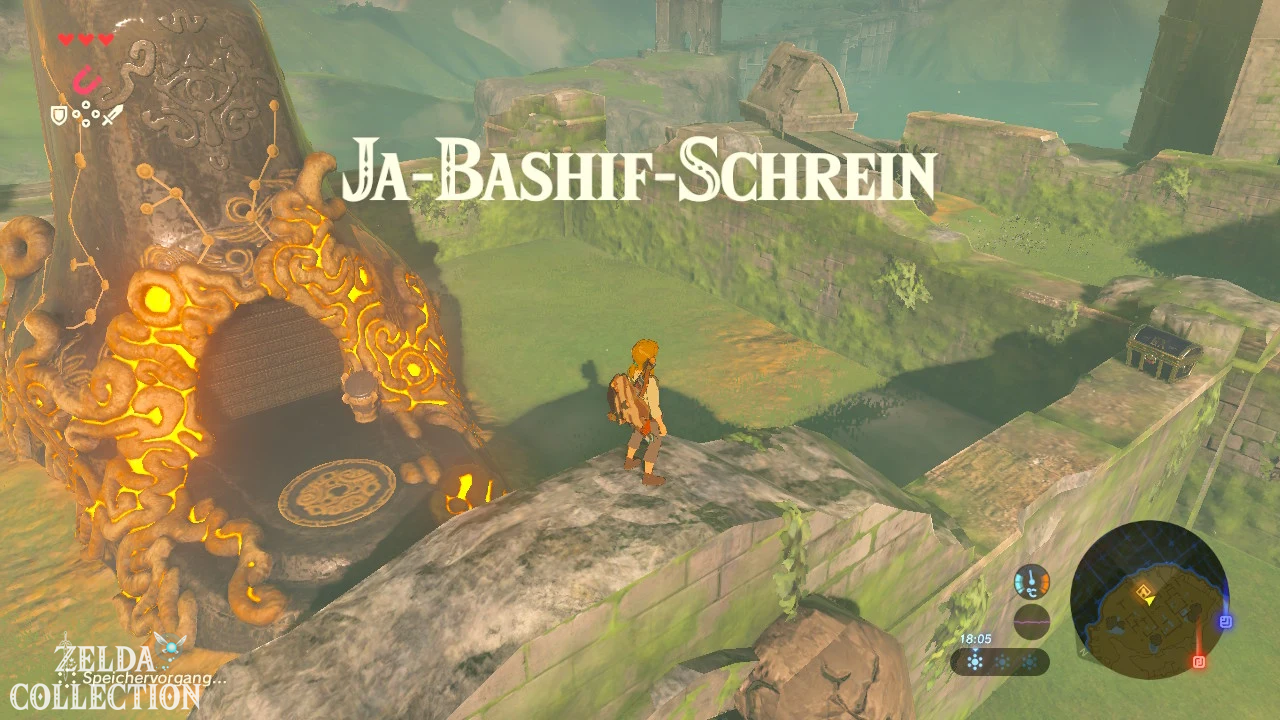
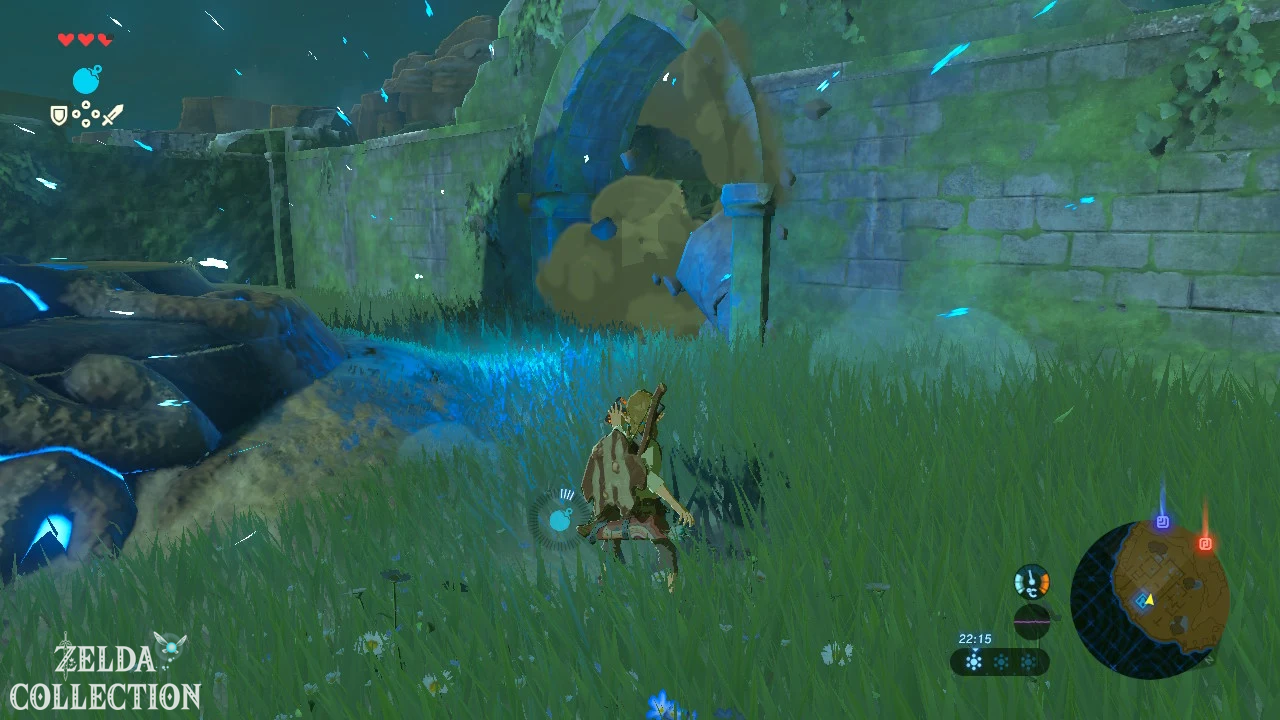
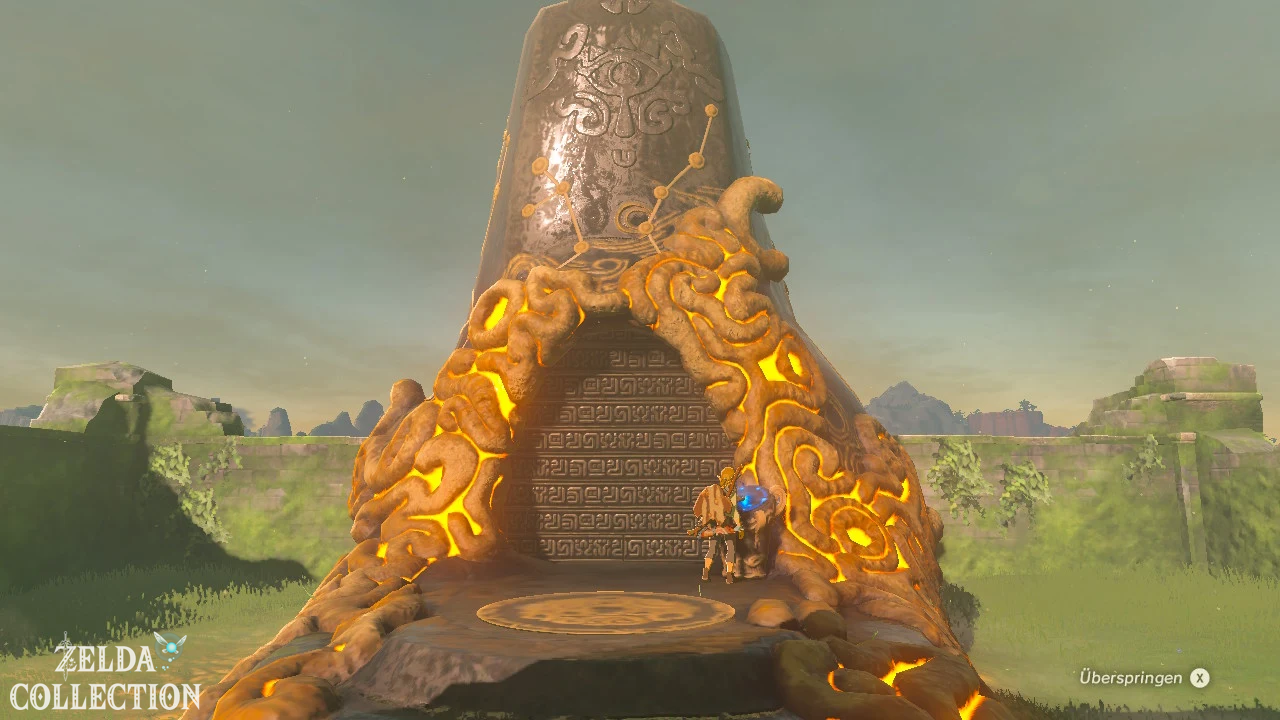
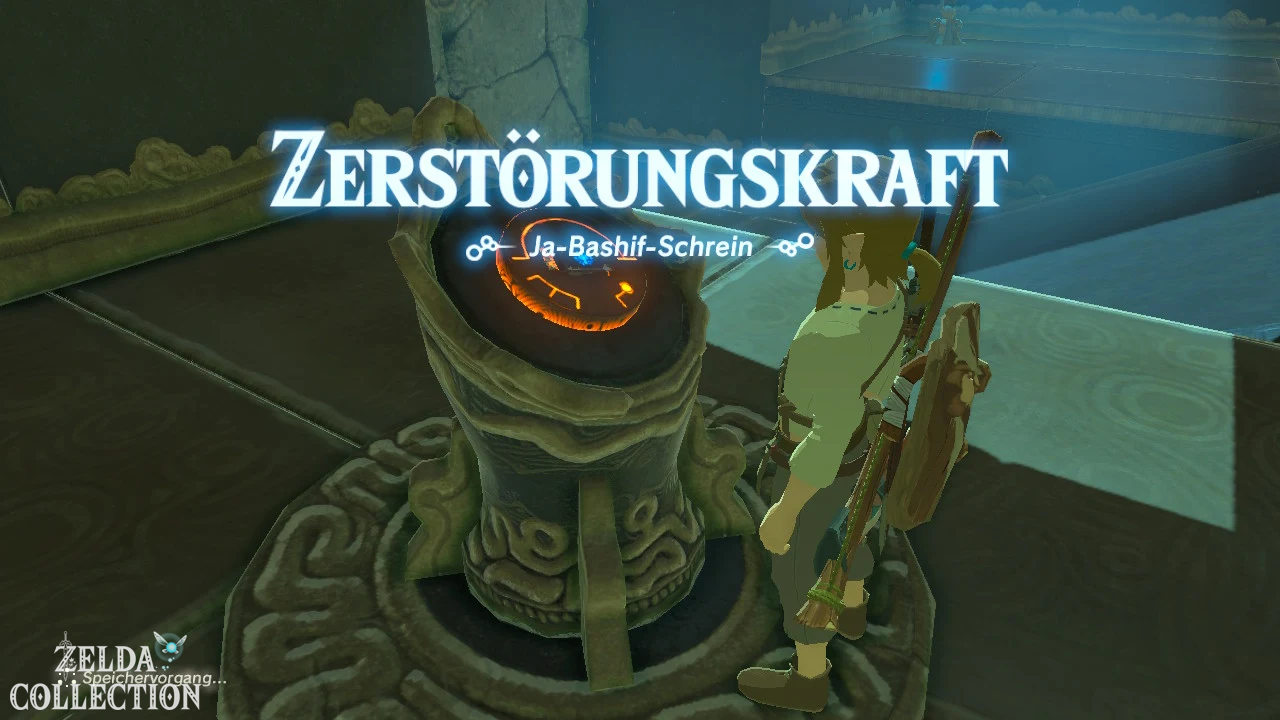
Once you have activated the terminal in front of Ja Baij, you have another safe fast travel point. Enter the shrine and load the Bomb Module onto the Sheikah Slate at the first terminal. You get two variants: spherical bombs roll over slopes, while cube-shaped bombs remain where they are deposited. Both can be generated any number of times; After each explosion you just have to wait for the short cooldown.
Ja Baij Shrine – Use bombs correctly
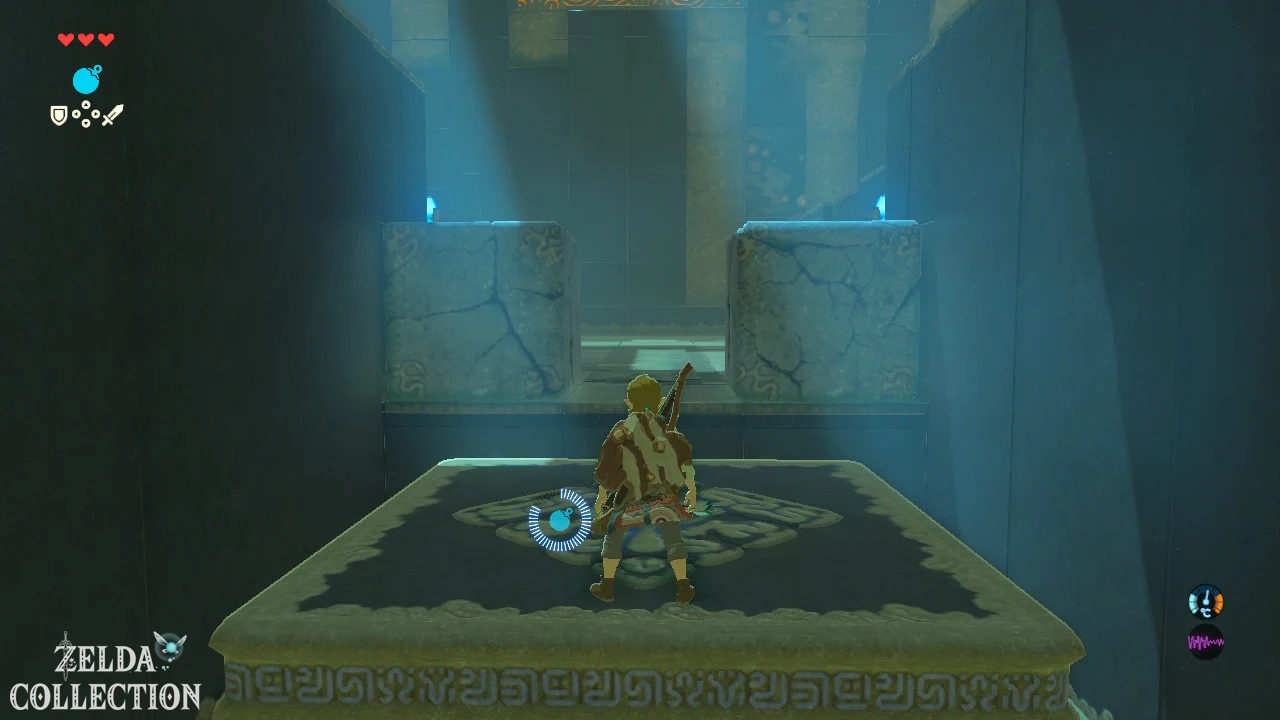
First blow up the brittle stone blocks in front of you. Behind the first junction, take the right path and destroy the cracked blocks there too. Behind it is a Treasure Chest with a travel two-handed sword. It deals excellent damage at this early stage, but is slower as a two-handed weapon and prevents Link from holding up a shield at the same time. Therefore, use it especially against opponents where you have enough space for long shots.
Go back to the junction, blow up the other blockade and climb the ladder. In the next room, a platform moves between you and another crumbling wall. Place a cube-shaped bomb on the platform and detonate it as soon as it hits the wall. Then drive over yourself.
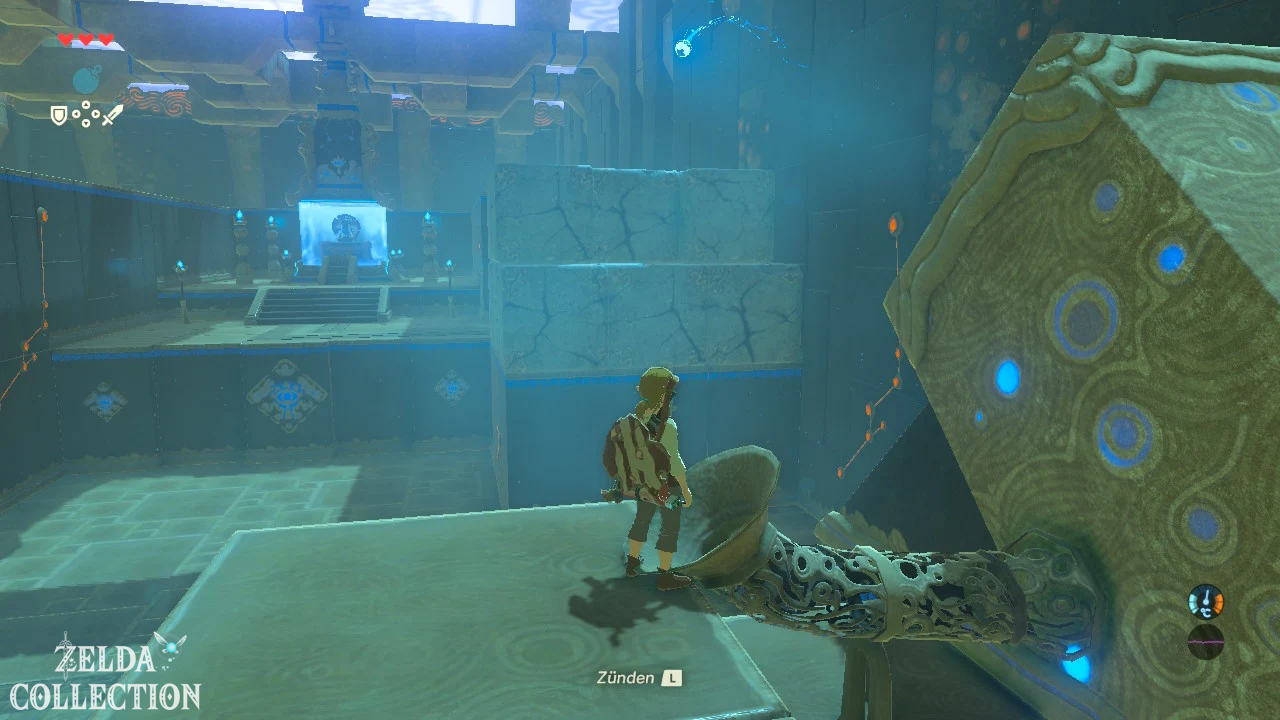
In the last large room, two catapult mechanisms show you another use for the bombs. On the left side you can stand on the launch platform and let it be thrown to the Treasure Chest. Inside is Amber. On the right side, place a round bomb in the funnel-shaped tube. It rolls in front of the catapult arm, is shot to the other side and can be ignited there in the air or after landing. Blow up the last stone wall, climb up to the priest and take the second Spirit Orb.
[DLC] Nintendo Switch Shirt at Ja Baij
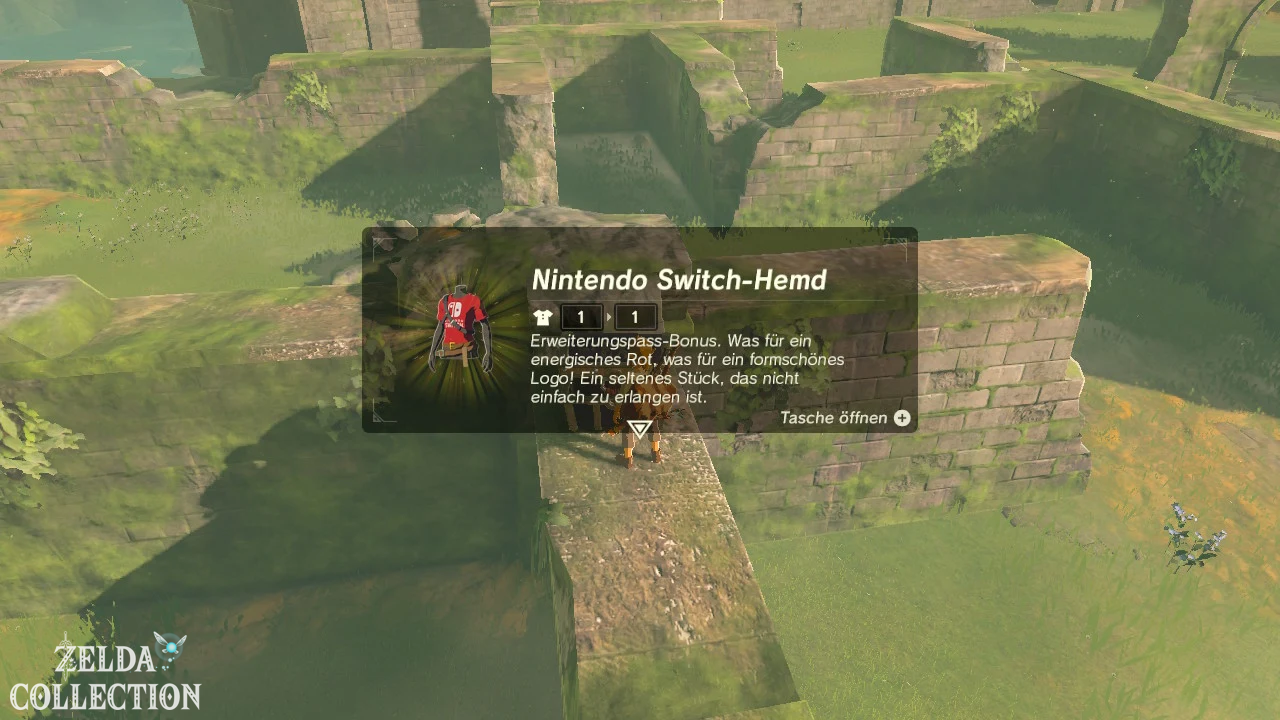
[Optional – DLC] Directly in the area around the Ja Baij Shrine is the second purple EX treasure chest on one of the ruin walls. Inside is the Nintendo Switch Shirt. Its defense stats aren’t particularly impressive and it can’t be upgraded later with a Great Fairy, but it still belongs in the collection for a full DLC save. If possible, climb up from the safe side of the wall so that you don’t activate the guards in the eastern abbey unnecessarily.
Optional: Korok and Fire Arrows at the eastern abbey
[Optional – recommended] East of the Ja Baij Shrine there is a large metal door or plate on the ground on the edge of the plateau. Lift it with the magnet module. There is a small stone underneath, which you also lift up. The next Korok appears.
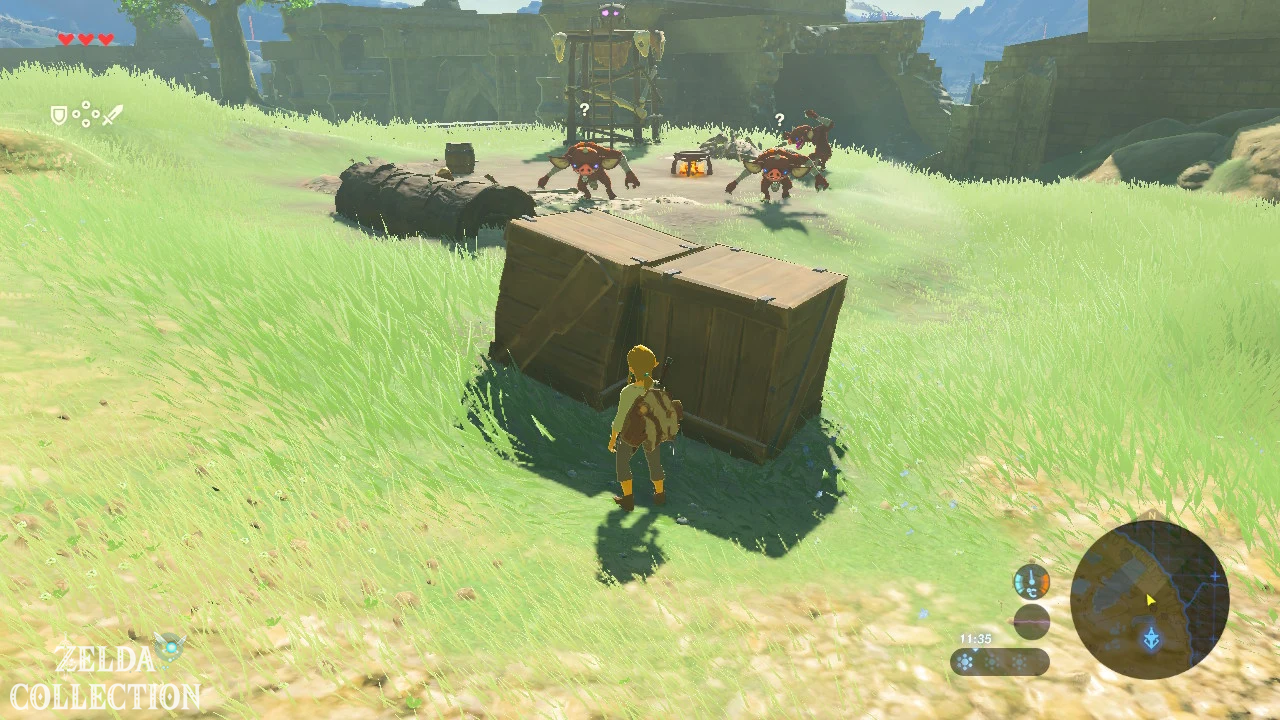
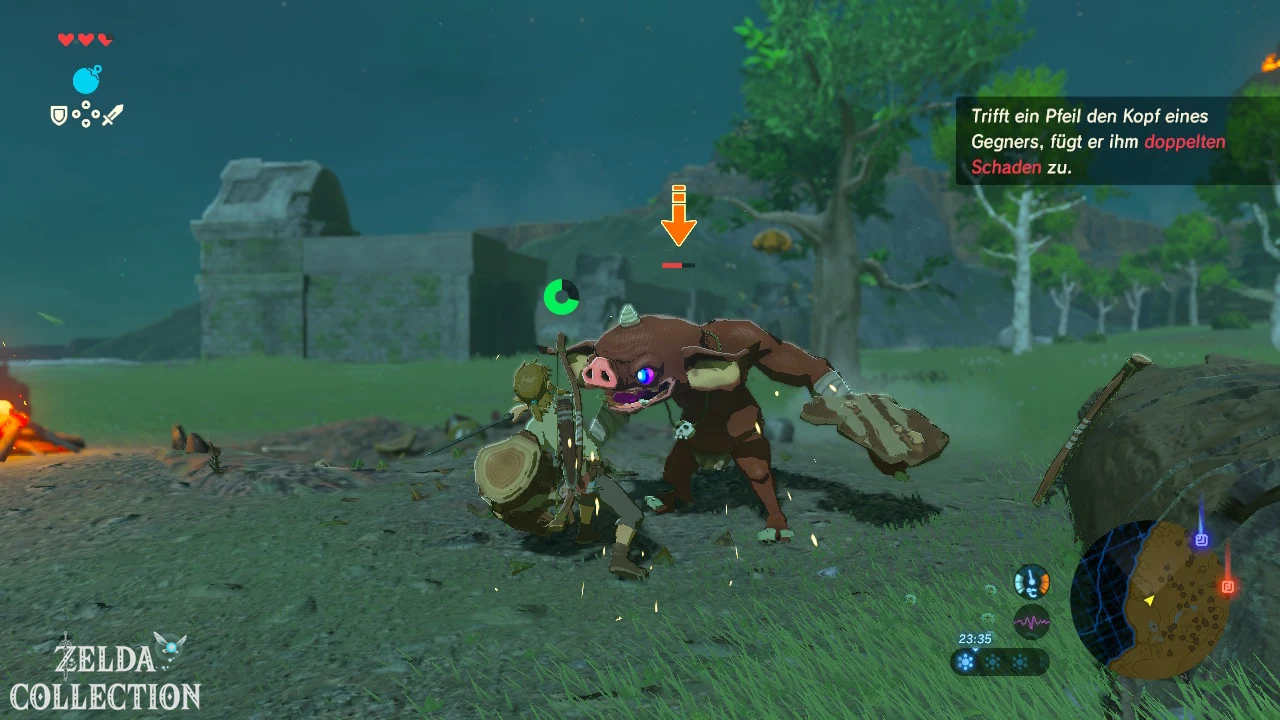
There is also a skull-shaped Bokoblin camp slightly west or northwest of the eastern abbey. Now that you have an infinite number of bombs, you can clear out the camp from above relatively safely: climb onto the skull and throw round bombs through one of the eyes. Wait for the Bokoblins to approach the bomb and detonate it. Pay particular attention to a stronger blue Bokoblin. After the victory, the storage chest opens and you get five Fire Arrows. Save at least one of these for the snowy region – we can use it to uncover an icy Korok later without a long campfire puzzle.
Optional: Forest of Souls and four more Koroks
[Optional – 100% route] Before moving to the old man’s hut and then to Owa Daim, we take a tour of the Forest of Souls. This detour serves two purposes: we take several krog seeds with us and hunt a wild boar for the winter doublet recipe. The forest lies north or northwest of the central plateau and can be reached from the eastern abbey without any special skills.
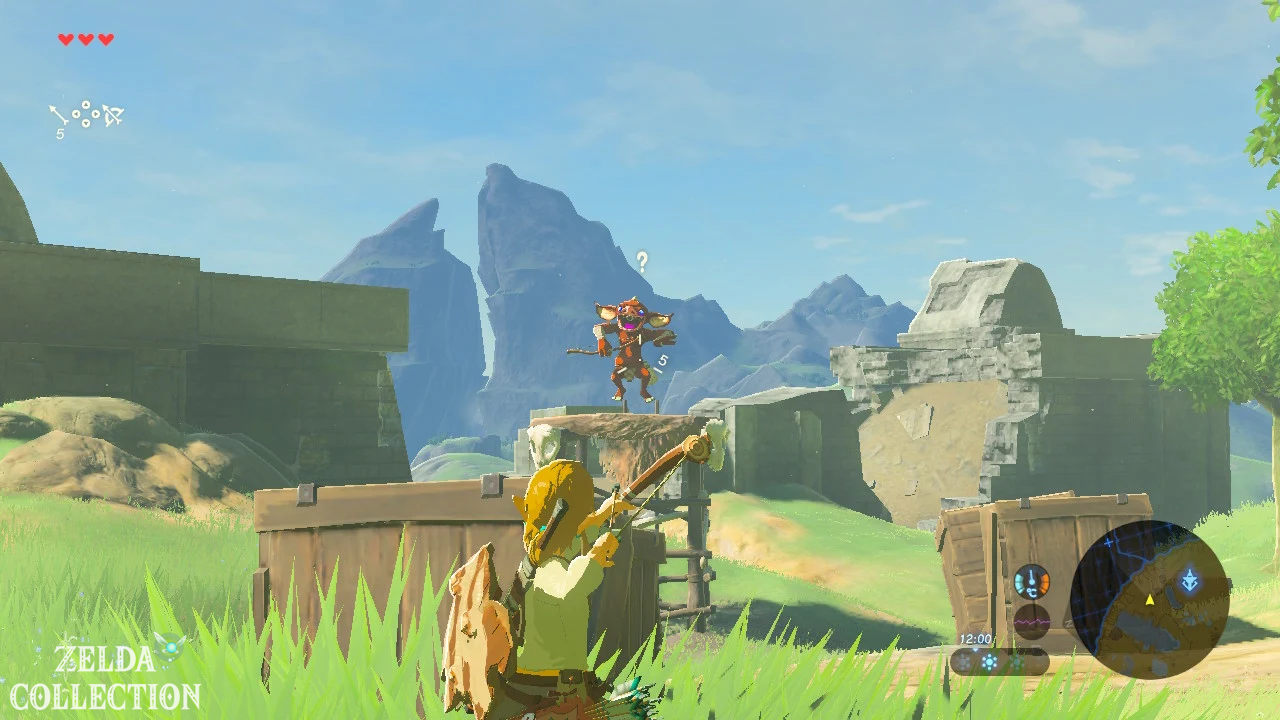
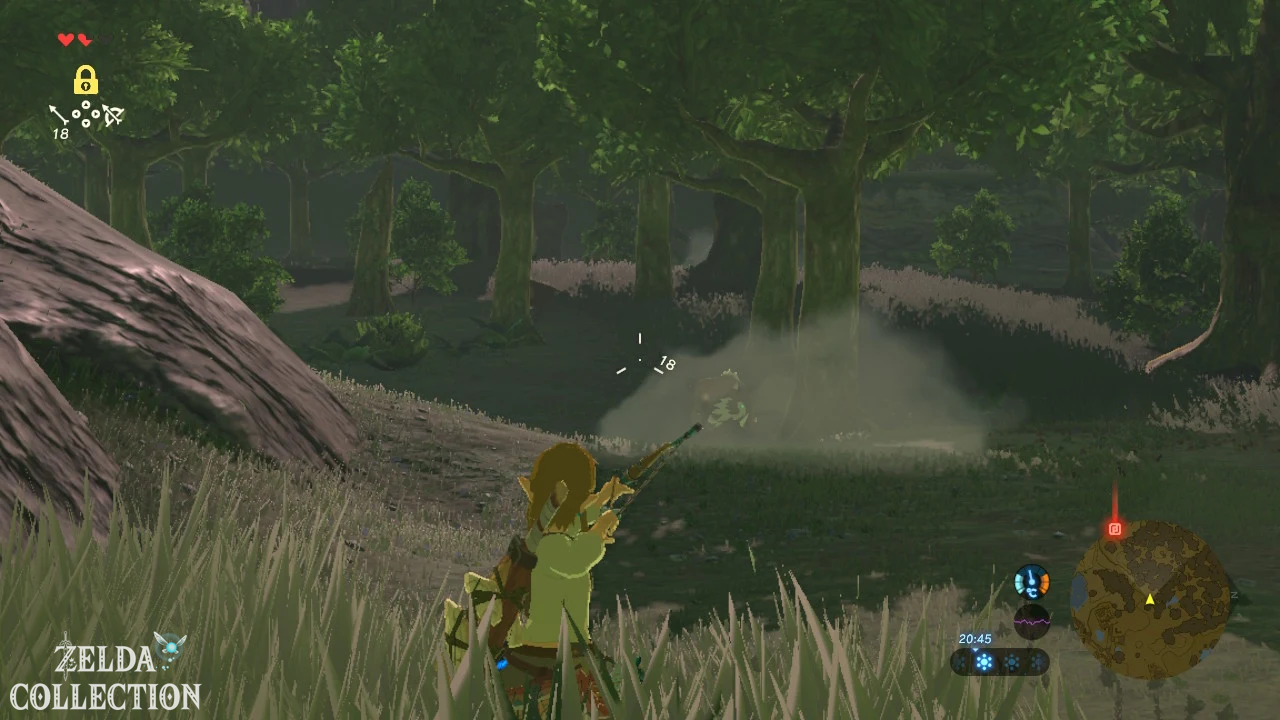
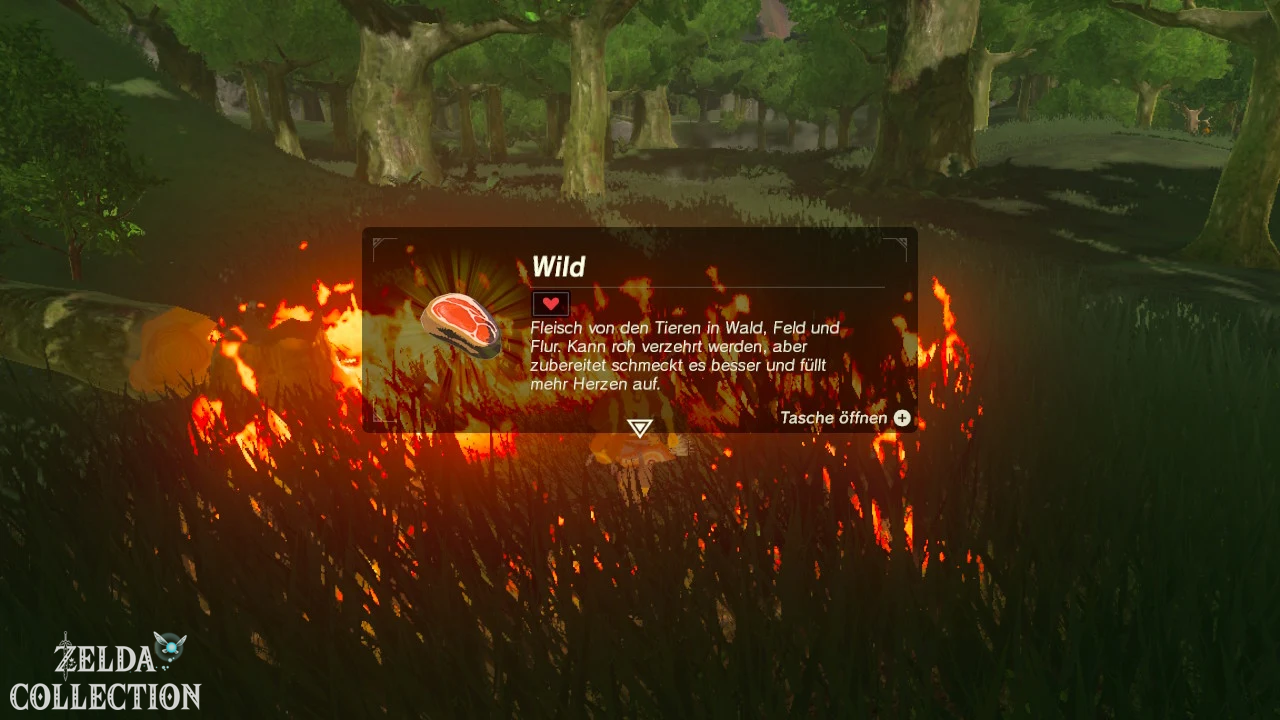
First, look for a wild boar. Pull out the travel bow and attempt a headshot from a distance. Wild boars flee quickly, which is why sneaking or a neatly placed arrow is more reliable than trying to run after them with a sword. Collect the dropped Wild – we need exactly one piece.
There are several Koroks in the forest, which can now be solved without any significant additional travel. On a raised formation northeast of the Shrine of Resurrection lies a Korok beneath a small stone. In the northern section of the forest you will find a huge fallen hollow tree trunk; follow the yellow flower inside and touch all the newly appearing flowers one by one. At the eastern edge of the forest, a tree with exposed roots stands above a pile of leaves. Blast away the leaves with a bomb and lift the stone underneath.
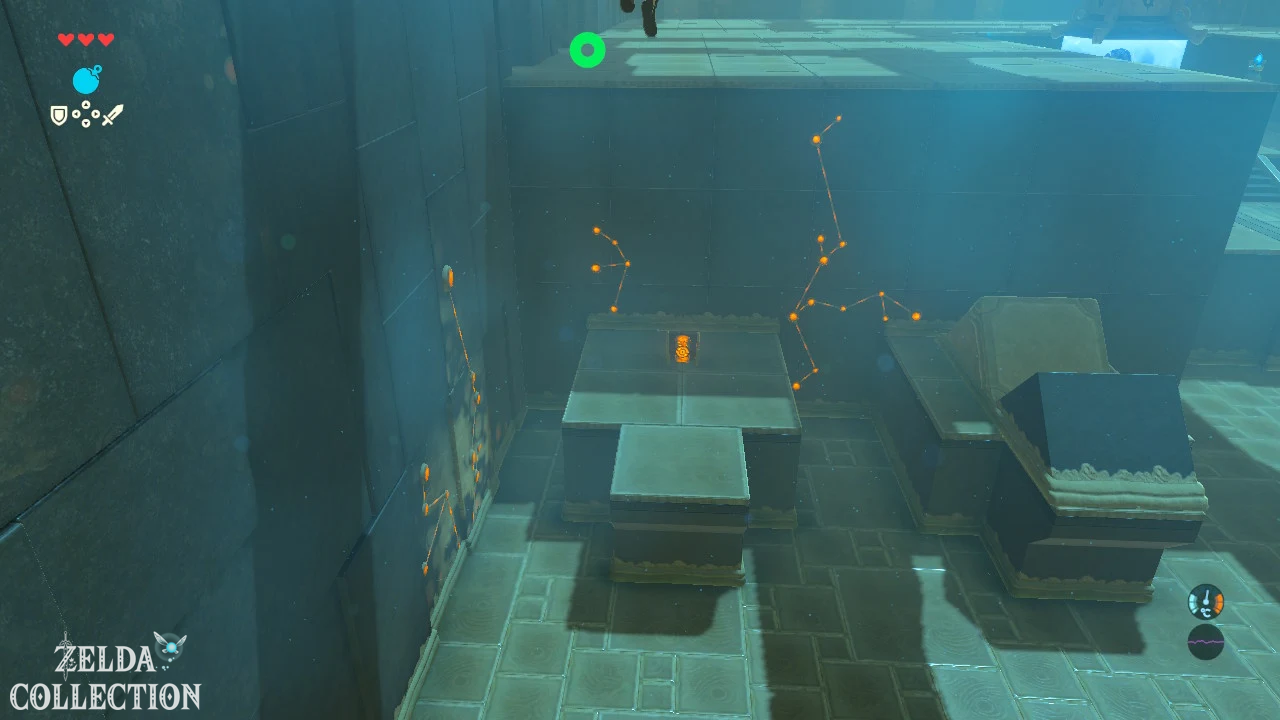
West of the pool or Hopper Pond there is also a metal block puzzle on a ledge. The individual cube must be placed on the opposite formation using the magnetic module so that both patterns look identical. The ledge is a little lower on the slope; Therefore, climb down carefully and pay attention to your stamina when climbing up afterwards. If you don’t dare to try this Korok without a Paraglider, you can easily do so after receiving the sail at the end of this chapter.
Get the winter doublet now
Cold protection is required for the two western shrines. You can immunize yourself against the cold for a few minutes with chili dishes, but for our optimal route we get the permanent winter doublet. This means you don’t have to pay attention to a timer running out or consume a lot of food unnecessarily.
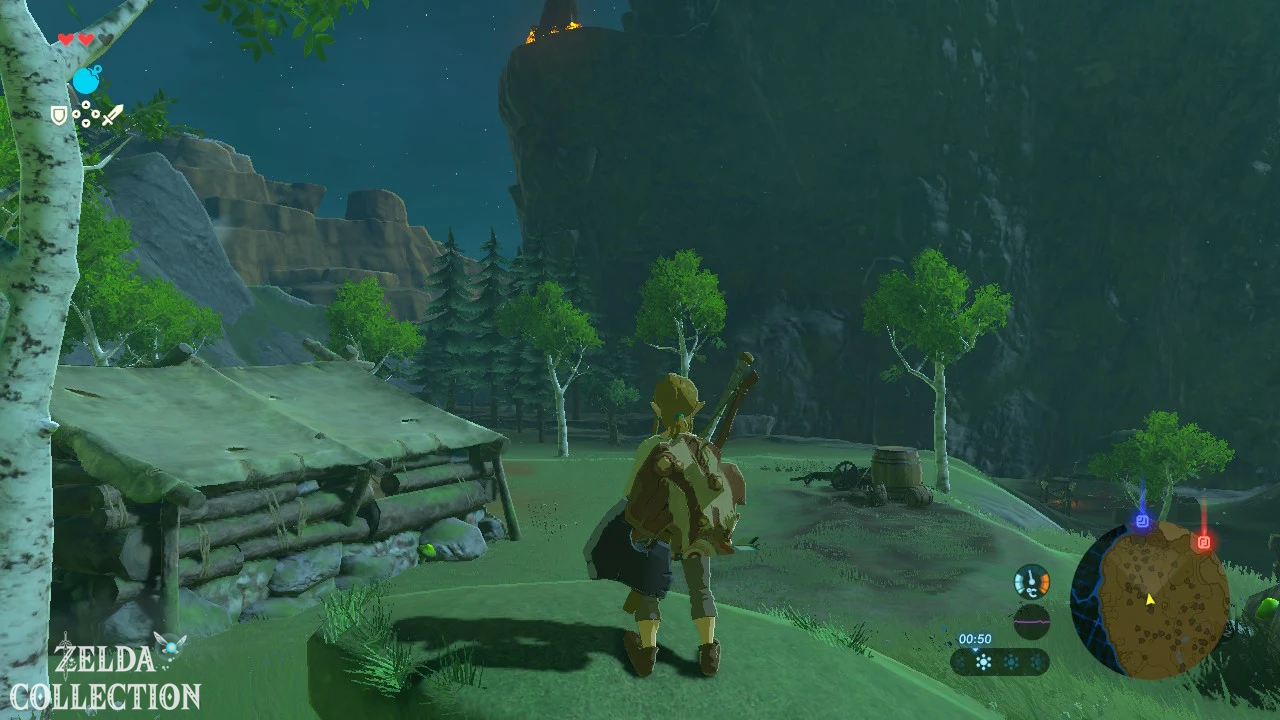
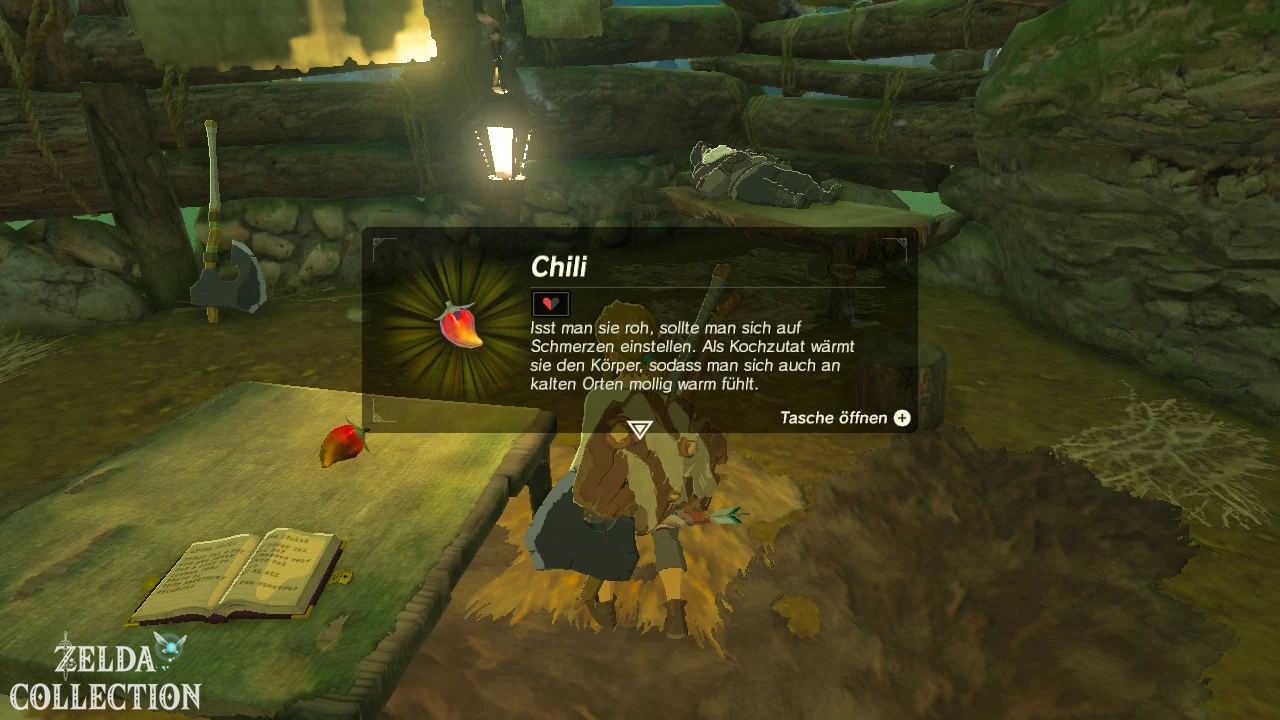
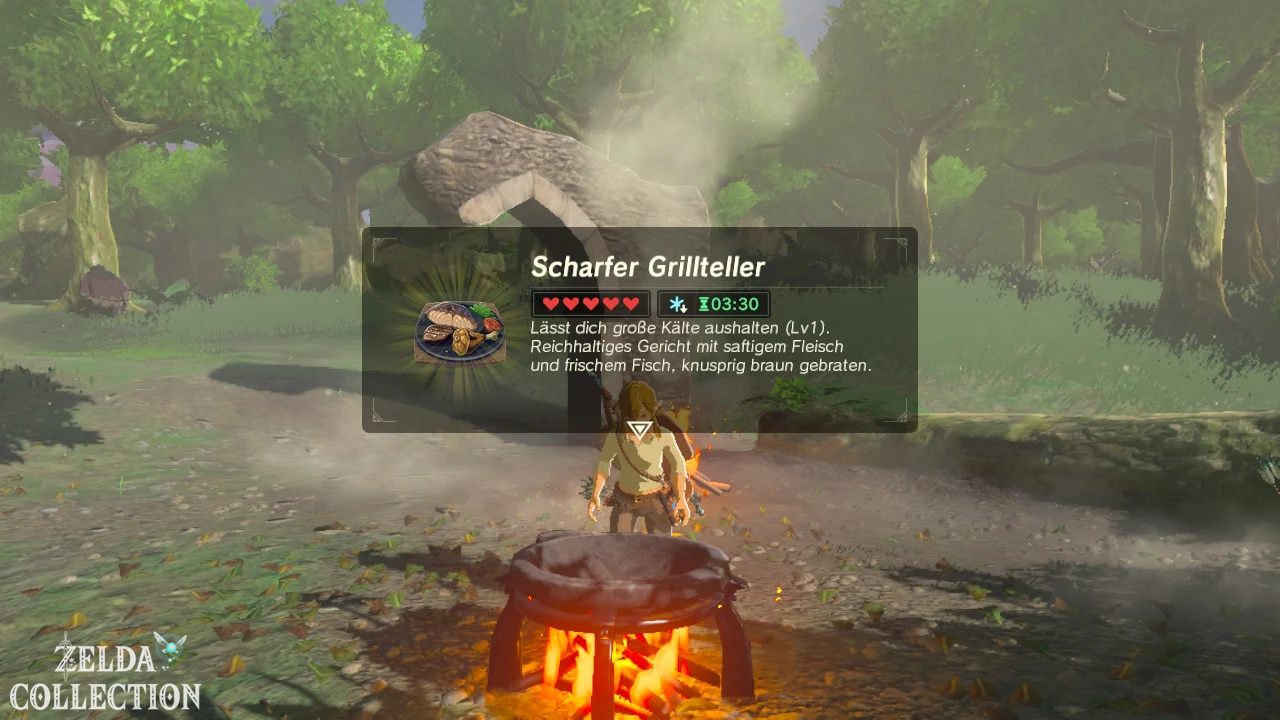
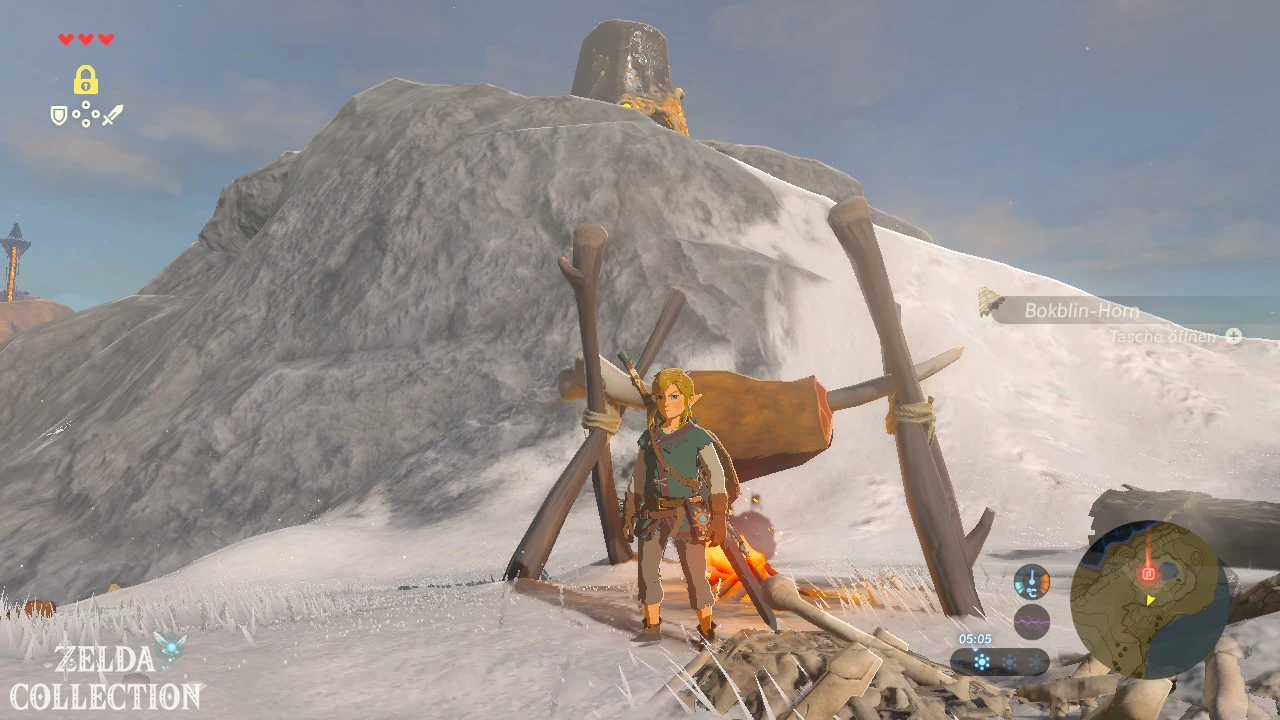
Go to the old man’s hut in the south of the plateau. First climb onto the roof: a small, glittering swirl of leaves moves along the edge of the roof. Examine or catch him and you will get another Korok seed. Then enter the hut and read the diary. The old man describes his “spicy grill plate” but has forgotten an ingredient. The full combination is:
- 1x Wild
- 1x Chili
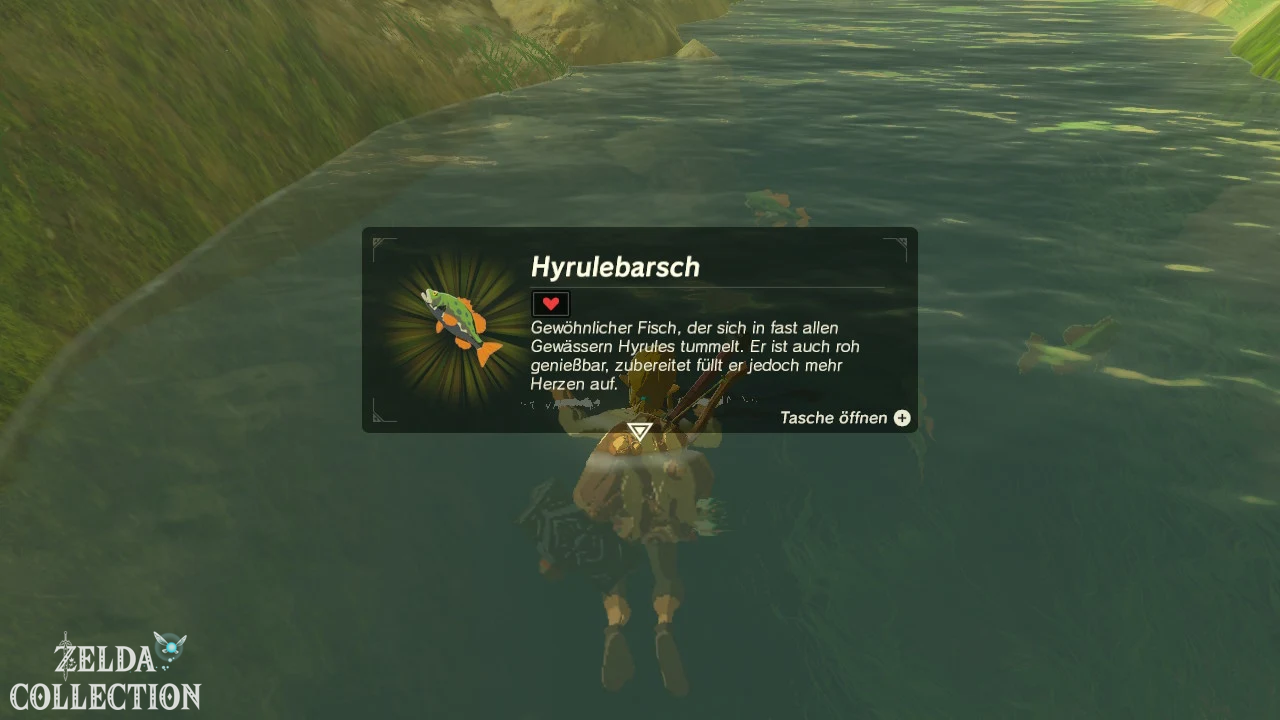
- 1x Hyrule Perch
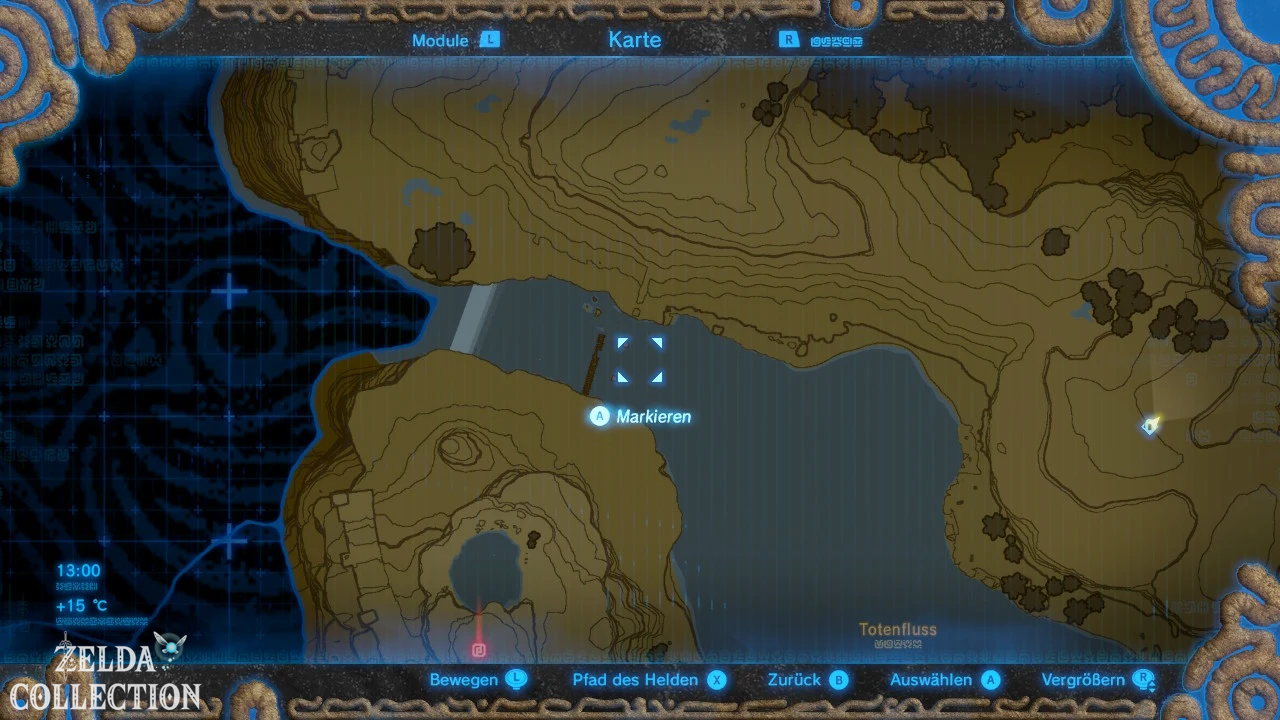
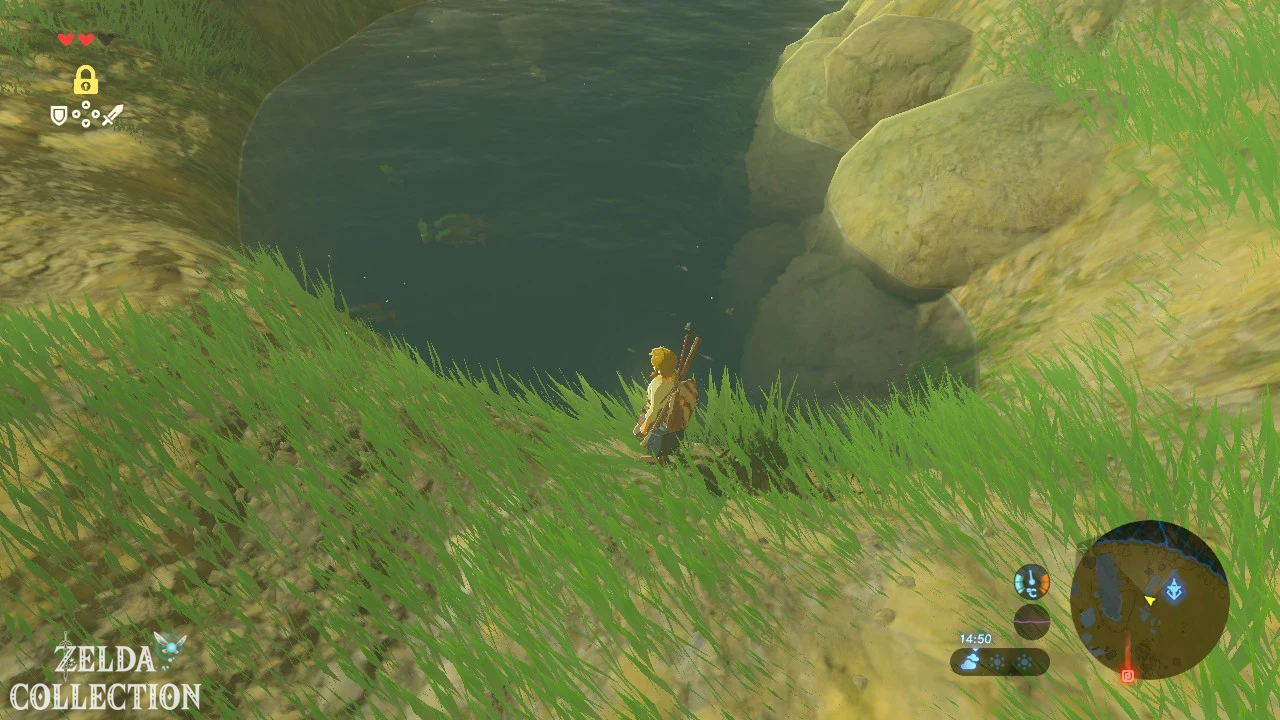
Chili is or grows right next to the hut. You can catch a Hyrule bass in several bodies of water on the plateau, including the ponds near the central plateau and near the tower. If you don’t have one yet, if necessary, teleport briefly to the tower or Oman Au and catch one in the shallow water. We just got some game in the Forest of Souls.
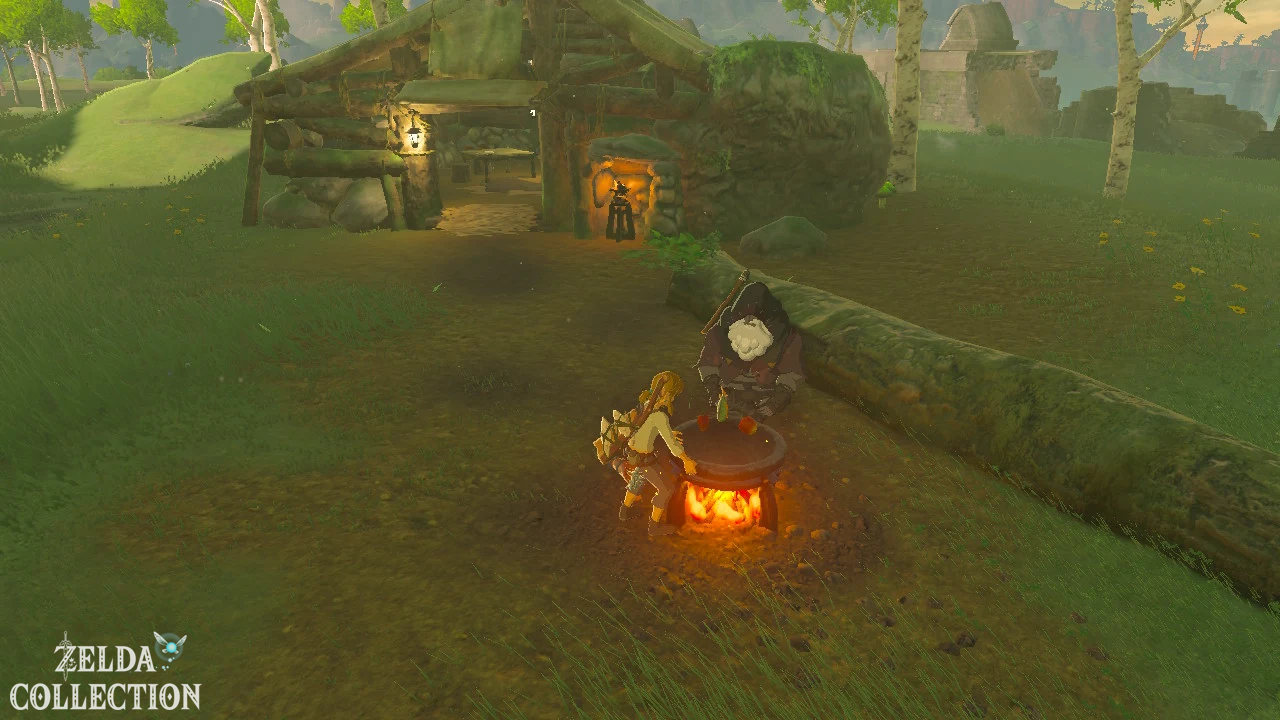
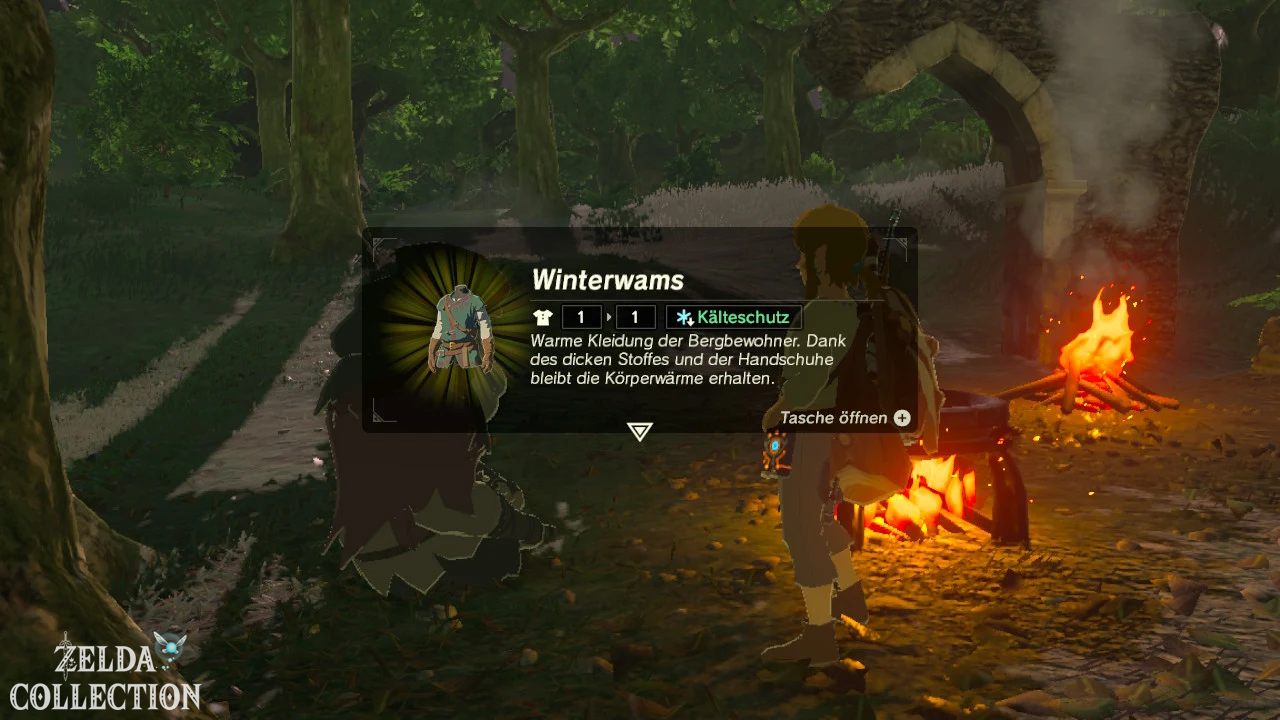
Go to the cooking pot in front of the hut, pick up all three ingredients at the same time and put them in it. You get a hot grill plate. Show the dish to the old man as soon as you find him at the hut or in the immediate vicinity. He recognizes his forgotten recipe and gives Link the winter doublet as a thank you. Puts it on immediately. The clothing offers a level of protection from the cold and is completely sufficient for the snowy areas of the Great Plateau.
Alternative: If you don’t want to cook the recipe, you can process several chilies together into spicy cooking fruit and climb to Hylia Mountain with the temporary cold protection. If you meet the old man on the summit there, he will also give you the winter doublet. If you missed both options, it will be in a chest in his hut after completing the plateau. However, for our complete route, the recipe is the most convenient option.
Optional: Bokoblin camp at hut
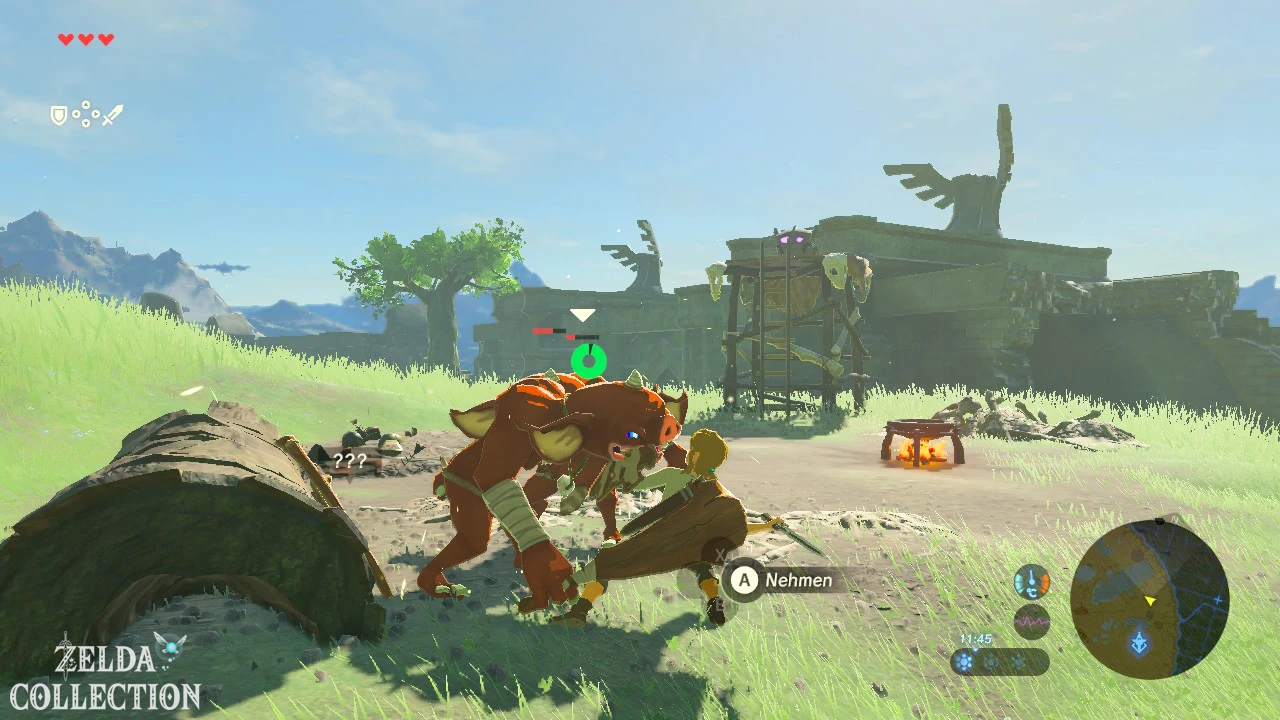
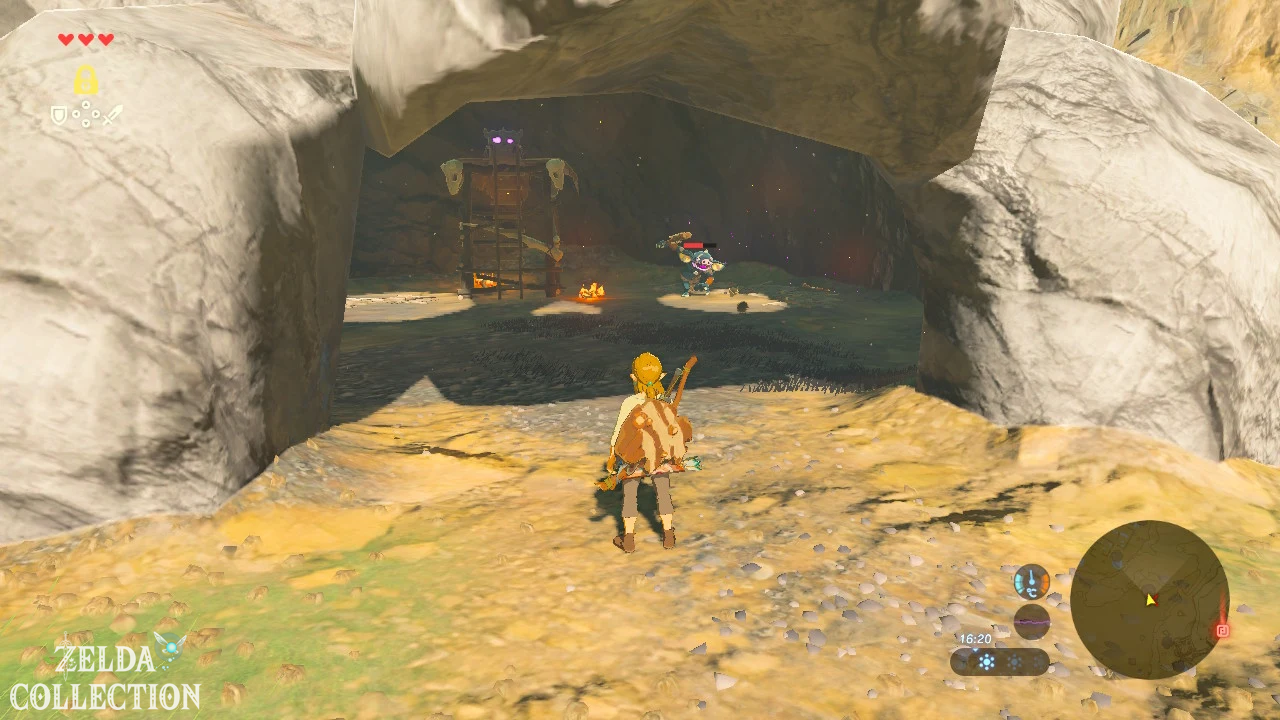
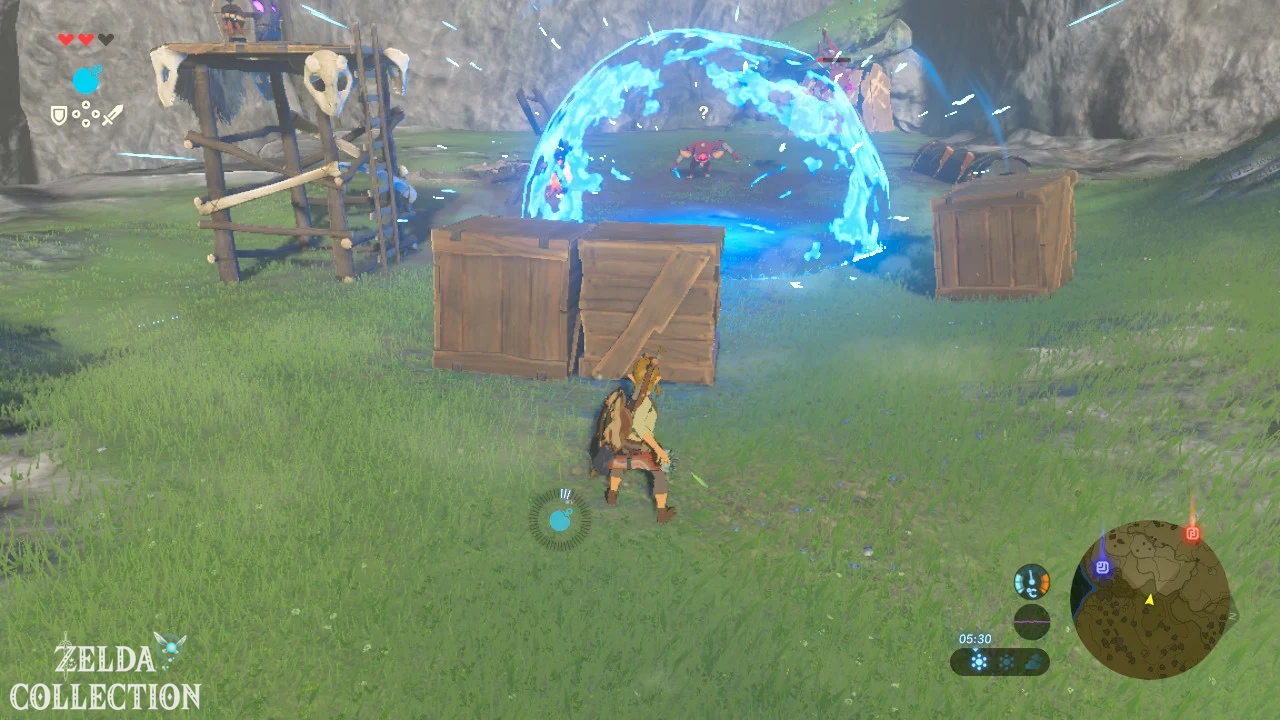
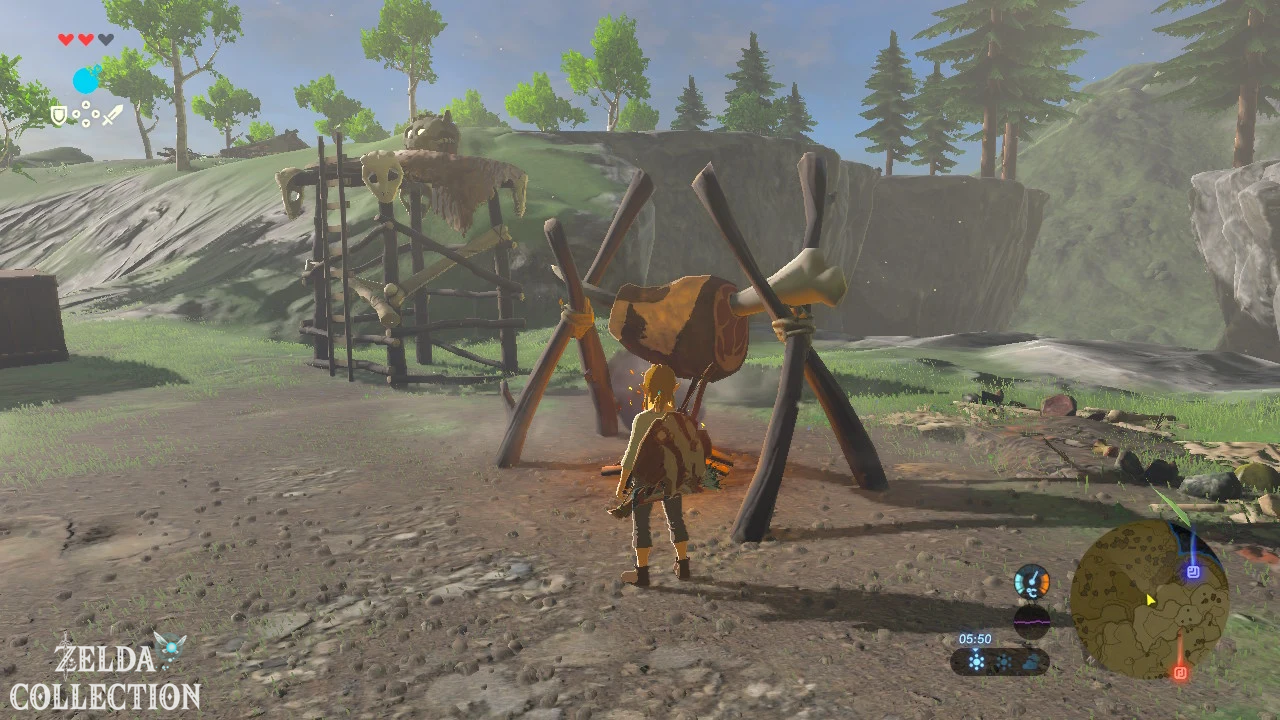
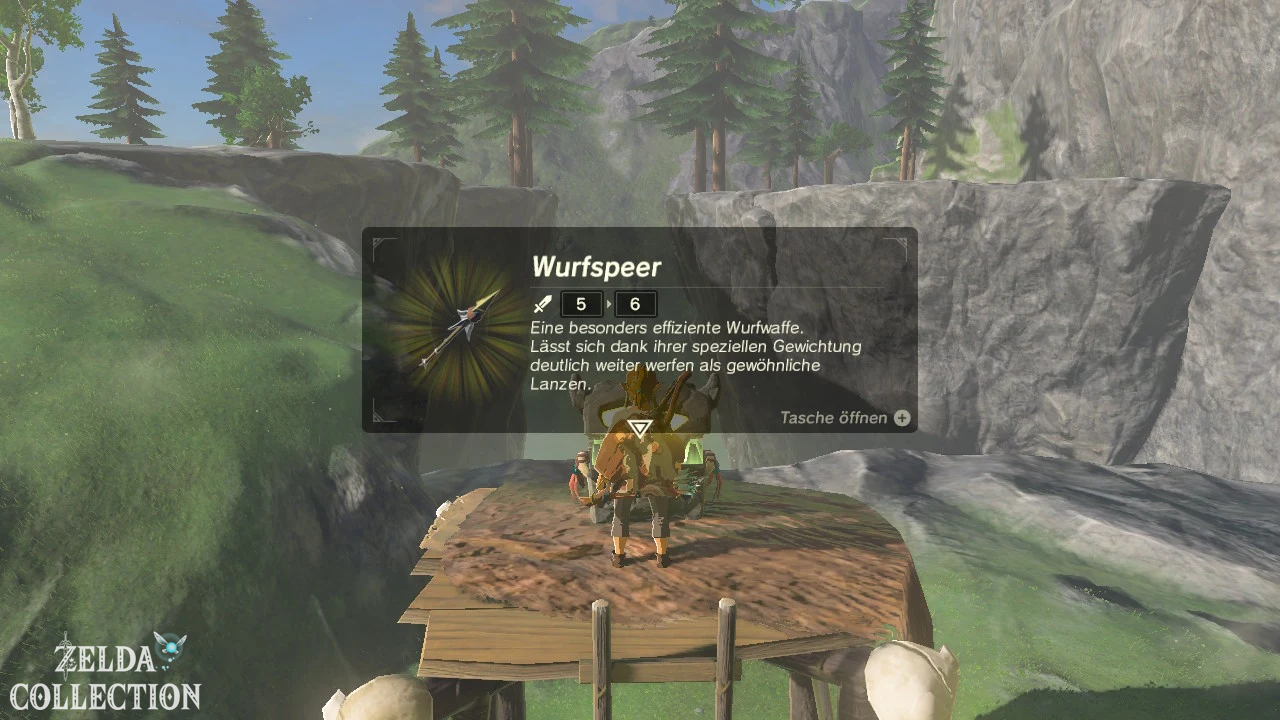
[Optional – recommended] There is a small Bokoblin camp to the west of the hut. Clear the enemies with bombs or bows and search the platforms. Here you can, among other things, one javelin as well as getting additional food. There are also behind a barricade or in a nearby chest five bomb arrows. Take them with you, but don’t waste them on normal ones on the plateau Bokoblins – Bomb arrows are much more valuable later against stronger opponents and certain targets.
To Owa Daim Shrine
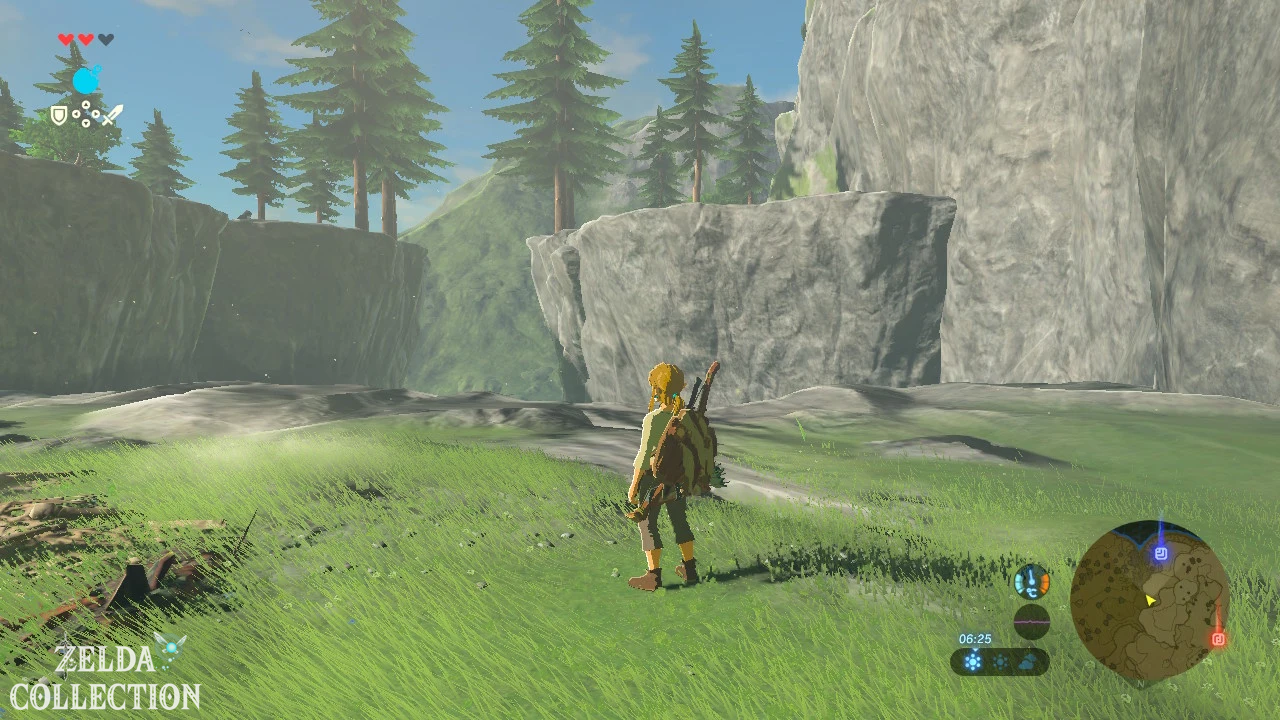
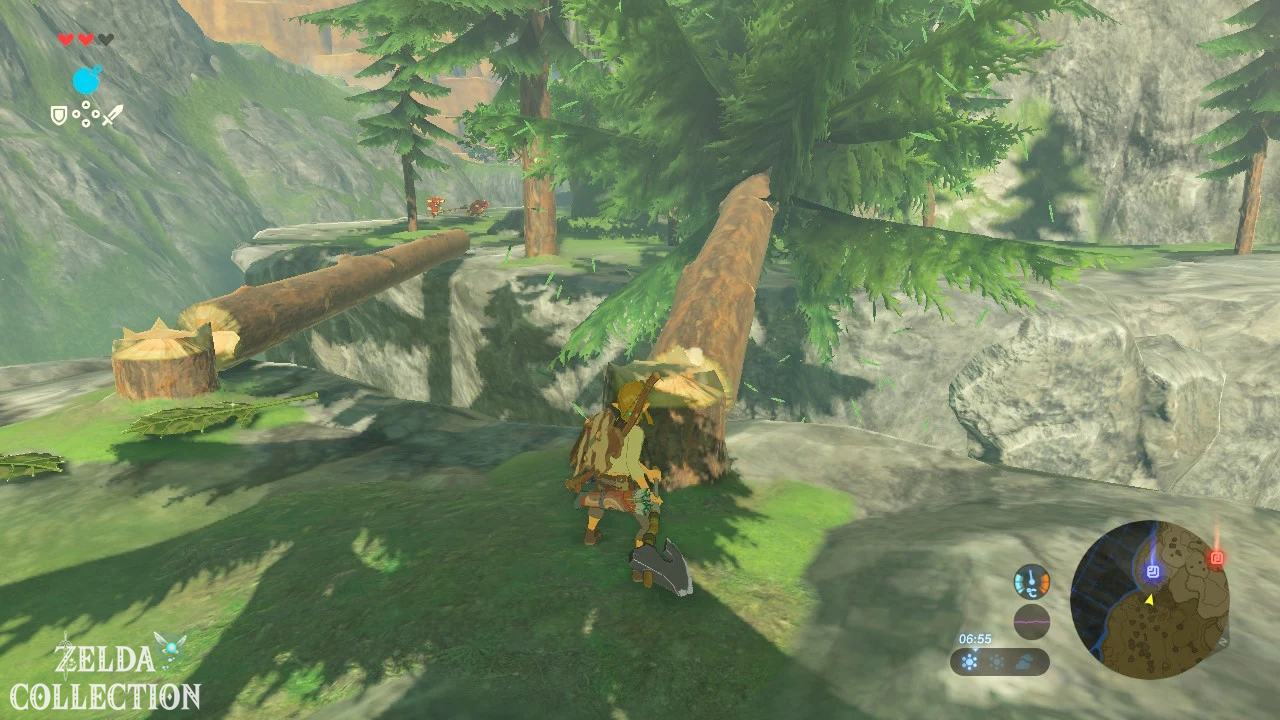
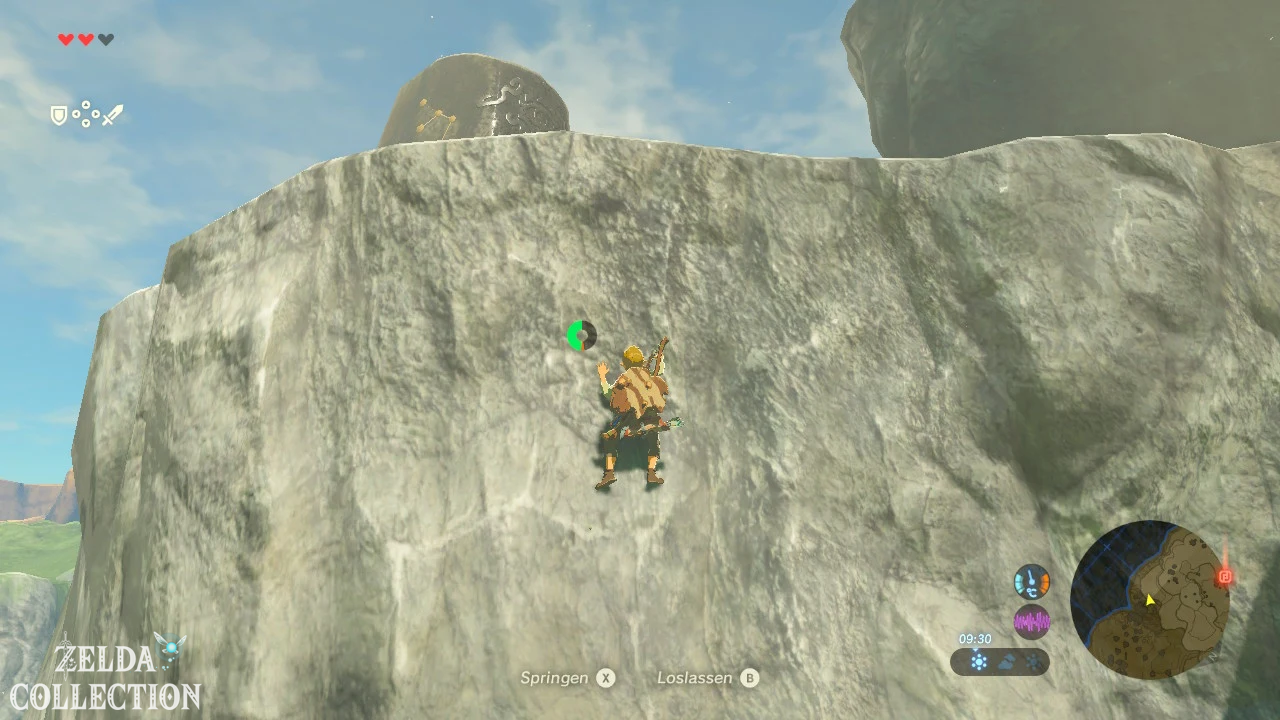
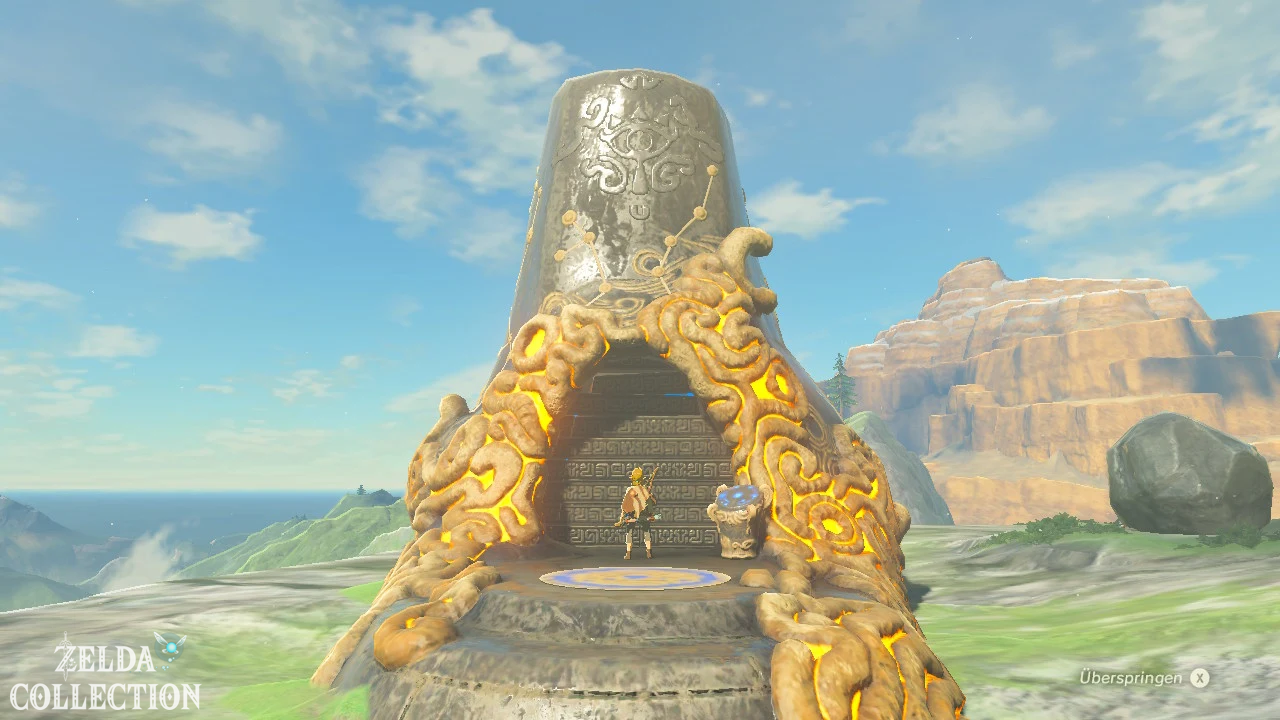
From the hut go to the elevated Owa Daim Shrine southwest of the Temple of Time. You can climb the rock face directly if you use the wide ledges as intermediate stations and regenerate your stamina there. Alternatively, use the lumberjack ax to cut down a tree so that its trunk bridges part of the ravine. The game deliberately demonstrates that puzzles in the open world often have multiple valid solutions.
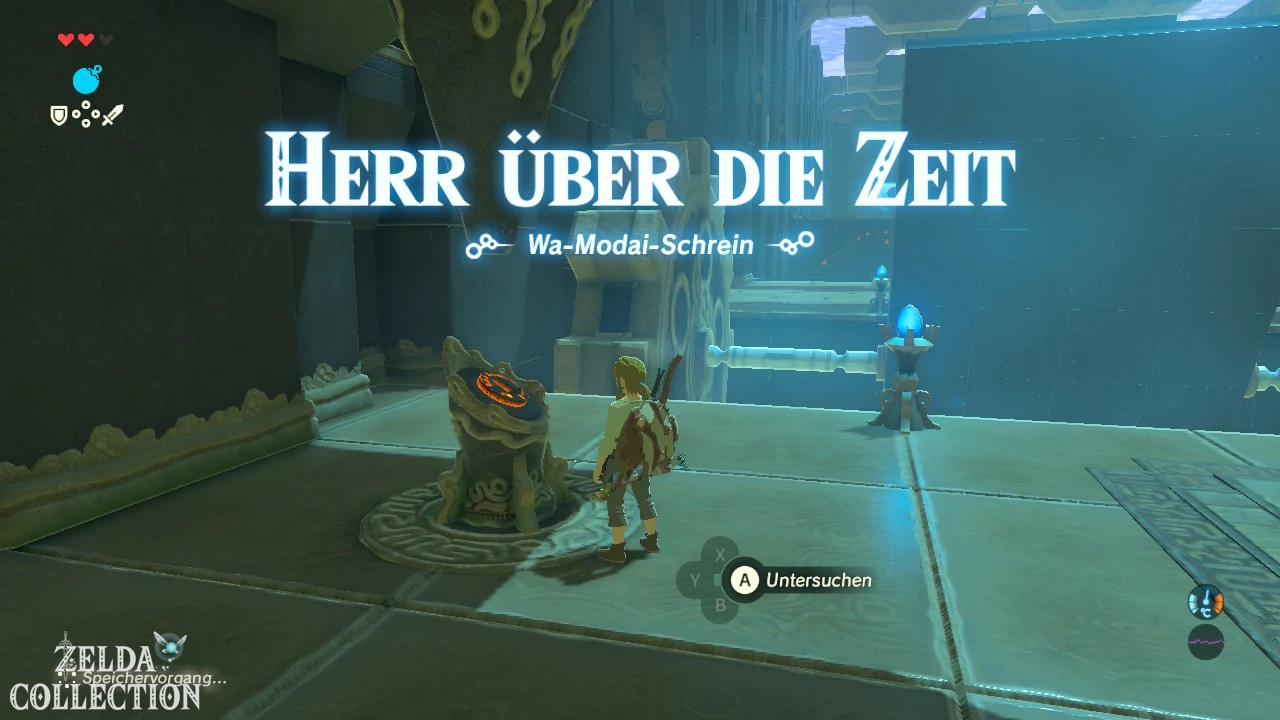
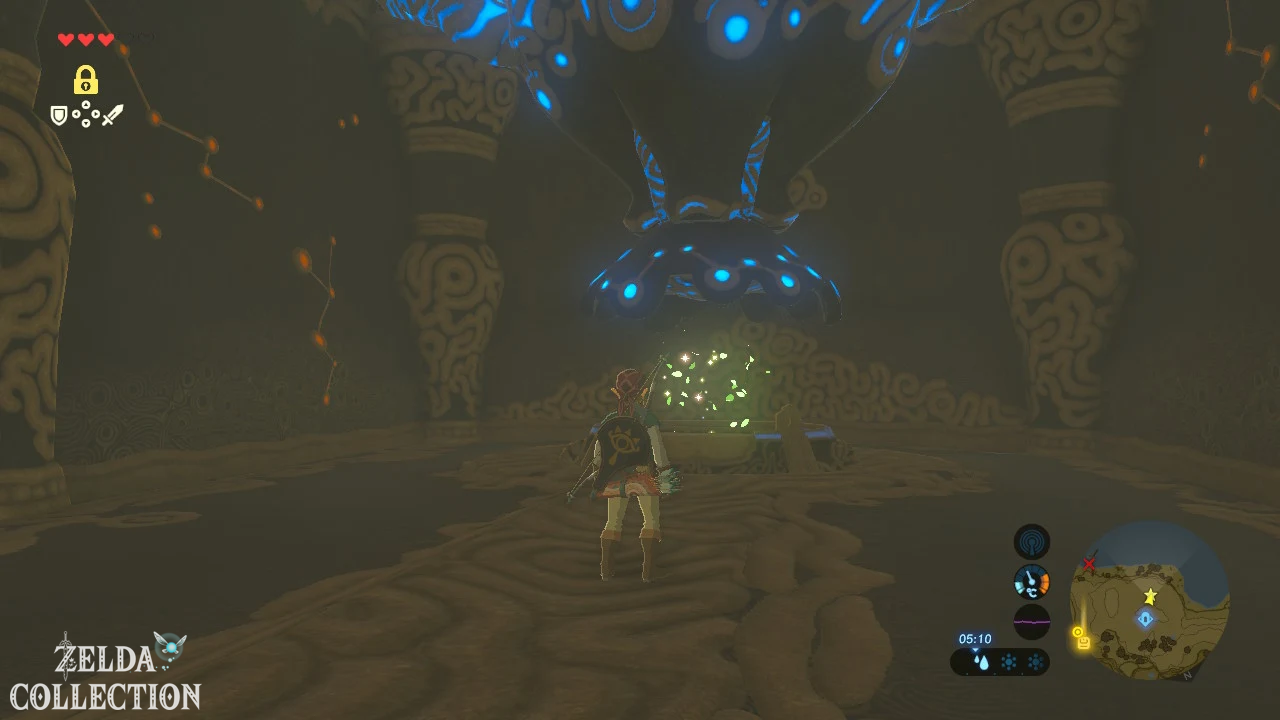
Activate the shrine and enter. At the terminal you will get the stasis module. This allows you to completely freeze selected items in time for a few seconds. More importantly, strikes against a frozen moving object store kinetic energy. Once stasis ends, all energy is released at once and the item flies in the appropriate direction.
Owa Daim Shrine – The Power of Stasis
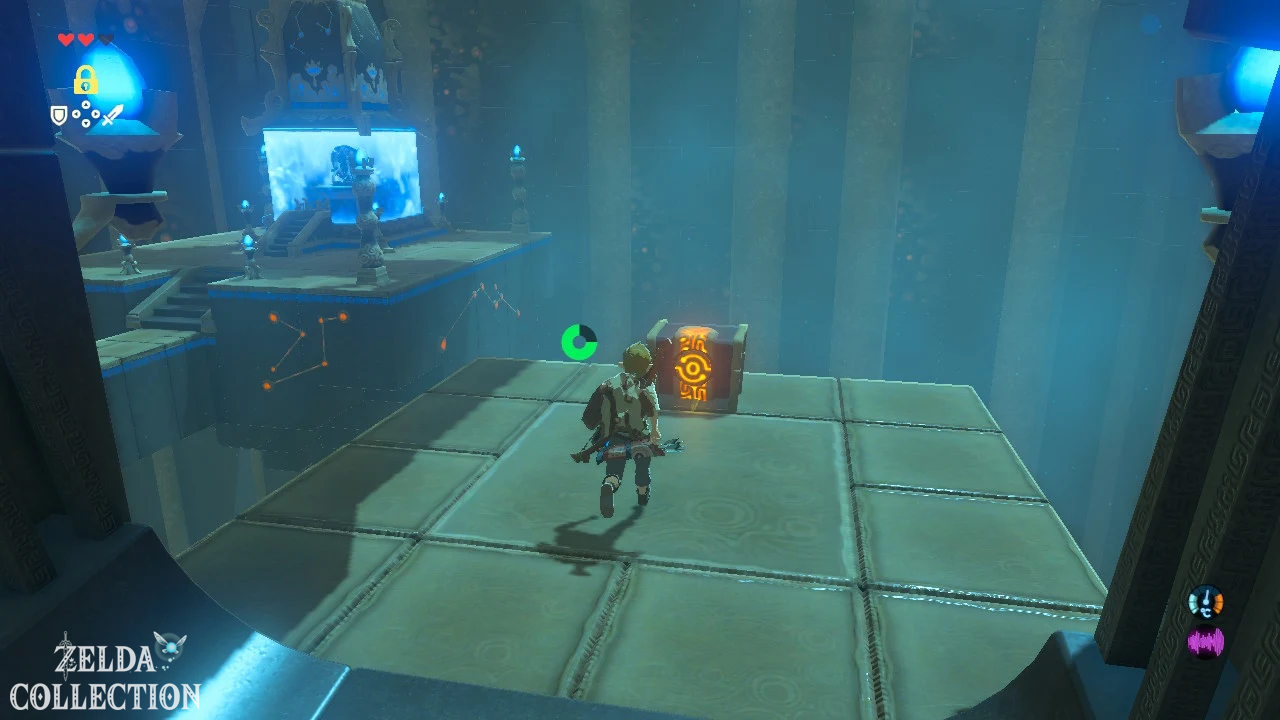
First freezes the rotating gear at the exact moment the platform attached to it is horizontal. Cross it before the stasis ends. In the next section, large rock balls regularly roll down a slope. Wait for a gap and run to one of the side niches. From there you can freeze the next ball with Stasis and continue running safely.
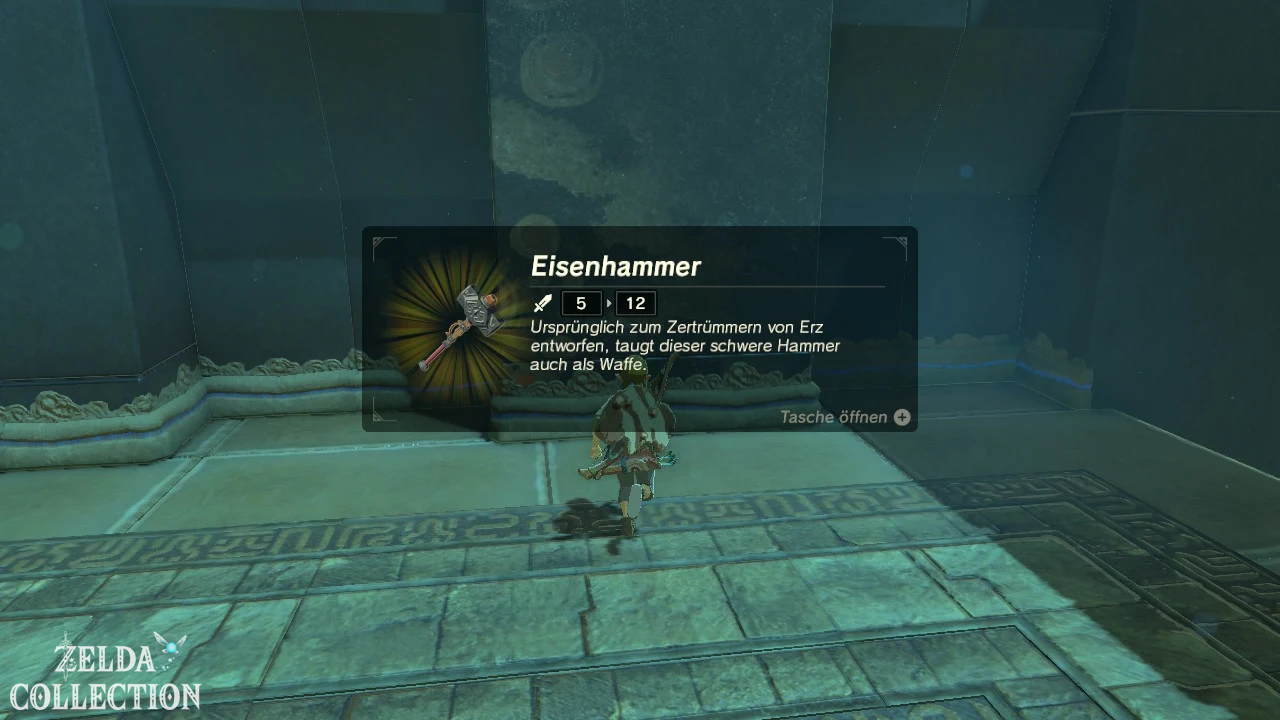
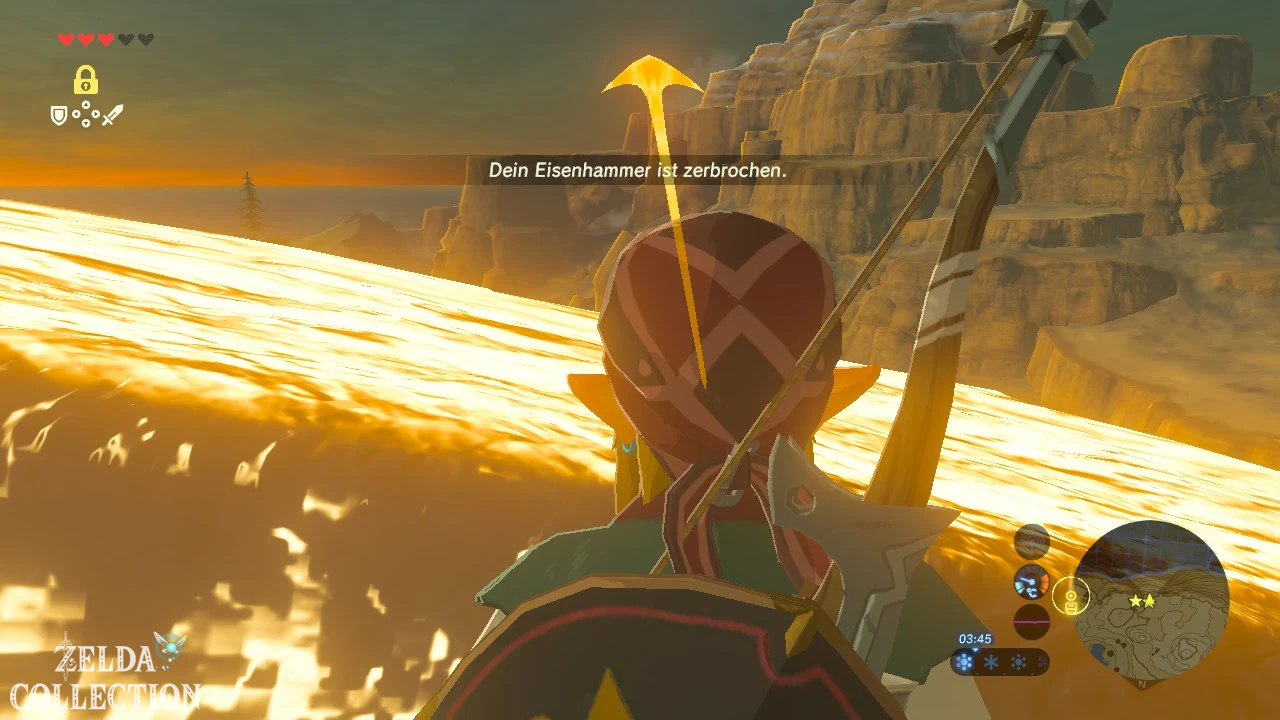
At the top is a Treasure Chest with a travel plate. Take her with you. You will then find a iron hammer on the wall. This weapon is particularly useful for ore deposits, rock taluses and heavy objects and should not be broken unnecessarily on normal Bokoblins.
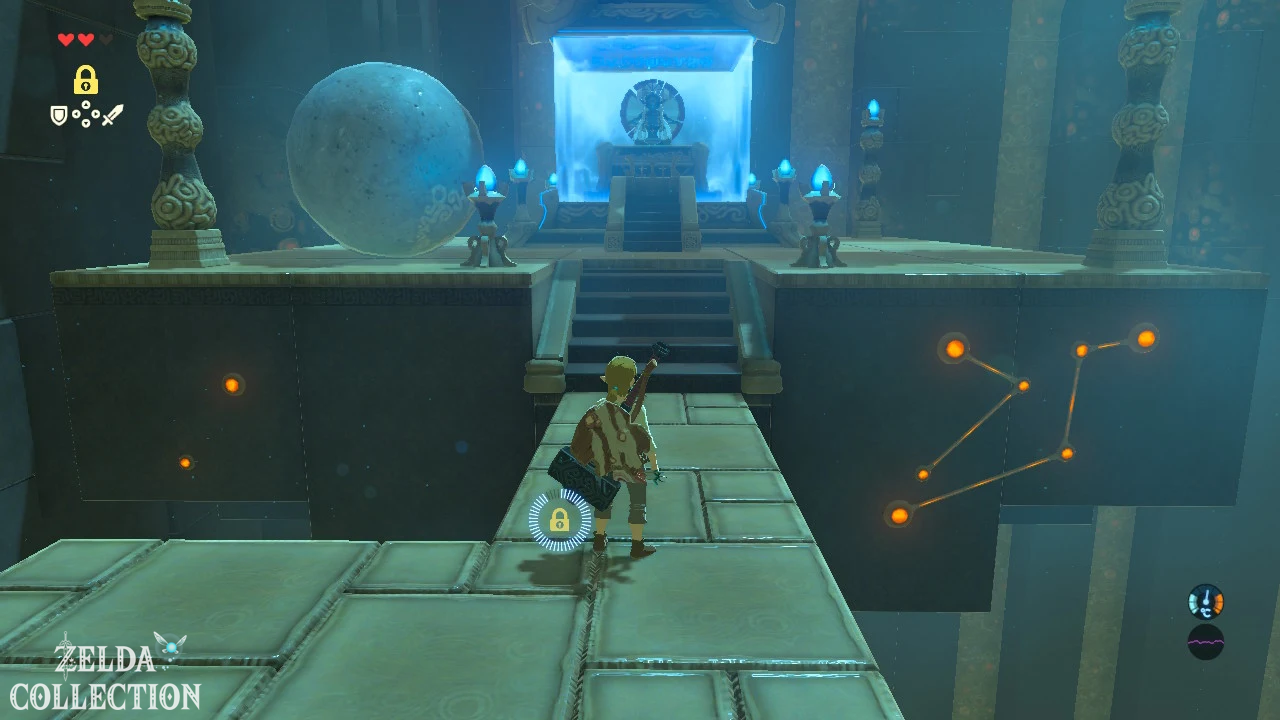
At the end a large ball blocks the narrow path. Activate Stasis on it and then hit it several times with the iron hammer. Yellow or red arrows indicate how much energy has been stored and in which direction the rock will fly after stasis has expired. Wait a moment until he shoots away and go to the priest. Owa Daim gives you the third Spirit Orb.
Optional: travel sheet and two Koroks at Owa Daim
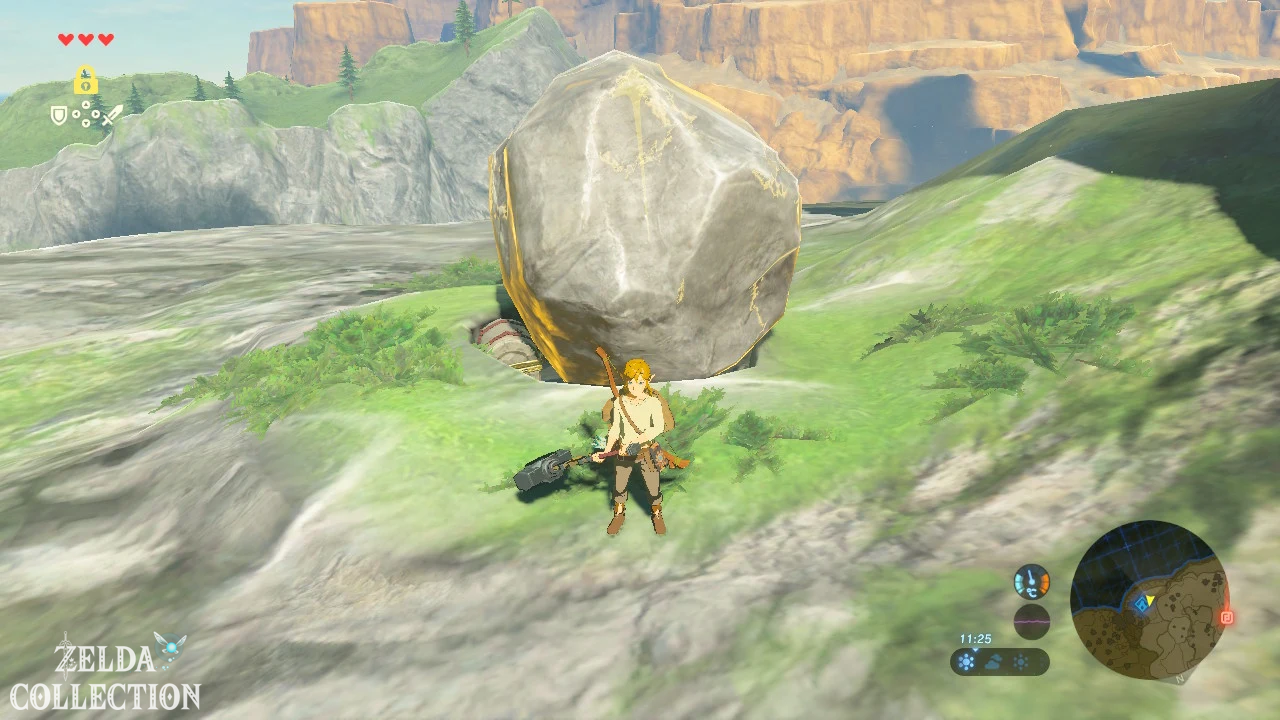
[Optional – recommended] Immediately outside the shrine lies a Treasure Chest under or behind a large rock. Freeze the rock with Stasis, hit it several times in the desired direction and send it flying away. In the uncovered chest you will find another travel sheet. Since bows break just like melee weapons, the extra supply is worth it.
West of Owa Daim there is a small stone on the edge of the rock face. Lift it up and take the next Korok seed with you. A little further to the southwest or below the mountain path is a second Korok behind a large boulder. Use Stasis again, knock the large stone aside and then lift the small stone underneath. Watch your stamina as you descend the cliff. This Korok is accessible without a Paraglider, but if the climb is too risky for you, postpone it until the short final loop after receiving the sail.
Over the river of death into the snow mountains
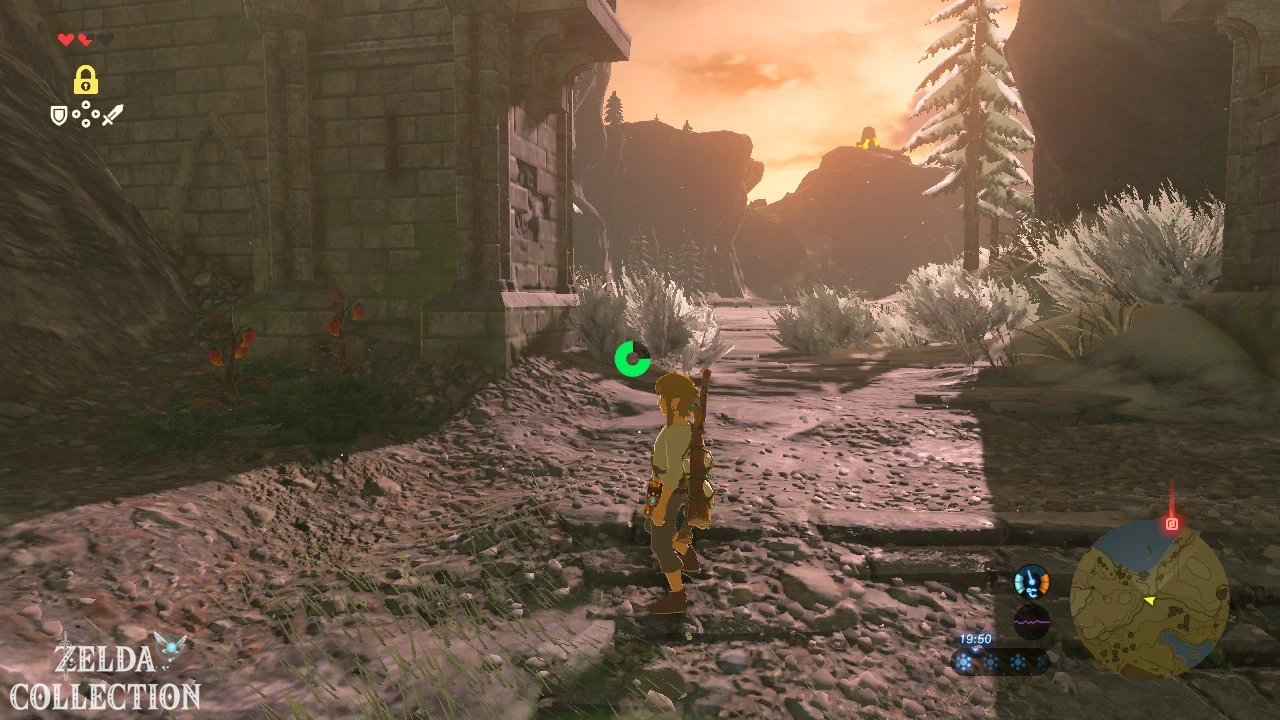
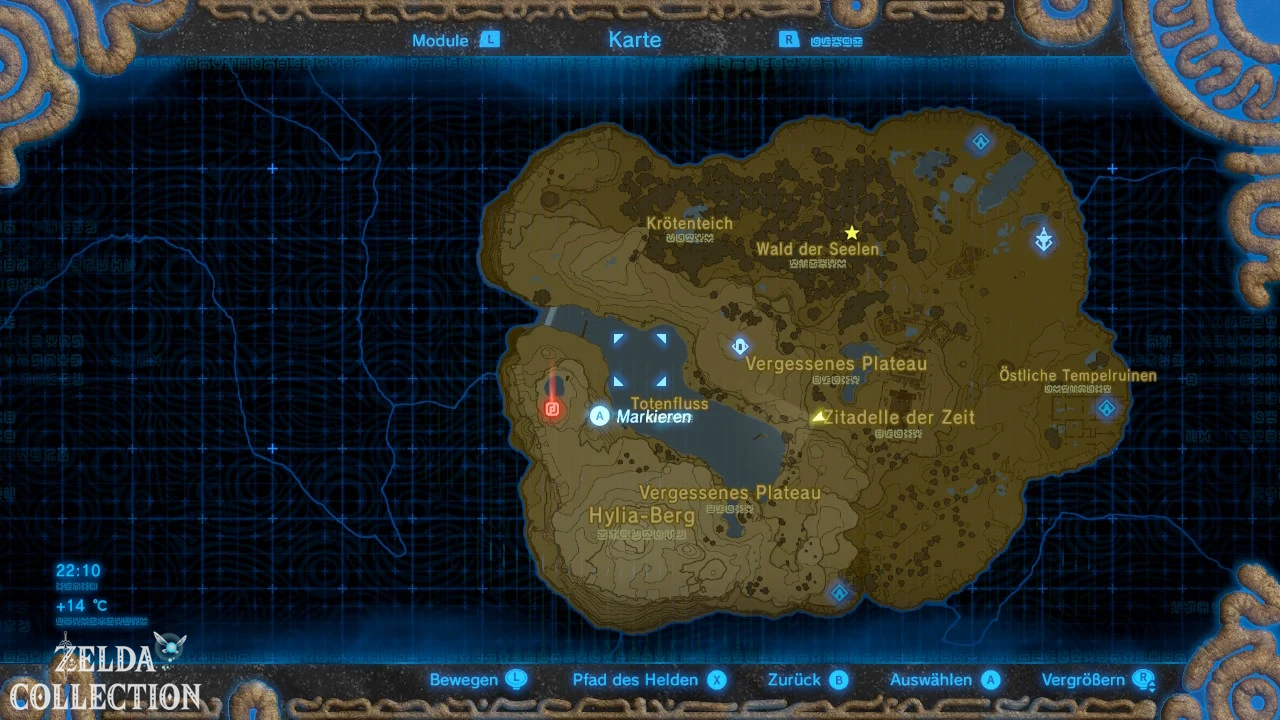
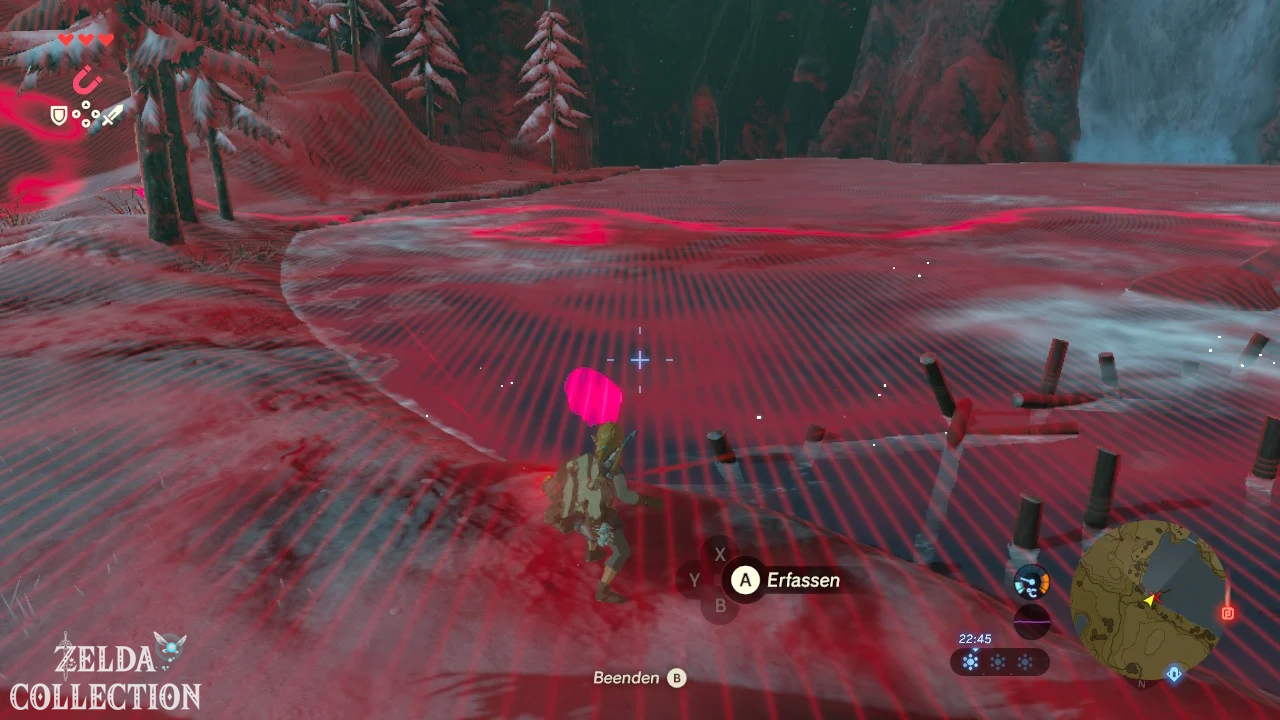
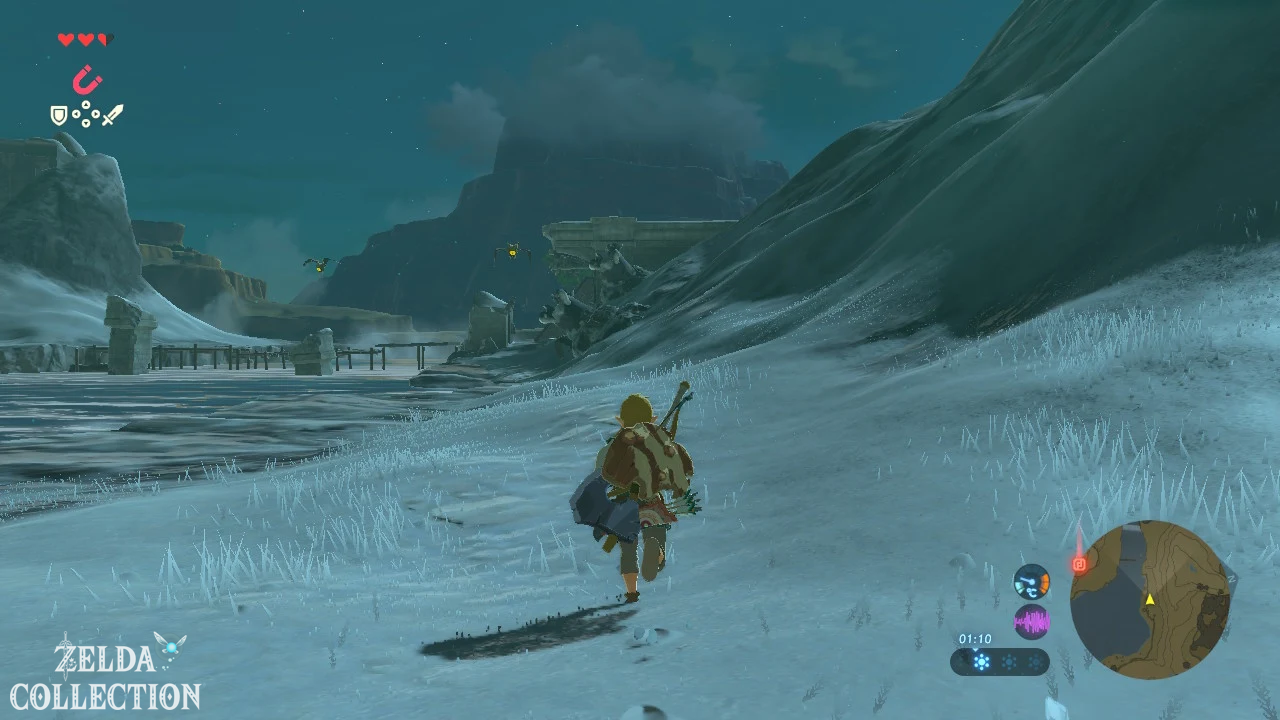
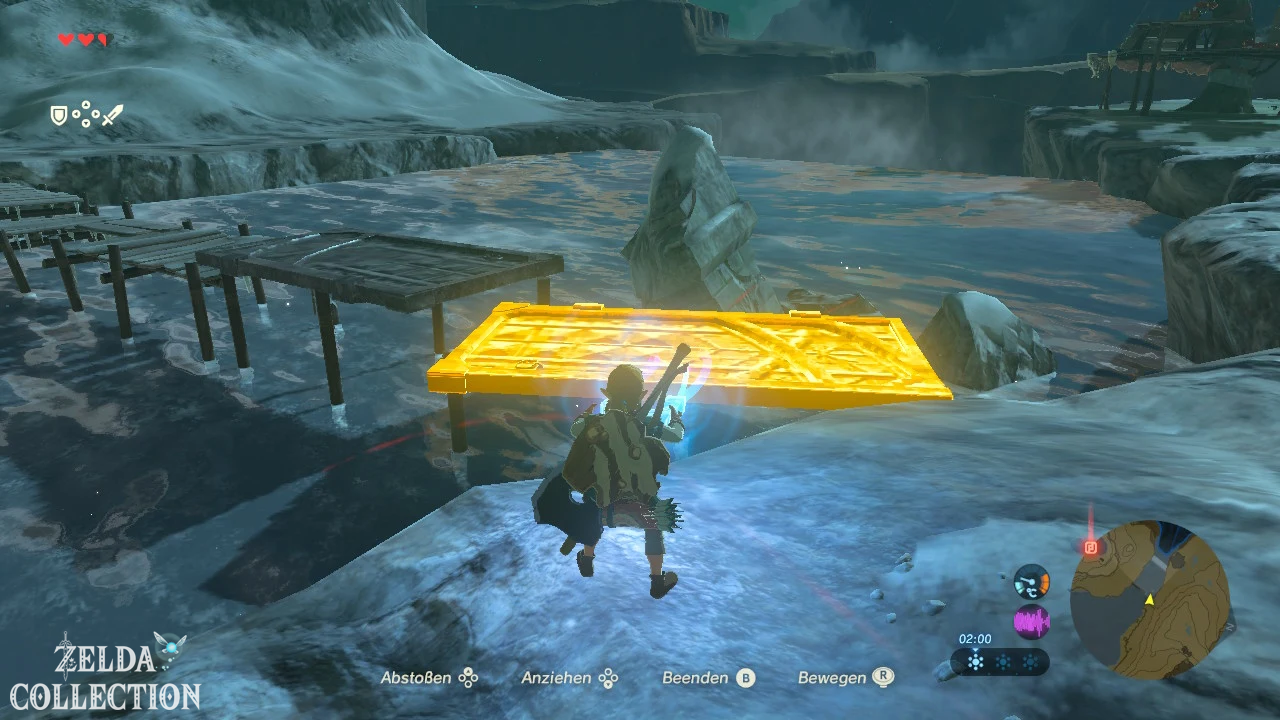
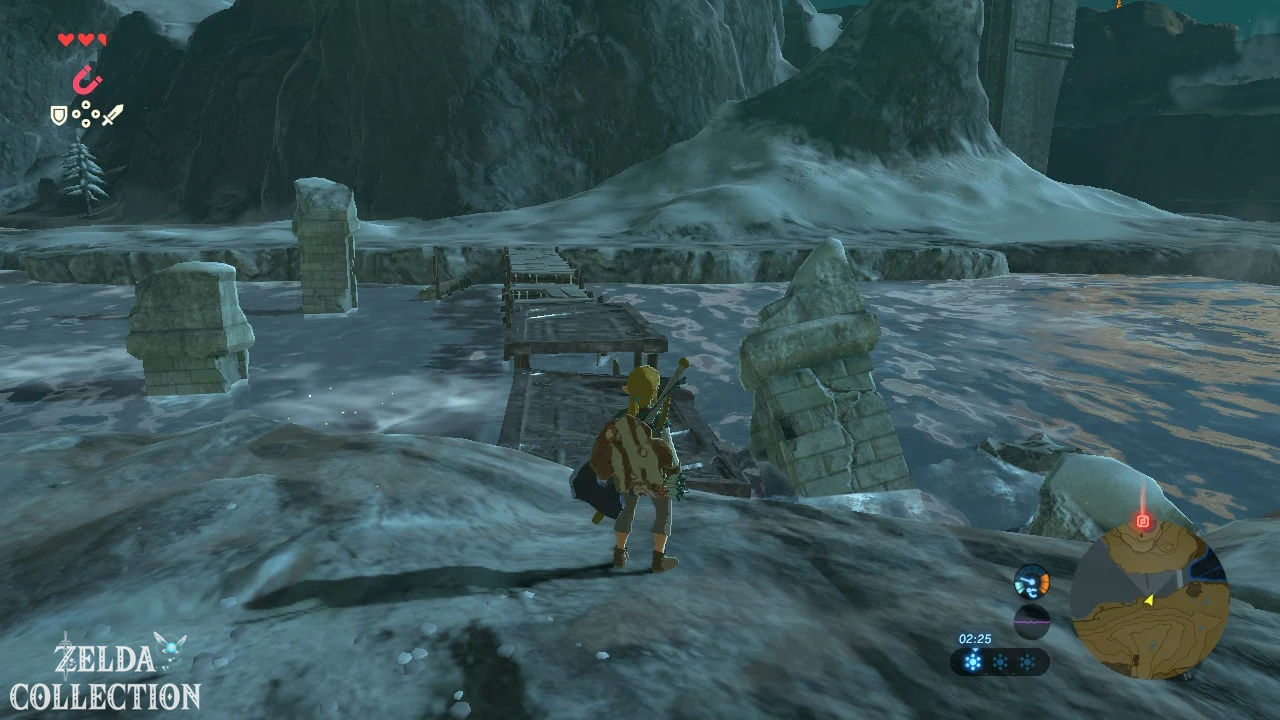
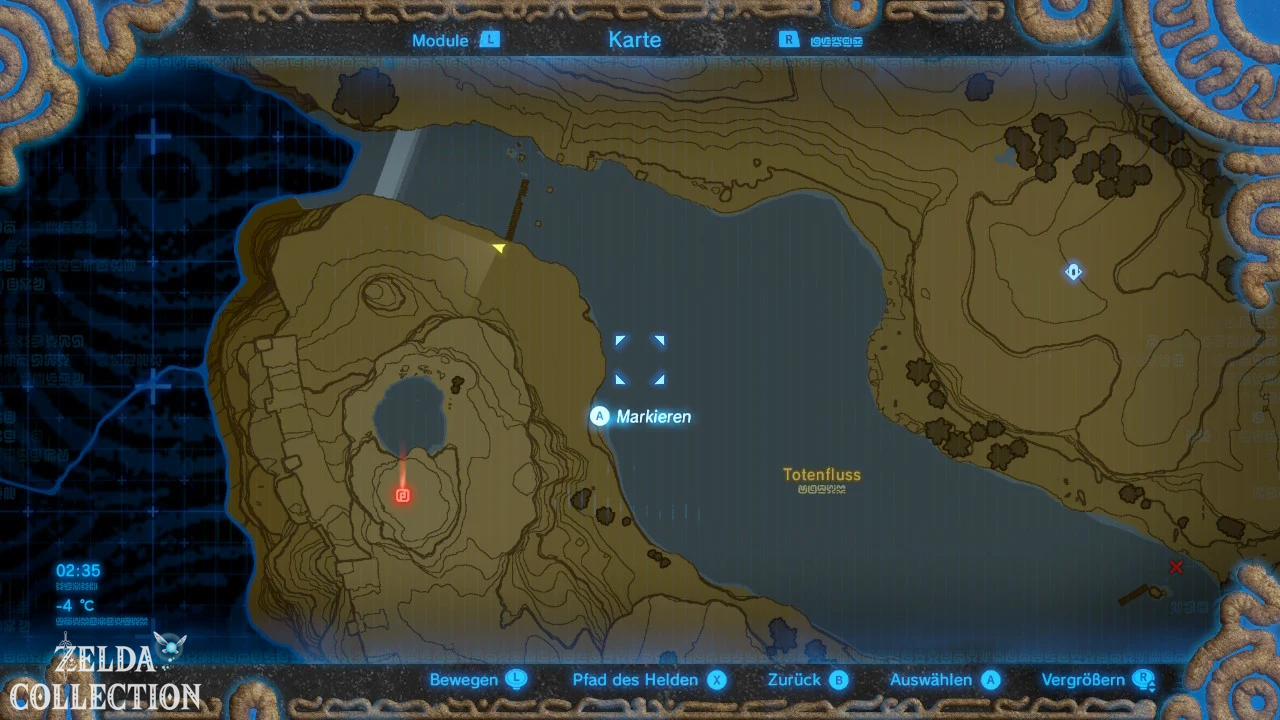
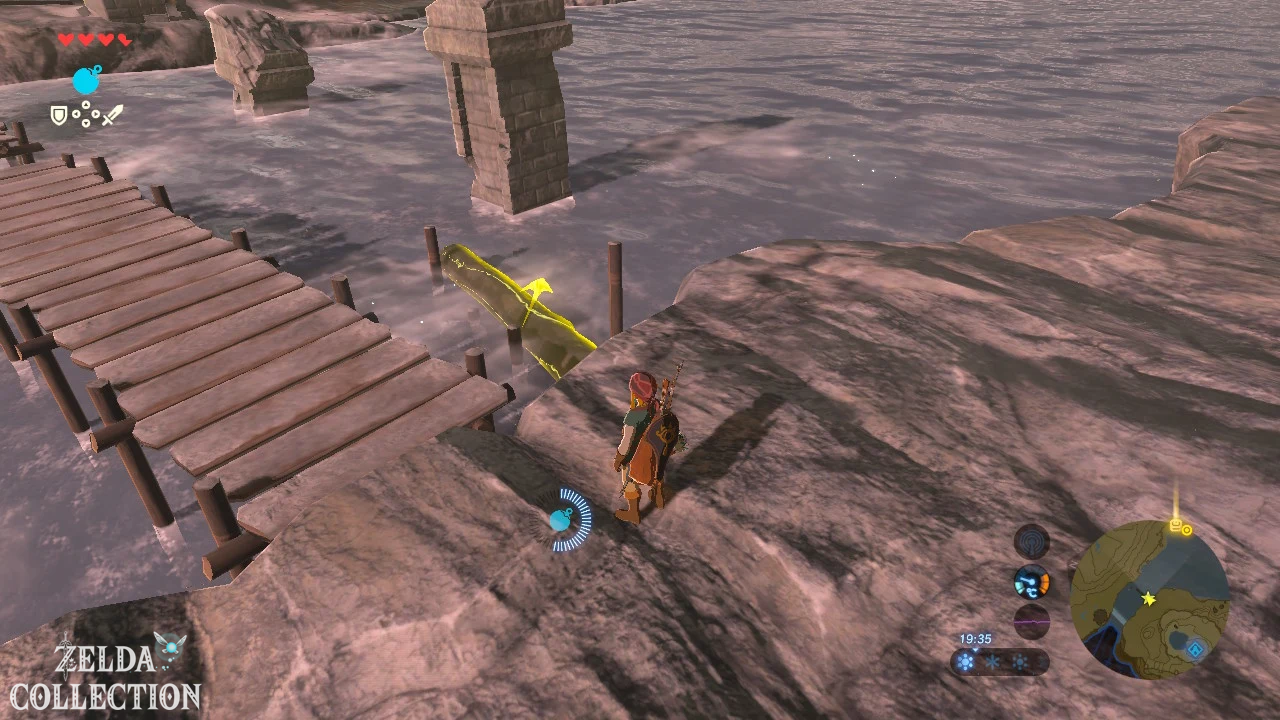
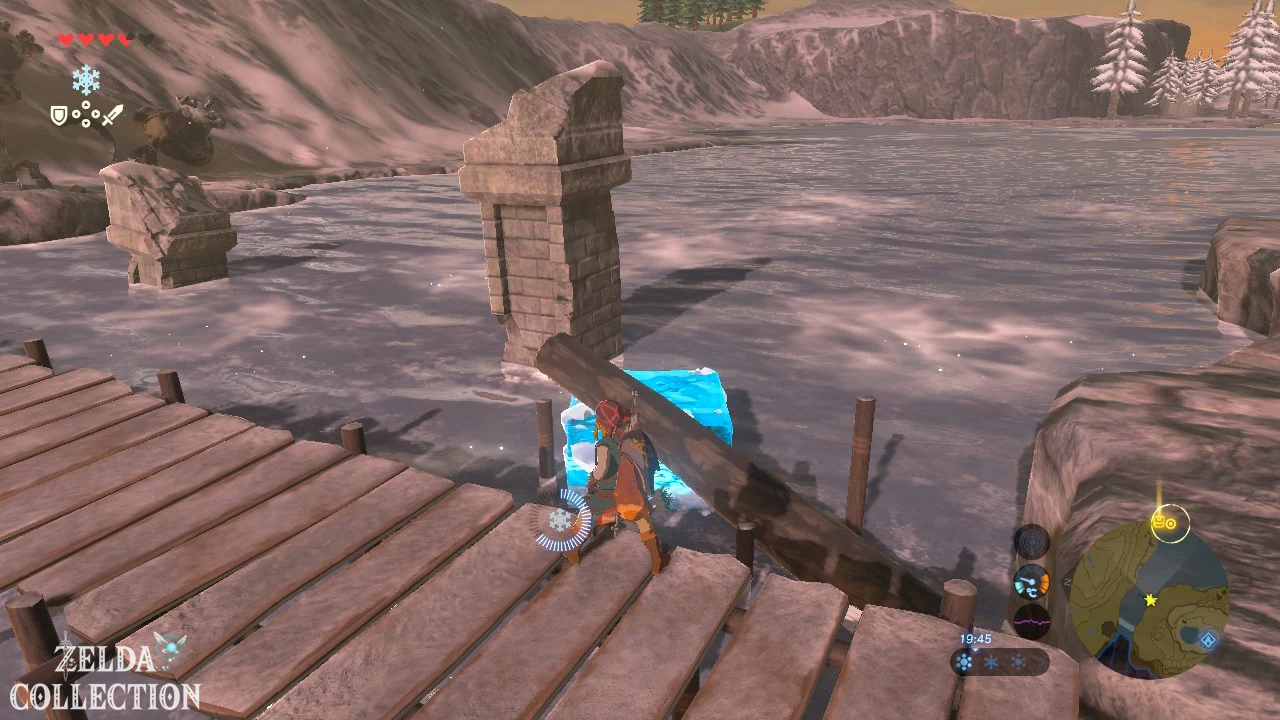
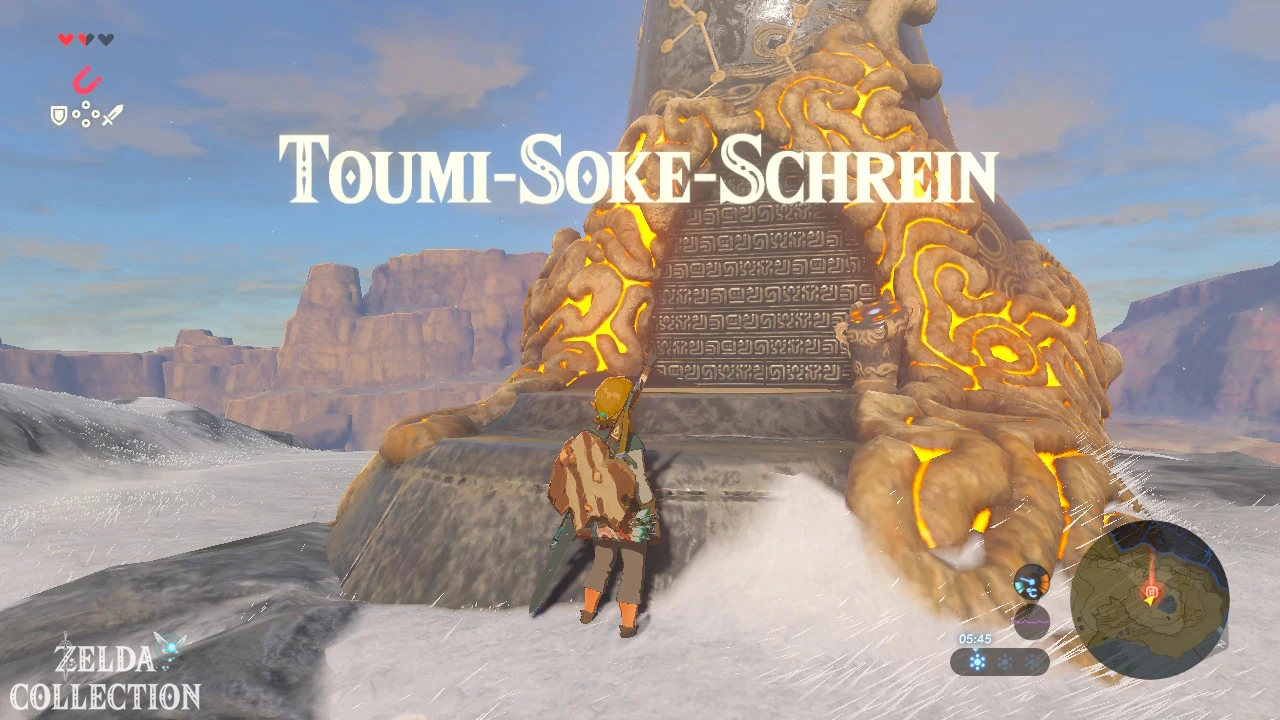
Now all that’s missing is Keh Namut in the west. With the winter doublet you are protected against the cold and no longer have to use time-limited meals. Follow the mountain path towards the River of the Dead. There is a large metal plate on the side of the destroyed bridge. Grab it with the magnetic module and place it over the missing spot so that Link can jump onto the remaining bridge section.
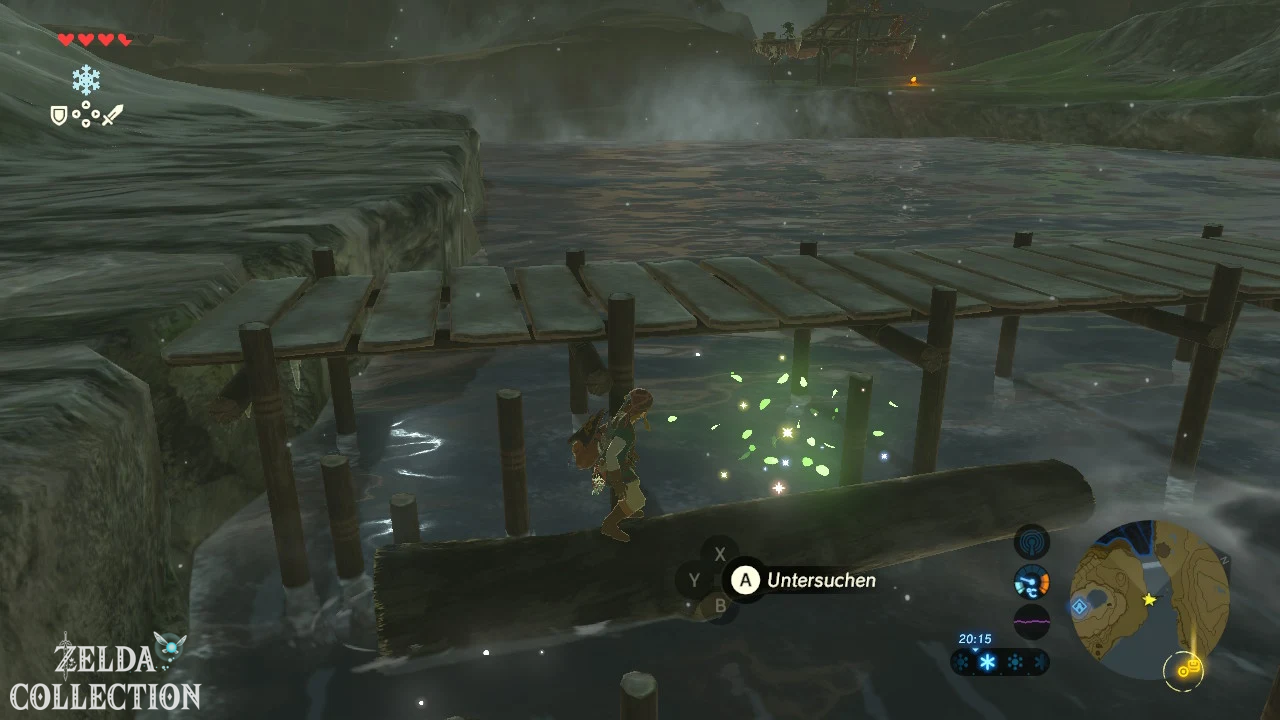
[Optional – Korok] Before you move on, you can use the metal plate again. At the southern end of the broken bridge, a Korok hideout glitters beneath the structure. Place the metal plate as a floating or resting platform in the water so that you can get under the bridge and examine the glittering spot. This will give you another Korok Seed without having to return later for this puzzle.
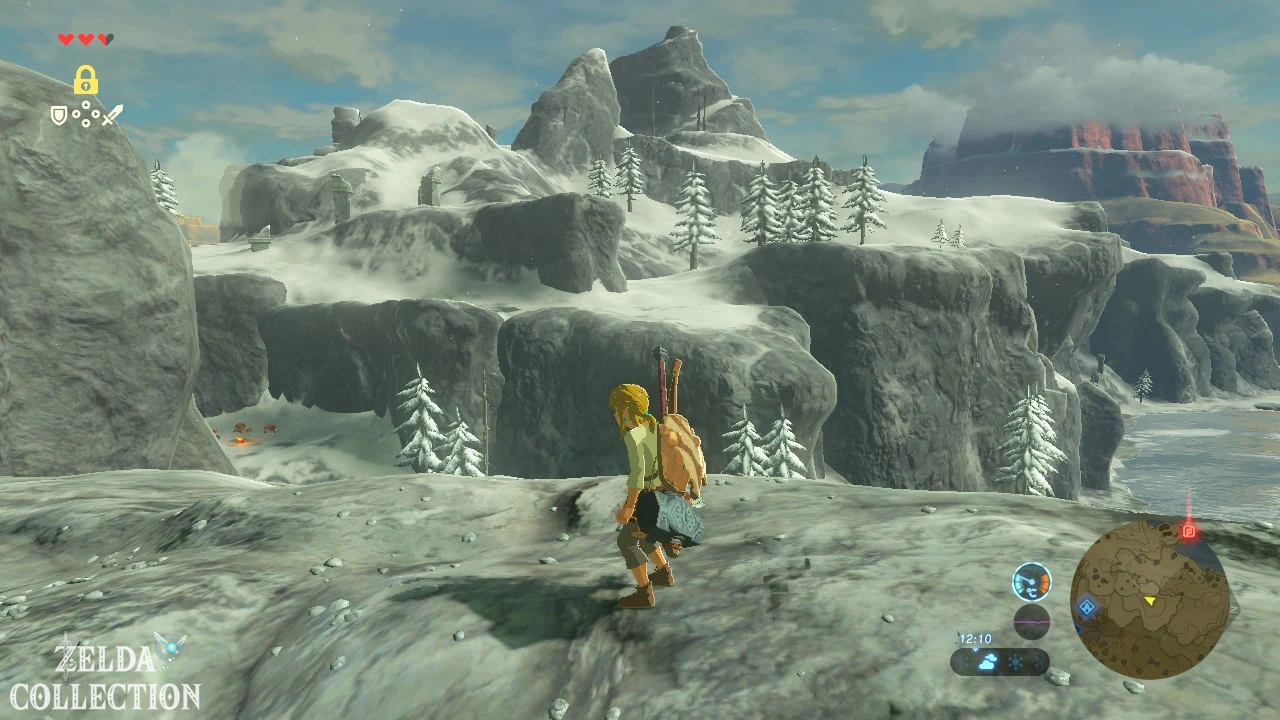
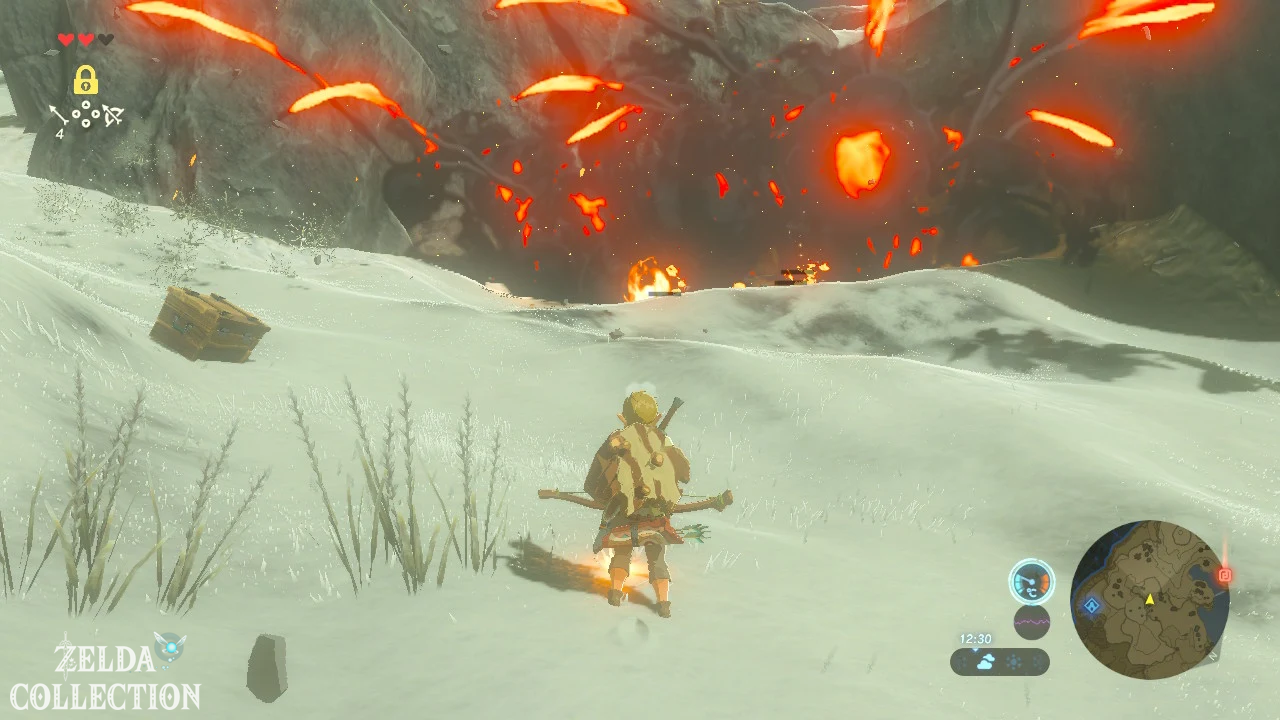
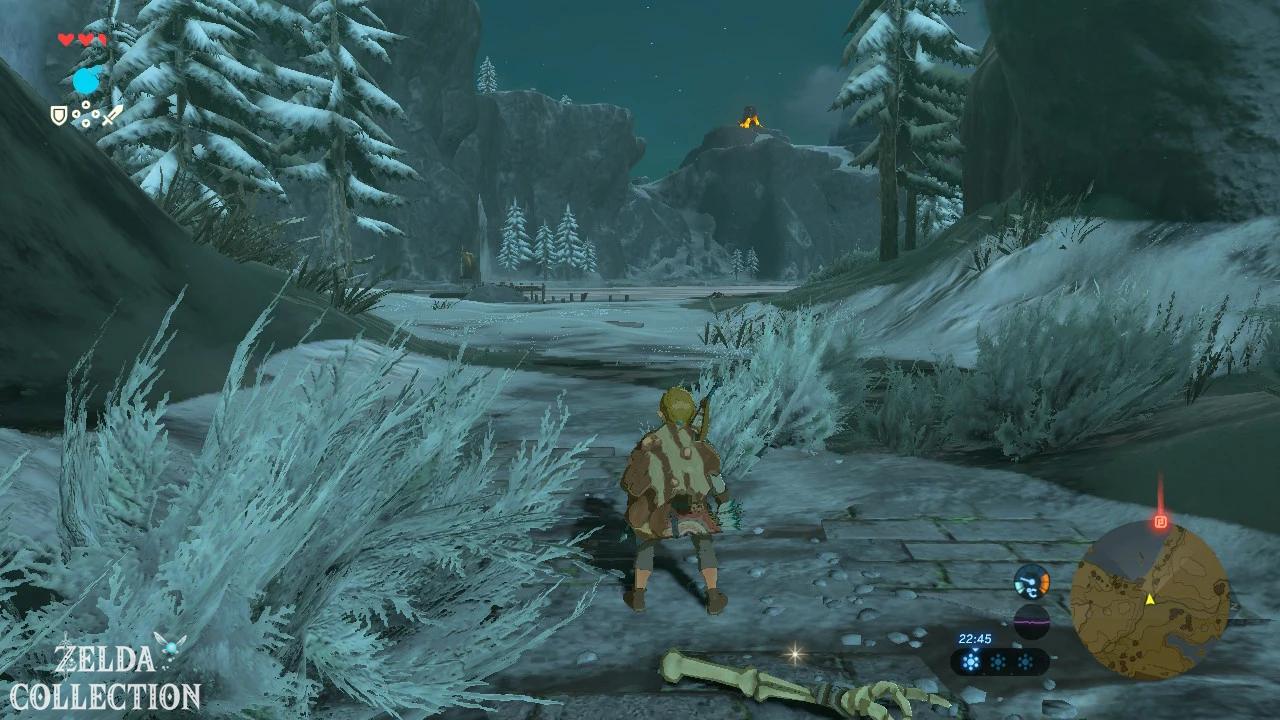
Then follow the snowy path. Some Bokoblins are rolling large snowballs down the slope. Stay to the side of the path or use obstacles for cover instead of running up the middle of the fall line.
Optional: Korok at Hylia Mountain
[Optional – 100% route] Southwest of the peak of Hylia Mountain you will see an incomplete circle of small stones. The missing stone is in the area. Axyl it up and place it exactly in the gap in the circle. The next Korok appears.
If you haven’t gotten your winter doublet over the grill plate, the climb to the actual summit is also worth it. The old man can reward Link with the doublet here if you reach the mountain without his help. If you have followed our recommended recipe route, you no longer need to go up to the top because of your clothes, but you can of course still visit the viewing point.
Keh Namut Shrine – The Cryo Module
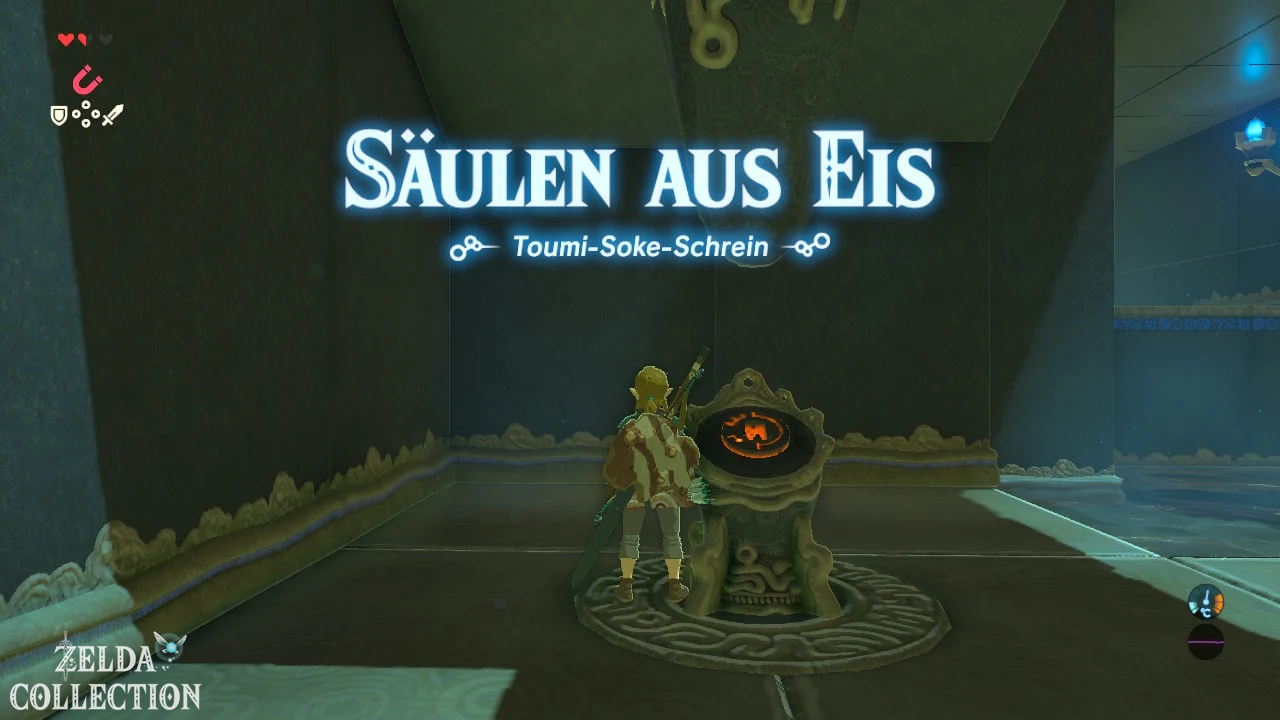
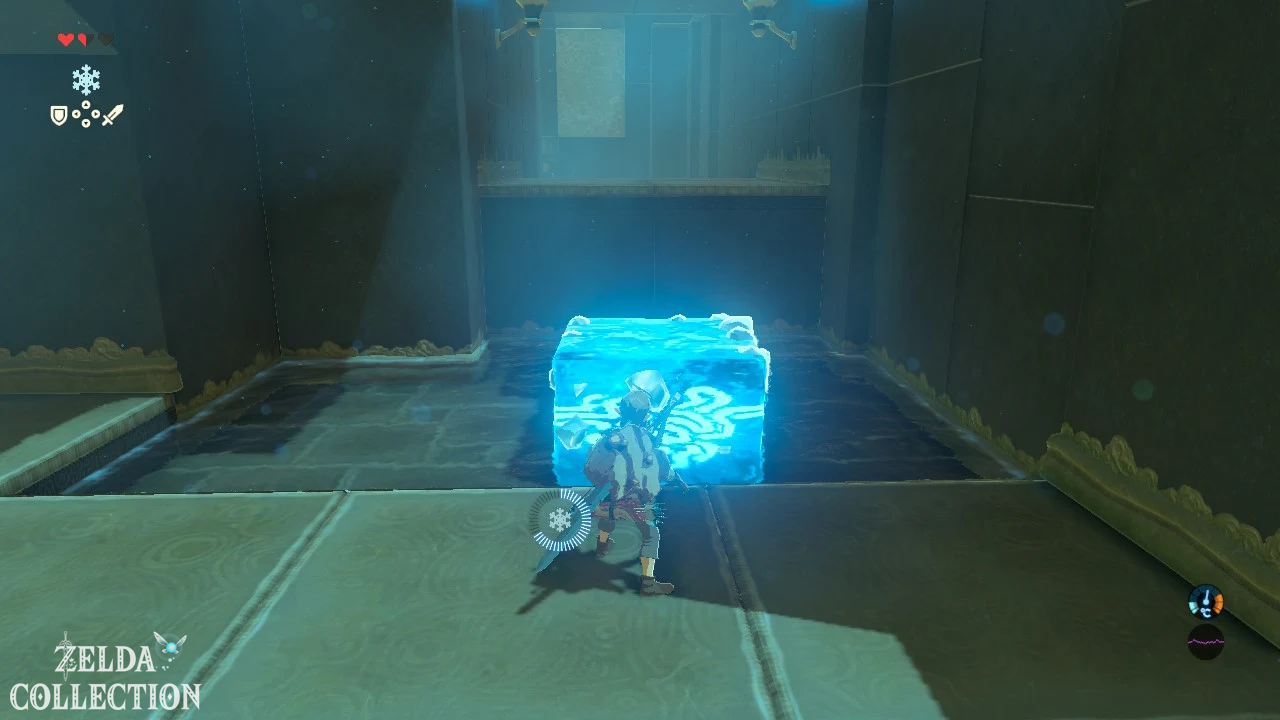
Activate Keh Namut and enter the final shrine of the plateau. At the first terminal you will get the cryomodule. Link uses this to create massive ice columns on suitable water surfaces. You can create up to three of them at a time, stand on them, and even have them grow up under certain objects. You can destroy existing ice blocks using the same module.
First create an ice pillar in the shallow water and climb to the higher level. In the next room a large metal grille blocks the way. Aim the cryo module at the water directly below and create a pillar. The ice simply lifts the gate up and you can walk through it.
Defeat the little guard behind it and then look back towards the entrance. There is a Treasure Chest on a raised niche. Create an ice block directly in front of or below it and climb up. Inside is a travel lance.
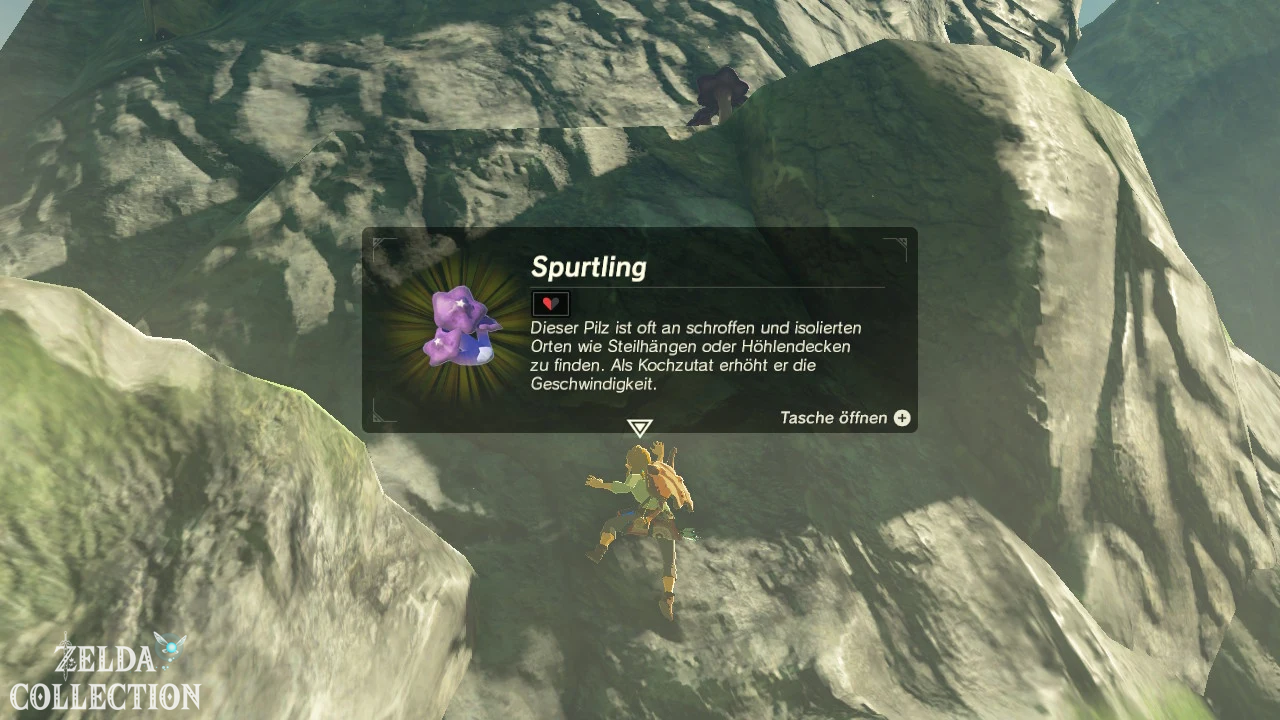
At the last obstacle there is a large stone slab lying diagonally above the water. Creates a block of ice under one of its sides and pushes the plate upwards. It becomes a ramp. Run up and talk to Keh Namut. With the fourth Spirit Orb you have completed the actual shrine task of the Great Plateau.
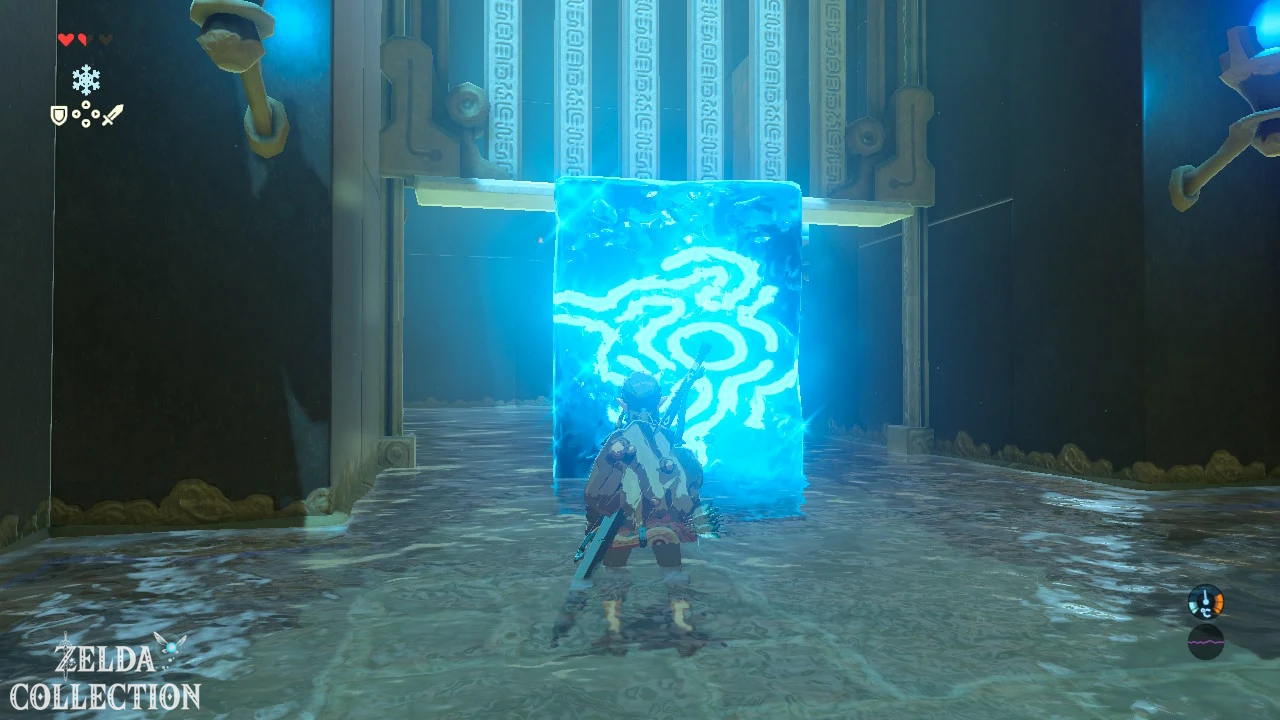
[DLC] Bomb arrows at Keh Namut
[Optional – DLC] In the immediate vicinity of the Keh Namut Shrine, the third and final purple EX chest on the plateau lies on a wall or a ledge at the edge of the snowy area. There are five bomb arrows inside. Together with the bomb arrows from the southern region, you already have a useful supply for the first few hours outside the plateau.
Optional: Iced Korok at Keh Namut
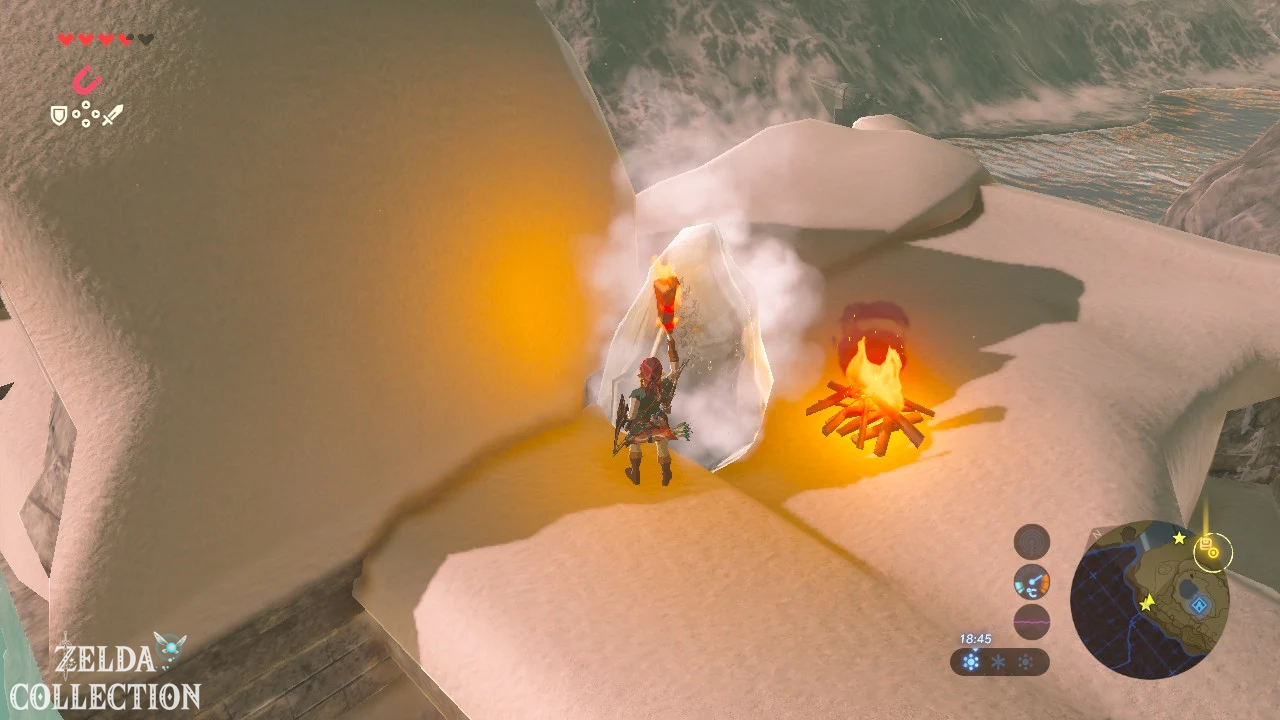
[Optional – 100% Route] Northwest of Keh Namut there is a large block of ice on the ruins. Hidden underneath is a Korok. If you picked up the Fire Arrows from the Bokoblin camp near the eastern abbey, shoot one or more of them at the ice and wait for it to melt completely. Then lift the exposed stone.
Alternatively, you can light a campfire next to the ice or hold a burning wooden weapon or torch close to it. Don’t try to break the ice with normal weapons – it needs to be melted with heat.
Four Spirit Orb – return to the Temple of Time
After Keh Namut, the old man reports again and gives you a cryptic clue. The four shrines form a pattern on the map; where imaginary lines cross between them lies the Temple of Time. Teleport yourself to one of the centrally located shrines or walk back to the large ruins.
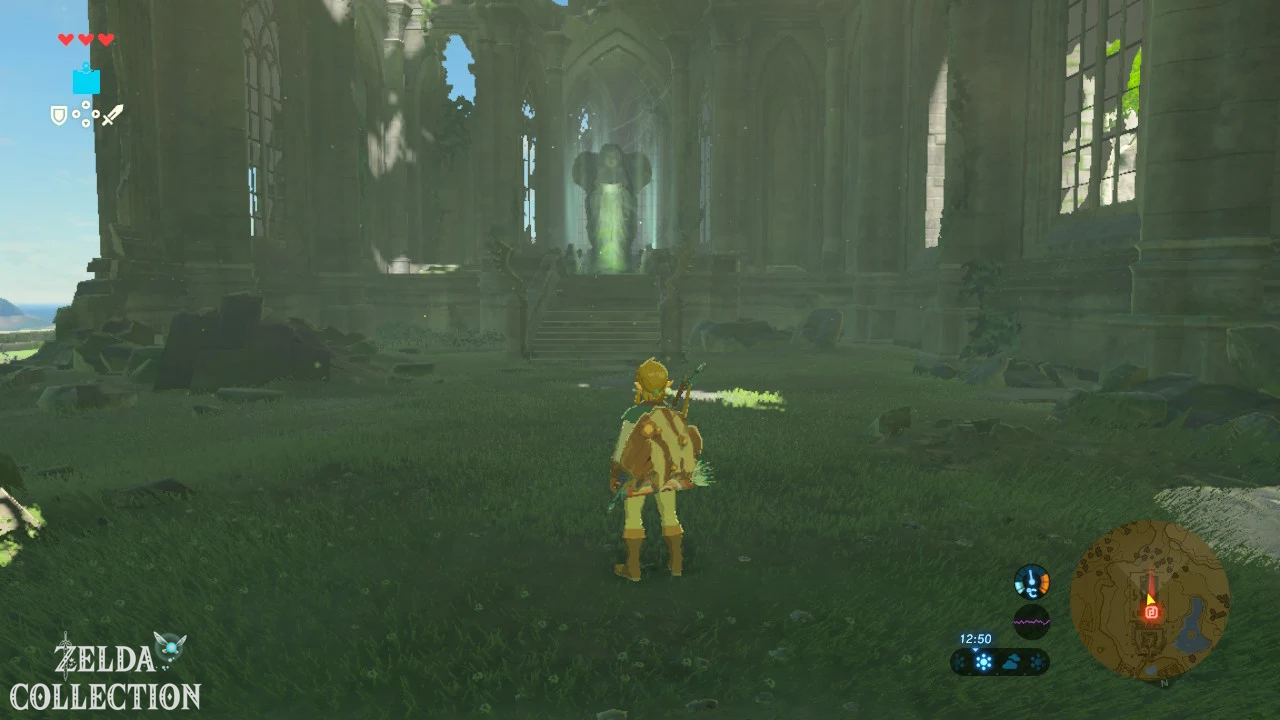
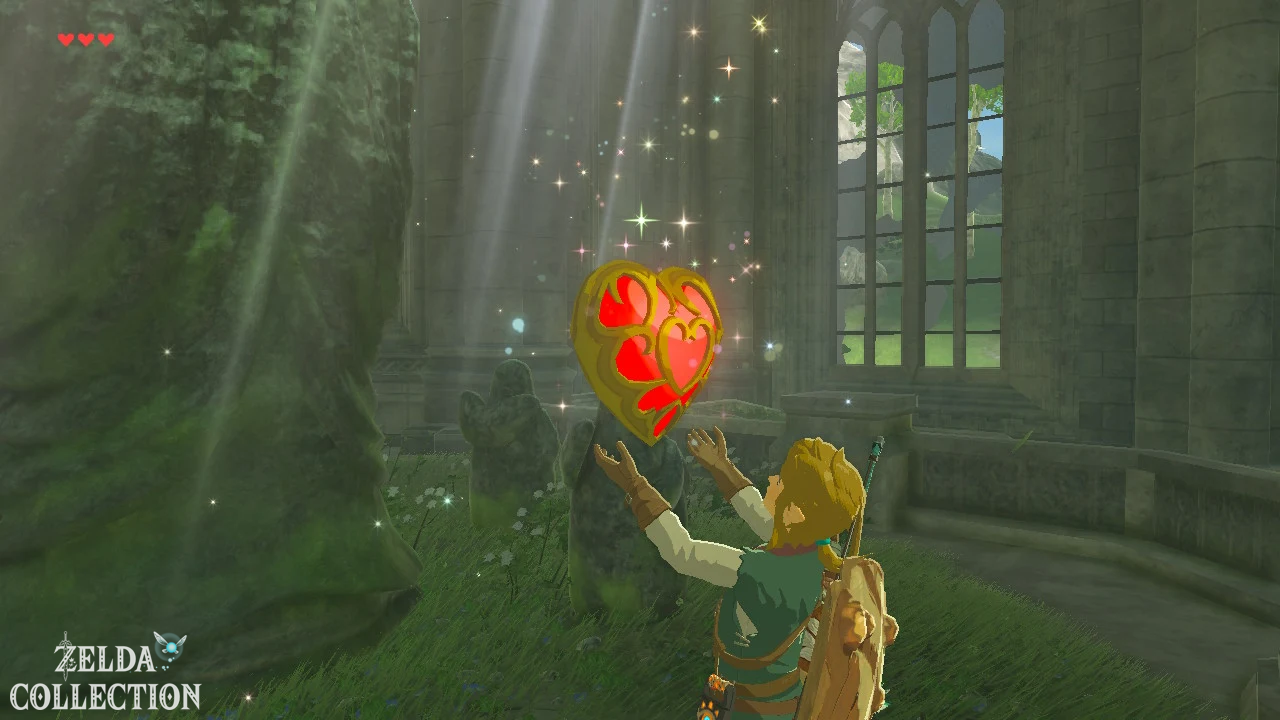
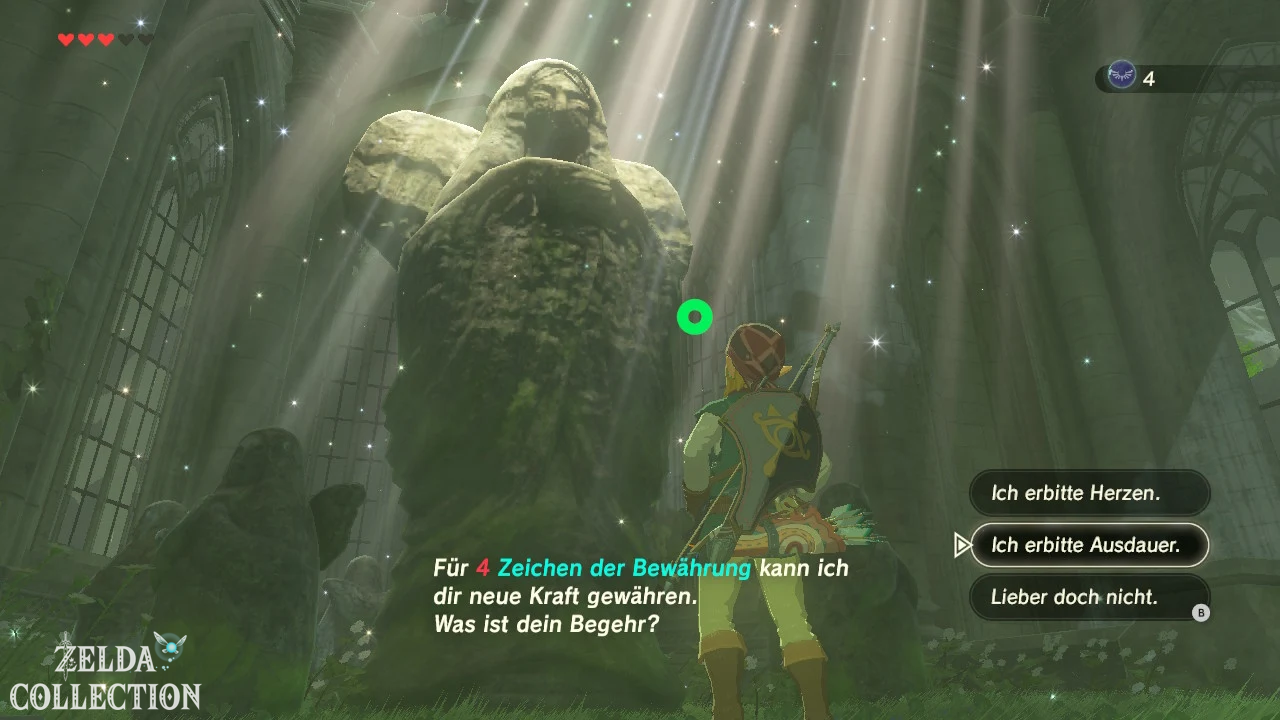
Enter the citadel and examine the large goddess statue. Four Spirit Orb can be exchanged for either a Heart Container or a Endurance Container. For our solution, we recommend the Heart Container as a first improvement. Four hearts make early fights noticeably safer, and since we will be completing a lot of shrines on our route, we will soon have plenty of opportunities to build up our stamina. If you want to climb and explore as much as possible, you can still easily choose endurance first – the decision doesn’t block anything permanently.
Optional: Korok on the Temple of Time
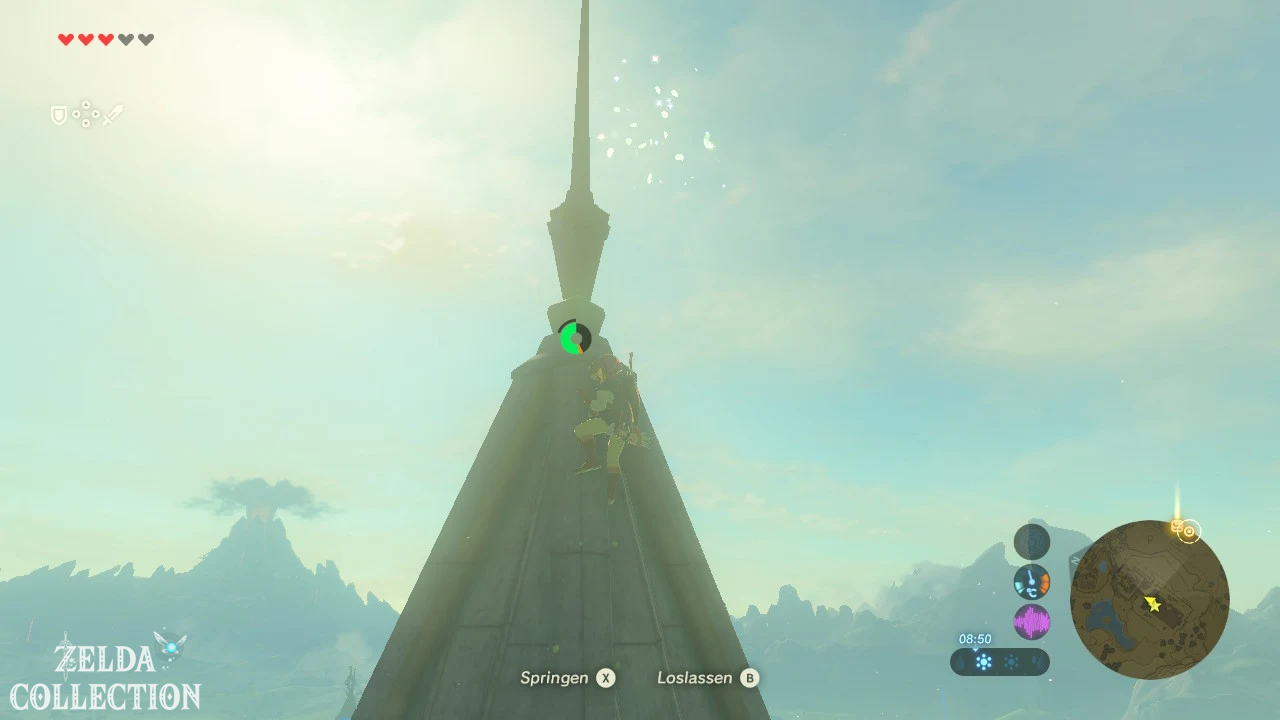
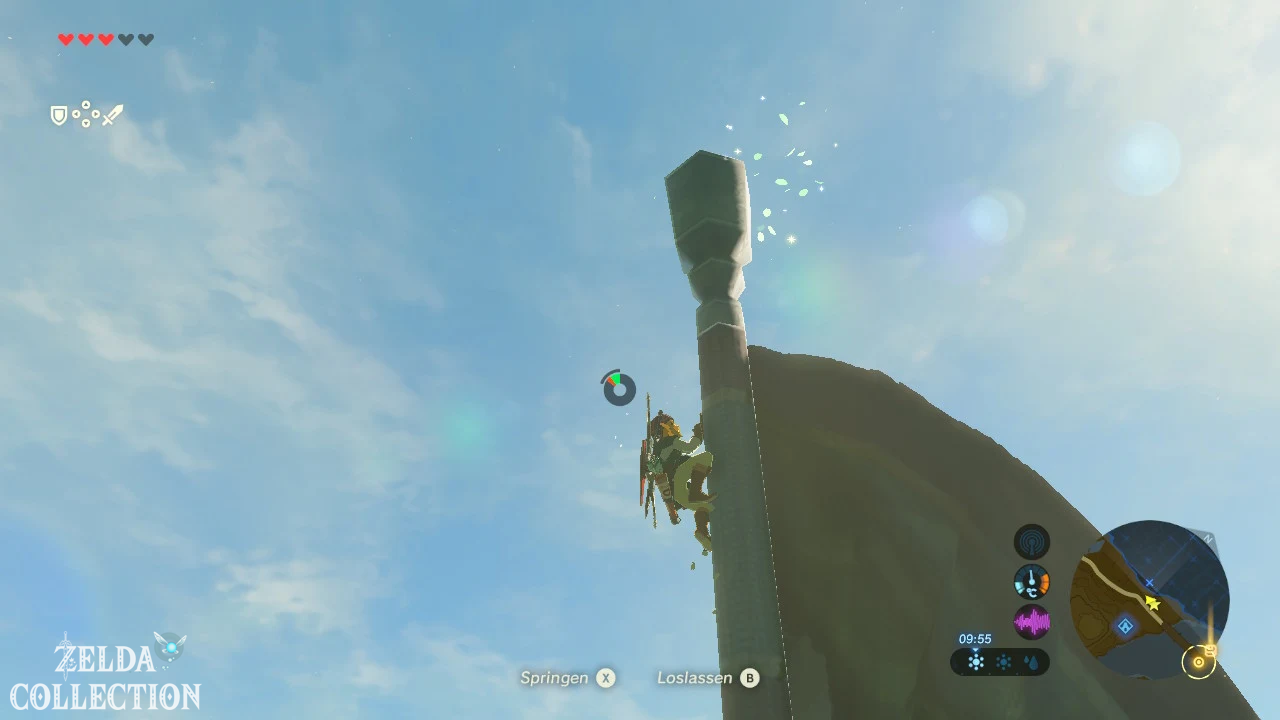
[Optional – recommended] After the prayer, the old man calls you from the roof of the citadel. But don’t climb straight to him. Climb the ladder and the walls to the highest accessible point of the building. Another Korok is waiting there. Since you have to go to the roof for the main story anyway, it would be a shame to have to get this seed separately later.
The truth about the old man
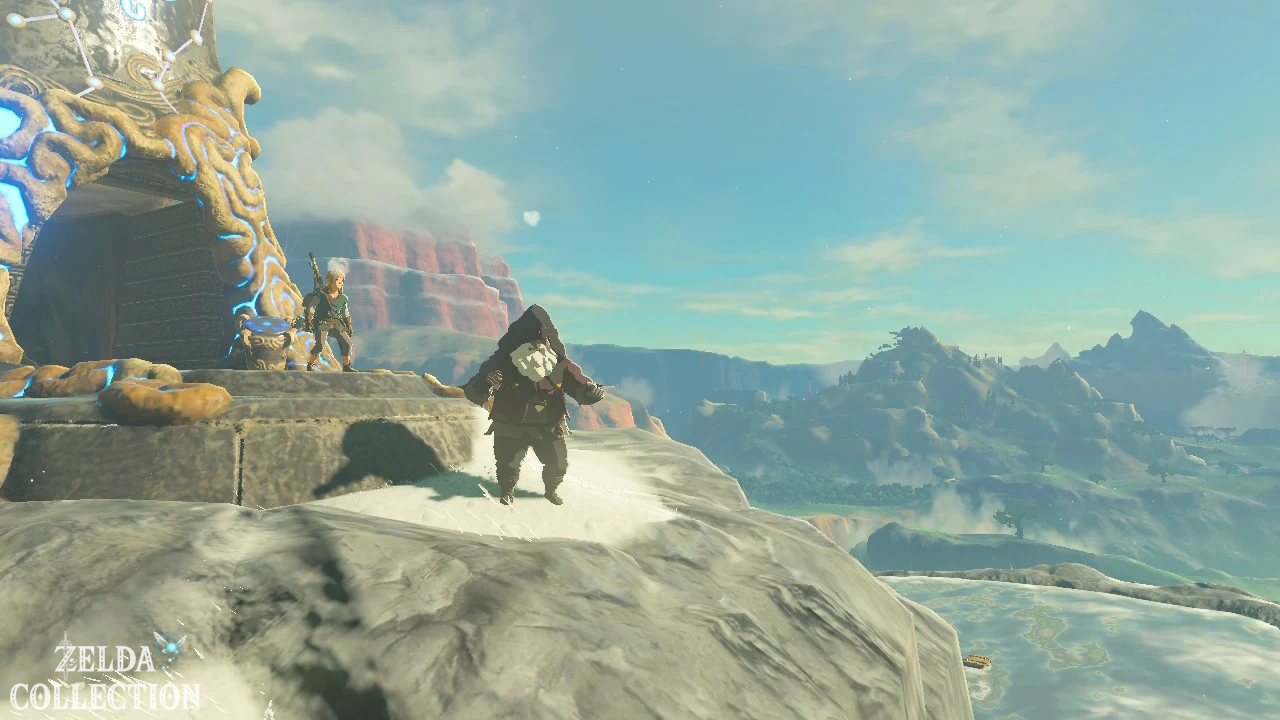
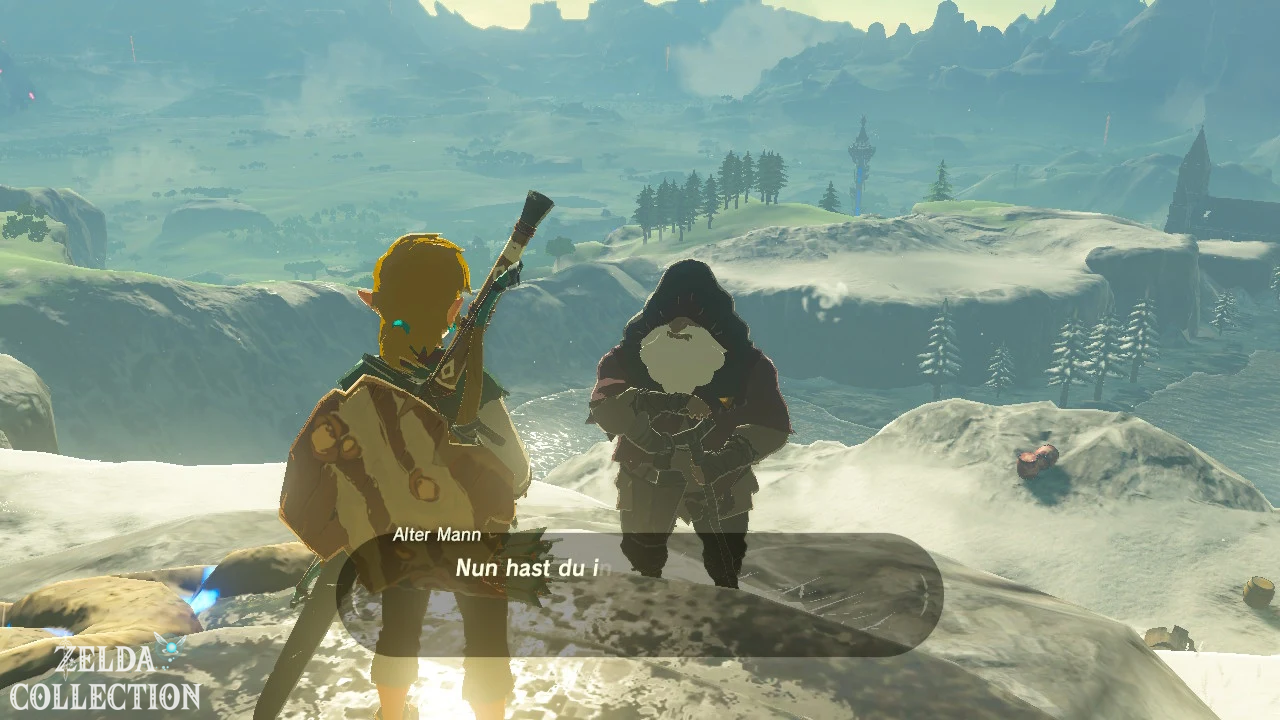
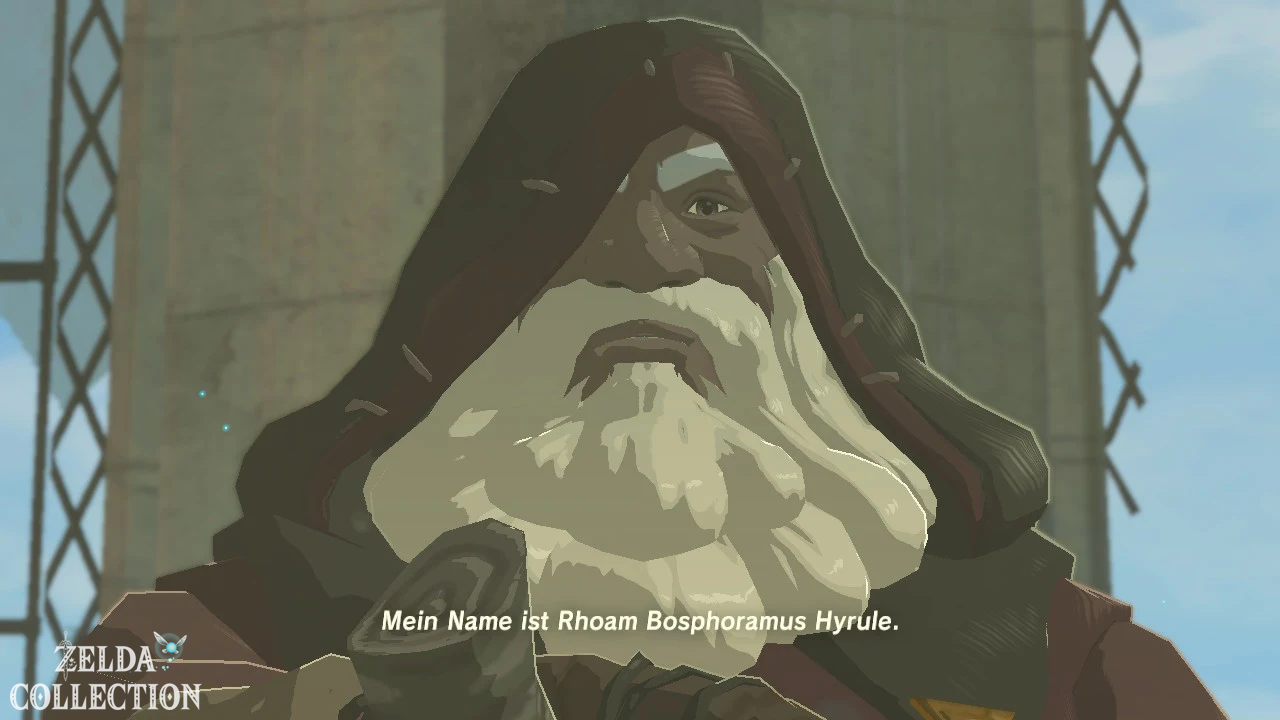
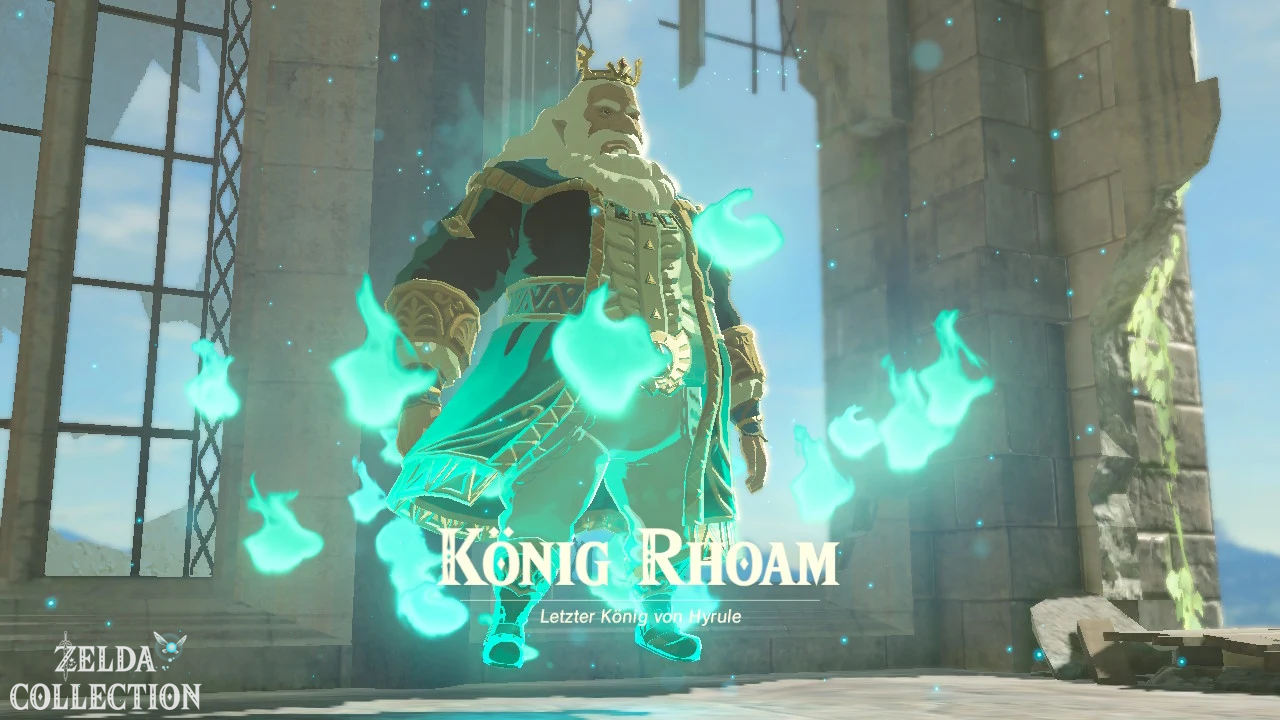
Meet the old man on the roof. He finally reveals his true identity: before you stands the spirit of Rhoam Bosphoramus Hyrule, the last king of Hyrule. One hundred years ago the Calamity Ganon returned. Hyrule had tried to use the ancient Sheikah Guardians and four massive Titans against him, but Ganon took over the machines and turned them against the kingdom. Link was mortally wounded while Princess Zelda had him taken to the Shrine of Resurrection and subsequently imprisoned Ganon in the castle.
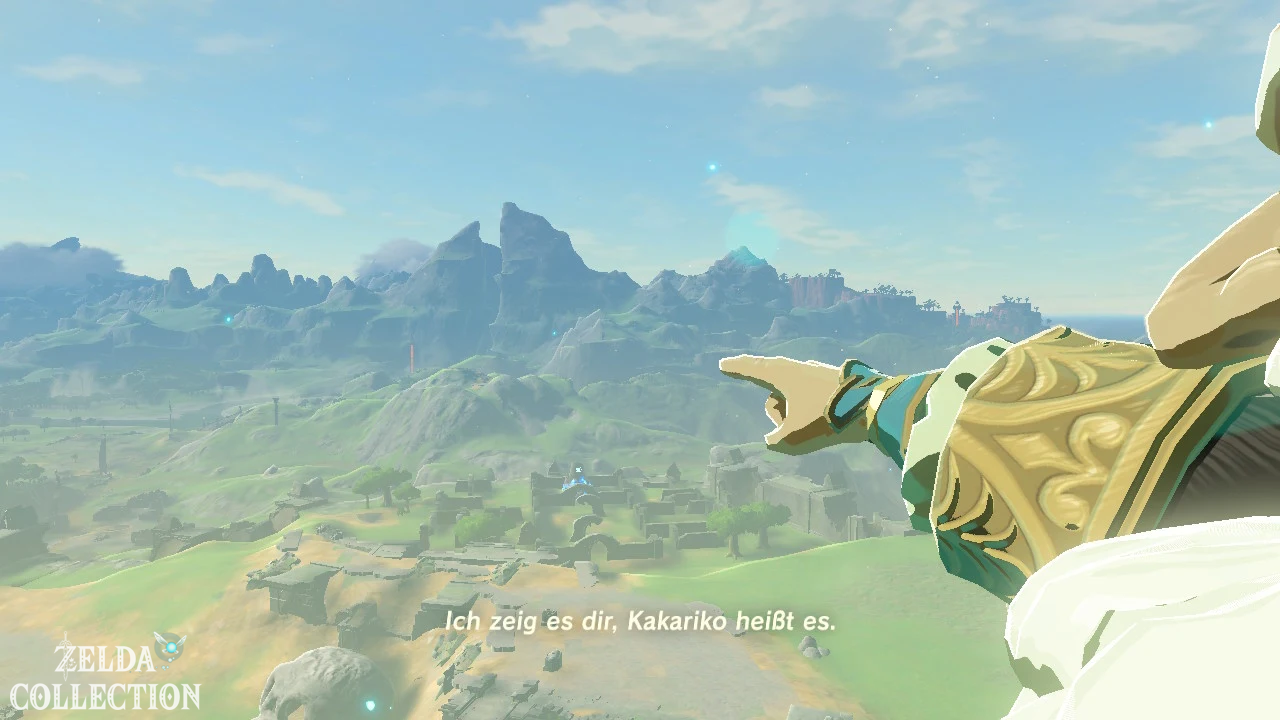
Rhoam asks Link to save his daughter, but at the same time warns against rushing straight to the castle. The first step is to visit Impa in Kakariko Village. This will update or unlock the main objectives surrounding Ganon and Impa.
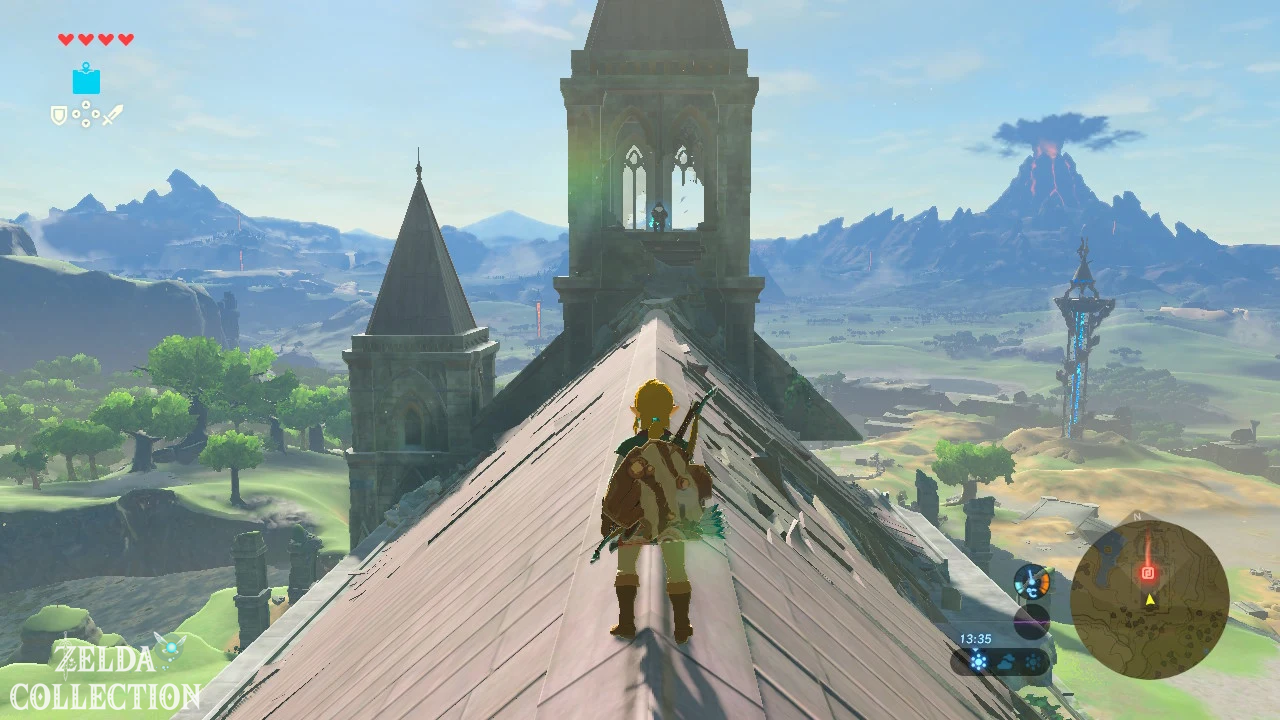
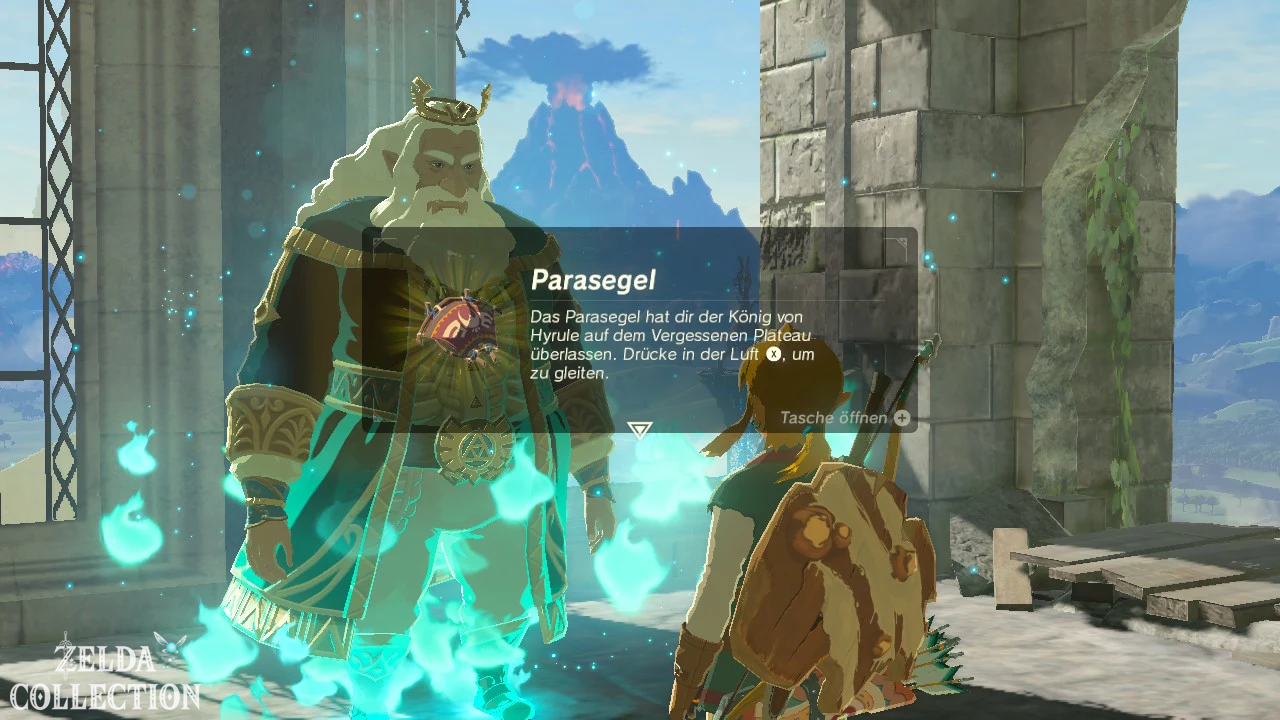
Finally, Rhoam finally keeps his promise and hands you the Paraglider. This changes the movement fundamentally: Jump from an elevated position and open the sail in the air. As long as Link has stamina, he will slowly slide down and can safely overcome enormous differences in height. Only now is the Great Plateau truly open.
Optional: The last Korok that makes sense for us to get before departure
[Optional – 100% route] With the Paraglider, a previously unpleasant plateau can be reached without any significant effort. Teleports you to Keh Namut. To the south or southeast of the shrine, slightly below the edge of the rock, lies a metal block puzzle. Slide carefully from the edge to the lower heel. There you will see a block formation and the missing metal cubes. Use the magnetic module and recreate the pattern of the opposite formation exactly. The Korok appears.
We have now completed all of the Korok puzzles on the actual plateau on our route, which can be usefully integrated into the path before the first descent. Two special cases are deliberately missing: One only appears after Link has actually left the plateau and returned to the Shrine of Resurrection; another already lies below the plateau cliff southeast of Ja Baij. We’ll take both of them with us as we head east in the next chapter. This way we avoid an artificial back-and-forth detour just for two seeds.
Optional: The rock stalus in the Forest of Souls
[Optional – recommended for a complete endgame save] Before you finally explore Hyrule, you can take on a larger overworld enemy for the first time. In the area of the Forest of Souls rests a rock stalus, which initially looks like an ordinary boulder. If you approach, the entire stone golem will stand upright. The fight is optional and can easily be completed later, but with the Iron Hammer from Owa Daim, Link is now well prepared.
Avoid the thrown rock arms, run up to the talus and climb onto its back. There is a dark ore deposit at the top – its real weak point. Hit it with the iron hammer and jump down as soon as the talus starts to shake you off. Repeats the process. After victory, the opponent drops several gems that can give you a significant financial advantage early on. In addition, the defeated Talus already counts for a much later optional challenge involving all large monsters Hyrule’s.
With the Paraglider out to Hyrule
This concludes the tutorial area. You now have the magnetic module, bomb module, stasis module and cryo module, a permanent winter jacket, four Spirit Orb have been exchanged for your first improvement and the Paraglider finally allows you to leave the plateau safely. Along the way, we collected high-quality early weapons, several gems, special arrows and a large portion of the regional Koroks.
In the next chapter the optimal route takes us east towards the twin mountains. On our first departure we take the two plateau Krogs that were on hold, cross the Prologia Bridge, activate the Dueling Peaks Tower, visit our first stable, register a horse and solve several shrines and Korok puzzles right along the way. Then we continue to Kakariko Village to Impa. The existing ZeldaCollection page for the following main section can be found at Impa, the wise.