

After the main goal “Impa, the Wise”, Impa sends you to Hateno Village. A researcher is said to live there who can repair the incomplete Sheikah Slate. The new main target “Zelda’s Legacy” is particularly important for our Walkthrough because it unlocks several central systems: the Camera Rune, the Hyrule Compendium, Zelda’s old photo album and ultimately the search for Link’s memories. We can also then improve the Sheikah Slate modules and complete a whole chain of other main, secondary and shrine tasks in Kakariko Village.
We don’t just follow the yellow target marking. On the way we activate the Hateno Village tower, take a Korok with us without a big detour and kill the Myahm Agana shrine in Hateno Village. Then we take care of Purah’s blue flame, start the Side Quests “Hidden Powers”, “The Other Researcher”, “The Gun Nut” and “Your own dream house” and finally complete the remaining Kakariko Village tasks. This means that both the main story and our 100% score are optimally prepared for the first Titan.
Main Target “Zelda’s Legacy” – From Kakariko Village to Hateno Village
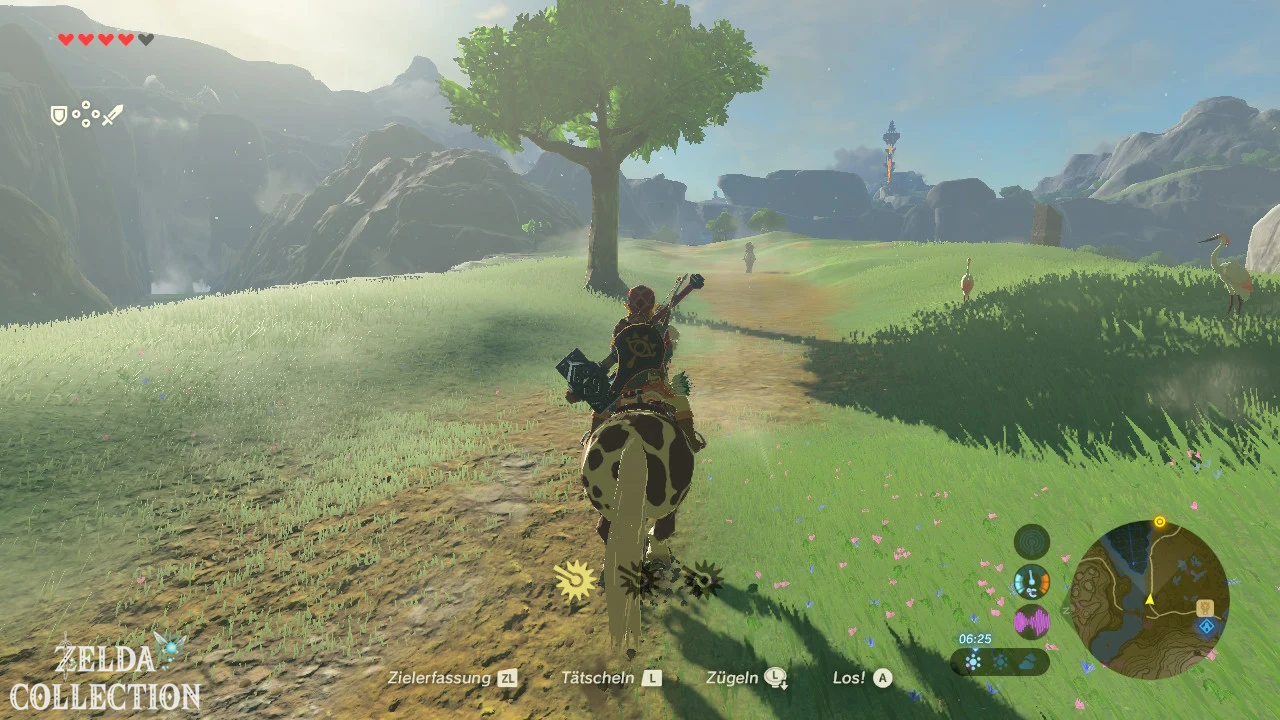
Leave Kakariko Village via the southern exit and follow the familiar path back to Kakariko Bridge. There is a signpost behind the bridge. Instead of continuing to ride to the Dueling Peaks stable, this time follow the road east towards Hateno Village. If you registered a horse in the last chapter, it is worth taking it with you on the trip. The road is wide, largely harmless and your horse follows it automatically as long as you don’t constantly steer against it.
On the way you will always meet travelers, Bokoblins and monster camps. Only fight groups that are directly on the road or guarding a valuable Treasure Chest. Our goal is not to defeat every respawning enemy in the region once, but to make permanent progress. On the other hand, continue to collect plants, mushrooms, monster parts and ore as you pass them.
Hateno Village Fortress – site of the final battle
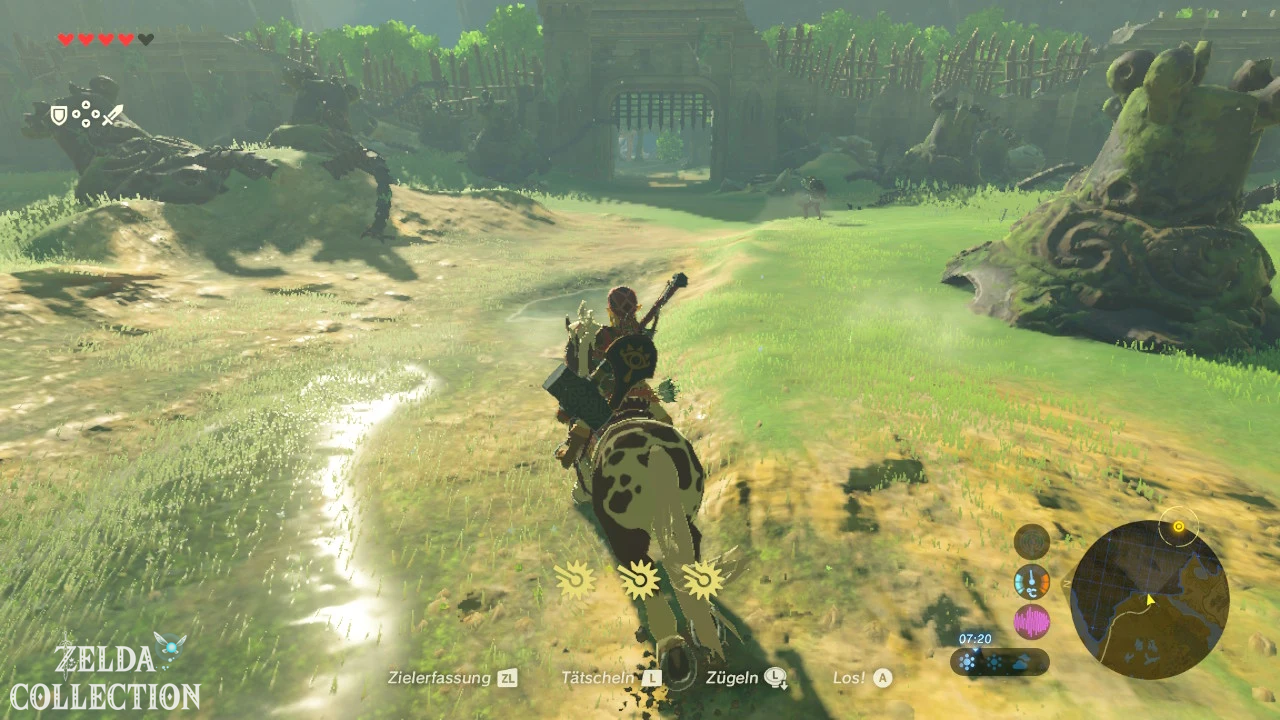
After some time you will reach the huge ruins of the Hateno Village Fortress. The massive wall stretches across the landscape and marks an extremely important place in history: this is where the advance of the Guardians was stopped during the devastation a hundred years ago. Numerous destroyed guards still lie among the ruins.
Investigates the motionless machines. At many you can find Antique Screws, Antique Springs, Antique Gears and occasionally more valuable antique materials. Does not sell these parts. A little later, Purah will need exactly such materials to improve your Sheikah modules. You should especially keep antique reactor cores as they are much rarer than screws or axles.
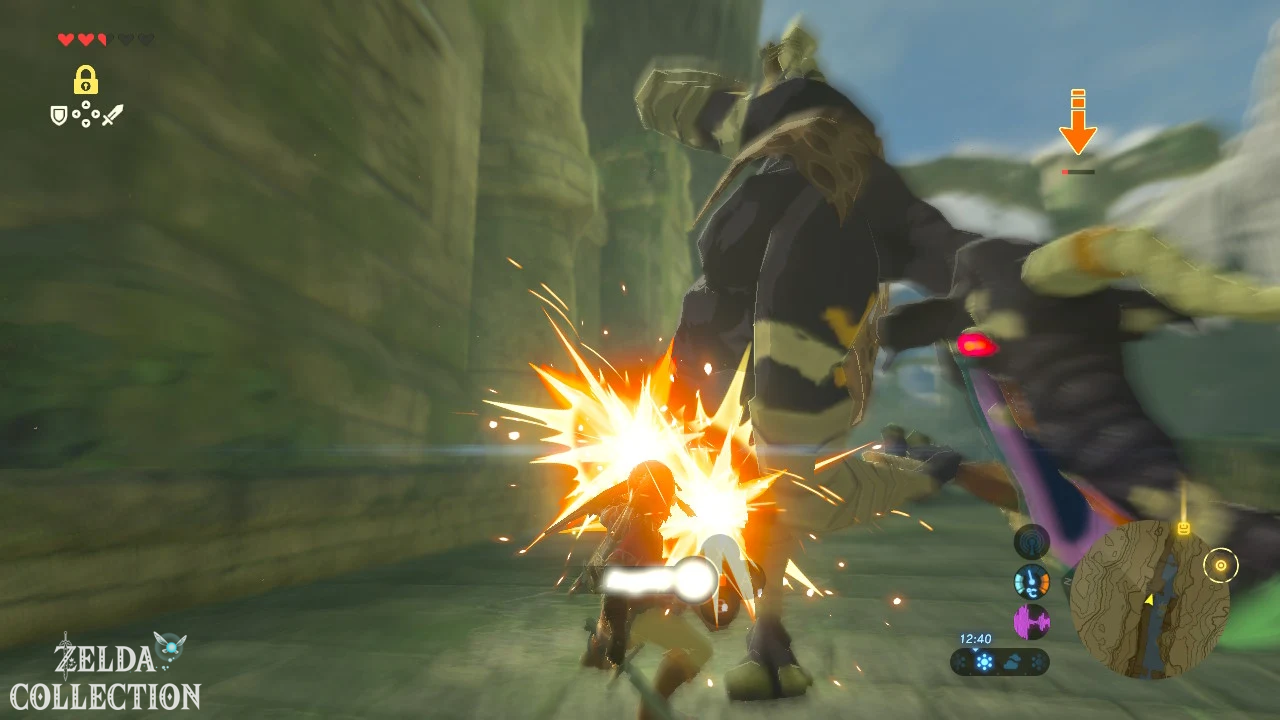
Optional: Korok at Hateno Village Fortress
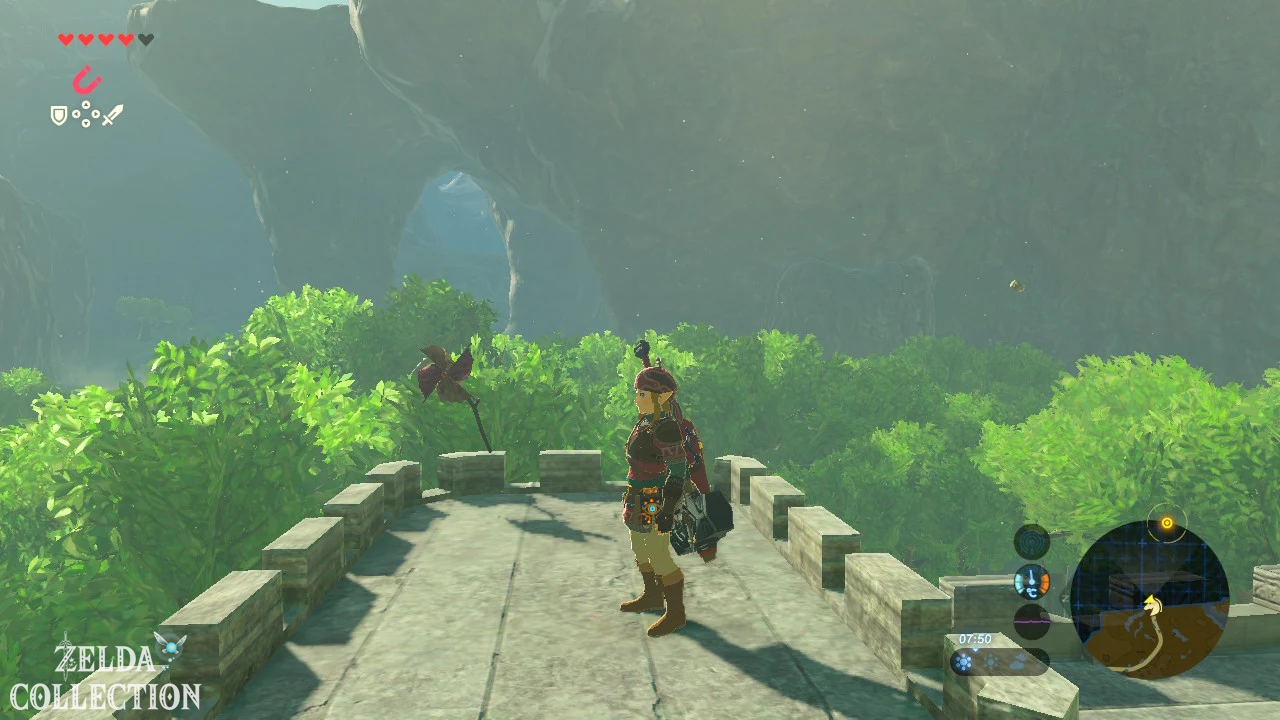
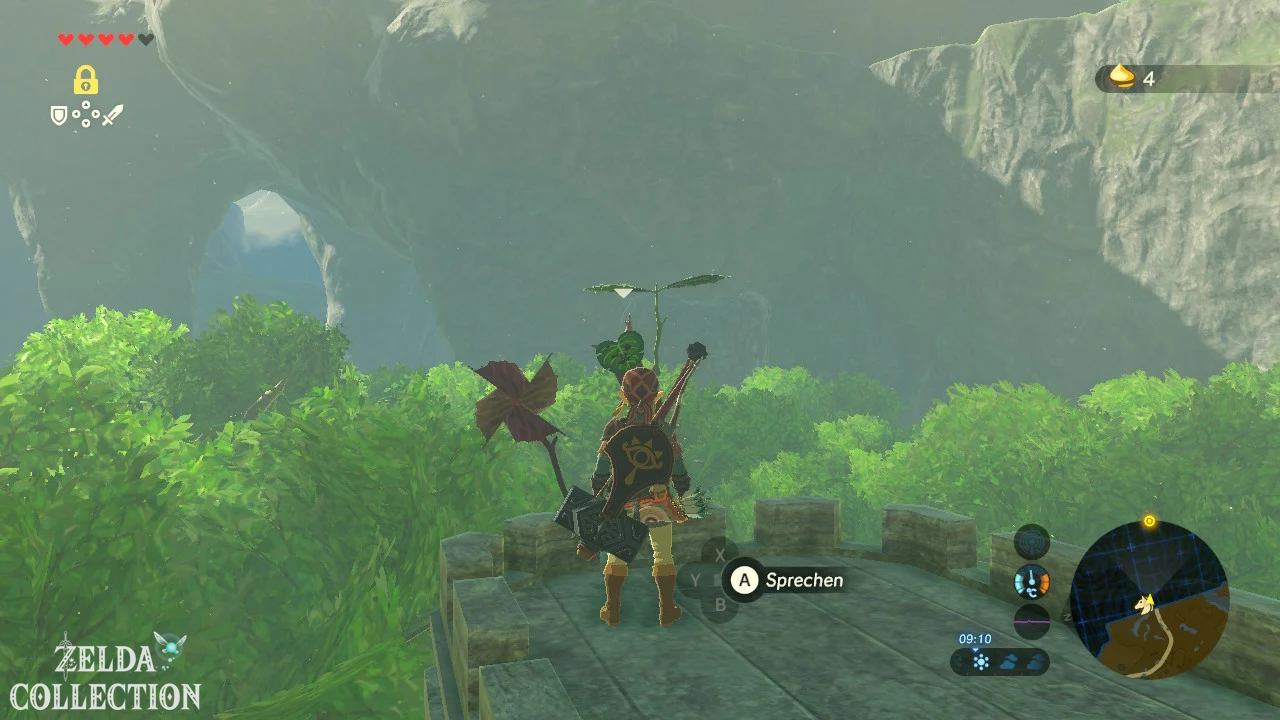
[Optional – required for 100%] There is a small watchtower or raised ruin area on the fortress wall. Climb up and look out for the typical Korok wind turbine. As you approach, flying targets will appear. Shoot them with your bow. If the targets are too fast for you, briefly activate Stasis to better assess their movement. After the last hit, another Korok will appear and give you a Korok Seed.
We’ll take him with us now because the path leads directly through the fortress anyway. The numerous remaining Koroks from East Necluda, however, will be systematically dealt with in the next regional chapter.
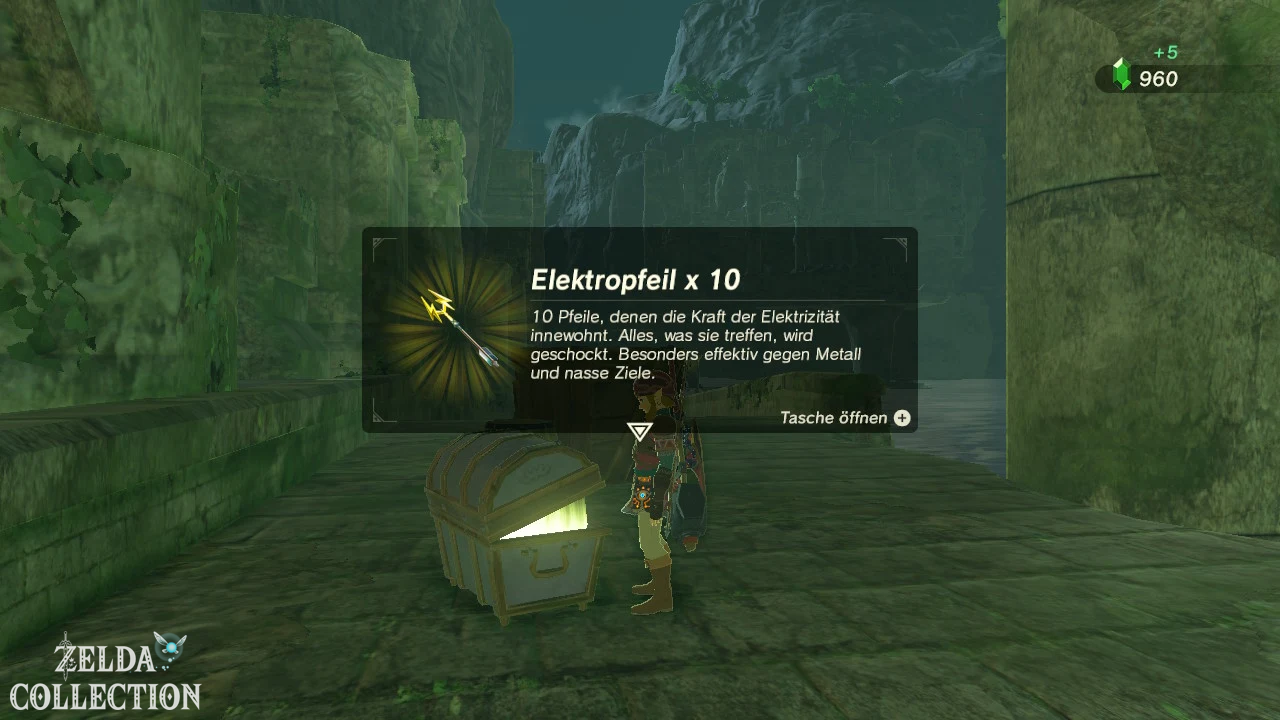
To Hateno Tower
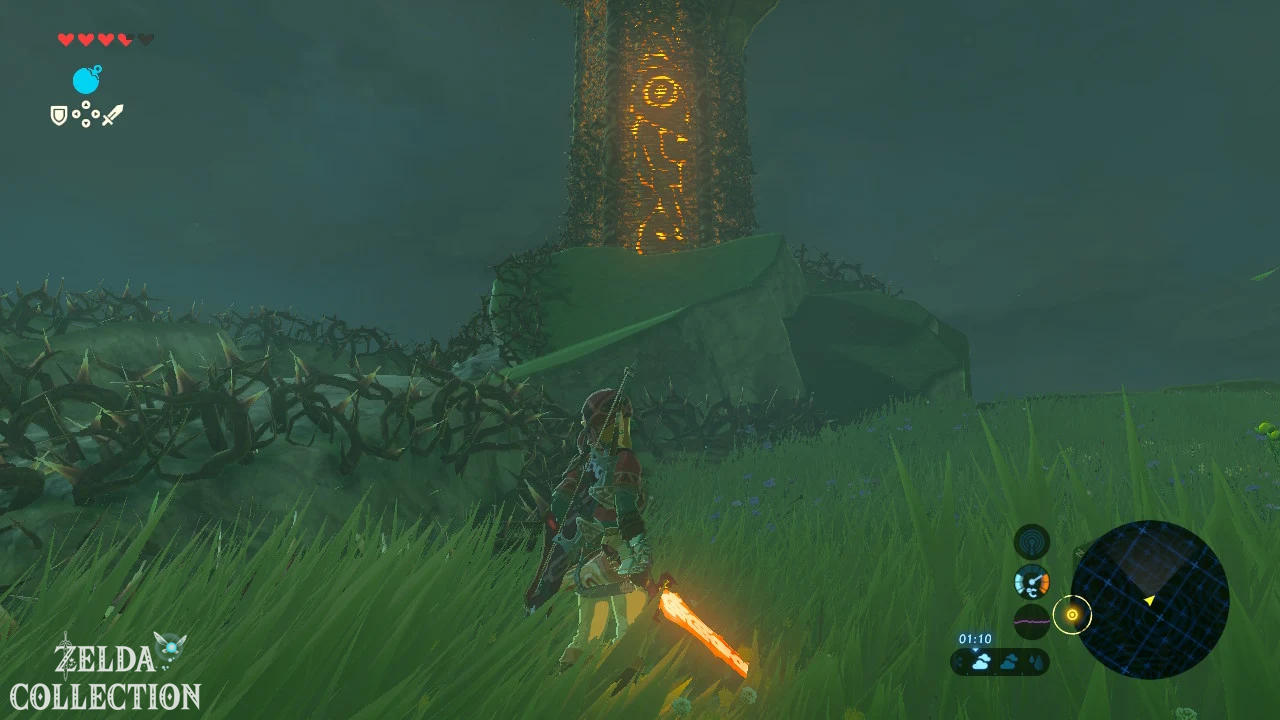
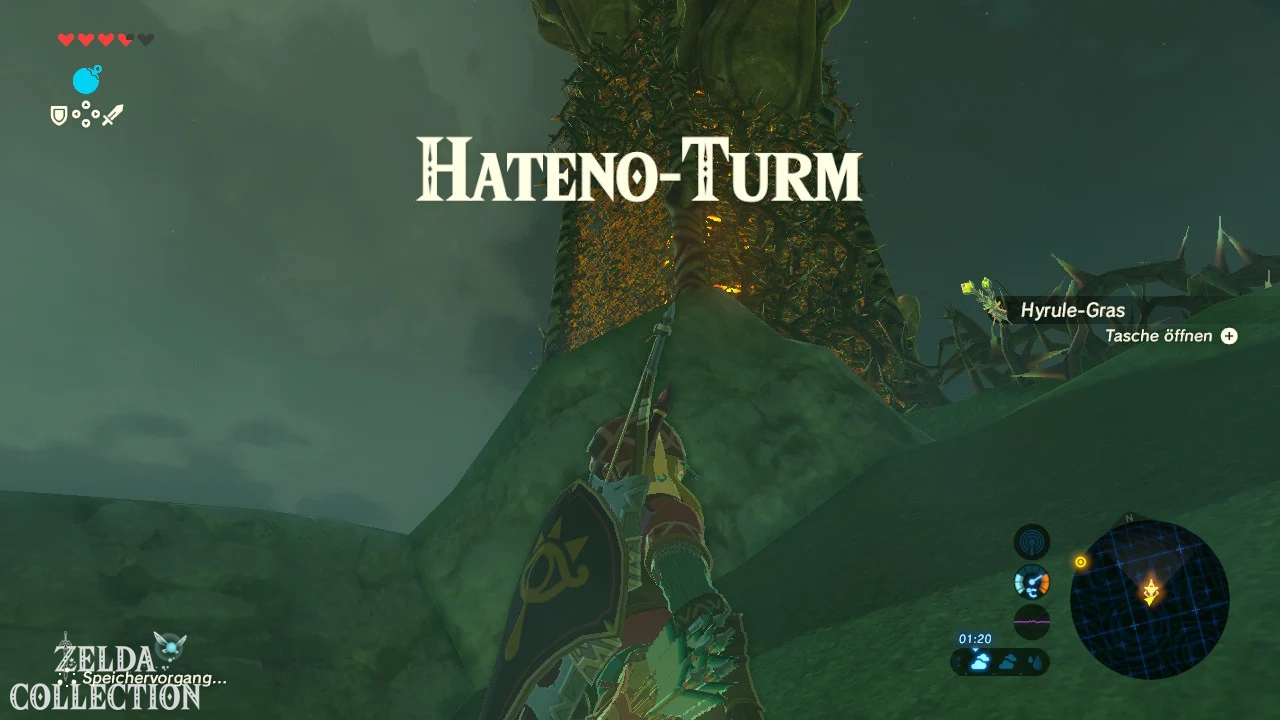
Cross the gate of the fortress and follow the road a little further east. Shortly afterwards you can see a high Sheikah tower to the south or southeast. Leave the main road at the appropriate junction and move to Hateno Tower. The tower stands on a rocky hill and is guarded by Bokoblins and Moblins. You can either eliminate the monsters or climb the slope to a quieter side.
The real obstacle is the large thorny vines that cover parts of the tower. They are not safe to climb through but are flammable. If you have Fire Arrows from Kakariko Village or Great Plateau, shoot the thorns and wait until they are completely burned. Alternatively, you can light a campfire with wood and flint, hold the tip of a normal wooden arrow into it and shoot it burning at the vines.
Burn the thorns in sections and then climb up from platform to platform. Wait until the flames have gone out – burning tendrils hurt Link just as reliably as intact thorns. The tower’s small platforms are great for fully regenerating stamina.
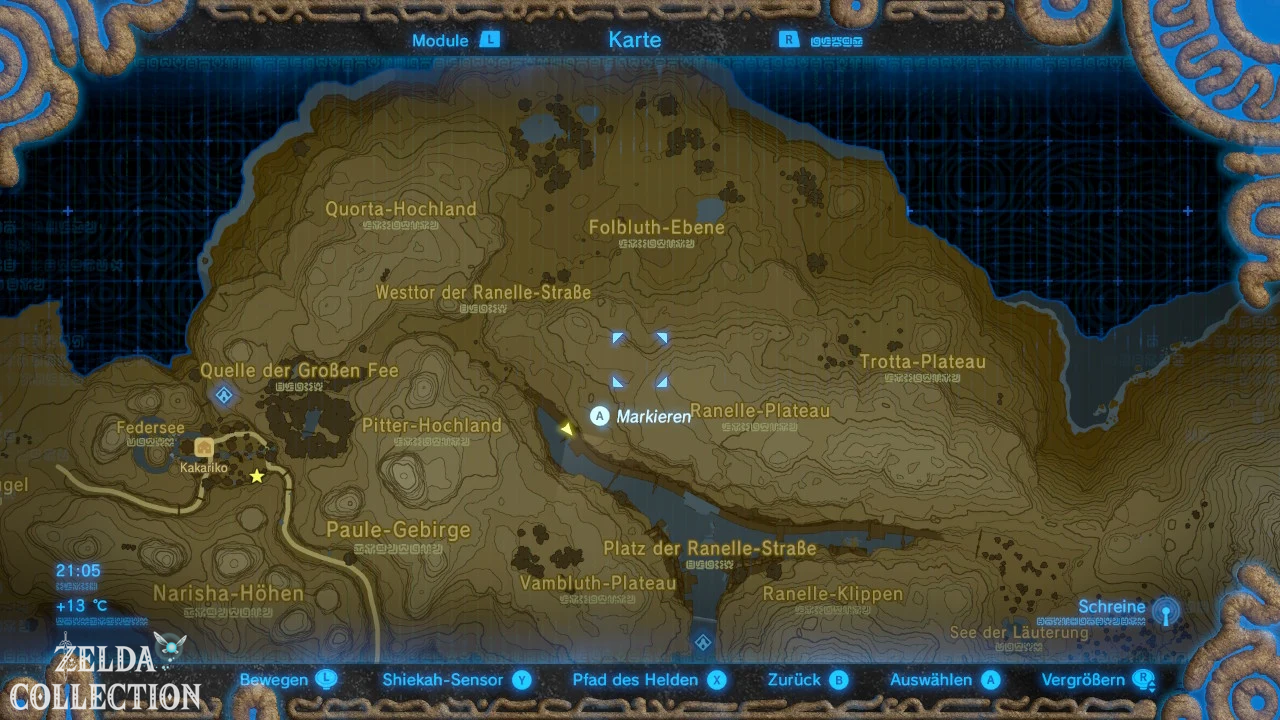
Activate Hateno Tower
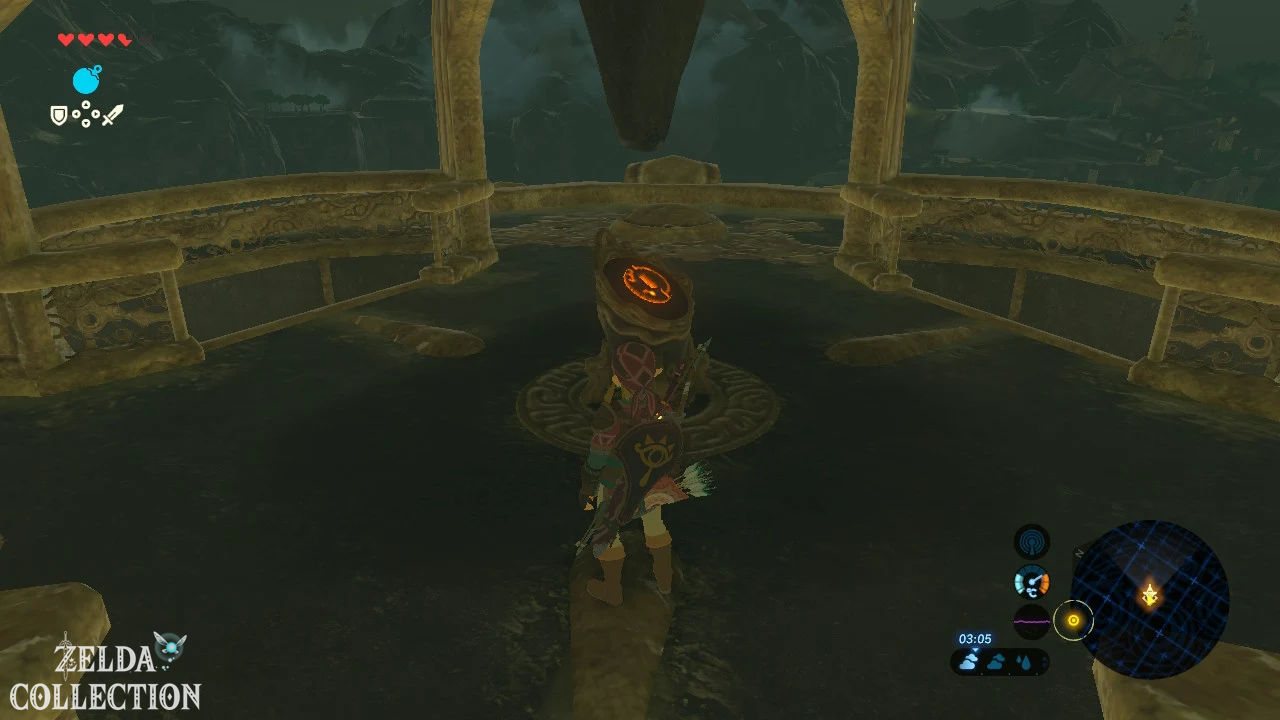
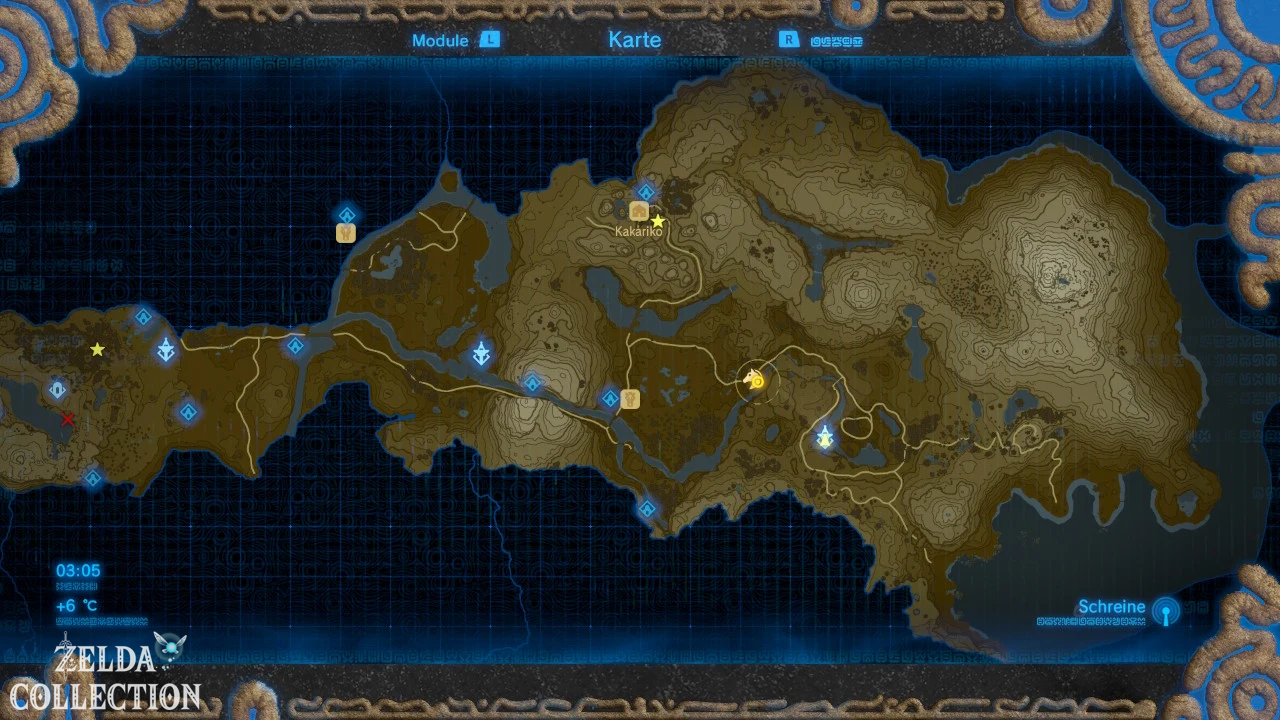
When you reach the top, activate the terminal. This will make the map of the Hateno Village region or East Necludas visible on the Sheikah Slate. Hateno Village, the coast, the Mount Lanayru and several mountain ranges can now be classified much better. From now on, the tower also serves as a fast travel point.
From up here you can already mark several shrines. However, we’re not solving all seven of the region’s shrines right away: many are located far in the mountains or on the coast and can be connected much more efficiently during our later full Necluda exploration. If you are looking for a specific shrine regardless of our chronological route, you will find all Locations in our special guide to the shrines of the Hateno Tower region.
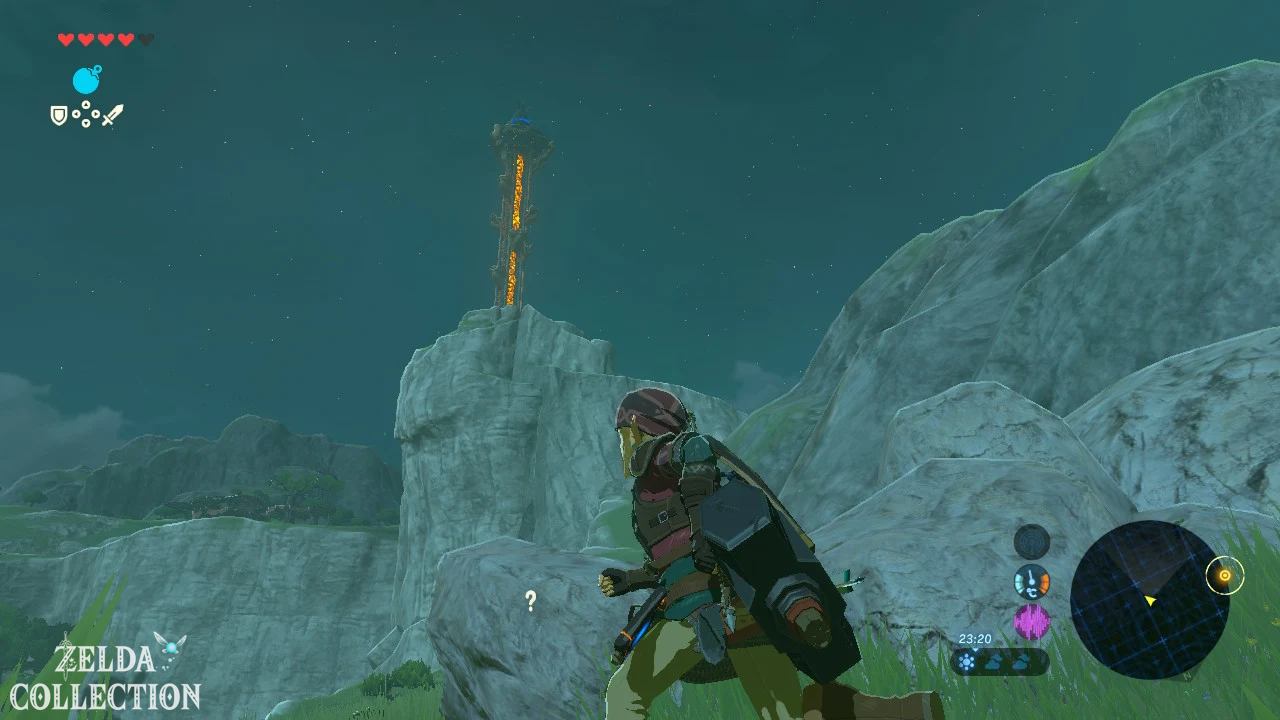
After Hateno Village slide
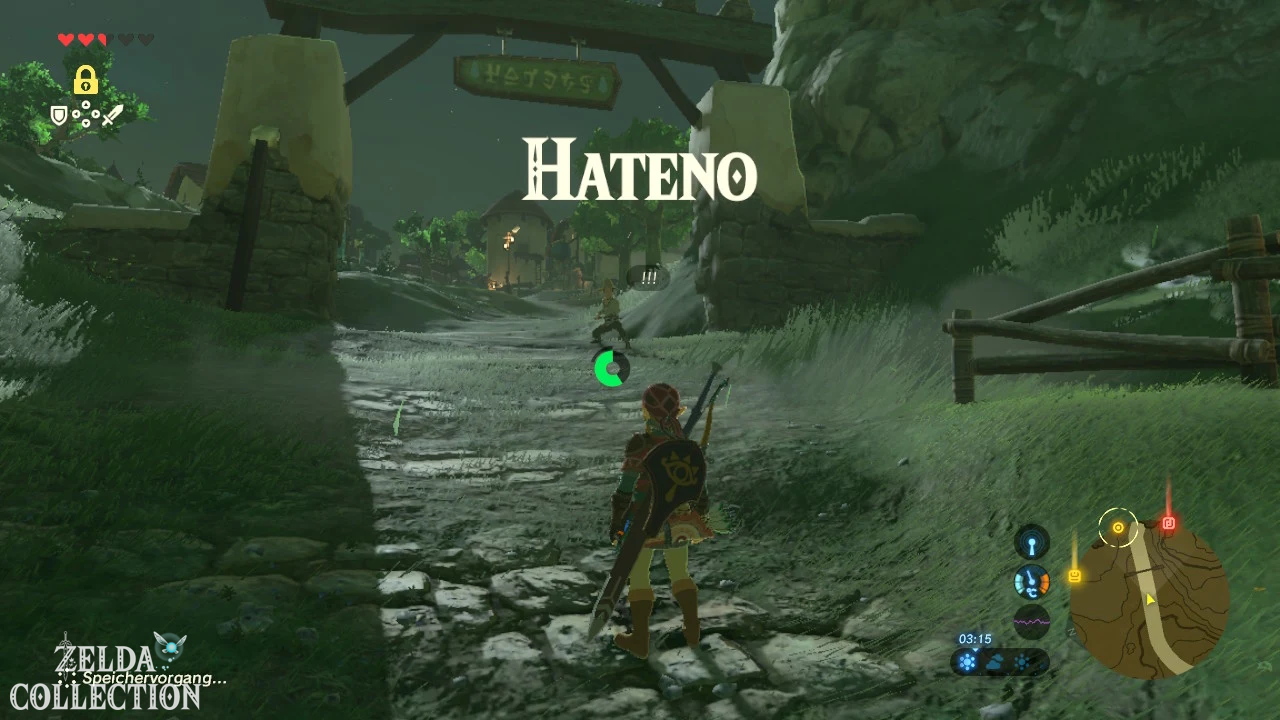
From the Hateno Tower, the village is to the east or northeast. If the weather is good, you can cover a large part of the route with the Paraglider. Use the height of the tower, glide as far as possible towards the village and then follow the road. Hateno Village has remained almost intact, unlike many other places Hyrule’s. Fields, windmills, shops and farms characterize the village, and the residents lead a relatively normal life despite the devastation.
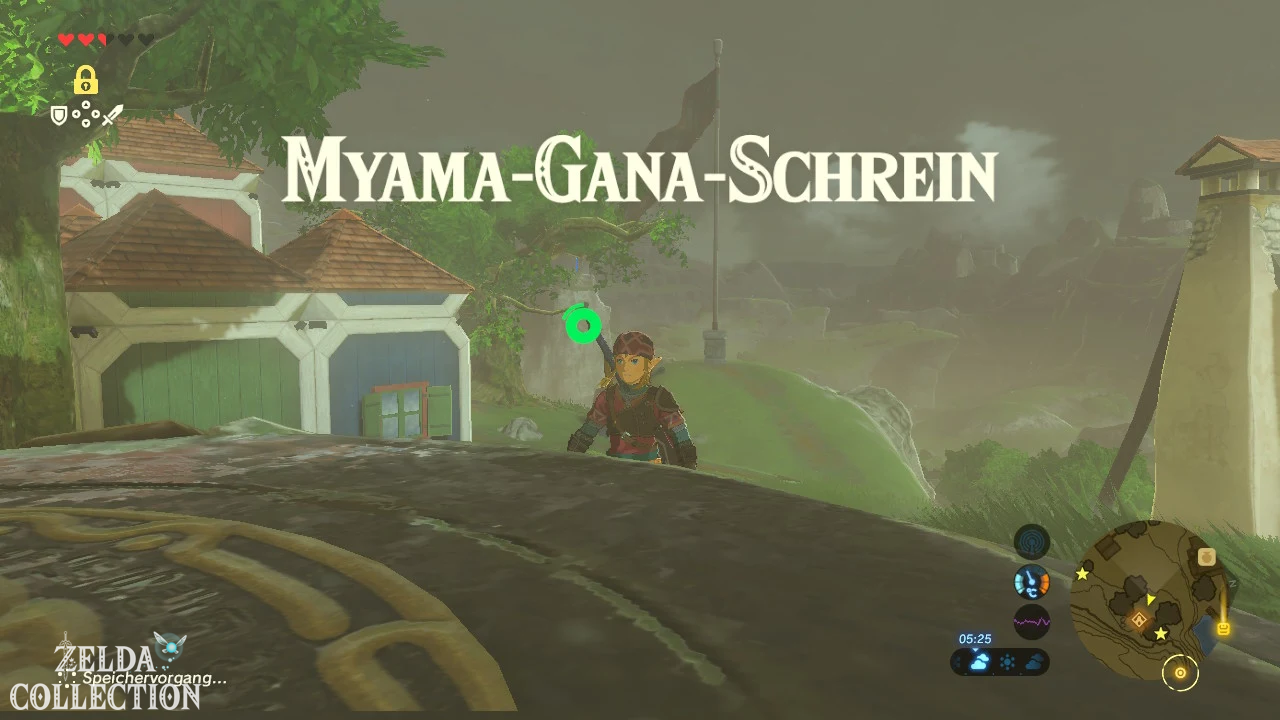
Our first target is not immediately the institute at the top of the mountain. There is a shrine right in the village that we should definitely activate beforehand. This gives us a convenient fast travel point for Hateno Village and we can return to building houses, shops and various Side Quests at any time later.
Myahm Agana Shrine – Myahm Agana’s Device
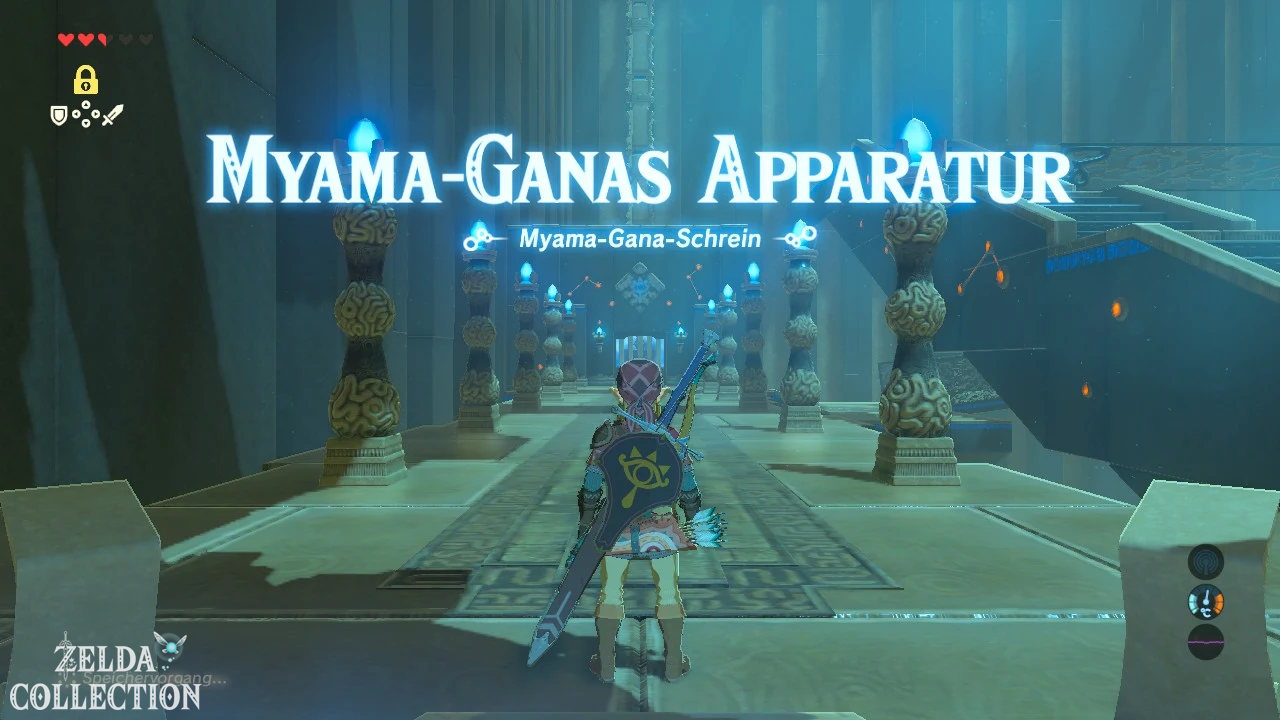
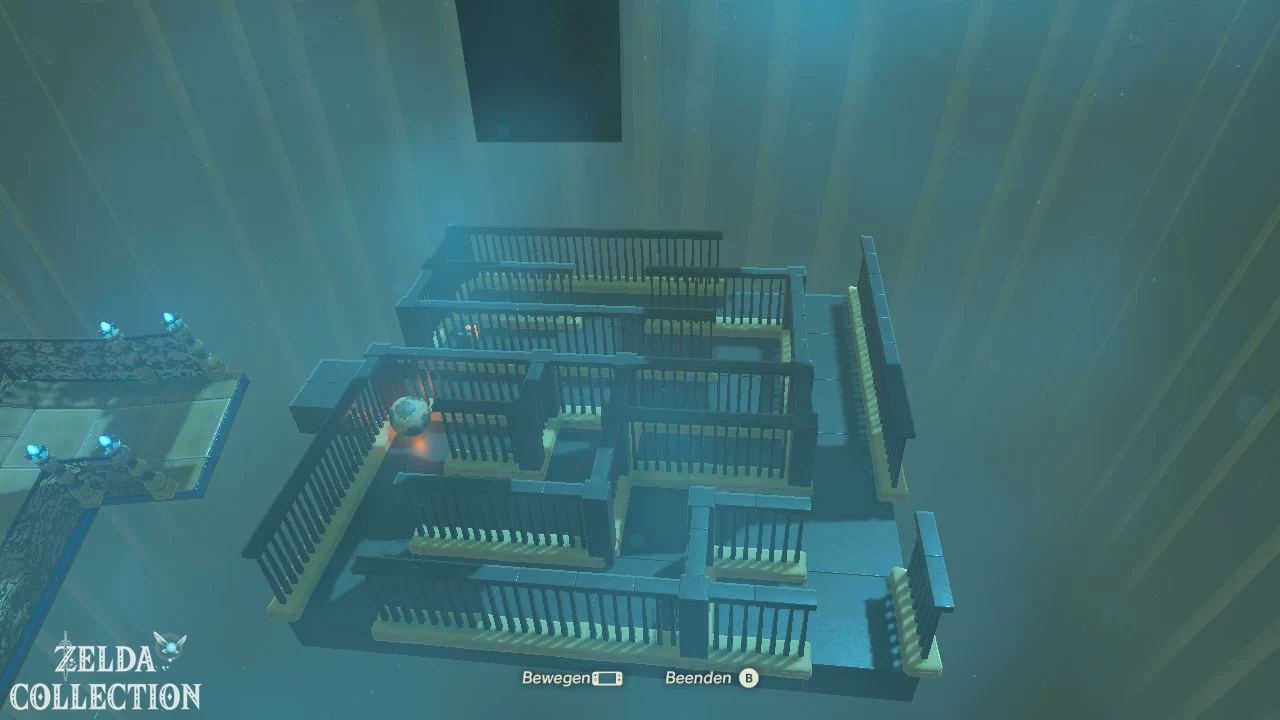
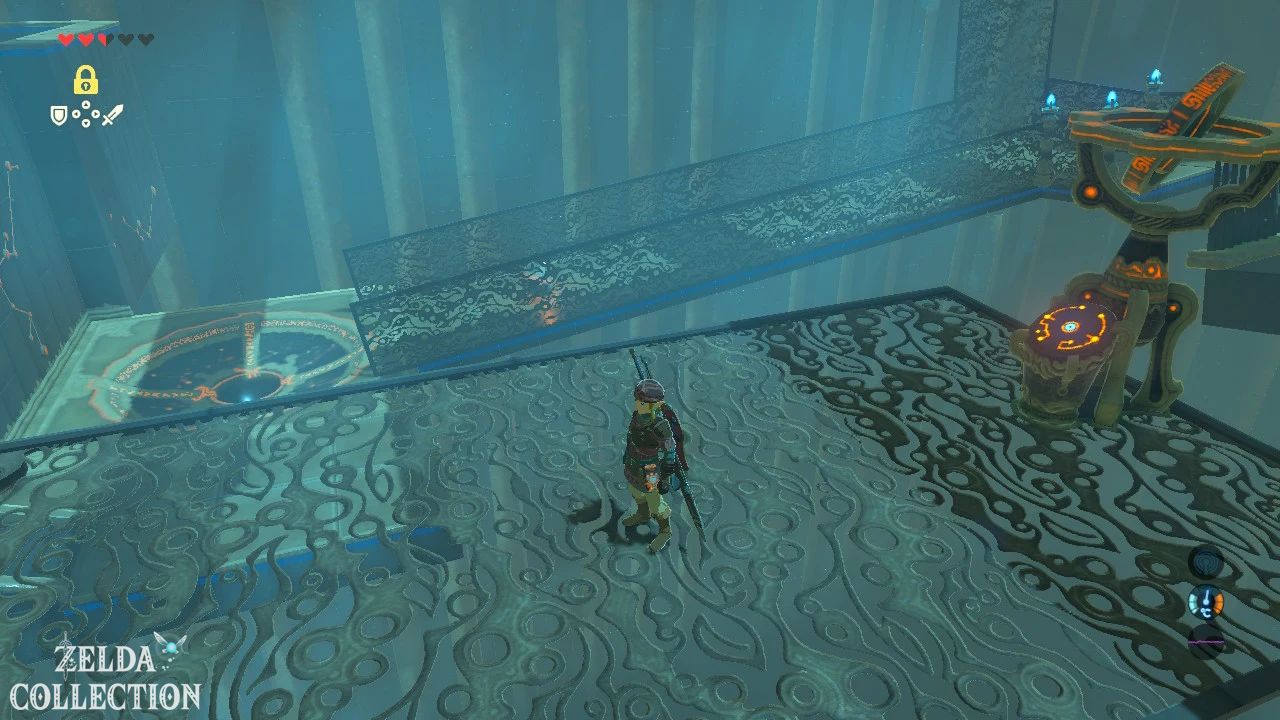
The Myahm Agana Shrine is located on a hill south or above the central village square. Activate the entrance and enter the shrine. Inside, one of the game’s most iconic motion control puzzles awaits. The large labyrinth in front of you is controlled via the Sheikah terminal with the movement of your controller. A ball has to get through the labyrinth and at the end over a ramp into the target opening.
You can solve the puzzle in the intended way: move the platform slowly and guide the ball through the individual corridors. Shortly before the exit you have to tilt the platform so that the ball gets enough speed and jumps over the small gap onto the ramp.
However, there is a much more pleasant solution. Rotates the entire labyrinth platform with the motion control 180 degrees so that the flat bottom faces upwards. The ball falls onto it and can now be rolled to the edge without any obstacles. Accelerate it towards the ramp and raise the platform just before the edge to send the ball over. As soon as it lands in the target hollow, the gate to the priest opens.
Optional: Isshin Bow in Myahm Agana Shrine
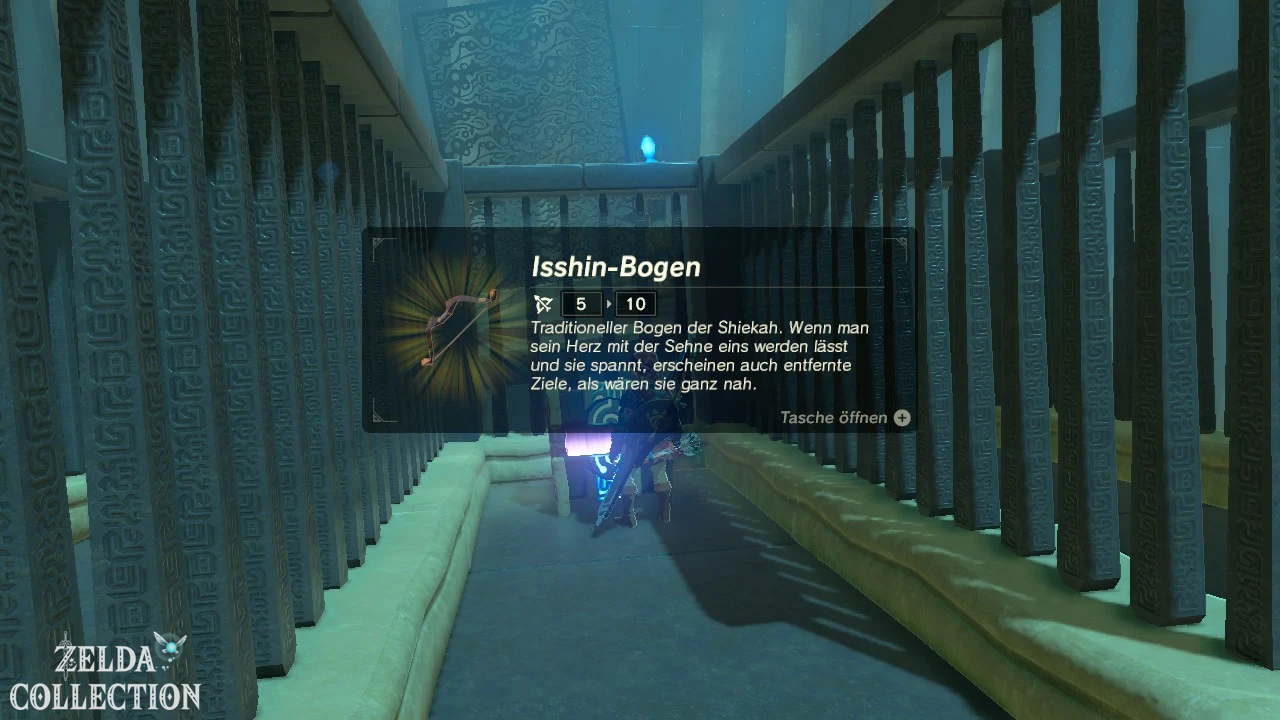
[Optional – be sure to take it with you] Don’t leave the shrine yet. There is a Treasure Chest on the labyrinth platform itself. Use the terminal again and tilt the platform so that you can reach the labyrinth from the control area or the ramp with the Paraglider. Run to the chest and open it. Inside lies a Isshin Bow.
This bow is ideal for long distance targets and precise shots. So be sure to keep it. The higher precision can be extremely useful, especially with Korok puzzles, dragons and later opponents. Then return to the altar and take the Spirit Orb with you.
Optional: Side Quest “Dark Business”
[Optional] On the edge of Hateno Village, near the Firly pond or the southern village area, you can meet a little boy who will point out a scary statue to you. Examine the horn-bearing demon statue and you start the Side Quest “Dark Business”.
The statue first takes away a heart or stamina container from Link and then gives you the opportunity to get it back. A permanent function will then be activated: You can sell heart and endurance containers for 100 Rupees and buy them back in the other form for 120 Rupees. A change effectively costs 20 Rupees.
This is especially useful later if you need 13 real Heart Container for the Master Sword at short notice, but have previously invested heavily in stamina. For our normal solution, we currently don’t need to continue using the statue – it’s enough to activate its function now.
Main Target “Zelda’s Legacy” – To Hateno Village Institute
Now follow the road through Hateno Village further and further uphill. The Hateno Village Institute for Ancient Research stands on a rocky outcrop far above the village. The path is long but clearly signposted. If you transport the blue flame later, you have to walk up exactly this route again.
At the institute you first meet Symin and a little girl. Talk to both of them. It soon turns out that the supposed student is actually the head of the institute: Purah. She knows Link from before the devastation and explains that her current childlike appearance is the result of a failed rejuvenation experiment.
Purah can restore the Sheikah Slate’s missing functions, but requires energy for the Institute’s Guidance Stone. The large fire bowl outside must be lit with blue fire.
Get the blue fire for Purah
Leave the institute and take a torch with you. If you don’t have any left in your inventory, a suitable torch will be available at or near the institute. Run back down the mountain towards the village. The Flammeborn with the blue flame stands on a hill in Hateno Village, slightly above the central village area.
Hold the torch into the blue fire. From now on it must not go out until you have reached the fire bowl in front of the institute. There are small stone lanterns along the entire path. Ignite every single you pass. They remain active as intermediate stations and save you from having to restart completely if the torch goes out.
Do not run with your fire drawn, do not pocket your torch, or draw any other weapon. All of this extinguishes the flame. Rain is also a problem: Blue Fire cannot be transported openly in the rain. Therefore, start the task in dry weather or, if necessary, wait under a roof or by a campfire until the weather clears up.
Work your way back up the mountain, lantern by lantern. Finally, light the large fire bowl directly in front of the research institute. This will resupply the building with energy and at the same time activate the travel gate of the institute. From now on you can teleport directly here.
Photo Module, Hyrule Manual and Album Unlock
Returns to Purah. The Guide Stone works again and can complete the Sheikah Slate. Put him in. You get three important functions back: the Camera Rune, the Hyrule Compendium and the album.
Purah then asks you to test the camera immediately. Activates the Camera Rune and takes photos Purah. Make sure their name or identification appears in the picture and take the photo. Then show it to the researcher.
In the album, Purah discovers twelve old pictures that were already stored on the Sheikah Slate. Princess Zelda took these photos one hundred years ago. Since Link was her personal bodyguard at the time, the locations depicted could help restore his lost memories. Purah advises you to talk to Impa about it.
How the Hyrule Compendium
works
From now on you can photograph animals, monsters, weapons, bows, shields, materials and treasures. If the camera detects a registerable object, its name appears in the image. After the photo you can copy it into the Hyrule Compendium.
It’s best to start photographing rare items immediately before using or selling them. Some unique or rare weapons only appear in a few places. Although missing manual images can be purchased later from Symin, your own photos save money Rupees and make the collection more personal.
The real strength of the system is immediately apparent with the Sheikah Sensor+: As soon as the sensor is improved, instead of shrines, it can also track down any item that has already been registered in the manual.
Side Quest “Hidden Powers” – Sheikah Modules Improve
[Optional – Highly Recommended] After repair, Purah offers the Side Quest “Hidden Powers”. Against certain ancient materials, it improves three functions of the Sheikah Slate:
- 3 Antique screws: Sheikah sensor → Sheikah sensor +
- 3 Ancient axes: bomb module → bomb module +
- 3 Ancient Cores: Stasis Module → Stasis Module +
If you have regularly examined destroyed guards since Great Plateau, you should already have the three Ancient Screws. Therefore, first improve the Sheikah sensor. With the Sensor+ you can now search specifically for any entry in your Hyrule Compendium – for example ore, maxi turnips, rare animals or certain weapons.
The bomb module + increases, among other things, the effectiveness and shortens the recharging time of the bombs. This upgrade is also worth it immediately if you have three ancient axes. For the Stasis Module + you need three rare Ancient Cores. Do not force this upgrade through long farming. We’ll get enough chances for cores over the next few regions. Stasis+ becomes particularly powerful later because it can be used to briefly freeze not only objects, but also enemies.
Side Quest “Photographic memory”
[Optional – Recommended] Once the Sheikah Sensor + is unlocked, talk to Symin. He starts the Side Quest “Photographic Memory” and wants to test the new search function.
A Glutling grows behind the institute. Take a photo of the mushroom and save the image in the Hyrule Handbook. Then open the manual entry and switch the Sheikah sensor to Emberlings. The sensor takes you to the nearby expa forest. Collect three Emberlings there and bring them to Symin.
As a reward you will receive three maxi truffles. These are significantly more valuable than ordinary healing ingredients: a dish with a maxi effect heals Link completely and gives additional yellow hearts. Therefore, it is best to use maxi ingredients individually or in deliberately put together dishes instead of wasting them on normal medicinal ingredients.
Side Quest “The Other Researcher”
[Optional – just start now] Purah also tells you about her colleague Robbie, who runs another research institute in distant Akkala. This starts the Side Quest “The Other Researcher”.
We’re not traveling across Hyrule to Akkala yet. The path will later become part of our own Akkala chapter. There we activate Robbie’s Sheikah Furnace, unlock Ancient Arrows and Ancient Equipment and combine the visit with Tarrey Town, Kilton and the Akkala Labyrinth. So just accept the quest and leave it in the diary for now.
Optional: Start shrine task “Secret of the Three Cedars”
[Optional – complete later] Back in the village you can talk to Clavia, who is standing at a small jetty during the day. She tells about three striking cedars on Madorna Mountain and starts the shrine task “Secret of the Three Cedars”.
The line of three trees points to a fragile rock wall on the coast. Behind it lies the Tahno O’ah shrine. Since the path leads to cold heights and we will explore East Necluda thoroughly in the next chapter anyway, we will just start the task now and solve it later along with the surrounding Koroks and treasures.
Optional: Start shrine task “Treasure of the Mount Lanayru”
[Optional – deliberately postponed until later] Also talk to Medda. He tells you about the source of wisdom on the Mount Lanayru and starts the shrine task “Treasure of the Mount Lanayru”. There is not just a treasure waiting on the mountain, but one of the three great dragons Hyrule’s: Naydra.
To reach the summit you need strong protection from the cold and should also have enough arrows. We therefore only visit the Mount Lanayru after Vah Ruta when our equipment, health and mobility are significantly better. Then we free Naydra and take out the entire mountain region in one go.
Side Quest “The Gun Nut”
[Optional – long term Side Quest] Speak to the boy Nebb in Hateno Village . He starts the Side Quest “The Weapon Nut”. Over the course of the quest, he wants to see eight different weapons one after the other. All you have to do is have the weapons in your inventory and show them to him – they won’t be given away.
First, Nebb asks for a traveling sword. If you happen to have one in your inventory, show it to him immediately and collect the first ruby reward. After that he wants to see a Fire Rod. The weapons required later become increasingly rare and will take you through large parts Hyrule’s. In the future, we will incorporate the required items directly into the route and point out if you should not throw one of them away.
Don’t try to artificially farm all eight weapons now. This Side Quest is intended to be completed parallel to the main story.
Side Quest “A Persistent Admirer”
[Optional] You will meet near the inn Manny. He is noticeably very interested in what could be done to impress the landlady Prima and starts it Side Quest “A persistent admirer”. Speak to Prima and then return to Manny. After all, he wants to ten Endurance Terrors.
The small insects often jump out of tall grass. If you already own ten, hand them in straight away and get a silver Rupee. If not, we won’t spend minutes cutting up all the village grass. Leave the quest open and collect Endurance Terrors along the way on your upcoming journeys.
Side Quest Start “Your own dream home”
[Optional – highly recommended for our 100% route] In the south or southeast of Hateno Village there is an abandoned house near the Firly Pond. Behind it, the Jolanda construction company is already working on demolition. Speak to Bolson. This starts the Side Quest “Your own dream home”.
Bolson initially claims that the house costs 50,000 Rupees, but then makes Link a much better offer: 3,000 Rupees and 30 bundles of wood. You get wood by cutting down trees and then destroying the trunk. Bombs are even more efficient: blow down a tree and destroy the felled trunk with a second bomb. This will save your weapons completely.
If you have collected enough gemstones and Rupees, it is worth buying the house now. If you are still missing significantly more than 3,000 Rupees, we won’t force you to have a long farming round – keep collecting ore and return later. Sell common gems like amber and opal rather than rare Ancient Cores or hard-to-find armor materials.
You can find a complete guide to the house, all expansions and the weapon, bow and shield holders on ZeldaCollection under Your own dream house.
Why we buy Link’s house as early as possible
The house is not just a nice cosmetic reward. You first get a weapon holder and can later expand the building with additional weapon, shield and bow stands, a bed and various decorations. This means you finally have a safe place to store special weapons that you don’t want to use at the moment.
Even more important for our route: The Side Quest “On Expansion Course” can only begin after the house has been purchased. This leads to the founding of Tarrey Town and extends over almost the entire adventure. Since we’ll be visiting Gorons, Gerudo, Rito and Zora later anyway, it’s extremely efficient to start the quest early and take the required residents with us on our first visit to the corresponding regions.
Side Quest “On expansion course” start
[Optional – long-term 100% task] If you bought the house, talk to behind the building Hudson. He is sent from Bolson to Akkala to start a new construction project there. This starts “On expansion course”.
You don’t have to travel behind Hudson now. When we arrive in Akkala later, we will automatically visit him. From there, a long quest chain develops in which you have to deliver wood and send suitable residents from the four major nations to Tarrey Town.
Our detailed special guide to all residents and construction phases can be found at Tarrey Town City – On Expansion Course. In the main walkthrough, we still integrate the required people in exactly the right places.
Expanding your house – now or later?
After purchase, Bolson offers a total of several expansions for 100 Rupees each, including additional weapon, bow and shield mounts, bed, lighting, door, nameplate and garden decoration. To fully complete “Your Own Dream Home”, you have to buy them all in the long term.
However, 1,400 additional Rupees are currently better invested in armor, arrows and fairy sources. At most, buy the storage brackets if you urgently want to secure special equipment, and postpone the full expansion until our cash reserves are larger.
Return to Kakariko Village – Complete “Zelda’s Legacy”
Now it’s time to actually complete the main objective. Teleport to Ta’loh Naeg Shrine or Kakariko Village and go to Impa. Show her the restored Sheikah Slate.
Impa recognizes the twelve pictures in the album as photos of Princess Zelda. She explains that Link may be able to regain parts of his lost past at each location. With this conversation, the main goal “Zelda’s Legacy” is officially completed.
At the same time, the new main goal “Souvenir Photos” begins. In total you have to find twelve places shown in Zelda’s pictures. After all twelve memories have been activated, Impa finally reveals a thirteenth location. We won’t collect these memories as a huge catch-up session at the end of the game, but rather whenever our main journey leads to them anyway.
If you want to see all Locations regardless of the main solution, you can find them in our special guide to the memories in Breath of the Wild.
Main objective “The Legendary Fairy Spring”
After completing “Zelda’s Legacy” you can talk to the painter Pikango in Kakariko Village. He starts the main goal “The Legendary Fairy Spring” and accompanies you part of the way to the Ta’loh Naeg Shrine. There he runs out of breath and asks Link to find the legendary spring and photograph it.
Of course we already know it: Cotura’s spring is directly behind the shrine. Teleport to Ta’loh Naeg, walk to Great Fairy and activate the Camera Rune. Photograph the entire fairy source until the name or recognition appears in the image. Return to Pikango and show him the photo.
This is the main goal “The legendary fairy spring” completed. Pikango will be available to us in different locations from now on Hyrule’s Notes on Zelda’s Give memory photos. This is particularly helpful because it is difficult to clearly identify several photos without local knowledge.
You can also find our overview of all four sources in the special guide to the Great Fairies.
Side Quest “Dancing Lights”
[Optional – required for a shrine] After “The Legendary Fairy Spring” and the quest “Escaped Chickens” completed in Chapter 4 are completed, another important Side Quest awaits in the evening. After dark, go to Lasli in her house southeast of the boutique.
Lasli loves the glowing creepworms, but is no longer allowed to run around outside at night. Bring her five pieces. If you followed our advice in Chapter 4 and have already collected worms, you can complete the task immediately. Otherwise, there are numerous specimens lurking around at night outside in Kakariko Village. Move crouched and slowly so they don’t fly away.
Release five creepworms into Lasli’s house. She is thrilled and gives you a purple Rupee. Even more important: This completes the last major requirement for the hidden shrine task in Impa’s house.
Shrine Quest “The Stolen Jewel”
[Optional – required for all 120 shrines] Return to Impa. The large Sheikah jewel that used to lie next to her has disappeared. Paya is desperate and the guards suspect that the thief struck at night. This begins the shrine task “The Stolen Jewel”.
You don’t have to search for the thief by randomly questioning all the residents. Wait until approximately 10 p.m.. One of the guards, Dorian, leaves his post in front of Impa’s house and moves out of the village. Follow him at a sufficient distance. Don’t walk right next to him or overtake him – he should continue on his way undisturbed.
Dorian leads you into the forest east of Kakariko Village to an old platform. There it becomes clear that the Yiga clan is behind the theft. Dorian himself has a tragic connection to them. Shortly afterwards, a Yiga officer appears and attacks Link.
Yiga Officer Defeat
The enemy causes significantly more damage than normal Bokoblins. Keep your distance and target him with ZL. His large wind blade is slow but dangerous. Wait for the attack and use the evasive maneuvers you just learned in the Ta’loh Naeg Shrine: A well-timed side jump or backflip triggers a Flurry Rush and enables a long attack combination.
Alternatively, you can pressure him with arrows or use Stasis+ if you have already received the upgrade through three Ancient Cores. After the victory, Dorian explains his story and gives you the stolen jewel.
Axyl up the large ball and place it in the recess of the stone platform. Rising from the ground is the Lakna Rokee Shrine.
Lakna Rokee Shrine – Lakna Rokee’s Blessing
The actual shrine has no further mystery. Chasing the thief and fighting the Yiga officer were already the test. Go in and open the Treasure Chest. Inside lies a Mushin Greatsword, a powerful two-handed weapon that we can make excellent use of at this point.
Then accept the Spirit Orb. This completes the shrine task “The Stolen Jewel” and Kakariko Village now also has his hidden second shrine.
Lakna Rokee Shrine belongs to the Dueling Peaks Tower region. If necessary, you can also find all the shrines in the region in our special guide to the shrines in West Necluda.
Optional: Spirit Orb exchange again
[Optional – recommended] Through Myahm Agana, Lakna Rokee and the previous shrines you should now have several Spirit Orb again. Once four have gathered, pray at the goddess statue in Kakariko Village or Hateno Village.
After our early Heart Container and the first endurance container, we still recommend expanding the two values in a reasonably balanced manner. For the Master Sword we will later need 13 real hearts, at the same time additional endurance makes exploring, climbing and gliding much more comfortable. Since we integrate all 120 shrines into the solution, we will have enough resources for both values in the long term.
What we deliberately leave open in Hateno Village
Hateno Village and East Necluda still offer numerous Side Quests, Koroks and shrines. These include “Prankster’s Sheep” on Hateno Beach, the shrine tasks “Secret of the Three Cedars” and “Treasure of the Mount Lanayru” as well as several hidden shrines along the coast and in the mountains. Approaching this content one at a time would mean taking the same long paths several times.
That’s exactly why a targeted Necluda exploration round follows next. There we connect the open Hateno Village side objectives with Koroks, shrines, valuable Treasure Chests and the coast. The Mount Lanayru with Naydra, on the other hand, deliberately stays longer and will later be treated as a separate section to Vah Ruta.
Main objectives according to Chapter 5
After this chapter, Link will have the fully restored Sheikah Slate, Photo Module, Album, and Hyrule Manual. The main goal “Zelda’s Legacy” is completed and “Memorial Photos” is now running permanently in the background. We also completed “The Legendary Fairy Spring”. At the same time, the major main objectives “Free the Divine Beasts” and “Defeat Ganon” remain.
Our next big story section then leads to the village of the Zora and water titan Vah Ruta. But first we clear up East and West Necluda so that we don’t have to keep coming back here later because of individual shrines and Side Quests. Thanks to the Camera Rune and Sheikah Sensor+, we can now carry out this round of exploration much more efficiently.