

Riju has tasked Link with retrieving the Thunder Helmet. The Gerudo’s valuable heirloom was stolen by the Yiga gang and taken to their hideout in the Kalzer Valley. A direct attack on Vah Naboris is practically impossible without the helmet, because only its protection allows Riju to get Link close enough to the Titan, who is surrounded by lightning.
However, we don’t just run after the quest marker. On the route through the northwestern part of the Gerudo Desert, two hero trials, the Kema Zoos Shrine and the Sho Dantu Shrine, as well as several Koroks are practically on our way. The Kalzer Valley is particularly important for a complete game: There are seven Korok puzzles there, five of which are directly connected to the Yiga and their love of Mighty Bananas. We collect these now instead of returning to the gorge later.
Catch up on two Treasure Chests in Gerudo Town
Optional – Treasure Chest: Before you leave Gerudo Town, we’ll pick up two easy-to-miss chests that remained open on our previous route. The first one can be found in the area northeast of the normal clothing store. From the main entrance, go up the first steps and look around at the storage areas or boxes behind the buildings. There are 100 Rupees in a wooden chest.
Optional – Gerudo Bow: The second chest is in the sand near the southeast gate of Gerudo Town, not far from the statue of the goddess. Activate the magnetic module and search the floor for a metal chest. Pulls them out of the sand. Inside is a Gerudo bow. The bow only has 14 attack power, but has a very long range and a zoom function when aiming. It is therefore extremely practical for the numerous Korok balloons and distant targets in the desert.
If you already took the Gerudo bow in the training area in the previous chapter, you can use the second one as a replacement or leave a weaker bow behind for it. Photograph him for the Hyrule Handbook if the entry is still missing.
With the sand seal to the northwest of the Gerudo Desert
Exit Gerudo Town through the northwest gate. A sand seal is recommended for the route over the open sand. You can capture one of the wild sand seals using stealth clothing and a careful approach, or you can rent a seal from the Gerudo in town. Having your own sand seal saves a lot of time on the way to the statues and the entrance to the Kalzer Valley.
Keep thinking about the temperatures. During the day, Link needs heat protection, but at night it gets cold in the desert. The desert set from the Gerudo Secret Club is ideal during the day if you have already purchased it. Otherwise, cooling medicine, suitable dishes or the Gerudo disguise are sufficient. At night we change back to cold-resistant clothing.
First, don’t follow the quest marker directly to Kalzer Valley, but follow the first warrior statue outside Gerudo City. With this we continue the shrine task “Silent Statues” accepted in the previous chapter.
Silent Statues and Kema Zoos Shrine
Optional – Shrine task: The large stone warriors lead the way through the northwestern part of the desert with their outstretched swords. Drive from one statue to the next and always point yourself exactly in the direction in which the respective sword tip is pointing.
After a few statues you get caught in a strong sandstorm. The map and minimap are no longer available, so the quest marker no longer helps. That’s exactly why the statues are important. Don’t just drive on based on suspicion, but first look for the next silhouette in the sand after each warrior and then reorient yourself. If you lose contact with the line, it’s better to turn around until you find the last statue again.
Finally you reach a large skeleton or ruins in the sand. The Kema Zoos Shrine appears underneath. Activates it. This completes “Silent Statues” and at the same time the sandstorm in this area disappears.
Kema Zoos Shrine – Delay Tactics
In the shrine, an electrically charged metal ball is constantly thrown back and forth between two devices. Our first goal is to get the ball out of this circuit. Freeze it with the Stasis Module as soon as it lies on one of the launch pads or flies through the air. You can then move them out of their path with an arrow. It is even easier to grab the ball directly with the magnetic module at the right moment.
As soon as it is on the ground, pick it up with the magnetic module. On the left there is an electrical contact point behind a grille. Move the ball over or close enough to the contact. The electricity opens the gate and you can reach the Treasure Chest behind it. Inside is a moon saber.
Then take the electric ball out again and transport it to the opposite side of the shrine. There is the contact point for the gate to the priest. Place the ball next to it until the electrical connection is made. The last grid opens and you get another Spirit Orb. You can find further solutions for this region at the shrines at the Wasteland Tower.
Optional: Korok at Kema Zoos Shrine
Optional – Korok: Don’t leave the shrine immediately towards Kalzer Valley. A Korok is waiting directly next to the large skeleton in whose area the Kema Zoos Shrine is located. Climb to the highest point of the bones and pay attention to the little sparkling leaves. Examine it and you will receive the Korok Seed.
From here you take a course northeast towards Kalzer Valley. Once the desert narrows into a narrower canyon, you can still use the sand seal for a while. Further up the ground becomes too rocky and you have to continue on foot.
Kalzer Valley: seven Koroks on the way to Yiga Hideout
The Kalzer Valley is one of the areas where a thorough route is particularly worthwhile. Seven Koroks lie within the canyon and several of them are located just a few meters from the normal path to the Yiga hideout. Five puzzles use the small Yiga frog statues with sacrificial bowls. Instead of apples, these statues want to match the Yiga theme Sword bananas.
You don’t need to carry fifteen different bananas with you. As soon as a Korok has appeared, you can collect the sacrificed Mighty Bananas again and use them again in the next puzzle. That’s enough for the largest group five Mighty Bananas in inventory. If you don’t have five yet, that’s no problem: the Yiga novices further up in the valley drop Mighty Bananas.
Korok 1 – Flower sequence on the western rock face
Optional – Korok: In the lower or middle Kalzer valley you stick to the western rock face. A single yellow flower grows on an elevated ledge. Touch her. The flower reappears a little higher on the rock. Follow the row up until the last white flower appears. Touch them too and take the first Korok seed in the valley with you.
The climbing is significantly shorter due to Revali’s Gale. However, only use the ability if you still have the next flower in sight; If you fly too high up, it’s easy to miss an intermediate station.
Koroks 2 to 6 – Mighty Bananas for the Yiga Statues
Optional – Korok: Follow the valley further north. On the raised ledges to the left and right of the path you will now encounter several groups of small, veiled frog statues. Pay attention to the empty offering bowls in front of the statues. Place a sword banana in each empty bowl.
The first of the clearly visible groups consists of a single statue on a ledge. Place a sword banana in its peel. The Korok appears. Then pick up the banana again.
A little further, where the valley curves more strongly, you will find a group of two statues. Place a sword banana in each bowl and collect the fruit again after the Koroks appears.
On the following section there is a group of three statues waiting. The principle remains the same. Place three Mighty Bananas in the bowls at the same time, collect Korok and then take the fruit back with you.
Another group of four statues stands on a higher ledge. It’s a bit off the valley floor, but practically parallel to our climb. With Revali’s Gale you can reach them quickly. Fill all four bowls and take the next seed with you.
The largest group consists of five statues. It is also elevated at the edge of the path. Here it pays off that we have collected the bananas that have already been used. Place a sword banana in each of the five bowls and the fifth sacrificial krog of the Kalzer Valley appears.
Korok 7 – Stone at the large rock bridge
Optional – Korok: Further up, the valley is spanned by a huge natural rock bridge, in the middle of which you can see a large opening. Climb up or onto this rock formation. On the northern side just below the highest area there is a single small stone on a ledge. Lift it and you will find the seventh Korok of the Kalzer Valley.
So this entire Korok cluster is already done. The five banana victims in particular are very easily overlooked in a normal main plot route and would otherwise require a separate route back through the entire valley later.
Unlock Sho Dantu Shrine with a Luminous Stone
Optional – Shrine: As you continue through the Kalzer Valley, you will discover an orange shrine platform off the route, from which there is initially no shrine protruding. Next to it is a stone tablet with a reference to a glowing blue stone. There are several luminous stone deposits around the platform.
Smash one of the blue glowing ore deposits and take a Glowstone. Place it on the orange platform. The Sho Dantu Shrine then rises from the ground. Since the shrine is right on the way to the Yiga hideout, we’ll deal with it immediately. It is part of the shrines at the Gerudo Tower.
Sho Dantu Shrine – Dual Bombs
There are two paths closed in the first room. On the left, wooden boxes block the passage. Blow it up with a remote bomb and go into the room behind it. There is a platform there that regularly throws objects upwards. Behind or above it sits a Crystal Switch in a grille.
Places a square remote bomb on the launch pad. Wait for it to be thrown upwards and detonate it just when it is level with the crystal switch. The explosion activates the switch and opens another door.
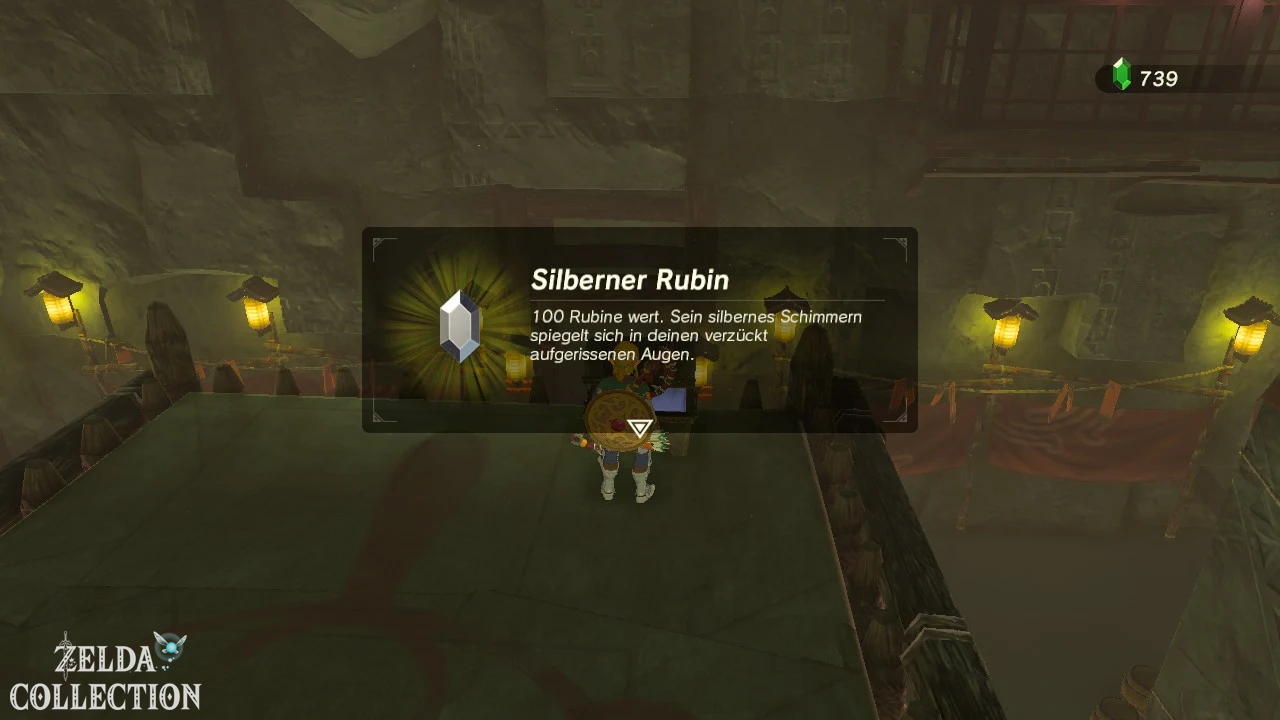
Before you leave the room, go behind the large stone pillar. The shrine’s only Treasure Chest is there. Inside you will find a Silver Rupee worth 100 Rupees.
In the second side room the launch area is initially inactive. Behind the pillar there is another Crystal Switch. Place one type of bomb next to this switch and the other on the launch pad. First detonate the bomb on the switch to activate the mechanism. Immediately switch to the other type of bomb and blow up the thrown bomb at the height of the upper crystal.
In the last room you need both bombs at the same time. Place a square bomb and a round bomb on the launcher so that the square bomb remains on top while the round one rolls back and forth between the surfaces. Place Link on one of the floor platforms. First, blow up the bomb on the first crystal so that Link is lifted up. Go to the solid area in front of the locked exit and then detonate the second bomb at the right moment. The grate opens. Go to the priest and take the Spirit Orb.
Yiga novices in the upper Kalzer Valley
The closer you get to the end of the Kalzer Valley, the more often Yiga novices will appear out of nowhere. They teleport around Link and attack with either melee weapons or their signature double-shot bows.
Stay on the move and don’t try to chase a teleporting opponent with long combos. Wait until a novice appears, dodge his attack and counter immediately. Ice Arrows are very useful because they freeze an enemy long enough to take them out with a strong weapon.
Optional – Special Weapon: Picks up at least one Double Shot Bow. He fires two arrows at the same time, but only uses one arrow from Link’s supply. If you have not yet completed the Side Quest “The Weapon Jester” in Hateno Village, Nebb will want to see exactly this bow later. Also photograph the bow for the Hyrule Handbook.
The novices regularly leave Mighty Bananas behind. Collect them. Even if you have already completed the Korok puzzles, they will become the most important tool of all in the Yiga Hideout.
Entrance to the Yiga Hideout
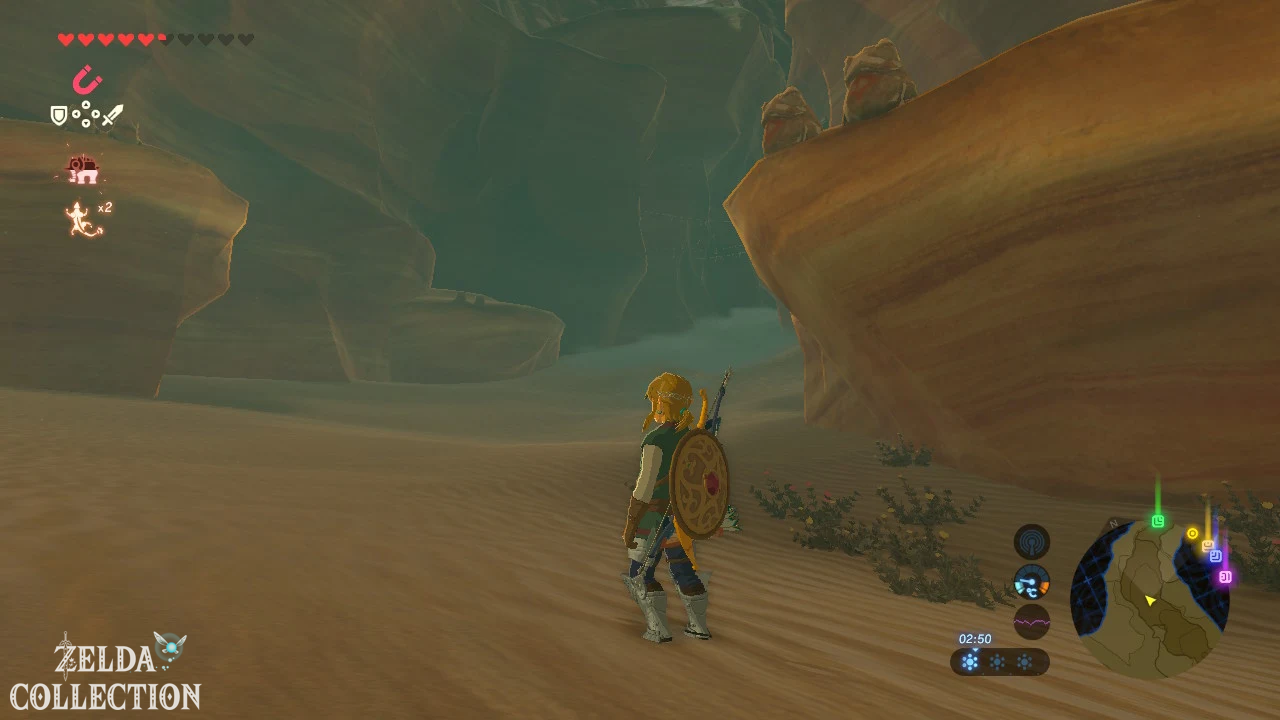
At the end of the valley you will reach a circular chamber with numerous torches and large panels of fabric on the walls. Take the torch provided and light it at one of the fire pits. You can also use Fire Arrows instead, but ordinary fire is sufficient here.
Gradually burns the fabric panels. Not everyone has something pleasant waiting for them: several niches contain Keese. Two, however, are particularly interesting. Behind a panel of fabric is a Treasure Chest with a sapphire, behind another you will find a violet Rupee worth 50 Rupees.
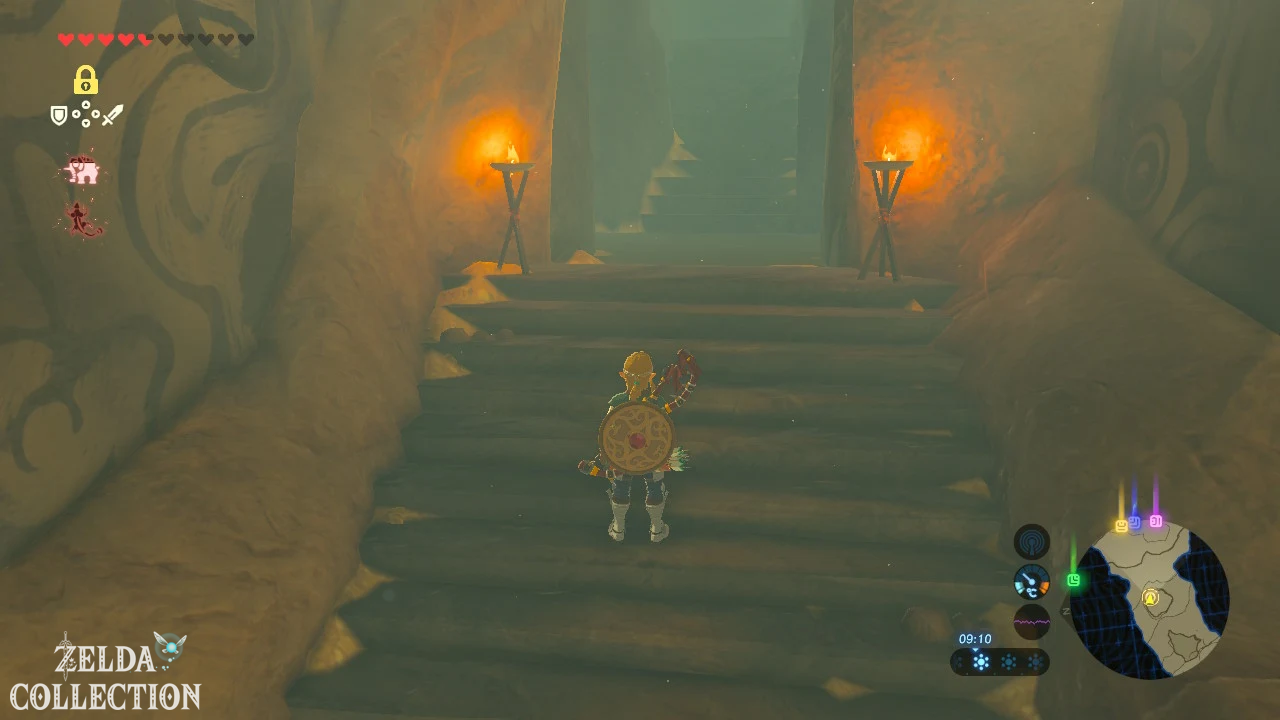
Another panel of fabric finally hides the actual entrance to the hiding place. Climb the stairs. From now on, caution is more important than combat strength. Inside, the save function is limited and discovery by the Yiga officers can end the section very quickly.
Barta and the weakness of the Yiga
Right at the beginning of the hideout you will discover the captured Gerudo soldier Barta behind bars. Talk to her. She explains that the Yiga are obsessed with Mighty Bananas. It is precisely this weakness that forms the central mechanic of the following sneak passage.
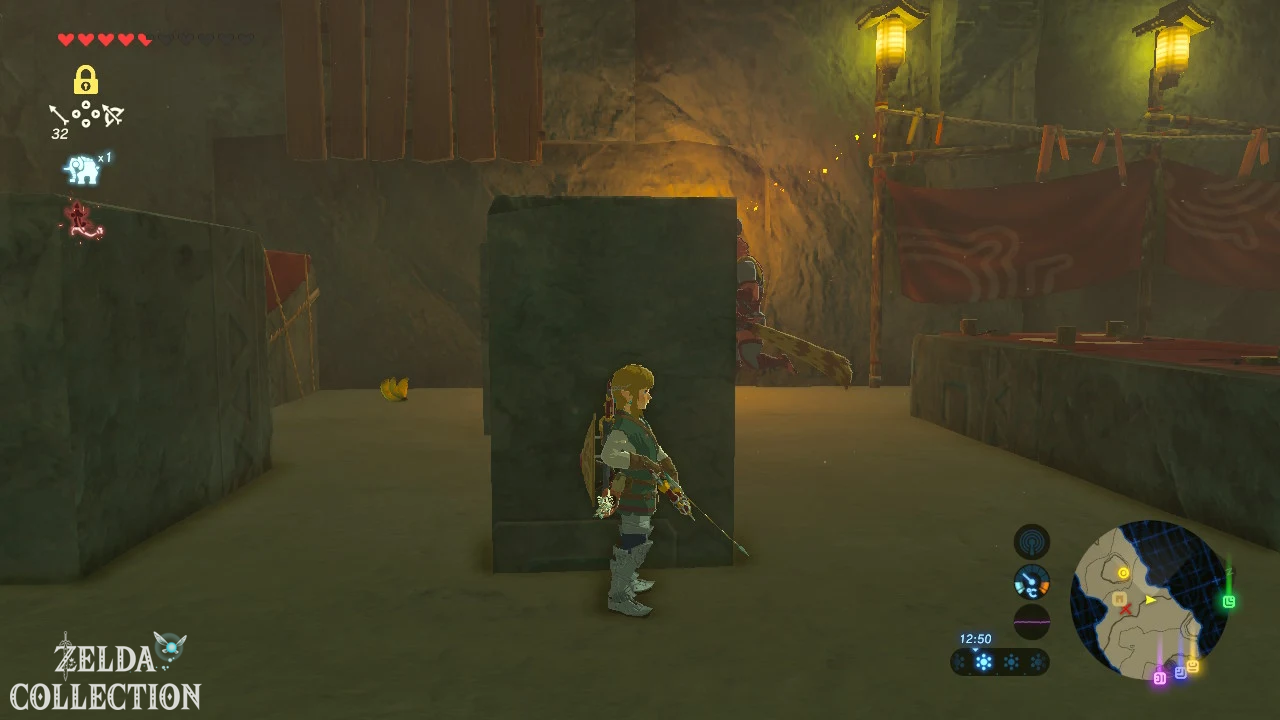
Take the Mighty Bananas near her. To distract a guard, open the material inventory, pick up a sword banana, exit the menu and place or throw the fruit somewhere the Yiga officer can see. As soon as he notices the banana, he forgets his post and enthusiastically runs towards it. This gives you several seconds to sneak past him.
Don’t try to fight the big Yiga officers unnecessarily. Their wind blades do massive damage and if discovered, more Yiga can spawn. Even a well-equipped link has more effort than benefit.
If you own the ninja set, you can easily carry it outside of the Gerudo Town and benefit greatly from the stealth bonus. Slow crouch walking also works with any other armor.
Distract first guard with Mighty Bananas
First, observe the patrol route of the first Yiga officer. Wait until he moves away from your path, or place a sword banana clearly visible to the side of his route. As soon as he runs towards the fruit, sneak behind his back to the nearest cover.
You don’t have to collect every chest in this room immediately. Some treasures are inconveniently located in the guards’ field of vision. We’ll come back to Master Kohga when the hideout is empty. This order is much safer and hardly requires any additional travel.
An exception are easily accessible Mighty Bananas. Take them with you whenever they are safe to reach. The more bananas you have, the easier the following rooms become.
Banana storage above the large guard room
After the first passage you will reach an area with a ladder going up. Use them. At the top, a catwalk leads to a small storage room that is absolutely crammed with Mighty Bananas. Overall, there is a lot of fruit on the tables here. Feel free to collect a larger supply.
In the same area is a Treasure Chest with a Topaz. This can be opened without a risky detour. From up here you also have an excellent overview of the large guard room below.
There are more Mighty Bananas on the wooden platforms on the sides. You can hit their holders with an arrow so that the fruit falls down. A Yiga officer nearby immediately stops his patrol and runs to the bananas.
Safely across the beams through the Yiga hideout
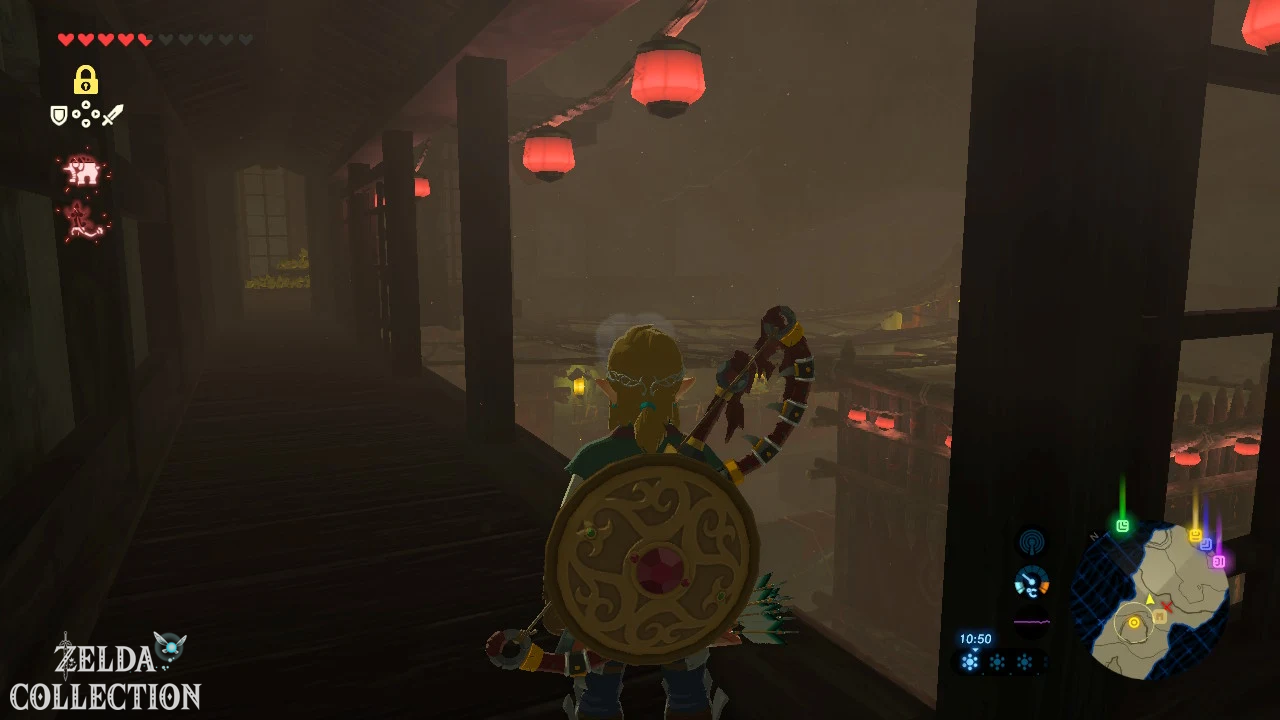
There are several Yiga officers patrolling the large room. The safest route is not across the middle of the ground. Use the raised areas, ladders and wooden beams. From above you can watch the guards’ movements and throw down Mighty Bananas.
A particularly helpful route is via the ladder to the upper beams. The guards there hardly notice Link as long as you don’t drop down right in front of them. On a raised platform is a chest containing a Silver Rupee worth 100 Rupees. You can get them now when the way is safe; otherwise we leave them for our later foray.
There are three large Yiga banners hanging on the eastern wall of the large room. There is a secret chamber behind the middle banner. You can burn the material with a fire arrow or a lit torch. There are two Golden Rupees waiting there, so a total of 600 Rupees. You can also collect this treasure without any disadvantage until after Kohga.
The actual exit of the room is guarded by another Yiga officer. Throw a sword banana on the ground a good distance from the door. As soon as the guard turns around and runs towards the fruit, you drop down from the beams, sneak past him and disappear through the passage.
Wind blade and double-shot bow for the weapon nut
Optional – special weapons: The great officers of the hideout carry the wind blade. If you’re already chasing the Side Quest “The Gun Jester” in Hateno Village and ask Nebb for a Wind Blade, you can get one here. The fight required for this is unnecessarily risky during the stealth passage.
If you really want to have the weapon immediately, you can later meet other Yiga officers in Hyrule after Master Kohga’s defeat. Photograph a Windblade here when a safe opportunity presents itself. The same goes for the Yiga officers themselves. For a complete Hyrule Compendium entry, it’s worth taking a photo before you finally leave the hideout.
Last guard and room before Master Kohga
After the large guard room you come to a final guarded passage. Here too, the banana is the easiest solution. Place it so that the guard averts his gaze from the exit, wait for his reaction and then sneak past.
You are safe again in the next room for now. In the middle is a Treasure Chest with Mighty Bananas. Then activate the magnetic module. Several metal chests become visible under the ground or sand. Pull out all three. They contain two topazes and one Rupee.
Then examines the walls with the active magnetic module. One of them stands out clearly metallic. Grab it with the magnetic module and turn or pull it to the side. Behind it is the exit to a large arena.
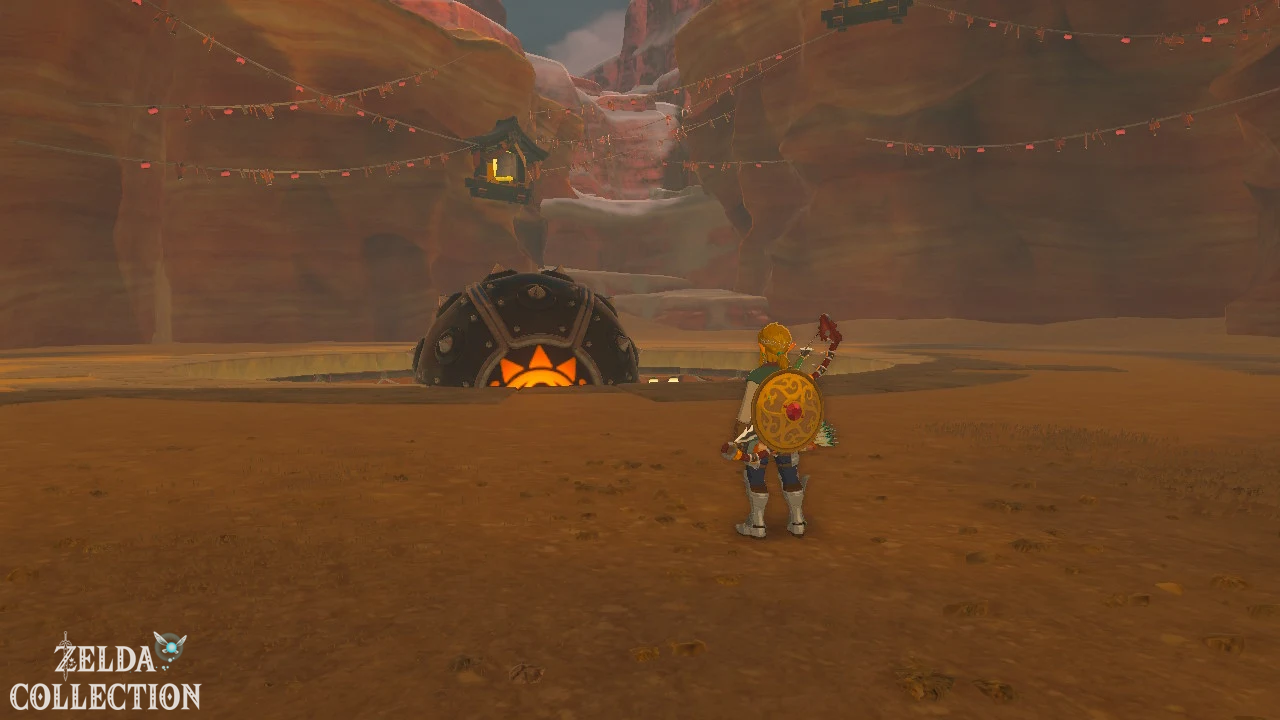
Optional – Hyrule Compendium: Save or prepare as the area allows and have the Camera Rune ready. Waiting behind this door is Master Kohga. This is your only regular opportunity to photograph him for the Hyrule Compendium. If you don’t want to buy the entry from Symin later, you should take a photo right at the start of the fight.
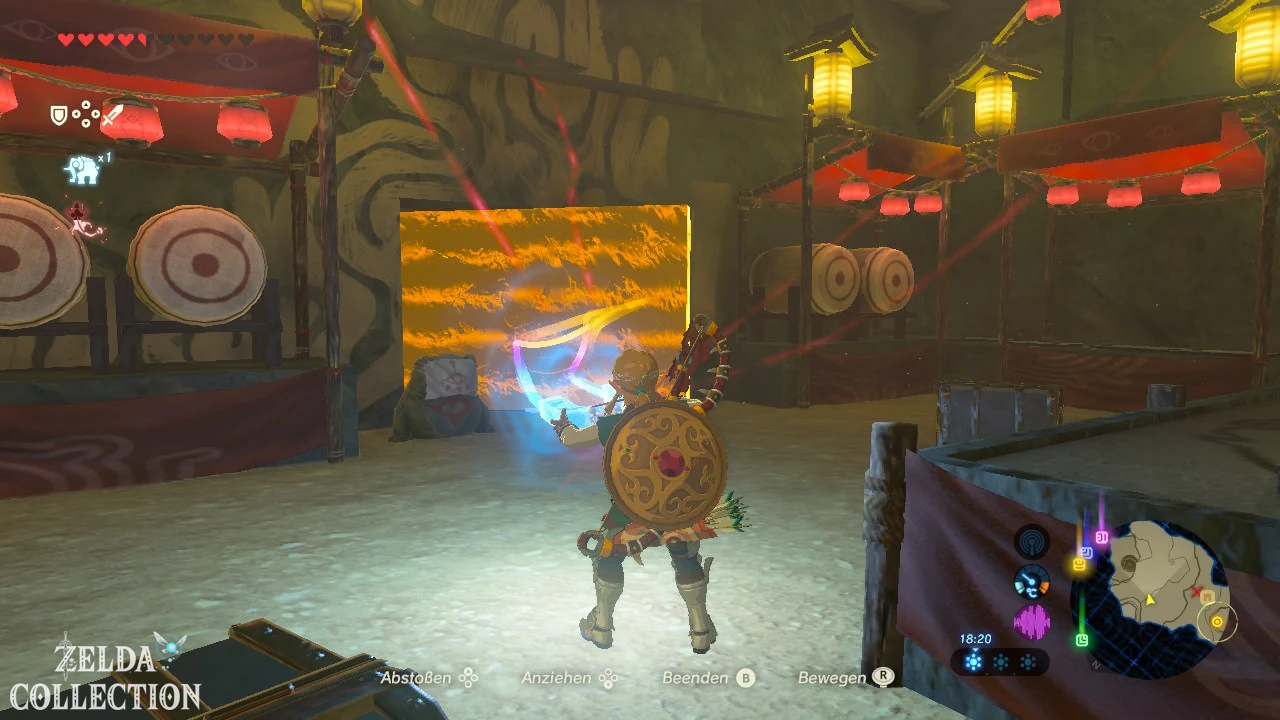
Boss: Master Kohga – Phase 1
The leader of the Yiga gang will personally oppose you in the arena: Master Kohga. Despite his appearance, he is one of the easier bosses in the game if you use his own attacks against him.
In the first phase, Kohga teleports to the edge of the arena and initially protects himself with a blue barrier. Wait until he makes a large boulder appear over his head. Just before he throws it at Link, the protective shield disappears.
At this moment, shoot a normal arrow at Kohga. He loses concentration and the boulder crashes onto his head. Kohga falls to the ground and remains briefly dazed. Sprint towards him and land several melee hits. The Master Sword is more than strong enough for this.
Then keep your distance again and repeat the process: wait for the barrier, let boulders appear, hit Kohga with an arrow and attack while stunned.
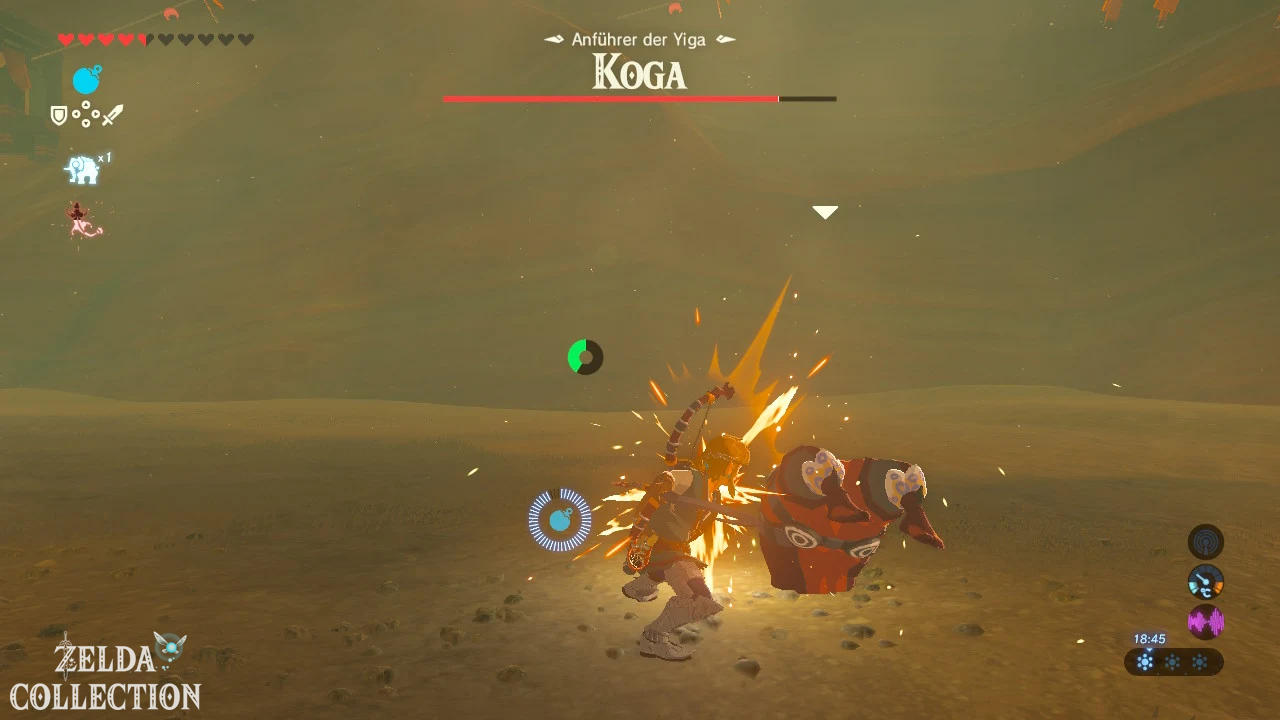
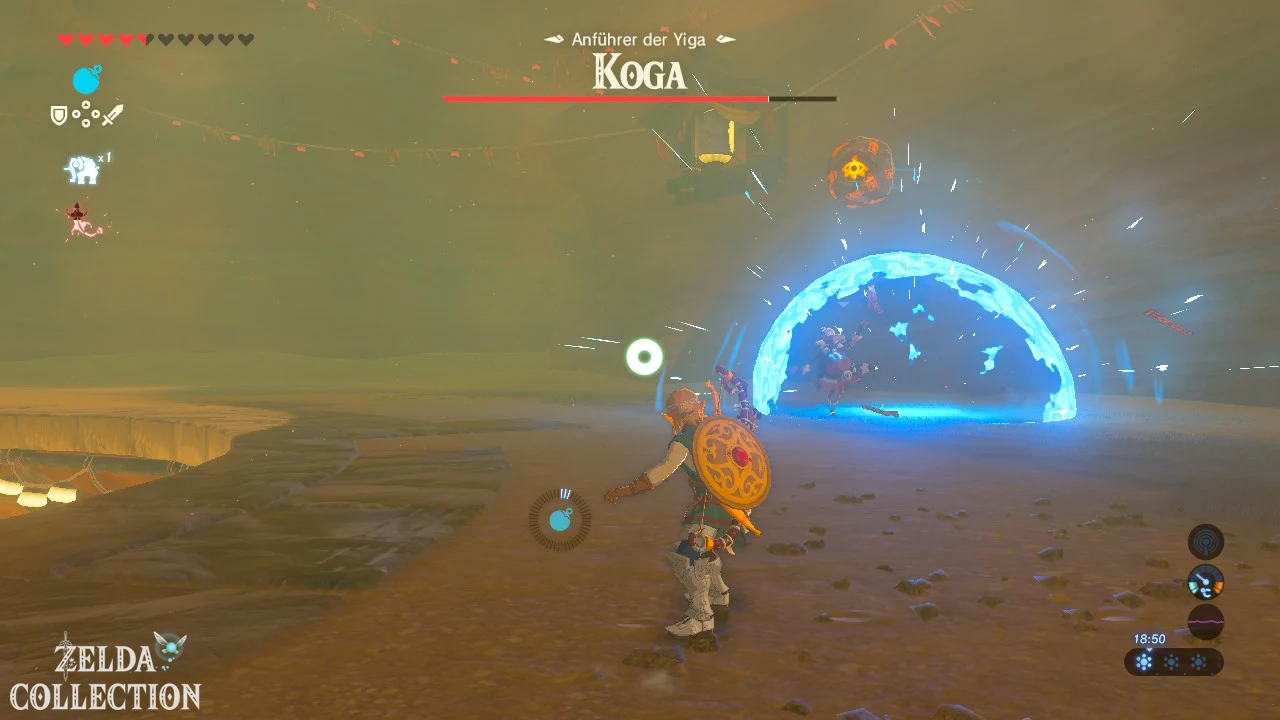
Master Kohga – Phase 2
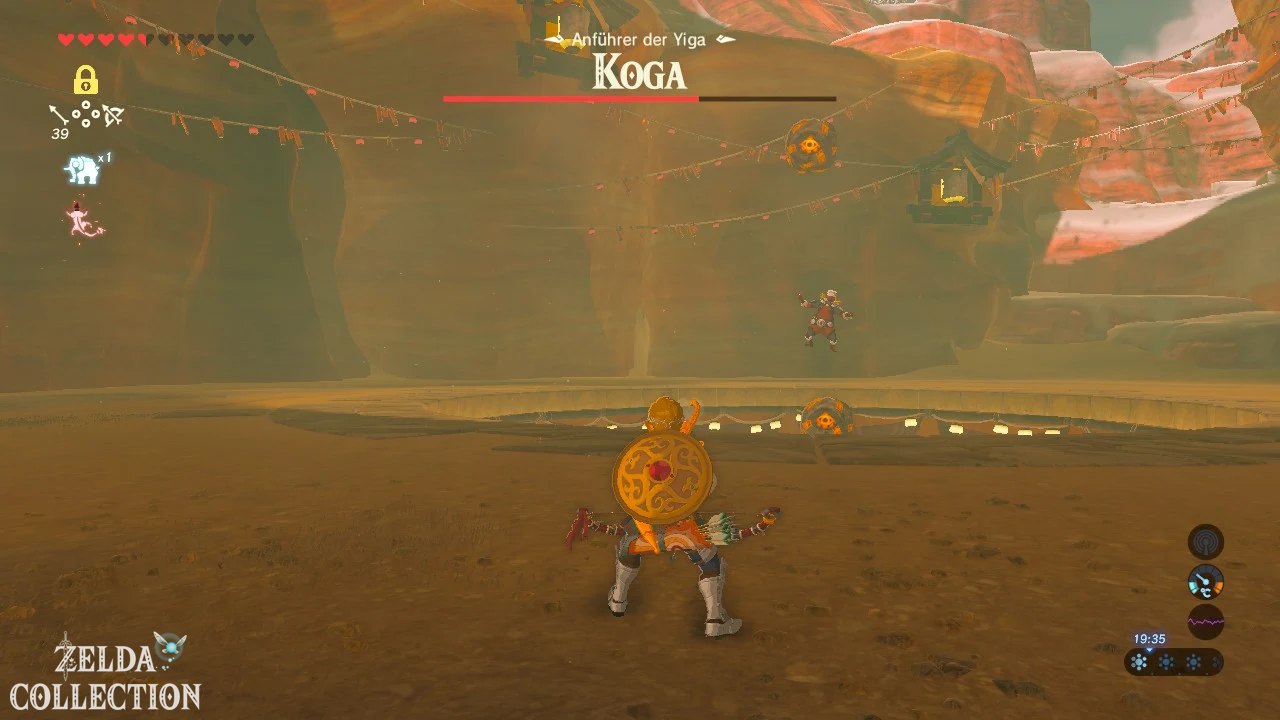
After about a third of his health changes Kohga to the middle of the arena and hovers over the deep pit. Now he leaves two boulders circling around his body.
Wait until one of the two rocks is directly above Master Kohga’s head. Shoot him again with an arrow. His concentration breaks and the rock falls on him. Kohga is thrown towards you and lands on the edge of the arena.
Uses the opportunity for multiple melee hits. Once he teleports back to the center, repeat the same game. Don’t try to shoot the circling rocks yourself; Kohga is the real target.
Master Kohga – Phase 3 with the
magnetic module
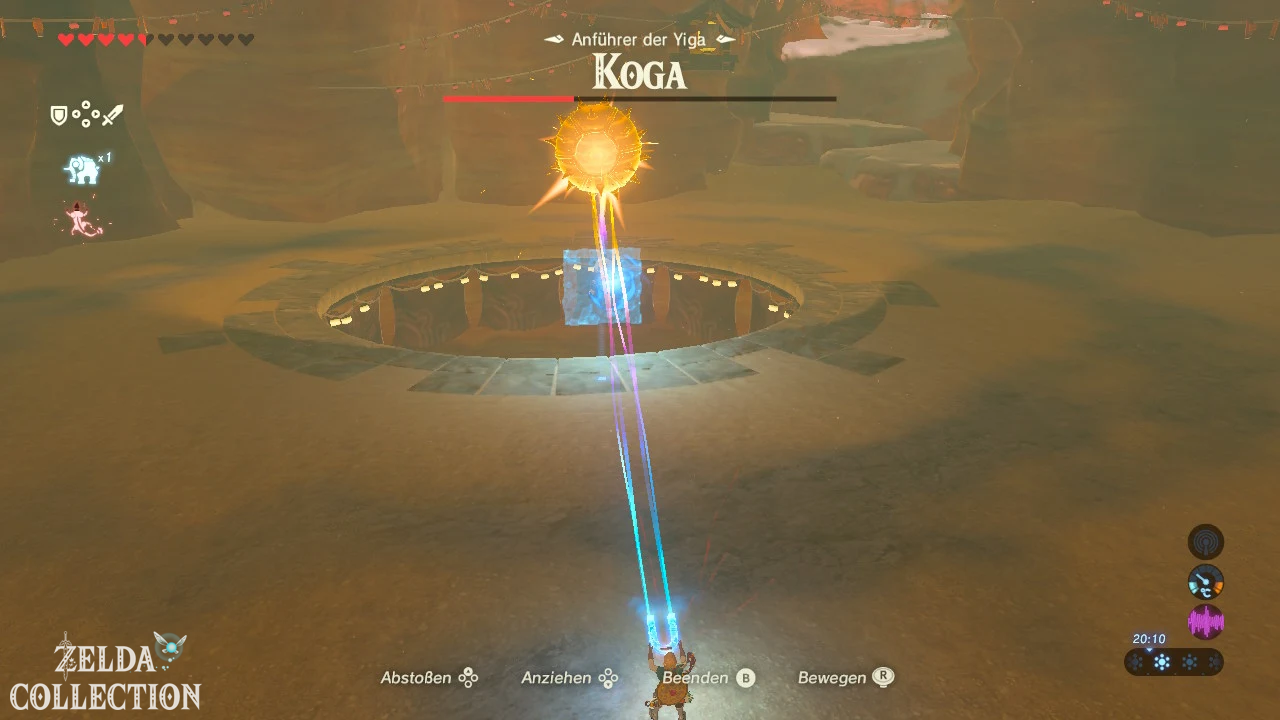
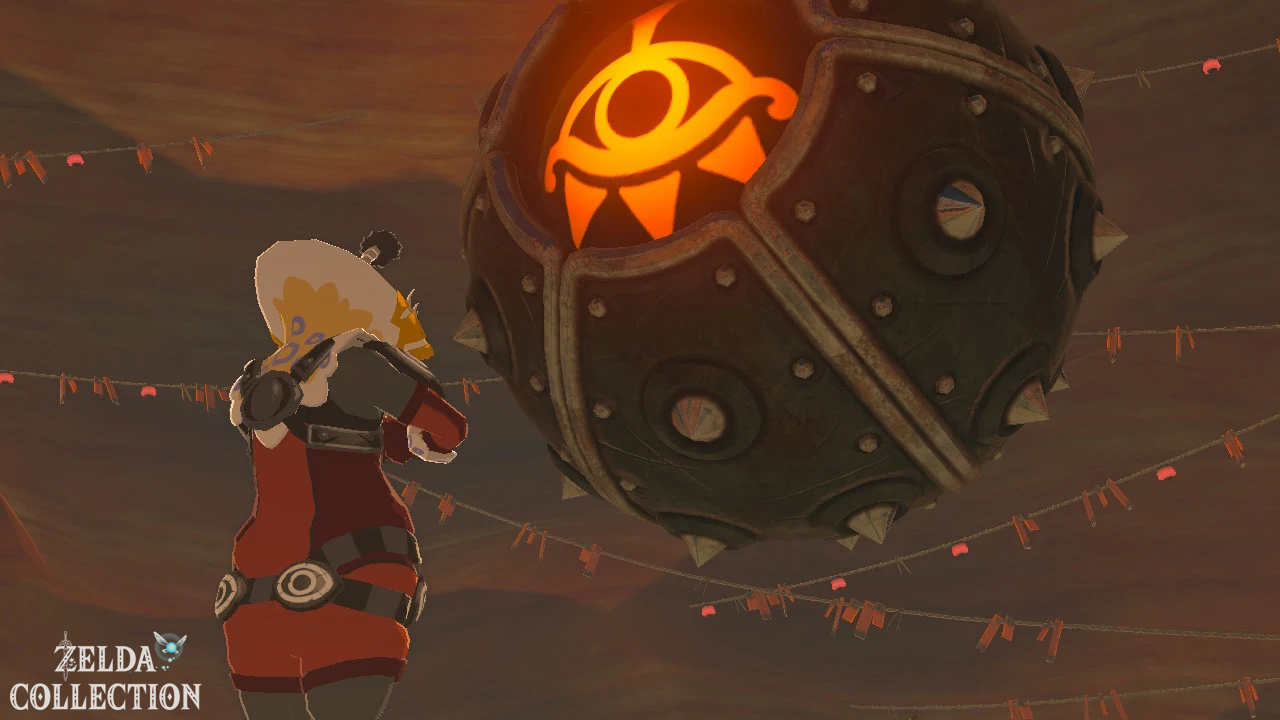
In the final third, Kohga becomes more serious and summons a giant metal morning star. Arrows are no longer the most elegant solution. Instead, immediately activate the magnetic module.
Grabs the large metal ball as soon as Kohga controls it and moves it directly towards him. A powerful hit with his own weapon drains a significant portion of his remaining health. Repeat the process as soon as he summons another orb.
After a few hits, Kohga tries a spectacular final technique. As so often happens, his plan backfires: the gigantic ball rolls towards him and throws the Yiga leader into the deep pit.
Master Kohga is defeated. From now on, Yiga members will appear more frequently as random attackers in Hyrule. This is actually useful for us because it means that double-shot bows, wind blades and Mighty Bananas can still be obtained later.
Retrieve the Thunderhelm
After Master Kohga’s defeat, a large Treasure Chest appears. Open it and take the Thunder Helmet. The Gerudo Sacred Treasure completely protects its wearer from lightning damage. However, Link is not allowed to keep the helmet himself during this main task – initially it belongs back to Riju.
Later we can permanently borrow the thunder helmet when the Gerudo’s problems are solved. We have already prepared some of the necessary Side Quests in the previous chapter.
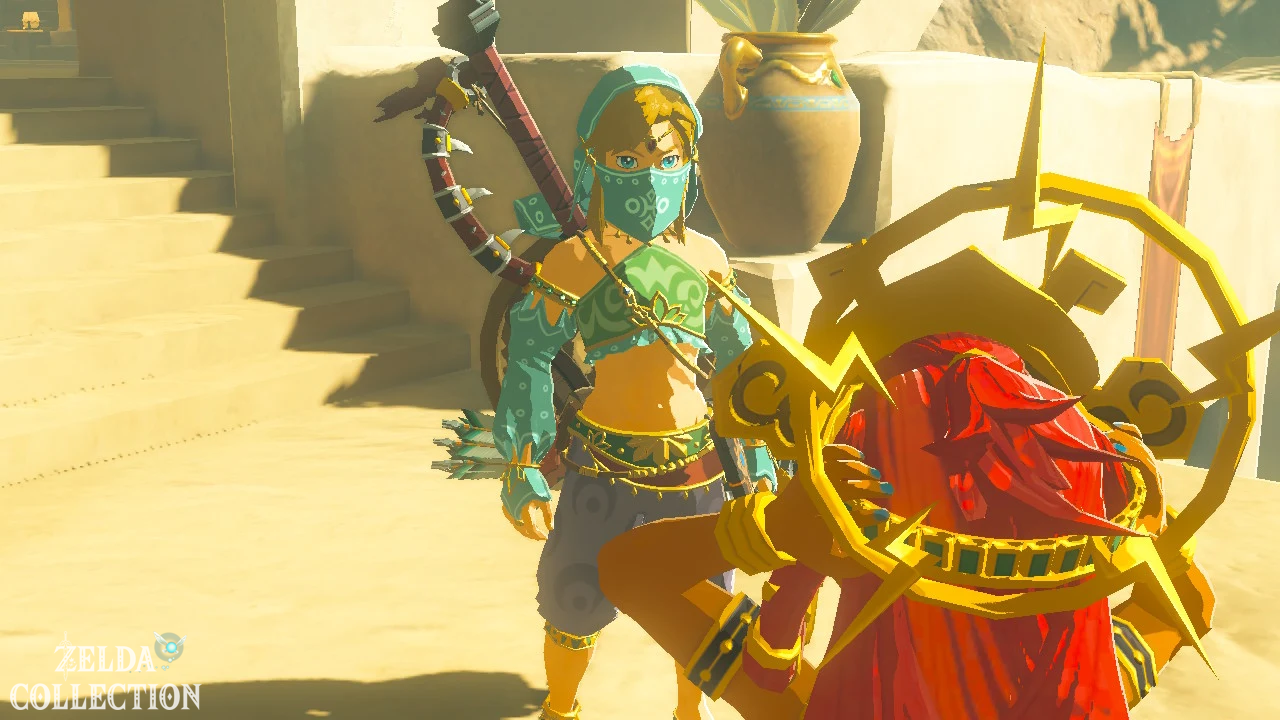
Collect all Treasure Chests in the Yiga Hideout
Optional – 100%: Does not teleport to Gerudo Town yet. After Master Kohga’s defeat, the Yiga officers disappear from the actual hideout. This is the best time to collect any chests and materials missed during the sneak passage.
Go back through the magnetic secret door to the last room and work your way through the hiding place in the opposite direction. First check the three chests dug up with the magnetic module: , two topazes and a Rupee. Also, open the chest on the platform with the Mighty Bananas if you missed it during the infiltration.
In the large guard room you then get the chest with the Silver Rupee. Also look around carefully above or near the exit; There is another chest there with a Topaz.
Burn the middle of the three large panels on the wall if you haven’t already done so. In the secret chamber behind are the two particularly valuable chests, each with a Golden Rupee worth 300 Rupees. This room alone will bring you 600 Rupees.
The aforementioned topaz chest is located in the banana warehouse. There is also a chest containing a Sapphire in one of the guarded areas. Since there are no longer any Yiga officers patrolling, you can now look around the ground without risk and also pick up the gems and Mighty Bananas that are lying around.
The round entrance room is also part of our chest matching. The Sapphire and the Violet Rupee should already be collected behind the fabric panels there. Overall, the entire complex contains numerous regular Treasure Chests before the Master Kohga reward; Through our second tour, no precious gemstone or Rupee is left behind a guard.
Feel free to leave some Mighty Bananas in your inventory. They are one of the more powerful power ingredients in the game and can also be useful in later encounters with Yiga.
Back to Gerudo Town
Now the teleport is worth it. Travel directly to the Daqo Chisay Shrine before Gerudo Town and put on the full Gerudo disguise again before the city gate at the latest. Run to the palace.
Riju isn’t just sitting on her throne this time. Go to the upper part of the palace to her private rooms. Speak to her and hand over the recaptured Thunderhelm.
Memory of Urbosa
As Riju wears the Thunder Helmet, Link reacts to the sight of the ancient Gerudo heirloom. Another memory returns. 100 years ago Urbosa was not only the pilot of Vah Naboris and Queen of the Gerudo, but also closely connected to Zelda and her late mother.
The scene is part of the story-bound memories in Breath of the Wild and is automatically unlocked during the Naboris main quest. You don’t have to look for a separate place of remembrance for this.
After the conversation, the plan for Vah Naboris is in place. Riju will protect Link from the Titan’s powerful lightning bolts with the help of the Thunder Helmet. You should meet them at the lookout southeast of Gerudo Town.
We’re not rushing off there yet. Before the actual attack, we check our equipment in the next section, take the Treasure Chest there with the Gerudo bow and learn how to deal with the sand seal. Then the hunt for Vah Naboris begins: We stay within Riju’s lightning protection, destroy the titan’s four feet with bomb arrows and then enter the last of the four divine animals on our route.
We continue with Divine Beast Vah Naboris – Part 2.