

With the Master Sword in our luggage, we return to the main target “Free the Divine Beasts”. Two titans are already on our side, next the journey leads to Eldin and the mighty Death Mountain. There the fire titan Vah Rudania crawls over the volcano’s flanks and repeatedly triggers severe eruptions. For Link, however, the path to Goron City represents a completely new danger: above a certain height, the environment is so hot that clothing, wooden weapons and ultimately Link himself catch fire. Normal cooling dishes from the Gerudo Desert do not help here. For the Death Mountain we specifically need fire protection.
Our route first leads to the stable at the mountain and via the Mo’a Keet Shrine to the Eldin Tower. There we get the map of the region before we find another target of the main objective “Souvenir Photos” west of Lake Goronbi. We then follow the path to Death Mountain through the south mine. The Side Quest “Fire Lizard Hunt” delivers the anti-fire armor there for free, which means we can travel the rest of the way to Goron City without constantly consuming medicine. Finally, in Goron City, the main objective “Divine Beast Vah Rudania” begins. Before Link can even get to the Titan, the young Goron Yunobo has to be rescued from the abandoned northern mine.
To the stable on the mountain
The stable on the mountain is located south of Death Mountain at the beginning of the actual mountain path. The most convenient starting point depends on which towers and shrines you have already activated. From the Korok Forest you can move east via the eastern exit of the forest region or via the Woodland Tower. Thanks to Revali’s Gale, the rocky transitions can be overcome much more quickly than at the beginning of the game.
Finally follow the main road through the Eldin Gorge. As long as grass, trees and normal water characterize the landscape, you are still outside the actual fire zone. Use this route to collect ores and monster parts. The Death Mountain is one of the richest regions for amber, opal, rhodonite, sapphire and the occasional diamond. Particularly rare gemstones will later be needed for armor improvements and the new creation of warrior weapons, which is why you should not sell every find immediately.
Shrine Quest “The Painting of the Stable”
At the stable you will meet Mayro inside, who is looking at a painting on the wall. Talk to him about it and you will receive the shrine task “The Painting of the Stable”. The picture shows the stable in front of the Death Mountain and, at some distance, a shrine between striking rock formations.
The desired Tah Muhl Shrine is located southwest of the stable in the Beele Valley. Since we come from the south, you can even kill him in front of the stable. From the stable itself, follow the road a little back to the south and take the western turnoff through the rocky valley. The orange entrance becomes visible between the rocks. Activate it and enter the exam.
Tah Muhl Shrine – Fire opens the way
Tah Muhl Shrine is all about fire. Right at the beginning, wooden boxes and vines block the passage. Shoot a fire arrow at it or light a normal arrow from an existing flame. After a few seconds the construction burns away completely and you can pass.
In the next room, a large wooden box hangs on ropes above a scale. Burn the box or the corresponding rope so that the weight changes and the mechanism opens a new path. There is also a chest behind one of the bars. Take a close look at the wooden structures behind the metal bars: fire spreads even where Link himself can’t get through. Ignite the accessible wooden parts and wait until the blockage collapses.
[Optional – Treasures] The shrine contains several chests containing Opal, Rhodonite, and a Heavy Rock Weapon, the exact quality level of which can scale as you progress through the game. Rhodonite in particular should be taken with you. Then get the Spirit Orb.
You can also find all nine regular shrines in the region on ZeldaCollection in the guide to the Eldin Tower Shrines.
Buy fire protection medicine at the stable on the mountain
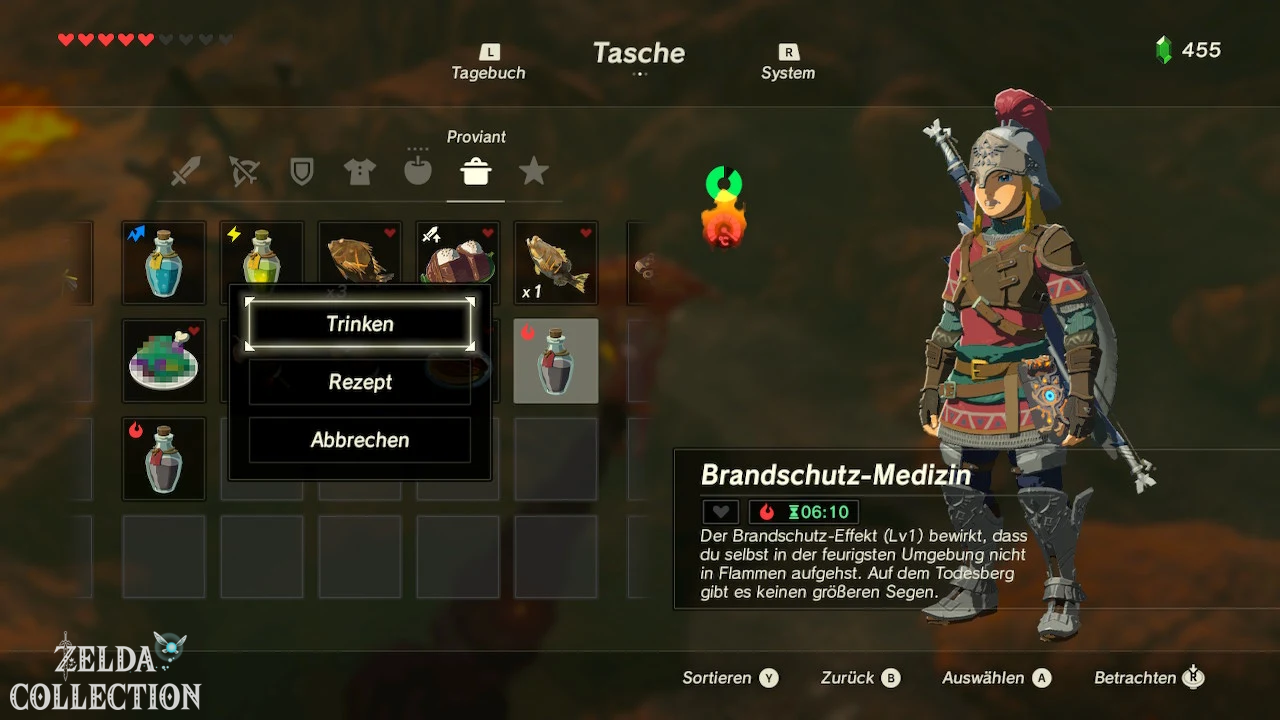
Back at the stable, talk to Gaile outside. She specifically sells fire protection medicine: one bottle costs 60 Rupees, two costs 110 and three together cost 150 Rupees. It’s best to buy three bottles straight away. The fire lizard hunt will soon provide us with permanent protective clothing, but the medicine serves as a reserve and will be useful again later in particularly hot areas.
Do not confuse fire protection with normal heat protection. Cooling medicine, desert clothing and frosty dishes protect Link from hot climates like in the Gerudo Desert, but do not prevent him from catching fire on the Death Mountain. Fire protection medicine is made from fire lizards or fire engines and monster parts and is specifically intended for such volcanic areas.
Also examines the immediate surroundings of the stable. There is a iron hammer, a master ax and a bundle of wood. You can take the iron hammer with you as a replacement weapon for ore deposits. However, you should not equip wooden weapons on the actual Death Mountain.
Mo’a Keet Shrine – The orb opens the path
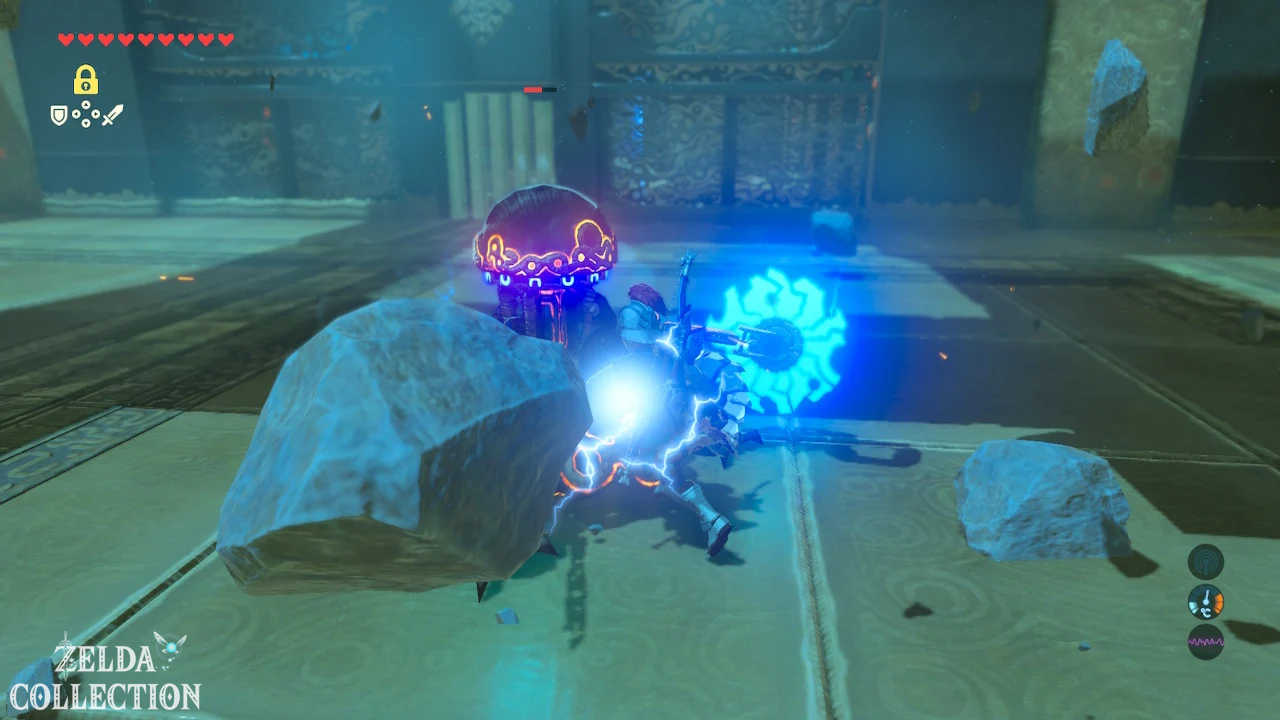
On the hill directly east of the stable is the Mo’a Keet Shrine. Be sure to activate it as a fast travel point. In the first section, large stone balls roll down a ramp and disappear into an opening. Activate Stasis just before a bullet reaches Link and sprint past it up the ramp.
In the next room, additional heavy spiked balls come into play. Here, too, stasis is the simplest solution: wait for an opportune moment, freeze a ball and pass the section before time runs out. Alternatively, you can hide behind the niches on the side and watch the rhythm.
[Optional – Treasure] Behind one of the spiked balls lies a Treasure Chest with a knight’s sword. Another chest contains a Rhodonite. Then you reach the priest and get the next Spirit Orb.
To Eldin Tower
From the stable you first follow the path north. The Eldin Tower stands on a high rock formation west of the main path. You can still get to the immediate vicinity of the tower without permanent fire protection, but at the border to the actual volcanic zone the thermometer turns completely red and shows a flame. You have to activate fire protection here at the latest.
Drink a bottle of Fire Prevention Medicine and check your equipment. Wooden weapons, wooden shields and wooden bows can catch fire in the volcanic heat. Therefore, equip metal, guardian or goron weapons. Normal arrows ignite automatically when the bow is drawn and can therefore even be used as improvised arrows Fire Arrows be used. Bomb darts, on the other hand, are extremely dangerous: In the hot Death Mountain zone, they detonate almost immediately when cocked. Don’t use it here.
With Revali’s Gale you can reach the tower very quickly. Find a safe rock platform below the tower, create an updraft and slide to one of the lower platforms. The rest of the climb is straightforward. Activate the terminal above and expose the entire Eldin region.
Optional: Korok at Eldin Tower – wind turbine over the lava
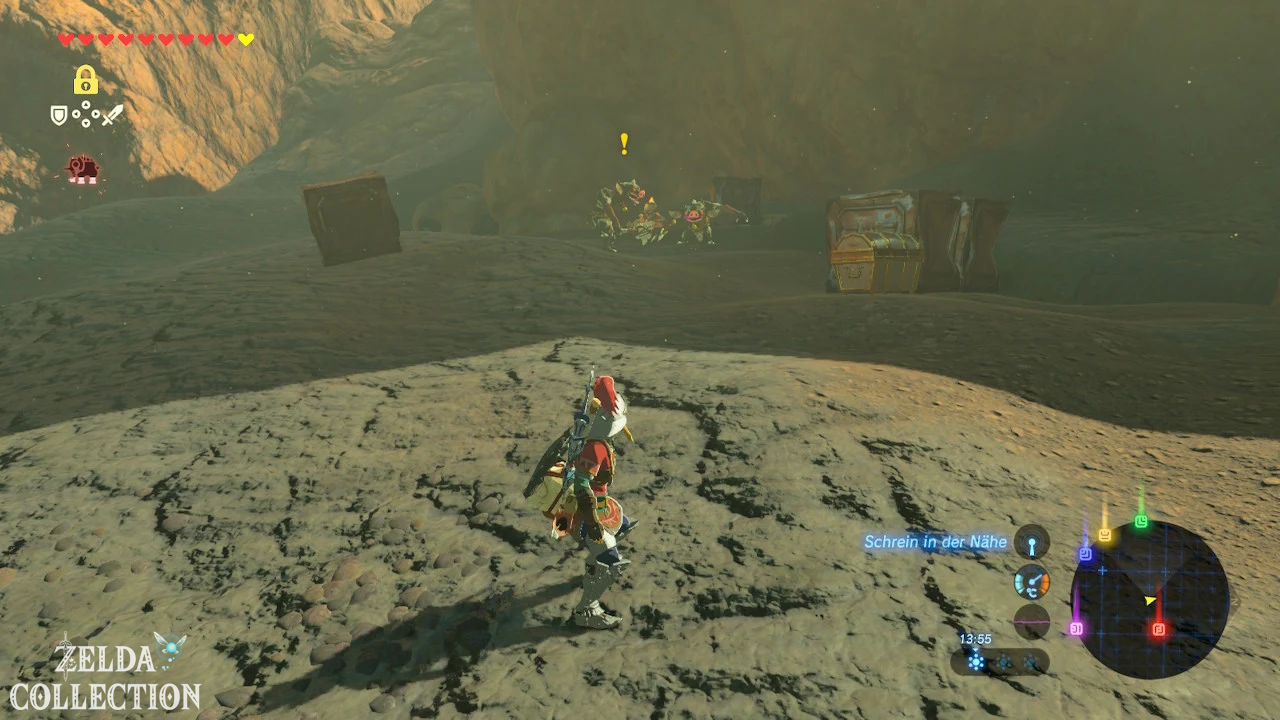
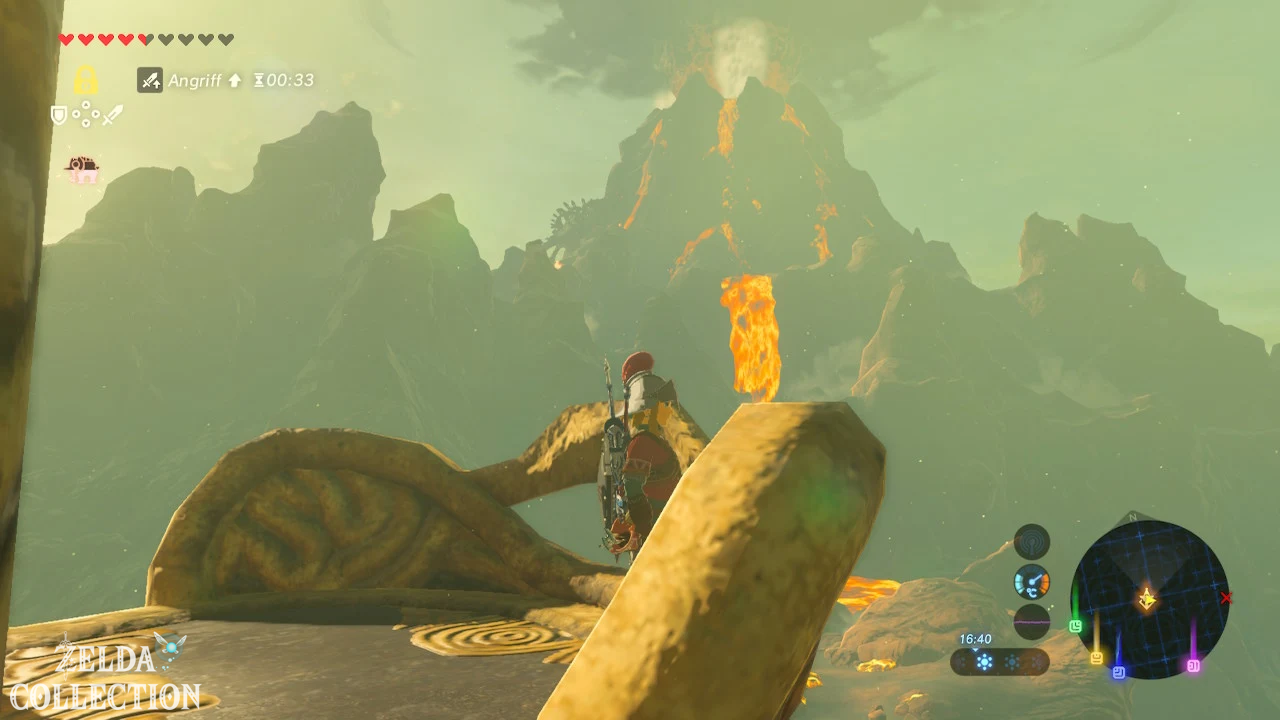
[Optional – Korok] Northeast of Eldin Tower there is a small wind turbine on a ledge above the lava. Revali’s Gale makes access much easier. Approach the wind turbine and several target balloons will appear above or beyond the lava flow.
Shoot down all the balloons with the bow. Be careful not to equip any bomb arrows. After the last hit, the Korok appears and hands you the seed.
Qua Raym Shrine – Balancing Act
Southeast or east of the Eldin Tower is in the middle Lake Goronbi the Qua Raym Shrine. The island is completely surrounded by lava. Use Revali’s Gale from an elevated position or glide from Eldin Tower as far to the island as possible. Of course, due to the lava, the cryo module doesn’t work here.
In the shrine you will find two large scales. First, several heavy metal cubes lie on one side. Move it with Magnesis so that a bowl moves up or down and you can reach the different levels. The basic principle remains the same throughout the test: change the weight, step onto the corresponding tray and then move the cubes again.
Later, wooden boxes block parts of the mechanism. Burn them with fire to change the weight. A burning box loses all of its weight after it is destroyed, causing the weighing pan opposite to react immediately.
[Optional – Treasure] To the left or on an elevated platform there is a chest with a knight’s two-handed sword. Then get the Spirit Orb.
Main Target “Souvenir Photos” – The Wound
From the Qua Raym Shrine or Eldin Tower there is a memorial site from the Zelda’s album west of Lake Goronbi. If you talk to Pikango later in Goron City, he will also recognize the corresponding photo and name the area southwest of Death Mountain. Since we’re right next to it now, let’s get the memory right away.
Move from the western shore of Lake Goronbi up the high rocky ridge towards the forest region. On the map you can see a conspicuous raised formation or a circular rocky area west of the lake. Some Lizalfos are in the area. On the upper plateau, the familiar glowing memory point begins to shimmer.
Examine it and Link will remember “The Wound”. Zelda tends to Link’s injuries after an exceptionally difficult battle. There are numerous defeated monsters all around. She warns Link not to confuse courage with recklessness and expresses great concern that more and stronger monsters are appearing. For Zelda, this is a sign of the approaching Calamity Ganon.
This completes another goal of the main goal “Souvenir Photos”. You can find the complete overview on ZeldaCollection under Memories in Breath of the Wild.
Optional: Koroks around Lake Goronbi and reminder
[Optional – Koroks] Southwest of Lake Goronbi there are several Korok puzzles close together. In one of them, individual rocks are missing from a small stone formation. Complements the pattern with the loose stone from the immediate surroundings. A little further north, a Korok time trial begins on a hill: step on the tree stump and use Revali’s Gale as soon as the target ring appears on a higher rocky area.
On the way from the memory towards the south mine you will also find several large rocks on a slope above a natural hole. Roll the appropriate chunk down the slope so that it lands in the depression. These seeds lie directly on our path to the next story section.
To the Path of Death Mountain
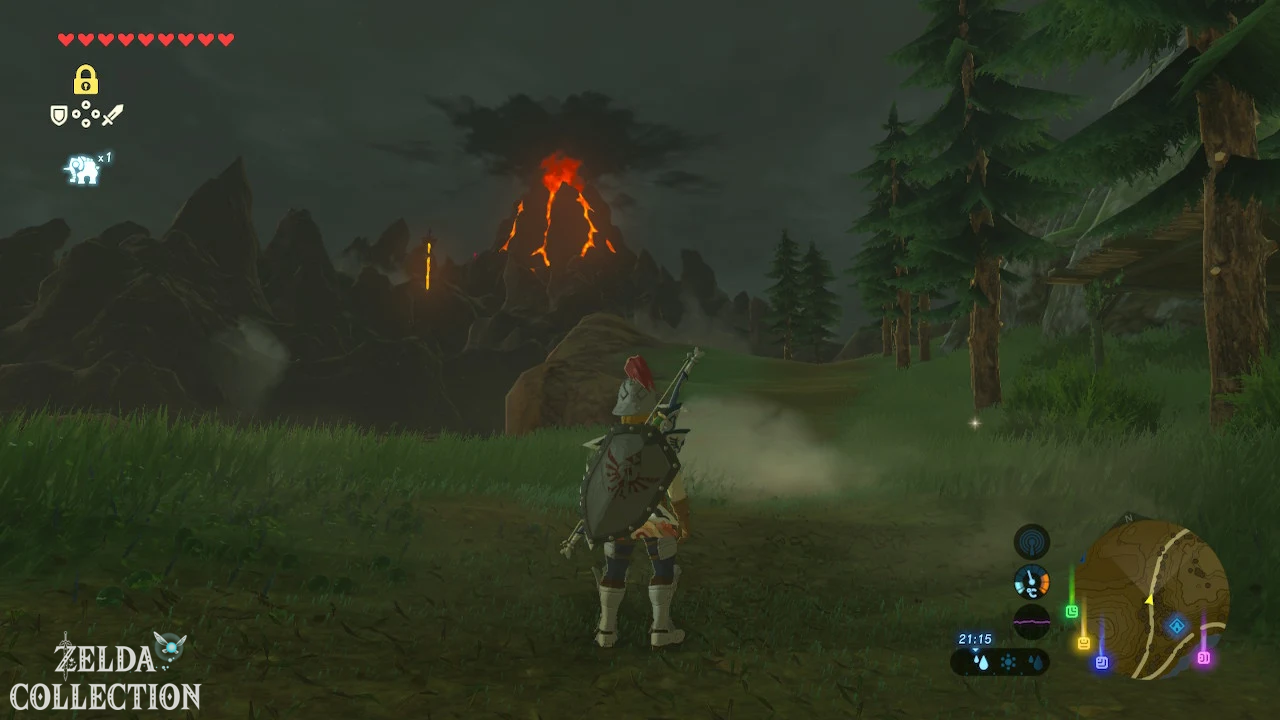
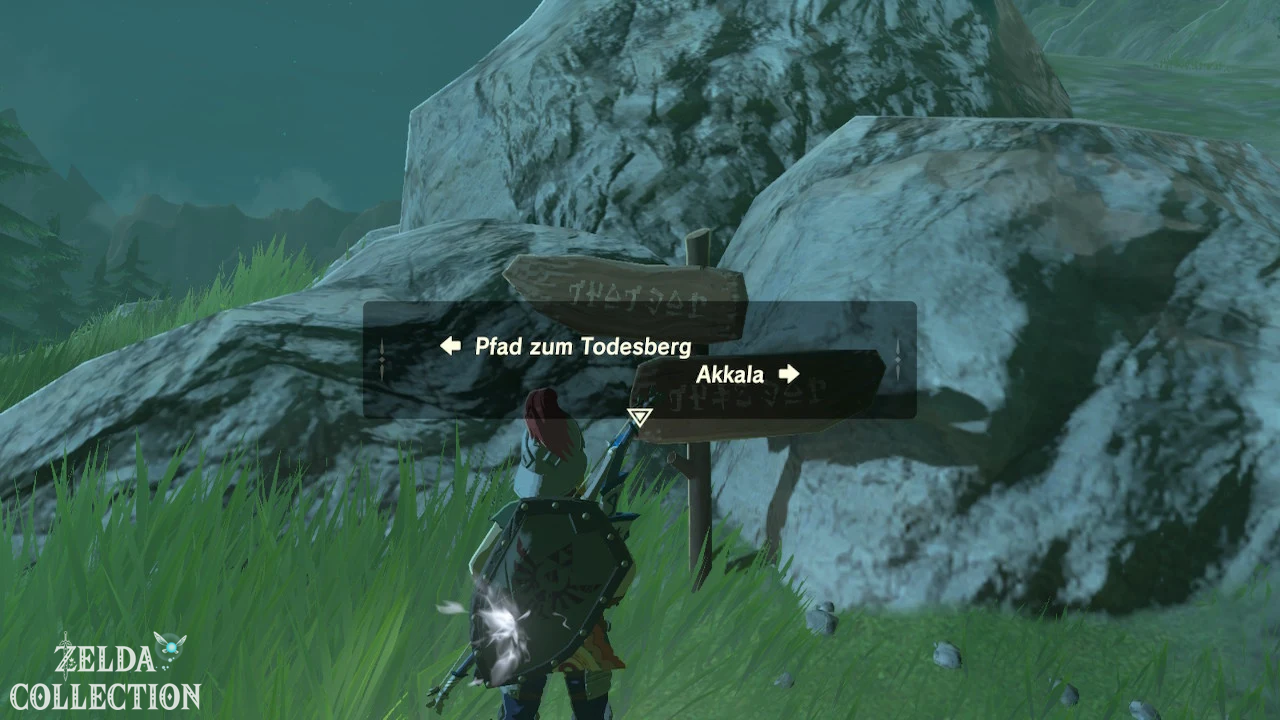
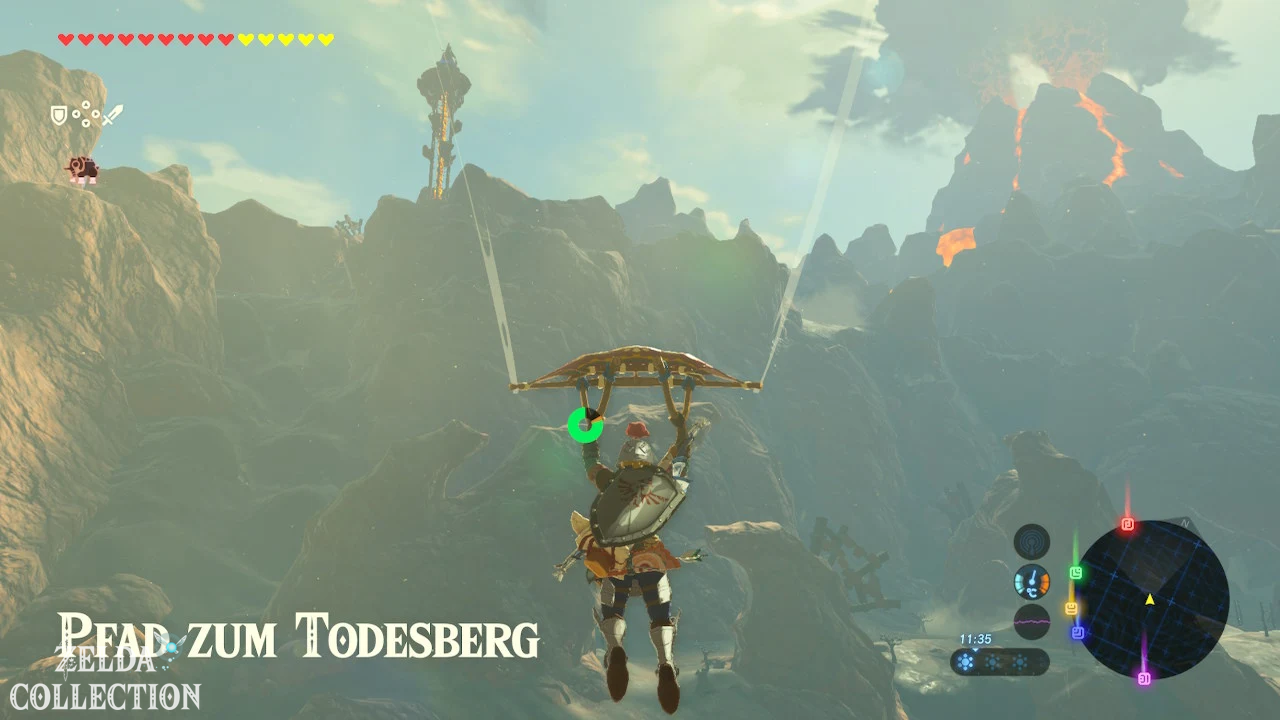
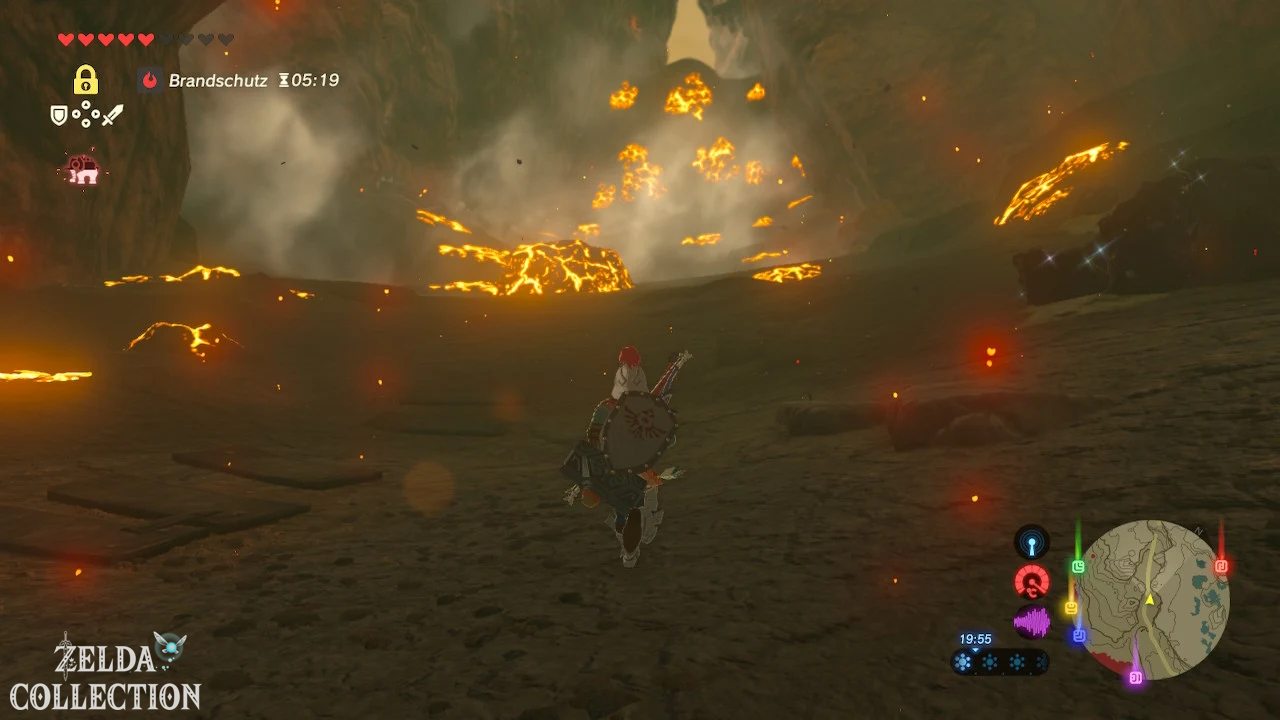
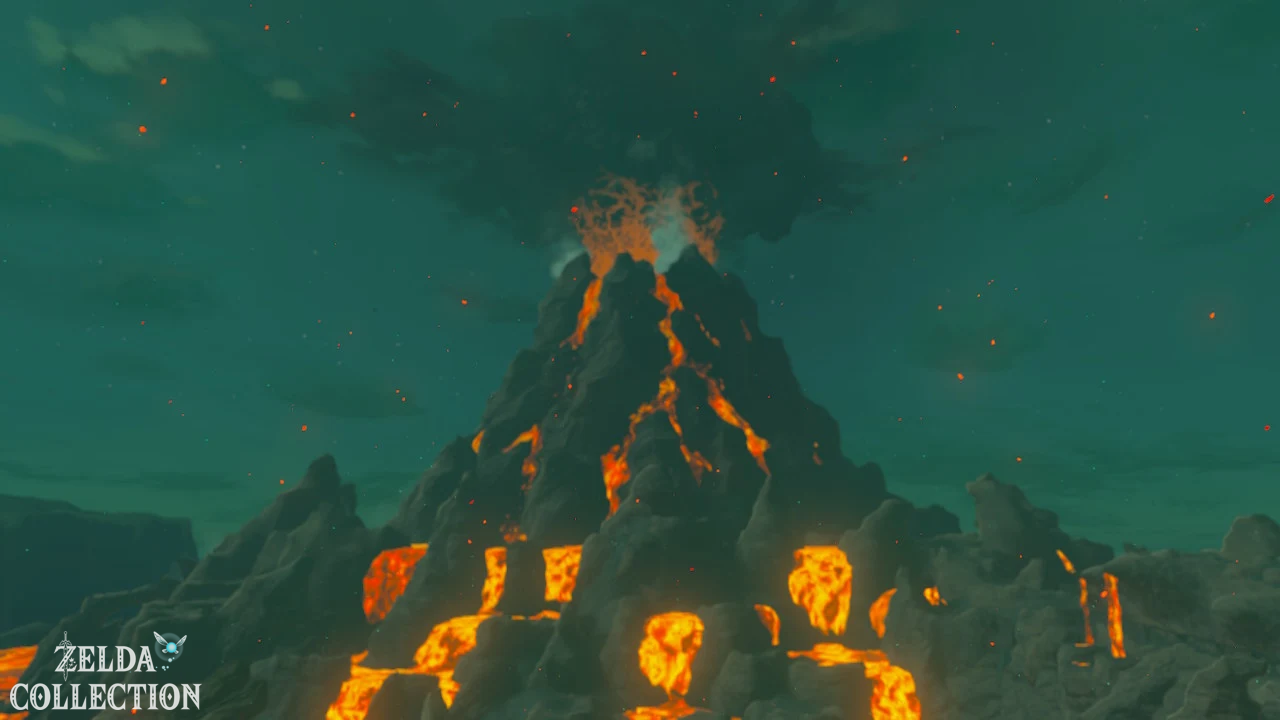
Return to the marked main road and follow the numbered route signs up Death Mountain. The Depths becomes increasingly black, lava flows between the rocks and rock octoroks emerge from the ground. These enemies suck in air or objects and then spit burning rocks at Link.
A simple method against Rock Oktoroks is a ranged bomb. Throw it in front of the opponent as he inhales. He sucks in the bomb. Ignite it shortly afterwards and that Octorok is hit from the inside. The opponents also have an unusual property: you throw them rusted weapons or shields Before sucking them in, they can spit them out again after being cleaned and with much better equipment.
South Mine – Side Quest “Fire Lizard Hunt”
The main route automatically leads through the South Mine. Here, despite Vah Rudania’s activity, the Gorons continue to work on the rich ore deposits. Even more important for Link are the numerous small fire lizards that scurry across the dark ground and hide under stones.
Speak with the Hylian Kima. He wants to take ten fire lizards with him as souvenirs from Goron City, but he isn’t quick enough to catch them himself. This begins the Side Quest “fire lizard hunt”. He promises his anti-fire armor as a reward.
The task is extremely worthwhile, because the armor otherwise costs 600 Rupees in the Goron City shop. Therefore, stay in the south mine until you have all ten animals.
Quickly catch ten fire lizards
If possible, equip the Ninja or Stealth Set from Kakariko Village as long as your fire protection medicine is active. Walk crouched through the mine and press A as soon as you get close to a fire lizard. If you run, the animals will often disappear before Link gets to them.
Also lifts every small stone on the ground. There is also a fire lizard among many of them. With the Sheikah Sensor+, the task becomes even easier: photograph a fire lizard for the Hyrule Compendium, place the sensor on the animal and follow the signals through the mine.
Feel free to collect more than the required ten copies. The anti-fire set requires extinguishing lizards as early as the first armor upgrades. Additional animals can also be cooked using monster parts to make fire medicine.
If you have ten pieces, return to Kima. He gives you the anti-fire armor. Put them on immediately. A single piece already provides one level of fire protection and is sufficient to travel from the South Mine to Goron City.
Locations and set bonuses for all items of clothing can also be found in the ZeldaCollection guide to the armor in Breath of the Wild.
Anti-fire armor instead of medicine
With the anti-fire armor you just received, you don’t need to use any more fire protection medicine on the normal route to Goron City. However, pay attention to the surroundings: In particularly hot areas of Death Mountain, the fire risk rises to a second level. Later, a single piece of armor is no longer enough.
complete anti-fire set consists of anti-fire helmet, anti-fire armor and anti-fire pants. In Goron City, the Mucki market sells the helmet for 2,000 Rupees, the pants for 700 Rupees and the armor for 600 Rupees. Since we got the chest piece for free, we’ll only buy the helmet and pants later, as long as the Rupees are enough. For normal story progression, two parts are initially sufficient.
If you improve the complete armor twice on a Great Fairy, you activate the set bonus “No Burning”. This protects Link from many normal fire attacks and is particularly useful against fire opponents.
Optional: Delete lizards and ore for later armor upgrades
[Optional – Collectibles] The South Mine is one of the best places to collect several useful materials at once. In addition to fire lizards, there are numerous ore deposits directly on the rock walls. Smash them with an iron hammer, ore drill, or remote bombs. You should pick up rhodonite, sapphire and diamonds; Flint is needed for several Goron tasks and later for reforging special weapons.
The anti-fire armor requires improvement per piece for the first time a fire lizard and two moblin horns. For level 2, more fire lizards and moblin tusks are needed. If you collect a little longer now, you can get the set the next time you visit Great Fairy directly upgrade several times.
You can find further material locations in the internal guide to ingredients and materials.
From the South Mine to Goron City
From the northern exit of the South Mine, continue following the main path. Vah Rudania is now becoming increasingly visible. The closer your Goron City gets, the more often the Death Mountain shakes. During a major eruption, burning boulders rain from the sky. Pay attention to the red or light impact markings on the ground and do not stop directly underneath them.
Wooden weapons remain problematic. Even with anti-fire armor protecting Link, equipped wooden gear can burn in the volcanic heat. Therefore, store valuable wooden weapons such as certain Rito bows in your inventory and use metal or guard equipment.
Reach Goron City
After the next curve the view opens up to Goron City. The city is made entirely of black volcanic rock, metal bridges and lava. As soon as you enter, there is a short sequence with Vah Rudania, who crawls along the Death Mountain and triggers another eruption.
Goron City has an inn, general store, armor shop, blacksmith shop and a central shrine. Before we talk to Bludo and start the next big story section, we first secure the fast travel point.
Shae Mo’sah Shrine – Swaying Fire
The Shae Mo’sah Shrine is located in the northern part of Goron City. Activate it and go inside. In the first room a lamp or a burning mechanism hangs on ropes. Shoot the rope or use fire so that the flame is transferred to the vines and wooden structures. As soon as the wood burns down, the next path opens.
Further along, a small nano-guard is waiting. Defeat him and open the accessible chests. One contains a rock splitter, another rhodonite. Later you will also find ten Ice Arrows. Axyl them up – Ice Arrows are extremely useful in Eldin because they can immediately take out fire enemies or cool down Igneo Talus.
A Floor Switch sets a lantern or a mechanism in motion. If necessary, fix the switch with a sufficiently heavy object and use the resulting flame to burn additional tendrils. Behind one of the opened doors lies the Small Keys. This opens the last access and gets the Spirit Orb.
Buy
anti-fire trousers in the Mucki market
[Optional – highly recommended] After the shrine, visit the armor shop “Mucki Market”. Since we already have the anti-fire armor for free, the next thing worth getting is the anti-fire pants for 700 Rupees. This means Link has two levels of fire protection and can walk around safely even in the hotter areas of Death Mountain.
You don’t have to buy the anti-fire helmet for 2,000 Rupees immediately to progress the story. We still need it in the long term for a full armor game. If you have enough Rupees through gemstones, Hebra treasures and the previous side quests, you can complete the set now. Otherwise, the pants take priority.
Buy Goron spice for “curry against the cold”
[Optional – Side Quest prepare] In the general store “veteran” becomes Goron spice sold. Buy at least one portion. We can use this on our next visit to the stable Rito the one already accepted Side Quest “Curry against the cold” complete.
The store also carries fire and Ice Arrows. Ice Arrows in particular makes sense on the Death Mountain. Cane sugar and rock salt can also be taken along for recipes, but do not have to be bought in advance.
Side Quest Start “tuition money”
[Optional] Speak with the Goron Fugo in Goron City. He is trained by the blacksmith Rohan and as part of his training is supposed to defeat the Igneo Talus at Lake Darunia. However, the path there is too dangerous for him. This begins the Side Quest “teaching allowance”.
The Igneo Talus is further north at Lake Darunia and is not on the direct route to the North Mine. The task can still be added to the diary. As soon as we fully explore the northern Eldin region after liberating Vah Rudania, our path will lead to the lake anyway. Fugo later pays 100 Rupees for victory.
Start shrine task “The Lost Brother”
[Optional – required for all shrines] Also speak to Bladon in one of the houses of Goron City. His brother Gonguron has set off into the Gorko Tunnel because he supposedly wants to find the hero’s secret there. Bladon doesn’t think much of it and is worried. This begins the shrine task “The Lost Brother”.
The task later leads to Kayra Mah Shrine in the Gorko Tunnel. The route lies west or southwest of the actual Rudania route. Since we’ll be solving all of the Eldin shrines to get the full score anyway, it makes sense to unlock the job now.
Main objective “Divine Beast Vah Rudania” – Talk to Bludo
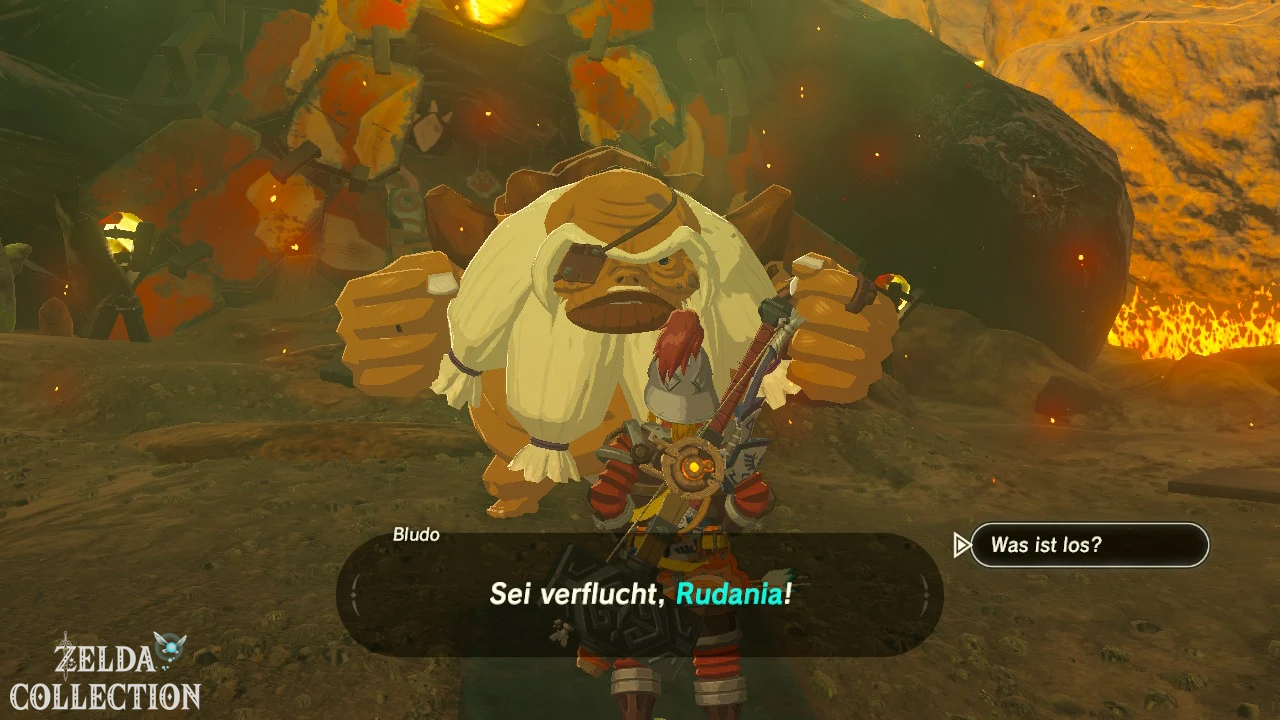
Now go to the big house of the Goron chief Bludo. He doesn’t immediately recognize Link as the hero from a hundred years ago, but he quickly gets to the real problem. The Divine Beast Vah Rudania has become active again and is causing increasingly violent eruptions on the Death Mountain.
Bludo has already driven the titan back into the crater several times using the Goron cannons. He is usually helped by the young Goron Yunobo. However, Bludo is currently suffering from severe back pain and has therefore sent Yunobo to the abandoned northern mine to get painkillers from a storage room.
Yunobo has not returned. Bludo asks Link to check on him. This begins the main objective “Divine Beast Vah Rudania”. Our next route leads to the North Mine.
Goron statues on the way to the North Mine
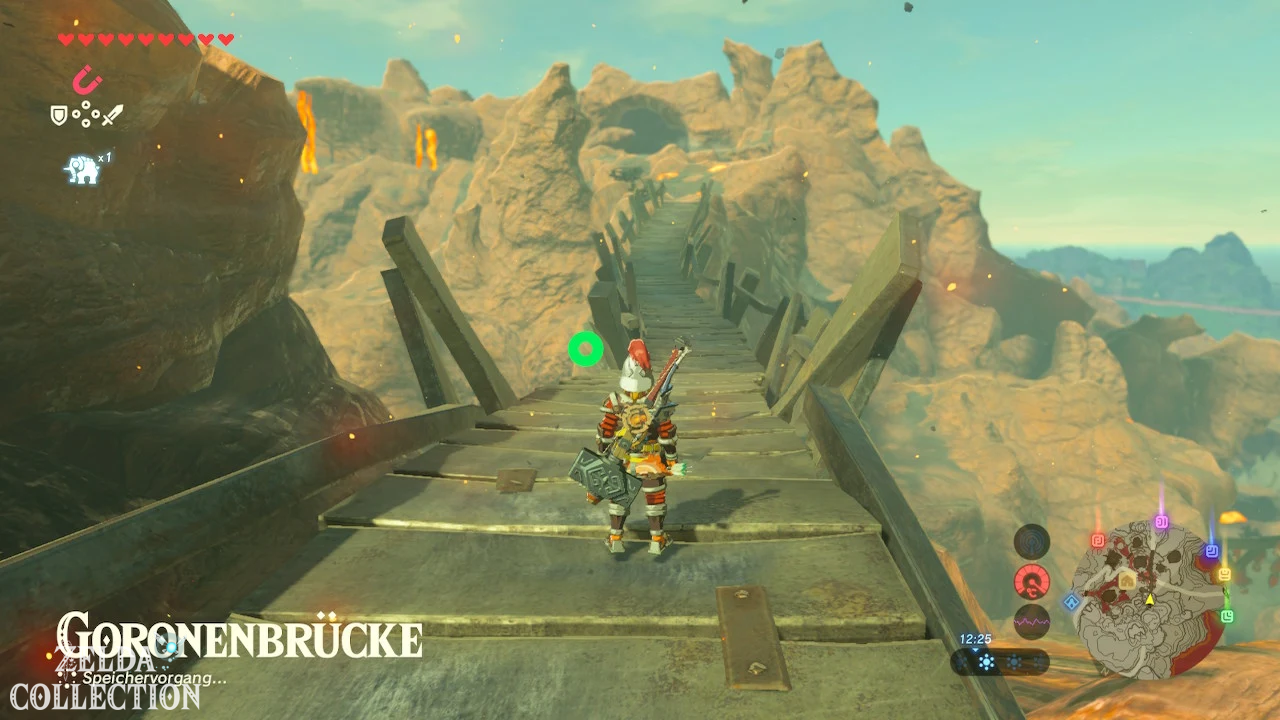
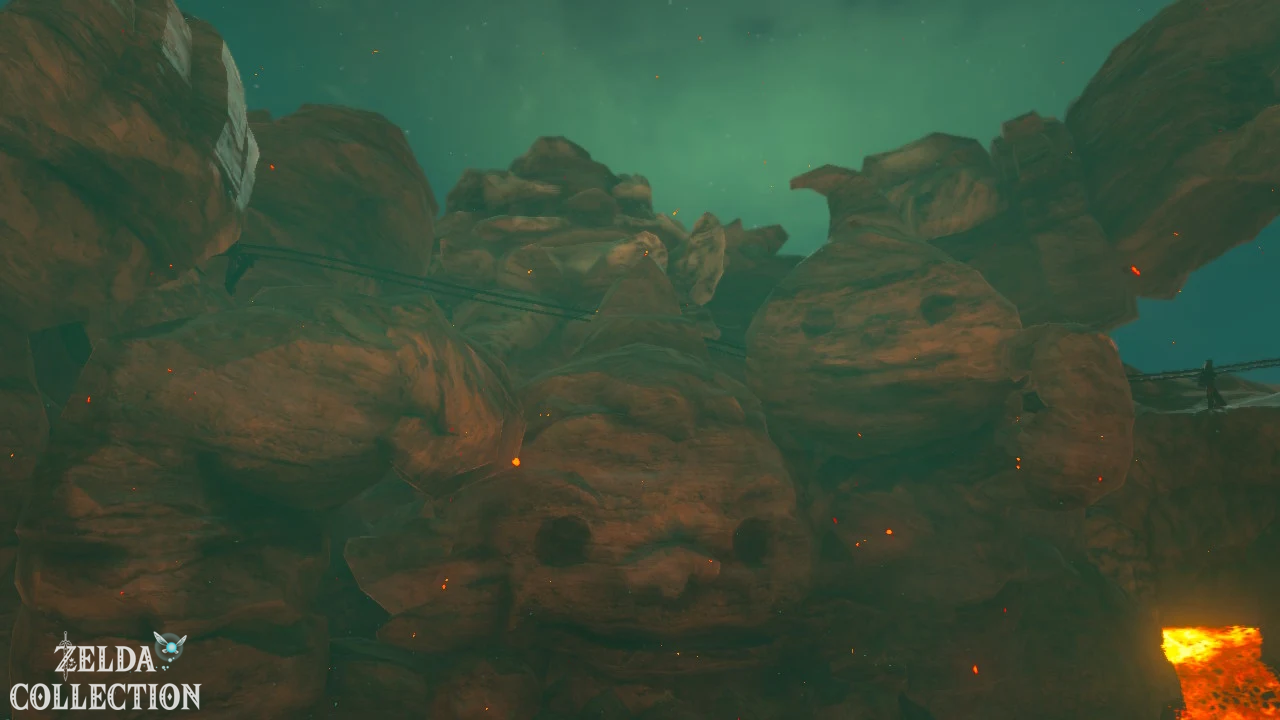
Leave Goron City to the north and follow the path past the massive Gorons carved into the mountain. These monuments depict famous heroes of the people. The path winds above the town and eventually leads to the Goron Bridge and further towards the abandoned northern mine.
[Optional – Korok] Examine the large Goron statue near the path. A glittering fairy light moves in or near one of the open mouths. Climb up – Revali’s Gale makes the climb trivial – and examine the glow for a Korok Seed.
[Optional – Korok] In another rock statue there is a small stone on a ledge below or near the armpit. Lift it and another Korok will appear.
[Optional – Korok] There is also a tree stump on the head of one of the large statues for a time trial. Step on it, observe the target ring and use Revali’s Gale to easily complete the route within the time limit.
North Mine – Use Cannons Correctly
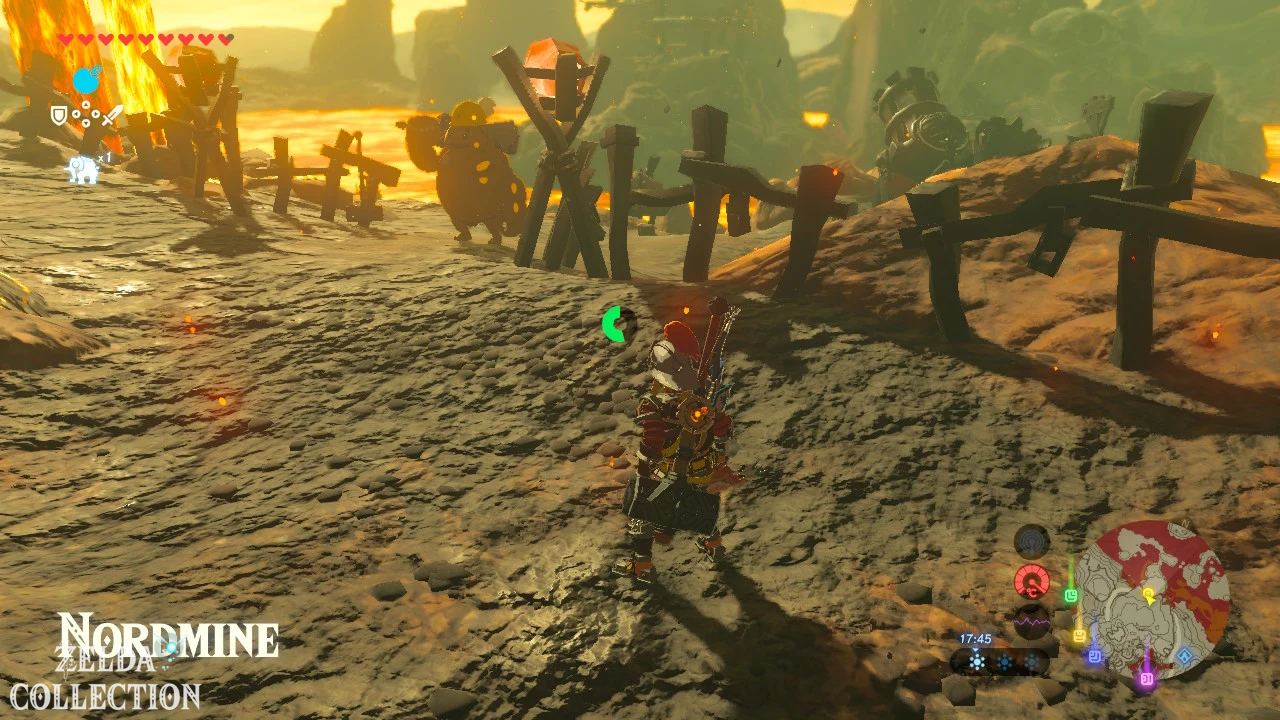
At the entrance to the North Mine Drak warns you about the monsters there. Yunobo went further into the mine and didn’t return. The area is criss-crossed by lava and several Lizalfos camps block the way.
The large Goron cannons make this section much easier. Next to each cannon is an opening for a round remote bomb and a large lever. First place a round bomb in the cannon. Then hit the lever with a weapon to turn the gun left or right. As soon as the pipe points to the desired target, you detonate the bomb. The explosion inside fires a massive cannonball.
Use the cannons against the Lizalfos camps and rock blockades. This saves you weapon durability and allows you to partially eliminate enemies before Link even comes into their range.
With Revali’s Gale through the northern mine
Several parts of the North Mine are separated by wide lava flows. Normally narrow paths, updrafts and gun platforms lead little by little to the north. With Revalis Sturm you can shorten some of these detours, but you should not glide blindly over large areas of lava. Only land on rocky islands that are clearly safe.
Red Octoroks, Fire Slimes and Lizards attack you on the way. Ice Arrows are particularly effective against fire opponents. Collect monster parts as quickly as possible, because some loot can burn on red-hot ground.
Find Yunobo in the storage room
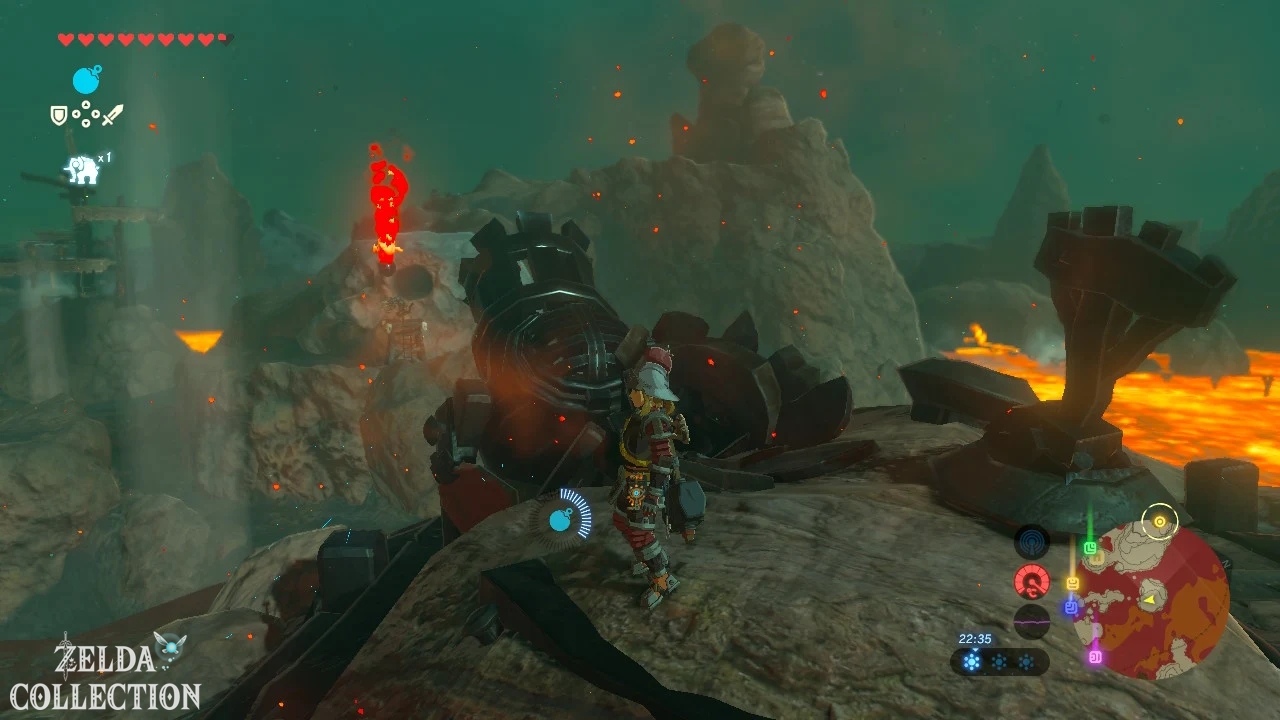
At the northern end of the mine you will reach a large stone storage room. The opening is blocked by huge boulders. Yunobo is stuck behind it and can’t get out.
A normal bomb is not enough. Find the nearby Goron Cannon. Place a round remote bomb in it and use the lever to point the pipe directly at the rock blockage in front of the storage room. Detonate the bomb and the cannonball will smash the entrance.
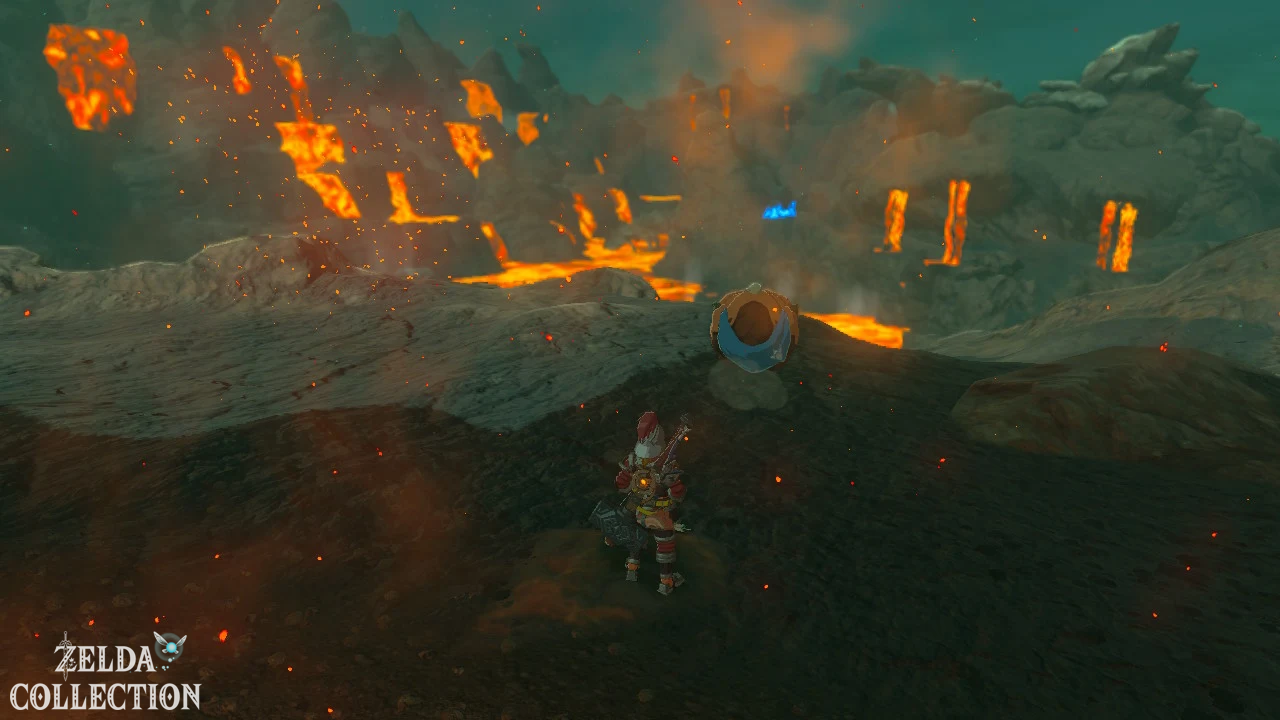
Then go inside. Yunobo initially runs around in shock because he thinks Link is a monster. Shortly afterwards he introduces himself and explains that he actually wanted to get the medicine for Bludo. What is particularly striking is the red protective barrier that can form around him: as a descendant of Daruk, Yunobo has the same protective ability as the former Goron warrior.
After the conversation, Yunobo takes the painkiller and immediately heads back to Goron City.
Optional: Korok via Yunobo’s storage room
[Optional – Korok] Don’t leave the storage room right away. Climb or use Revali’s Gale to get to the roof or the rock directly above the entrance. There is a small stone there.
Raise it and a Korok appears. This seed is particularly easy to take with us since we are directly under its hiding place for the main target anyway.
Back to Bludo
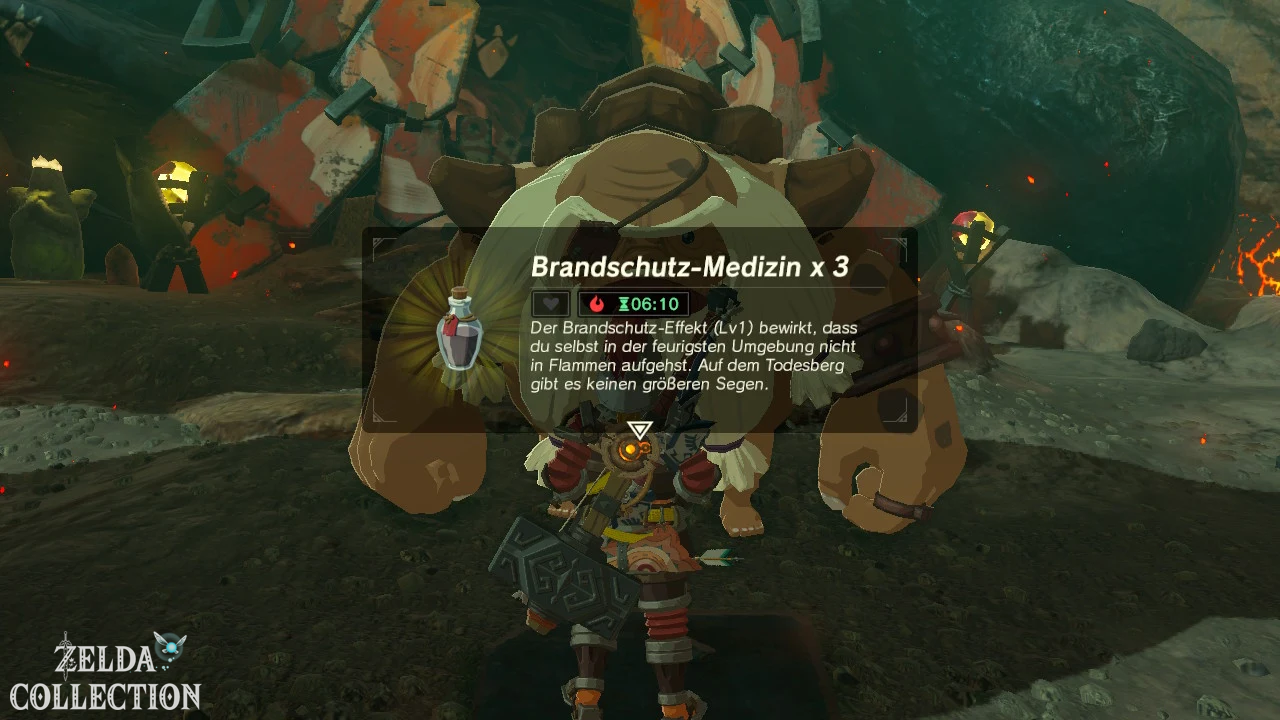
Open the map and teleport directly to it Shae Mo’sah Shrine in Goron City. Go back to Bludo. Yunobo has now arrived and handed him the medicine. Bludo thanks Link and gives him as a reward three fire protection medicines.
Actually, Bludo now wants to set off for Death Mountain together with Yunobo and drive Vah Rudania away again with the cannons. However, his back problems are still so severe that he can barely walk. Yunobo has already gone ahead to the Bridge of Eldin and doesn’t know anything about it yet.
Bludo therefore asks Link to go after Yunobo and tell him about the change of plans. This begins the next phase of the main objective “Divine Beast Vah Rudania”.
Daruk memory in Goron City
During the conversation, Bludo brings up the former Goron warrior Daruk. He points to the huge image of the hero carved into the rock face. The sight triggers another memory in Link.
One hundred years ago, Link and Daruk train at Death Mountain. Daruk recounts his determination to defend Hyrule against Ganon and demonstrates his powerful protective ability. After a brief incident, however, it becomes apparent that even the huge Goron is afraid of something: a small dog.
This Daruk memory, like the scenes with Mipha and Revali, is not one of the twelve freely searched album photos. It is automatically activated within the Titans storyline. You can also find our overview of all memories under Memories in Breath of the Wild.
Before climbing to Eldin Bridge
Before you follow Yunobo, check your equipment again. For the next section, your should have two levels of fire protection. Anti-fire armor plus anti-fire pants are ideal for this. Alternatively, you can combine a single piece of armor with fire protection medicine.
Take several normal arrows, a reliable bow and metal weapons. Bomb arrows remain taboo in the hot area of Death Mountain. The next route leads via the Goron Spring to the Bridge of Eldin and then directly to the Titan. There the guardian drones of Vah Rudania appear for the first time and Yunobo itself becomes ammunition for the large Goron cannons.
In the next chapter we accompany Yunobo to the Bridge of Eldin, look for the ore drill from the Side Quest “The Secret of Death Mountain”, solve the Daqa Koh Shrine and drive Vah Rudania with the cannons to the top of Death Mountain. We then enter the Divine Beast Vah Rudania and begin searching for his Divine Beast Map and the five terminals.