

With Vah Ruta, Vah Medoh, Vah Rudania and Vah Naboris, all four Titans are freed. Right now is the best time for the second DLC “The Champions’ Ballad”. The new main quest takes Link once again to the four Champions, later improves all combat skills and ends with one of the most useful rewards in the entire game: the Master Cycle Zero. The ancient motorcycle makes our subsequent 100% exploration Hyrule’s much easier, which is why we don’t delay the DLC until just before Hyrule Castle.
[DLC] This section requires the expansion pass or DLC pack 2. Without DLC installed, you can skip the chapter and continue with the main path later. You can find an overview of all additional content in the ZeldaCollection guide to the DLC content for Breath of the Wild.
After freeing the fourth Titan, Zelda reports to Link and sends him back to where the adventure began: to the Shrine of Resurrection on the Great Plateau. The first part of the Champions ballad is often referred to as the pilot’s test and is significantly different from normal play. Link receives a weapon that defeats practically every opponent with one hit – at the same time he also dies with almost every hit.
Preparation for the trial
Before traveling to the Shrine of Resurrection, check your inventory. For the destroyer, Link needs a free slot in the melee weapons. If necessary, leave a regular weapon behind. However, your bows and arrows are much more important. During the trial you can use the destroyer as your only melee weapon, but bows, arrows, shields and all Sheikah modules remain available.
Therefore, take a reliable bow and a generous supply of normal arrows with you. Bomb arrows and electric arrows are particularly valuable because they can eliminate enemies from a safe distance or at least incapacitate them. Ancient arrows are also allowed, but are too valuable for most opponents on the plateau. The Yiga’s double shot bow is excellent because both projectiles are fired with only one arrow spent.
Healing dishes are of little use during this test. As soon as Link picks up the destroyer, his health drops a quarter heart and cannot be restored normally for the duration of the test. However, additional effects of dishes and medicine remain active. They are therefore particularly useful Stealth bonus, attack power, stamina or cold protection.
The four warrior abilities are not available during the Destroyer Trial. So you can’t rely on Mipha’s Grace or Daruk’s Protection. This is precisely why every fight should begin, if possible, before the opponents even notice Link.
Also saves before starting. There are separate checkpoints within the four new shrines, but outside of them caution is more important than speed.
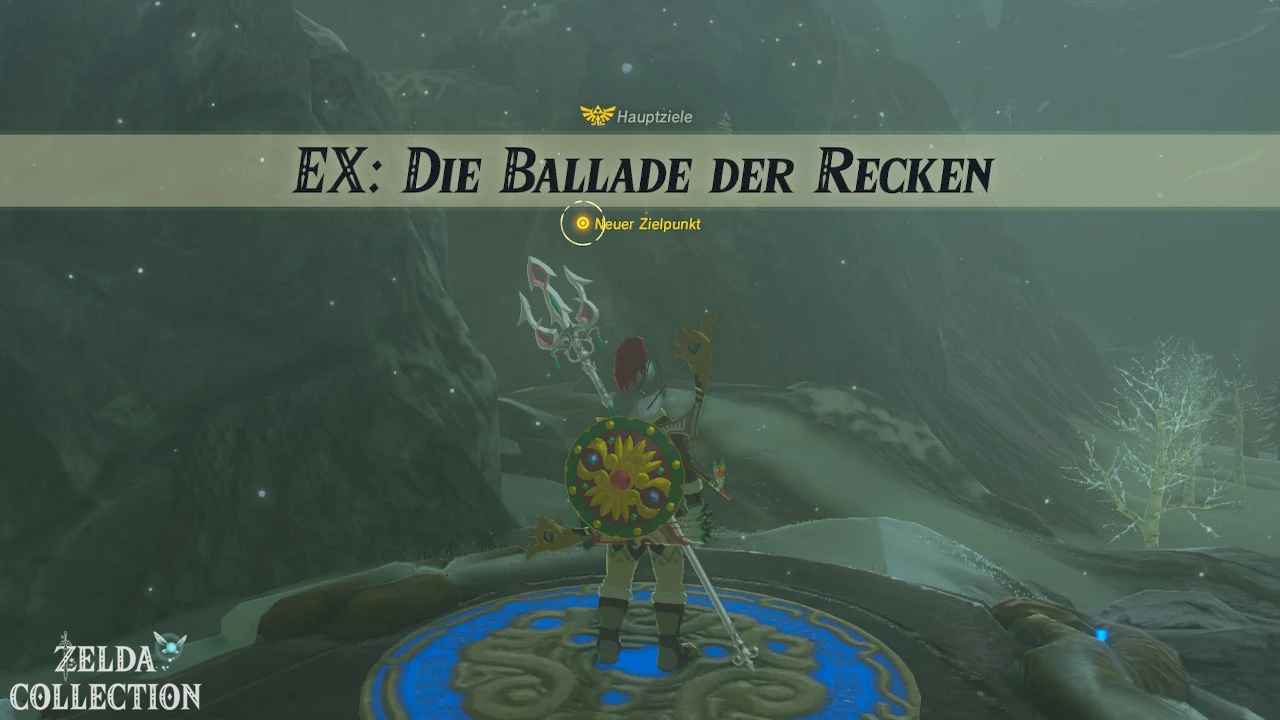
Return to the Shrine of Resurrection
Teleports you to the Shrine of Resurrection. Go to the pedestal where Link received the Sheikah Slate at the beginning of the game and place the stone again. After the sequence, a hidden mechanism opens and an unusual four-pronged weapon appears.
Axyl up the destroyer. The entire heart bar on the left disappears except for a quarter heart. At the same time, four marks appear on the Great Plateau. At each of these points you have to eliminate all relevant opponents. Only then will a new shrine emerge from the ground.
The Destroyer defeats normal enemies with a single hit. After two quick hits, the weapon temporarily loses its energy and takes a few seconds to regenerate. When its spikes light up completely again, it is ready for use again.
If you leave the Great Plateau, the trial is interrupted and the Destroyer returns to the Shrine of Resurrection. However, fast travel within of the plateau is possible. This is exactly what we use for a much more pleasant route between the four camps.
Optional – Hyrule Compendium: Photograph the Destroyer immediately after picking it up. The weapon is only actively available during this stage and is one of the most unusual items in the game.
Use destroyer correctly
The biggest mistake in this section is letting the name of the weapon trick you into playing aggressively. Link is just as vulnerable as his opponents. An arrow, an exploding barrel, a bee, fire, ice or an unnoticed attack from behind can end the test instantly.
Therefore, use the destroyer mainly against individual opponents that you have isolated. Sneak up from behind, freeze an enemy with Stasis+, or stun them with an electric arrow. Only then do you go into close combat for a sure hit.
It’s better to kill enemies on lookout towers or in treetops with your bow. Bombs are also extremely useful because they do not create any risk from close combat. However, be careful of explosive barrels: their detonation will also kill Link immediately if he is too close.
The destroyer has two consecutive full hits. Once you have used both of them, keep your distance until the weapon lights up again. Never try to quickly hit a third enemy with your exhausted weapon.
First Monster Camp: Forest of Souls
Our tour north begins from the Shrine of Resurrection. Jump off the cliff and glide towards Forest of Souls. This bearing consists mainly of Bokoblins and is therefore good for getting used to the special mechanics.
Does not land in the middle of the camp. Stay at the edge of the forest and first take a few seconds to observe the enemies. Several Bokoblins stand on elevated positions or tree trunks. You should first eliminate these opponents with arrows, otherwise they can hit Link unnoticed.
Uses tree trunks and rocks as privacy screens. Individual Bokoblins on the ground can easily be hit from behind with the destroyer. A fully charged punch is enough regardless of their color. If several enemies run towards you at the same time, retreat until the weapon has two charges again.
There are also motionless Guardian Ruins in the area. Don’t approach them lightly. A sentinel beam immediately means the end of the test. Some of these guards don’t necessarily belong to the actual enemy group, but are still deadly. Stay out of their line of sight or destroy them from a long distance.
If you have defeated all of the Bokoblins in the marked camp, the first new shrine will appear.
Yowaka Ita Shrine – Collected Soul
[DLC] Shrine: Enter Yowaka Ita Shrine. Here too, the health remains at a quarter of a heart. The shrine consists of a large sloping track over which balls, spiked balls and a Treasure Chest roll down.
Carefully go to the lower area and pick up the large metal bowl with the magnetic module. It works like an oversized landing net. Hold them under the track and catch the falling objects one by one.
Optional – Treasure Chest: First wait for the metal chest. Catch it with the bowl and slowly bring the bowl towards you. Open the chest and take 5 bomb arrows with.
Next you need the large orange ball. Also catch it with the shell and place it in the large depression in the bottom area. A grate opens.
Optional – Treasure Chest: There is a second chest behind this grate. It contains a falcon bow. Its long range is very practical for the rest of the trial. If your bow inventory is full, replace a significantly weaker standard bow.
For the actual shrine you will then need the small ball. Catch them with the metal bowl. Now comes the most difficult part: slowly guide the bowl back to the safe platform and at the same time watch out for the spiked balls that continue to roll down. A single touch is enough to defeat Link.
If possible, you can hold the metal shell between Link and the track and use it as an improvised protective shield at the same time. Move slowly and wait for a free phase rather than frantically drag the ball over the abyss.
Finally, take the small ball out of the bowl, carry it back up and place it in the smaller cavity. The path to becoming a priest opens. You will receive the first Spirit Orb of this DLC exam.
Further DLC shrines are also summarized in the ZeldaCollection guide to the Shrines of the Ballad of the Champions.
Second monster camp: east of tower
After leaving the shrine, you don’t have to walk across the plateau. Teleport you to Ja-Baij Shrine near the abbey in the east. The Destroyer Trial remains active as long as you do not leave the plateau.
The next marked camp is north or northwest of the Eastern Abbey. Lizalfos in particular are waiting here. They are much more dangerous than the Bokoblins because they can jump quickly, attack far, and surprise Link with arrows or elemental weapons.
First stay in an elevated position and eliminate archers. A bomb arrow can knock down several closely packed Lizalfos at the same time. Use this moment to take out an isolated enemy with the Destroyer and retreat immediately.
There is also a dilapidated guard at this camp. As soon as his eye glows blue, cancel a planned melee attack. Cover is more important than an extra hit. With enough distance you can also hit the guard in the eye with arrows and thereby interrupt him again and again.
After the supposedly last enemy, check the surroundings thoroughly. Lizalfos can lie flat on the ground and are therefore easy to miss. Only when the entire marked group of enemies has been defeated will the next shrine appear.
Rohta Chigah Shrine – Standstill and Start
[DLC] Shrine: The Rohta Chigah Shrine is one of the most dangerous skill tests in the entire DLC. Almost every room is spiked, and because of Link’s Quarter Heart, any contact means instant death.
In the first room there are several movable metal plates above a field of spikes. Use the magnetic module and create a safe path from it. Take your time and place each plate so that Link can stand completely on it. The first Treasure Chest is on an elevated ledge to the right.
Optional – Treasure Chest: Use metal plates and metal cubes as steps until you reach the ledge. The chest contains a Forest Shield. Take it with you and then rebuild the path to the exit.
In the second section, large gears rotate between spikes. Run as close to their center as possible. With the stasis module you can freeze a gear for a short time, giving you a much larger time window. Especially with the second wheel, this is much safer than jumping while running.
This is followed by a sloping passage with moving spiked walls. First observe the rhythm and only run to the next safe section. Sprinting is rarely helpful here because a small directional error is immediately punished.
In the next room, large spiked balls swing over a chasm. You can stop the first bullet with Stasis or cut the rope with an arrow. Then glide down with the Paraglider and only correct your trajectory when the following balls swing away from you.
The last passage begins with a floor plate. As soon as you step on it, a large spiked wall will appear behind Link and slowly move through the corridor. In front of you, several spiked columns move sideways into the path at the same time.
Don’t let time pressure lead you to sprint hectically. The wall moves slower than it initially appears. Run forward in a controlled manner, wait for the safe moment at each moving column and use the solid stone blocks as orientation. At the end, climb onto the spike-free pillar on the right and jump from there to the last ledge.
The priest is waiting right behind. Get the second Spirit Orb.
Third monster camp: south of the Temple of Time
Now teleport you to Owa Daim Shrine or another nearby fast travel point in the southern part of the plateau. The third camp is located south of the Temple of Time in a comparatively open area.
Here you will encounter a mixture of Bokoblins, Lizalfos and Moblins. The open environment is ideal for the arch. Start again with enemies in elevated positions and riders. You can take a mounted Bokoblin off the horse with a well-aimed arrow and then turn it off from a safe distance.
Moblins are slow but have a long range. A side blow or throw can catch Link even if you are supposedly out of the melee. Use Stasis+, sneak up from behind, or wait for the Destroyer to fully charge before approaching.
Explosive barrels in the warehouse can take out multiple enemies at the same time. Shoot them from a long distance. Never run right next to it while there are still archers alive.
Once all enemies have been eliminated, the Ruvo Korbah Shrine appears.
Rune Koriba Shrine – Test of Strength+
[DLC] Shrine: Right at the beginning there is a heavy nano guardian waiting. Normally this would be a major test of strength, but the Destroyer completely changes the battle.
Hold your shield up and do not approach head-on while the guard has his weapons ready. Freeze him with Stasis+ or wait for an attack animation to end. A single clean hit with the charged destroyer ends the fight.
Go through the opened gate. Optional – Treasure Chest: The first chest contains 10 Bomb Arrows. Be sure to take them with you; the ammunition is very useful for the following sections of the DLC.
However, the priest’s room has not yet been reached. Enter the Floor Switch. The central arena lowers or opens a passage downwards. Jump in and use the Paraglider.
A whole series of other nano-guards are waiting in the lower area. Here the destroyer is not automatically the safest solution. Stay behind the walls, use arrows and take out small guards from a distance. Electric arrows can paralyze a guard long enough for you to safely approach with the Destroyer.
A stronger Nano Guardian waits in a narrower section. Go around the corner with your shield raised, freeze him with Stasis and only land your hit when no other unit is targeting Link at the same time.
Optional – Treasure Chest: Before you take the ladder up in the lower area, follow the side corridor under or next to the bridge. At the end there is a chest with a Giant Ancient Core. This find is significantly more valuable than most regular shrine rewards and is a must-have in a 100% route.
Then return to the ladder. Via the metal platforms you can reach another chest with the Small Key. Use this to open the locked gate.
In the last room, several nano-guardians awaken at the same time. First stay in the entrance area. Shoot the easiest enemies from behind cover instead of running into the middle of the arena. Cryomodule blocks in the water can also serve as privacy screens.
As soon as there are only a few enemies left, you can eliminate them with Stasis+ and the Destroyer. Pay particular attention to the stronger guard on the raised bridge. Only when all the guards have been defeated will the last gate to the priest open. You will receive the third Spirit Orb.
Fourth Monster Camp: Hylian Mountain
For the final marker, teleport to Keh-Namut Shrine. The southwestern part of the plateau is significantly colder than the previous camps. Since a single tick of cold damage during the test can be fatal, cold protection is mandatory here.
Put on at least two suitable pieces of Rito armor or other sufficient cold protection clothing. Armor protection against attacks hardly plays a role because of the quarter heart; the temperature effect, on the other hand, does.
The camp is located on or below Hylia Mountain. Among other things, ice slimes, Ice Keese, Moblins, an Lizalfos and a ice pyromagus are waiting here. The latter is the most dangerous target and should leave first.
If you have Fire Arrows, things are simple: a direct fire hit instantly defeats an Ice Pyromagus. The same applies to many ice opponents. This makes fire even more useful than the destroyer in this camp.
Always shoots ice slimes from a greater distance. Her explosion upon death can instantly freeze Link, ending the trial. The same goes for Ice Keese: don’t let them come into melee range.
You only switch off the Moblins when the elemental enemies have disappeared. Use Stasis+ or an arrow to the face, run up with a fully charged destroyer and retreat after the hit.
After the last enemy, the fourth new shrine appears.
Etsu Korima Shrine – Path of Light
[DLC] Shrine: It is almost completely dark in the Etsu Korima Shrine. Light sources only mark part of the obstacles. Since Link still only has a quarter heart, you have to proceed slowly.
In the first room, lasers block the way. Go past the vertical beams and duck under the horizontal lasers. One of the horizontal beams moves up and down. Wait until it is clearly above Link’s head or below the walking level, and then pass the spot quickly.
The second area contains rotating spiked walls. First keep left. Wait until the first spiked wall turns away from you and go into the safe space. Repeat the same thing on the next construction. The illuminated fire bowls help with orientation.
Optional – Treasure Chest: In this dark room, look to the left or northwest for dry leaves and a raised wooden platform. Light a normal arrow from a fire bowl or use a fire arrow. The fire burns the holder and the chest falls down. Inside is a Golden Rupee worth 300 Rupees.
This is followed by a long corridor with several fire pillars. Watch the rhythm. Small sparks indicate that a nozzle is about to emit fire. Always cross a safe gap and stop briefly between each group.
Three Nano Guardians awaken in the final room. Immediately retreat to the wall or behind a pillar so that not all three have a clear view at the same time. You can take out two enemies with the destroyer’s two full charges. Then wait in cover until the weapon is recharged or kill the last guard with your bow.
Then go up the illuminated stairs and get the fourth Spirit Orb from the priest.
End of trial
With the completion of the fourth shrine, the first part of the Champions’ Ballad ends. The Destroyer begins to react and disintegrates into four glowing spheres. Each flies to a different region Hyrule’s – the areas of Mipha, Revali, Daruk and Urbosa.
Link’s normal health returns, the permanent darkness of the plateau disappears and the warrior abilities are available again. The four new shrines will of course remain as fast travel points.
We also took all the important treasures from the four DLC shrines: 5 bomb arrows, falcon bow, forest shield, 10 bomb arrows, Giant Ancient Core and 300 Rupees. There is therefore no reason to return to the plateau later for missed chests.
Four monuments of the Champions
Four new markers will now appear on the map. At each location there is a monument with three images that has been driven out of the ground. Kass is waiting there with a new song, the verses of which describe three trials of each Champions.
Each Warrior Ballad consists of three new Shrine Trials. After the three shrines, Link must defeat the respective Ganon curse a second time – this time in a memory world with fixed equipment. As a reward, the corresponding stretching ability is improved and then recharges much more quickly.
In total, after the trial, there are twelve more DLC shrines, four memory battles and, at the end, a completely new dungeon. Only then do we get the Master Cycle Zero.
For our route, we start in the next chapter with [DLC] Revalis Ballade. There is a simple reason for this: Revalis Sturm+ has a significantly shorter recharge time after the improvement and is extremely valuable for all still open mountain regions, Koroks and shrines. Mipha, Daruk and Urbosa then follow before we return to the final trial under the Shrine of Resurrection.
Keywords: