

After freeing Vah Ruta and Vah Medoh and our journey through the Hebra Mountains, Link is strong enough for one of the most important parts of the entire Breath of the Wild Walkthrough. In the center of the Hyrule Forest lies the mysterious Korok Forest. Not only is Hestu waiting there with its inventory expansions, but also the big one Great Deku Tree and a weapon that Link wielded a hundred years ago: the Master Sword. The way there leads through the Lost Woods, whose thick fog sends anyone who leaves the specified path back to the entrance.
Before we pull the legendary sword out of its socket, we collect several permanent upgrades. At the Woodland Stable we solve the Mirro Shaz Shrine and get a rare Giant Ancient Core, then activate the Forest Tower and cross the Lost Woods. In the Korok Forest we complete the Keo Ruug Shrine and all three trials of the Koroks. This gives us three more Spirit Orb, an Ancient Core and two Giant Ancient Cores. Only then do we devote ourselves to the main goal “The Hero’s Sword” and get the Master Sword with as little additional effort as possible.
Travel to the Woodland Stable
The Hyrule Forest lies immediately west of Death Mountain and north of Hyrule Castle. From our previous route you can reach the region particularly easily via the Lanayru Tower or the eastern areas of Inner Hyrule. Follow the road north to Woodland Stable. The stable is located southeast of the large forest area on Lake Minsh and is an excellent starting point for the Lost Woods.
If necessary, pick up a registered horse, cook some healing dishes and sort your equipment. For the three Korok tests we don’t need particularly strong weapons, but we do need at least one free space in the weapon, bow and shield bag. Anyone who has followed our solution so far has already collected numerous Korok seeds and should have enough space thanks to Hestu’s first expansions.
Mirro Shaz Shrine – Temperance
Directly northeast of the stable is the Mirro Shaz Shrine on the shores of Lake Minsh. First activate it as a fast travel point. Inside, one of the infamous Stasis golf games awaits. Drive the platform down and open the Treasure Chest with the iron hammer. There is a ball in front of you, behind it there is a target well far away.
Align Link as precisely as possible to the center of the trough. Activate Stasis on the sphere and hit it with the Iron Hammer five times. The stored power arrow should point straight forward. After the stasis expires, the ball flies over the abyss, lands on the opposite platform and rolls into the hollow. If you hit too hard or wrong, use it Crystal Switch right to make a new ball appear.
In the next section there is a large cube hanging on a rail. Freeze him with Stasis and hit him with the iron hammer towards the large stone slab. As soon as the stasis ends, the cube shoots forward and knocks over the plate. It now forms a ramp to the upper level.
Optional: Giant Ancient Core in Mirro Shaz Shrine
[Optional – be sure to take it with you] Go into the additional side room in front of the priest. A second, much more difficult golf puzzle and another chest with an iron hammer await you there. This time there is an obstacle between the ball and the target.
You don’t have to hit the ball from its original position. Axyl it up and carry it as far back as possible and slightly to the side so that you have a clear line to the target hollow. Put the ball down, align Link carefully, activate Stasis and hit with the iron hammer until the power arrow glows bright red. With the longer run-up, the energy is sufficient to reach the trough.
Alternatively, you can hit from the original position first with a one-handed weapon and then five times with the iron hammer. However, this method requires you to change weapons very quickly. The offset starting position is much more comfortable.
If the ball lands in the hollow, the treasure chamber opens. Inside lies a Giant Ancient Core. Be sure to take it with you and don’t sell it. Then get the Spirit Orb from the priest.
You can also find all the shrines in the map region in our ZeldaCollection special guide to the shrines at the Woodland Tower.
[DLC] Side Quest Start “EX: The Strange Mask”
[Optional – DLC] If you have the expansion pass, examine the book with Traysi’ rumor mill at the forest stable. The extra issue reports on a strange mask that reveals its wearer when a Korok is hiding nearby. This will give you the clue for the Side Quest “EX: The Strange Mask”.
The sought-after Korok mask is located directly in the Lost Woods and can therefore be collected during our first run without any significant additional travel. For a game where you want to collect all 900 Korok seeds in the long term, the mask is one of the most useful DLC items ever: it starts to clatter and move as soon as an as yet undiscovered Korok is nearby.
You can find an overview of the expansions on ZeldaCollection under DLC content in Breath of the Wild.
Tower of Forests Activate
From the Woodland Stable, the road leads northwest to Hyrule Maneuver Site. There stands the Woodland Tower in the middle of a bottomless moor. There are Bokoblins, Moblins, Lizalfos and an active guard wreck around the square. You don’t have to clear out the entire facility. With Revali’s Gale, a large part of the dangerous approach can be skipped.
Find solid ground as close to the tower as possible, hold down X and use Revali’s Gale. Slides directly onto the tower shaft from above. If the range is not enough, use one of the wooden observation towers or the large skull building north of the Sheikah Tower as an intermediate station. Avoid the dark moor on the ground – if Link falls into it, he will be reset and lose health.
Then climb from platform to platform to the top and activate the Sheikah pedestal. This will reveal the entire map region of the Tower of Forests, including Hyrule Forest, Lost Woods and several areas of interest later.
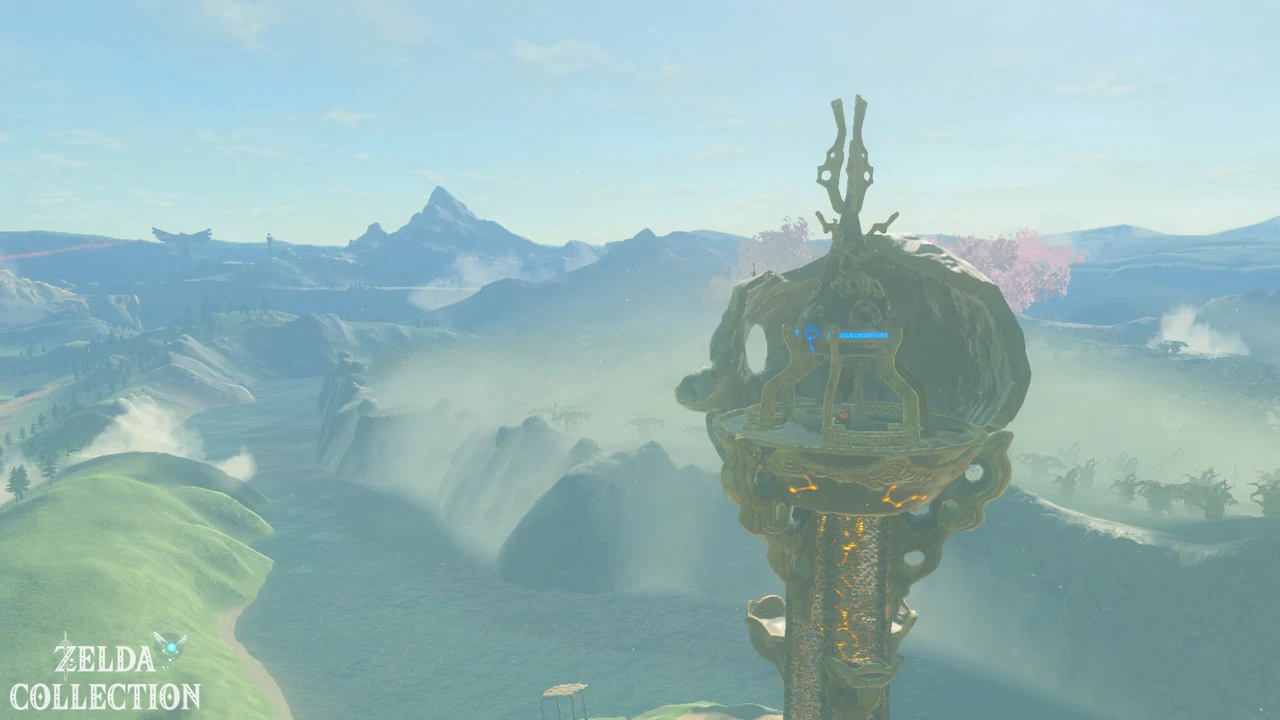
Optional: King’s Two-Handed Sword on the Woodland Tower
[Optional – recommended] Do not leave the tower after activation. Part of a giant Bokoblin skull hangs from the upper structure of the tower. Climb or glide onto its roof. There is a king’s two-handed sword.
The weapon deals high damage and is ideal for stasis attacks, Hinoxes or larger opponents. Thanks to our now enlarged weapon bag, there should be room for this without any problem.
Into the Lost Woods
From the Woodland Tower, the entrance to the Lost Woods is in the north or northeast. Glide to the visible path and follow it until the thick fog begins. Don’t try to fly over the forest with Revali’s Gale or take shortcuts through the trees. As soon as Link leaves the designated corridor, the fog contracts, returning him to the last safe point.
The first section is relatively simple. Follow the burning torches. From the entrance the path leads first to the next fireplace, then to the right to further torches. At a large rock you turn left. Continue following the fires until you finally reach two torches standing right next to each other. This point works like a small checkpoint: If you get lost in the following section, you usually start here again.
With the torch through the Lost Woods
There is a torch next to the two torches ready to be picked up. Ignite it and then only take a few steps at a time. Stand still and watch the flame. Sparks and embers will be carried by the wind in the direction you need to move on.
Always follows the wind. If its direction changes, stop and wait a few seconds until the embers clearly move. Don’t run far ahead, as the fog reacts quickly if Link leaves the invisible safe route. As soon as the white fog noticeably gathers around Link, immediately turn around and take a few steps back to the last safe point.
Alternatively, you can orient yourself by the small white particles in the air. However, the torch is easier to read and is therefore the most reliable method for the first visit.
[DLC] Find Korok Mask in the Lost Woods
[Optional – DLC] Shortly after the checkpoint with the two torches, you also activate the magnetic module. Continue to slowly follow the wind direction, particularly scanning the hollow, menacing-looking trees to the left and right of the safe path.
There is a metal EX treasure chest in one of these trees. With magnesis it lights up clearly. Pull it out of the tree’s mouth and open it. Inside is the Korok Mask. This concludes EX: The Strange Mask.
The mask has very low defense value and cannot be improved by Great Fairies. For our 100% route, its effect is still much more valuable than its armor: As soon as an undetected Korok is nearby, the mask reacts visibly and audibly. In the future, always wear it when you search known regions for missing Korok seeds.
You can find more armor and special items in the internal ZeldaCollection guide to the armor in Breath of the Wild.
Reach Korok Forest
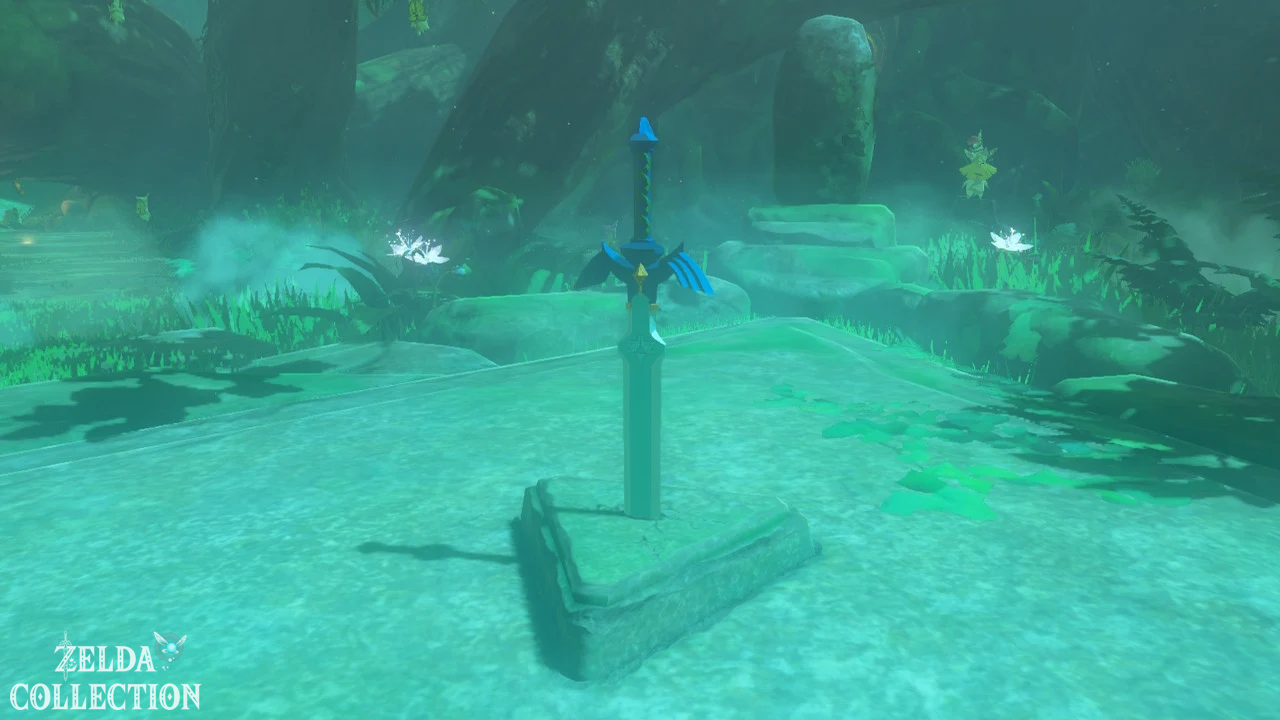
After the DLC chest, continue following the sparks of the torch. After several changes of direction, the fog suddenly clears and you reach the forest of the Koroks. In the middle rises the mighty Great Deku Tree. The Master Sword is in its base right in front of its roots.
But don’t run to the sword straight away. First activate the shrine on the eastern side of the Deku Tree. This will save you the entire journey through the Lost Woods in the future.
Keo Ruug Shrine – It’s written in the stars
The Keo Ruug Shrine is located directly in the Korok Forest. Inside, four movable balls stand in front of several rows of hollows. A separate constellation is shown above each column. On the large wall opposite, the same four constellations appear with different frequency. The number of occurrences determines which row the respective ball must be placed in.
Counted from left to right, the solution of the main gate is:
5 – 3 – 1 – 2
So put the first ball in the fifth row, the second in the third, the third in the first and the fourth in the second row. The large gate to the priest opens.
Optional: Knight’s two-handed sword in Keo Ruug Shrine
[Optional – recommended] Don’t run to the altar yet. Behind or above the opened passage there is a second star map. It shows the same four symbols with a new frequency. This pattern opens an additional treasury.
Return to the four balls and arrange them from left to right according to the following pattern:
4 – 2 – 2 – 1
This opens the side grille to the Treasure Chest. Inside is a knight’s two-handed sword. After you have collected it, put the balls back on 5 – 3 – 1 – 2, go to the priest and get the Spirit Orb.
Optional: Korok behind the goddess statue
[Optional – Korok] Back in the Korok Forest you are looking for the small goddess statue. Behind her lies an inconspicuous stone. Lift it and a Korok appears. The seed is practically in the middle of the settlement and should therefore be taken with you immediately.
The goddess statue itself also becomes important in this chapter. Through the shrines of the three Korok Trials we get several more Spirit Orb and possibly the very Heart Container that is still missing for the Master Sword.
Hestu in the Korok Forest
Near the central area you will find Hestu again. The huge Korok has finally arrived in its homeland after its journey and will now remain permanently in the Korok Forest. Give him the Korok Seeds we’ve collected since Kakariko Village.
First, continue investing in the weapon bag until you can carry a comfortable number of melee weapons. After that, additional bow spaces are particularly valuable. The eagle bow, elementary bows, multiple bows and normal replacement bows now compete for limited space. Shields require less urgent upgrades, but should also be upgraded in the long term.
For all inventory slots, Link needs a total of 441 Korok Seeds. Since Hyrule 900 contains Koroks, you don’t need to have nearly all of the seeds to fully expand your inventory. The remaining seeds belong exclusively to our complete collection game.
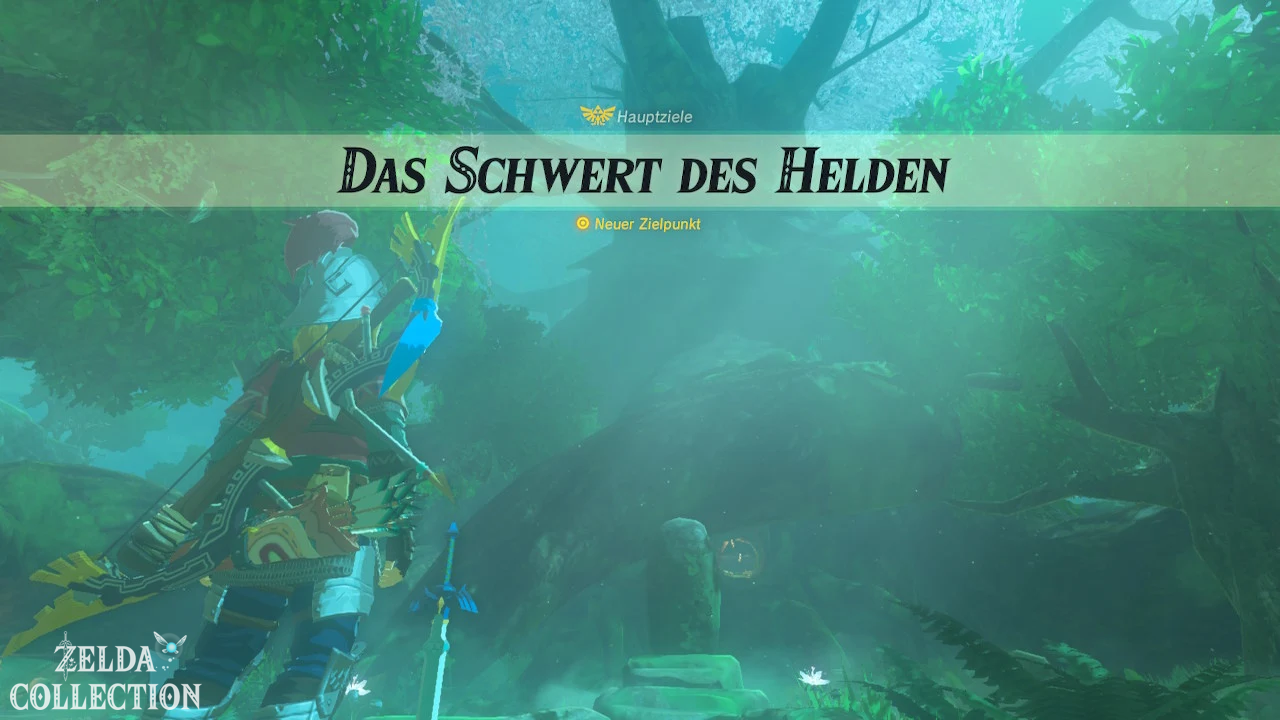
Main objective “The Hero’s Sword”
Now go to the pedestal under the Great Deku Tree and examine the Master Sword. Link recognizes the weapon, whereupon the Great Deku Tree awakens and speaks to him. He knows Link from a hundred years ago and explains that the holy sword has been waiting here for its wielder to return since his defeat.
This begins the main objective “The Hero’s Sword”. However, the Great Deku Tree warns Link not to carelessly pull the sword out of its base. The Master Sword tests the wearer’s life force and continually drains hearts as it is extracted.
For a successful attempt, Link needs at least 13 permanent red hearts. Yellow bonus hearts from maxi dishes, the Zora waterbed or Mipha’s Grace do not count. The 13 hearts must consist of Link’s three starting hearts, shrine heart containers, and Titan heart containers.
Don’t draw the sword yet if you are below 13 hearts. We first get the three Korok tests and thus three more Spirit Orb.
Side Quest “The tests of Koroks”
Speak to the Korok Chio near the Deku Tree. He tells Link about three traditional tests of the Koroks that lead in different directions through the Lost Woods. This begins the Side Quest “The tests of the Koroks”.
Each of the three trials is also its own shrine task and leads to a hidden shrine. The shrines no longer contain any additional puzzles – the dangerous path through the forest is the real test. We do all three back to back.
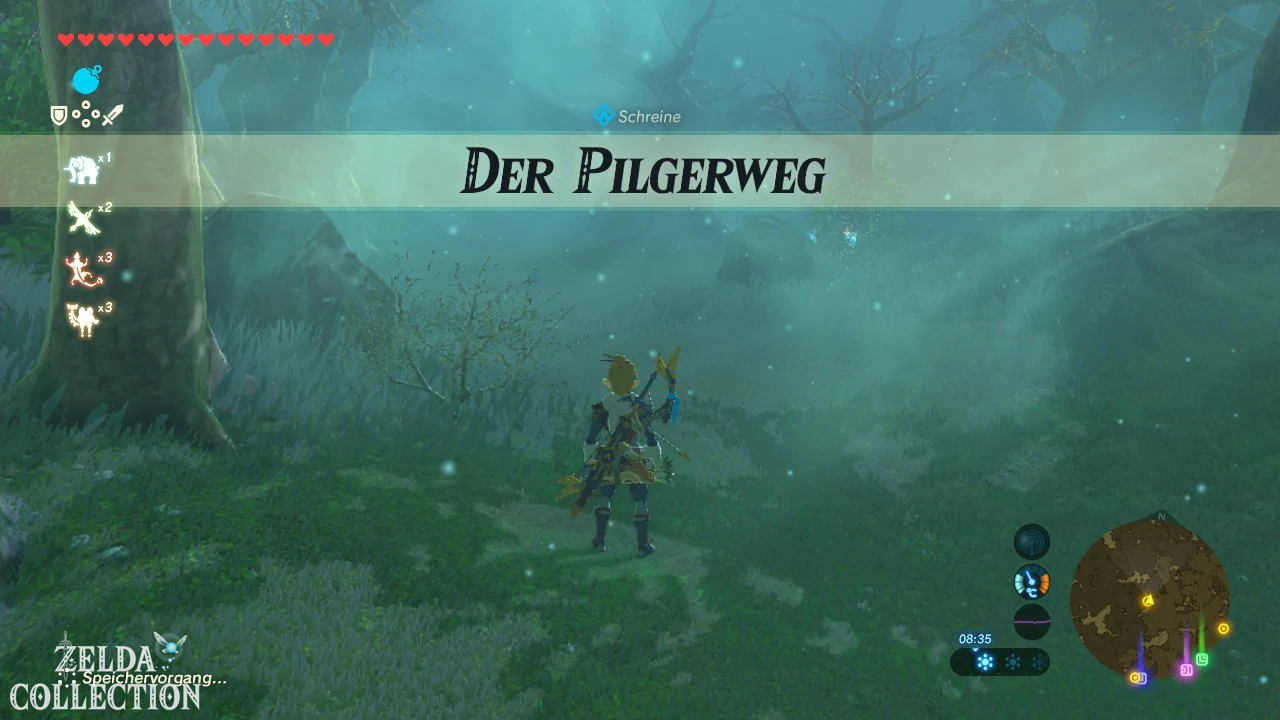
Shrine task “The Pilgrim’s Way”
Follows the path from Great Deku Tree to northwest. There is the Korok Tasho. His young friend Oaki wants to complete the traditional pilgrimage alone. Tasho is worried and asks Link to secretly follow little Korok without being discovered. This begins the shrine task “The Pilgrim’s Path”.
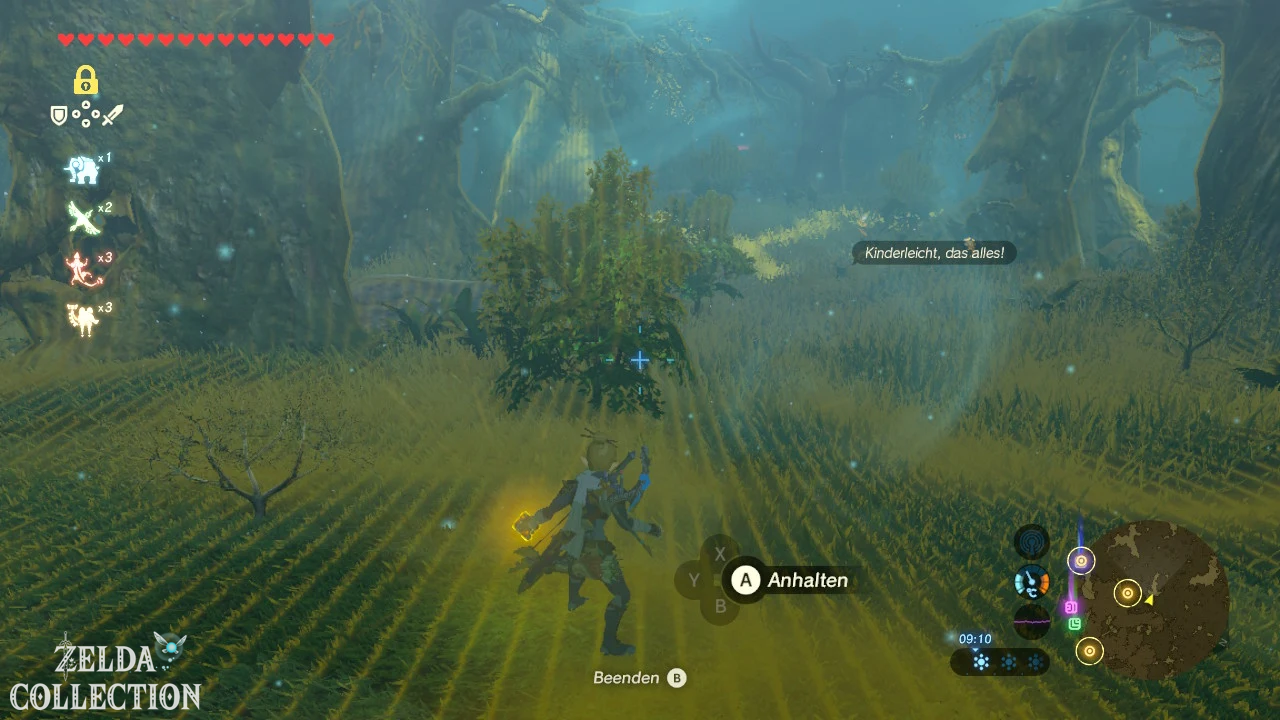
Oaki walks slowly through the forest and often talks to himself. Stay several meters behind him and use trees for cover. If he suddenly stops, he also stops immediately. He turns around several times or runs back a short distance. Especially on a large, hollow tree trunk, you shouldn’t stay right behind him – wait until he has actually moved on to the other side.
A wolf may appear during the route. Only intervenes if the animal actually attacks Link. Fight as far away from Oaki as possible and use a single, precise arrow so that the Korok doesn’t notice.
If you lose sight of Oaki, watch his little speech bubbles between the trees. But do not move away from the safe path. The fog can end the task just like a discovered link.
Daag Chokah Shrine – Ancient Core
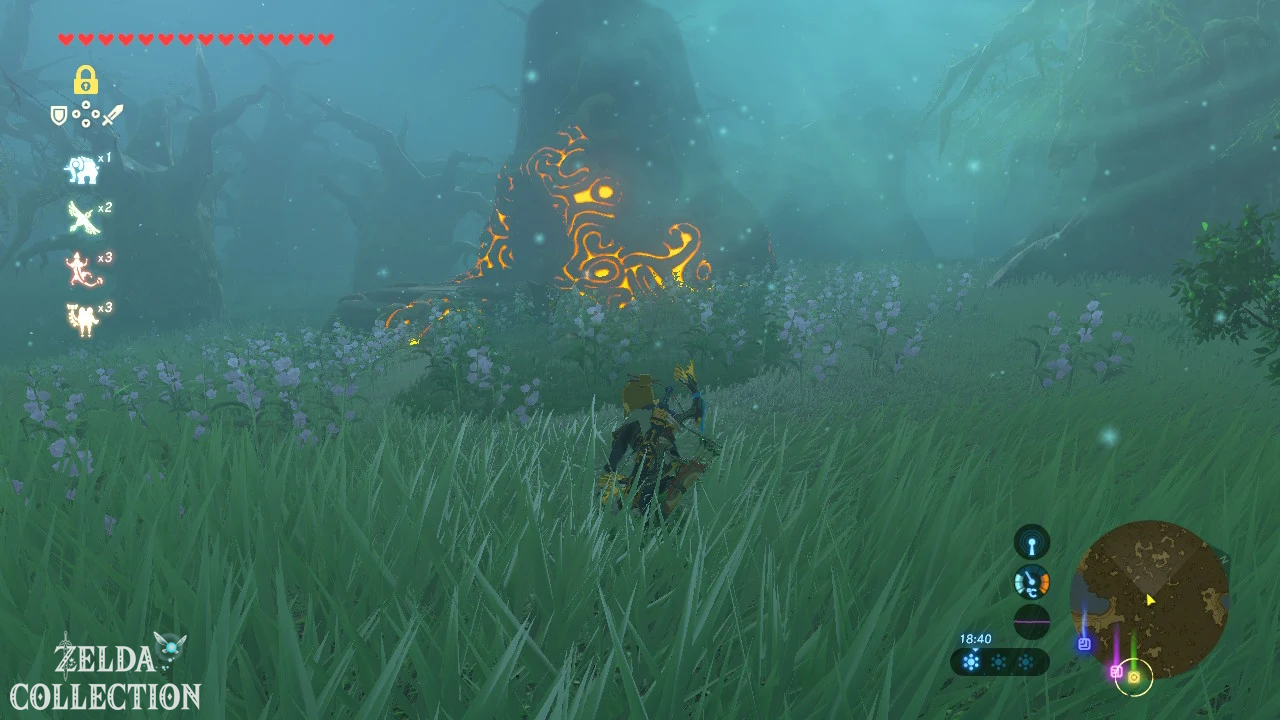
As soon as Oaki reaches the target area, he begins to celebrate with relief. You can now show yourself. The Daag Chokah Shrine is right next to it and the shrine quest “The Pilgrim’s Way” is completed.
Inside awaits Daag Chokah’s blessing. Open the only Treasure Chest and take the Ancient Core with you. You will then receive the Spirit Orb.
Then teleport you back to the Korok Forest via the Keo Ruug Shrine. This means you don’t have to cross the dangerous pilgrimage route backwards.
Shrine Quest “The Power of Attraction”
From Great Deku Tree now follow the path to southwest. Zooki is waiting there and starts the shrine task “The Power of Attraction”. His clue is that the trees that devour iron show the way.
Immediately activates the magnetic module and leaves it on for the entire first route. There are metallic balls or other iron objects stuck in the open mouths of various trees. They glow bright pink with magnesis and form a trail through the otherwise opaque forest.
Always goes from one metallic object to the next. If you don’t see another tree, slowly rotate the camera around Link until the next iron object lights up. Don’t go blindly into the fog.
Give rusted shield to the tree
Finally you reach a small clearing with a rusted sign. Nearby is a large tree with an open mouth and an inscription. Axyl up the shield and place it in the mouth of the tree.
A Treasure Chest then appears in another tree. Go there and open it first – there is Amber inside. Then pick up the now empty metal chest with the magnetic module. We need the chest itself for the next puzzle.
There is a raft at nearby Lake Salija. Put the chest on top, take a Korok fan and go to the small island in the middle of the lake. There is another tree there with its mouth open. Put the metal chest with Magnesis inside.
The Kuhn Sidajj Shrine rises and The Power of Attraction is completed.
Kuhn Sidajj Shrine – Giant Ancient Core
Here too, the shrine only consists of a blessing. Open the Treasure Chest and take the Giant Ancient Core with you. Along with the Mirro Shaz Giant Core, we have already found two of these rare materials in this chapter alone.
Then get the Spirit Orb and teleport yourself back to the Keo Ruug Shrine.
Shrine Quest “The Trial by Fire”
The third trial path begins northeast of the Deku Tree. Speak to Damia there. For the “Trial by Fire”, he provides Link with a complete Korok weapon set: Forest Sword, Forest Bow and Forest Shield.
Before the test starts, you need a free space in the weapon, bow and shield bag. Sorts inventory accordingly. During the test, all three Korok items must remain equipped and may not be discarded or destroyed. If one of the items breaks, the test has failed.
That’s exactly why we use the valuable Korok equipment as little as possible. Ranged Bombs and Sheikah Modules don’t count as alien weapons and are great for most of the way.
passes the trial by fire without broken Korok weapons
Follows the lamps or the narrow, safe path through the Lost Woods. You remove the first Keese and slimes with remote bombs. With Stal opponents, one explosion is often enough to blow their body parts apart; then destroy the skulls with another bomb or a well-aimed shot.
You should be particularly careful with Fire Keese and Fire Slimes. All forest equipment is made of wood and can burn. Keep your distance and use bombs or the bow. Electric slimes should also be eliminated from a safe distance so that Link does not lose the forest shield or forest sword due to an electric shock.
Later you will reach the Mihdo Swamp. Create ice pillars with the cryo module and jump over them instead of swimming unnecessarily through the water. Water Oktoroks shoot at you from a distance; Kill them with arrows or bombs before entering the next ice pillar.
More fire enemies appear in the last section. The resulting flames can create updrafts. Open the Paraglider and glide over part of the dangerous swamp area. As soon as you reach the end, the trial by fire is considered passed. The forest sword, forest bow and forest shield can then be kept.
Maag Halan Shrine – Second Giant Ancient Core
At the end of the path is the Maag Halan Shrine. Inside, only a blessing awaits again. Open the Treasure Chest and you will get another Giant Ancient Core.
Then accept the Spirit Orb. We have now completed all three Korok Trials and collected a total of three Ancient Giant Cores in this chapter: one in Mirro Shaz and one each in Kuhn Sidajj and Maag Halan.
Side Quest Complete “The Koroks Exams”
Teleport back to Korok Forest and speak to Chio again. With The Pilgrim’s Path, The Power of Attraction, and The Trial by Fire fully completed, he recognizes Link as a successful participant in the Korok Trials.
As a reward you will receive three maxi precious truffles. Do not overcook them with common medicinal ingredients. Even a single maxi truffle in a dish completely fills up all the red hearts and creates additional yellow hearts. Such maxi dishes are among the most efficient remedies in the game.
Prepare 13 hearts for the Master Sword
Go to the goddess statue in the forest Koroks and count yours first Spirit Orb. Through Mirro Shaz, Keo Ruug and the three Korok exams are alone in this chapter five more characters added. Once four are available, be sure to swap them for one this time Heart Container.
Then open the inventory and count the red hearts. Link requires exactly 13 permanent Heart Container. The two Heart Container of Waterblight Ganon and Windblight Ganon are of course included. Yellow hearts, on the other hand, do not count.
Under 13 hearts: Temporarily exchange stamina for hearts
If you followed our recommendation and chose several stamina containers from time to time, Link can still have just under 13 hearts despite numerous shrines. In this case, you don’t need to search additional regions for shrines.
Teleports you to Hateno Village to the Demon Statue from the Side Quest “Dark Deals”. Sell a Stamina Container to the statue. You get 100 Rupees. Then buy back a Heart Container for 120 Rupees. Each conversion effectively only costs 20 Rupees.
Repeat the process until Link has 13 red hearts. After receiving the Master Sword, you can sell the additional hearts and buy back your stamina containers. The complete return exchange costs 40 Rupees per temporarily converted container. The Master Sword remains permanently in Link’s possession.
Main objective “The Hero’s Sword” – Master Sword draw
Teleport to Keo Ruug Shrine and go to the Master Sword base. When Link has at least 13 red hearts, examine the sword and hold down the indicated button. Link’s health continually decreases throughout the sequence until the sword finally slides out of the stone.
Do not intentionally attempt this with fewer than 13 hearts. At the first failed attempt, the Great Deku Tree intervenes and saves Link at the last moment. If he tries again, he doesn’t stop him again and Link can actually die.
With 13 hearts, Link survives the test. The legendary Master Sword belongs to its rightful owner again.
Reminder “The Master Sword”
Pulling out the sword automatically unlocks another memory. The scene shows Princess Zelda after Link’s serious injury one hundred years ago. After Link is taken to the Shrine of Resurrection, Zelda transports the damaged Master Sword to the Korok Forest.
She gives it to the Great Deku Tree and promises the blade that her master will return one day. Zelda also wants to leave Link a message, but Great Deku Tree convinces her that one day her words would be better spoken by herself.
“The Master Sword” is the 18th memory of the base game and is not one of the twelve freely searched album photos. You can find the complete overview on ZeldaCollection under Memories in Breath of the Wild.
Completed main objective “The Hero’s Sword”
After remembering, the Great Deku Tree explains that the Master Sword displays its true power in the face of devastation. At the same time, he warns Link not to carelessly overuse the blade. With the successful extraction, the main goal “The Hero’s Sword” is completed.
For our complete game, the sword is one of the most important permanent rewards of all. It has its own slot in the weapon inventory, cannot be thrown away, and does not permanently disappear even when its energy is depleted.
Master Sword – Attack Power and Charge
The Master Sword initially has a base attack power of 30. If Link is near powerful enemies influenced by Ganon, Guardians, Ooze of Hatred, a titan that has not yet been freed, or in Hyrule Castle, the blade will begin to glow blue. In this awakened state, her attack power increases to 60 and her effective durability improves significantly.
The Master Sword never breaks permanently. If its energy is completely used up, it will appear grayed out in the inventory and can be used for approximately ten minutes not be used. The blade is then fully charged again.
If you use the throw key R when your health is completely full, Link will throw a sword beam forward instead of the weapon. Its range increases with the number of Link’s heart containers. The attack is useful for distant switches, weak enemies or for felling small objects, but in its normal state it also consumes energy from the Master Sword.
Side Quest “The Mysterious Blupee”
[Optional] Speak to Peeks in the Korok Forest. The curious Korok really wants to know what a Blupee looks like and asks Link for a photo. This begins the Side Quest “The Mysterious Blupee”.
Rumis are the small, bright blue spirit animals that you may have seen more often in forest areas. You can find them particularly reliably near fairy springs and on Satori Mountain. If a suitable image is already saved in the Hyrule Handbook, you can show it directly to Peeks. Otherwise, next time we go to Blupee, we’ll just take a photo of one and bring the picture with us later.
For a correct photo you will receive a silver Rupee worth 100 Rupees.
[DLC] Side Quest “EX: Trial of the Sword”
[Optional – DLC] If you have the expansion pass, after obtaining the Master Sword, the Side Quest “EX: Trial of the Sword” will become available. After a change of area or fast travel, a mysterious voice speaks up and asks Link to return to the Korok Forest.
Do you put that in? Master Sword back into its base, a huge battle test begins. Link starts each stage without his normal armor, weapons, bows and shields and must survive using the items he finds within the trial. The challenge consists of three parts: beginner, advanced and master test. After each completely passed section, the basic power of the Master Sword increases by ten points – first to 40, then to 50 and finally permanently 60 attack power.
The trial is significantly more extensive than a normal shrine and has its own detailed walkthrough on ZeldaCollection. You can find it at Trial of the Sword – DLC 1. It is not required for the normal main route; However, it is mandatory for a complete DLC save and the permanently awakened Master Sword.
Equip Korok Mask for the further 100% route
[Optional – DLC] Anyone who has found the Korok mask in the Lost Woods should now always put it on during exploration sections. Our Walkthrough specifically leads past many Korok puzzles, but especially in densely populated regions, additional seeds are sometimes just a few meters away from the main path.
The mask reacts, looking for unusual stones, leaf swirls, incomplete stone circles, sacrificial statues, unusual groups of trees, water lily rings or metal block puzzles. This saves us a lot of time searching for a complete score later.
Master Sword and Revalis Sturm – perfect combination
With Master Sword, Revali’s Gale and Mipha’s Grace, Link now has three of the strongest tools for the rest of the journey. Revali’s Gale eliminates a lot of tedious climbing passages, Mipha’s Grace saves Link from a fatal hit, and the Master Sword provides a reliable one-handed weapon that is never lost for good.
The Master Sword is now particularly excellent against guards. As soon as the blade glows blue near them, their attack power doubles to 60. Together with Stasis+, headshots or eye hits and perfect shield parries, we can now fight guards much more aggressively than at the beginning of Walkthrough.
Continue to Death Mountain and to Goron City
The main objective “Free the Divine Beasts” next takes us east to the Eldin region. There the Divine Beast Vah Rudania threatens the Gorons at Death Mountain. The path is very different from all previous areas: in the hottest zones, normal heat-resistant food is not enough, Link literally begins to burn without special fire protection.
In the next chapter we activate the Eldin tower, reach the stable on the mountain and obtain the necessary fire protection medicine. We then travel via the southern mine to Goron City, buy the anti-fire set and start the next section of the main objective “Free the Divine Beasts” around Vah Rudania and the Goron Yunobo.