

Vah Ruta, Vah Medoh and Vah Rudania are freed. Of the four Divine Beasts, the only thing missing is Vah Naboris, which moves through the Gerudo Desert deep in the southwest Hyrule’s. The direct route there leads through the long Gerudo Valley, past the gorge stables and finally through a region where the greatest danger is not enemies, but initially the extreme temperatures.
We now have some decisive advantages for our route. Revali’s Gale makes the climbing passages around the Wasteland Tower much easier, Daruk’s Protection provides security in unexpected fights and the Master Sword provides enough punch for the Bokoblins and Guardians on the way. We also already have clothing for cold temperatures thanks to our previous stay with the Rito. This is useful in the Gerudo Desert because while Link suffers from extreme heat during the day, it gets extremely cold at night.
Teleports you to Keh Namut Shrine in the west of the Great Plateau. From there you look southwest into the deep gorge. Jump off the plateau and glide down to the path that runs through Gerudo Valley. If you look a little further ahead, you can already see the orange entrance to the Jee Noh Shrine. This is exactly where we begin the journey into the area of the last titan.
Jee Noh Shrine – Moving
Optional – Shrine: The Jee Noh Shrine is practically directly on our path and is therefore not only activated, but also completely solved. It is one of the shrines in the Wasteland Tower region.
In the first room a ball moves on a conveyor belt. The trough provided for this purpose is located behind the belt. Wait until the ball is approximately level with the hollow, freeze it with the stasis module and shoot it once with an arrow. Once stasis ends, the stored force is released and the ball falls from the conveyor belt into the recess. The first gate opens.
The second room works according to the same principle, but this time two small guards move over the belt together with the ball. First take out the two enemies with arrows so that they don’t interfere with your aiming. Then freeze the ball again at the appropriate moment and use an arrow to push it into its hollow.
In the third room you should first look to the right or at the conveyor belt further away. A metal chest drives by there regularly. Bring it to you with the magnetic module and open it. Inside lies a opal. If the chest accidentally falls into the abyss, it’s no big deal; After a short while she will appear again on the conveyor belt.
Then take the ball that is provided and use it to enter the conveyor belt. Several lasers cut the path. In the first one you wait until one of the large stone blocks on the opposite band passes right between Link and the laser source. Use the block as cover and pass the beam. You can briefly place the ball on the small intermediate platform. The second laser cannot be blocked in the same way; So freeze its source with the stasis module, pick up the ball again and run past. At the last beam you wait again for a stone block as cover. At the end, put the ball in the hollow and go to the priest. You will receive another Spirit Orb.
Through the Gerudo Valley
After the shrine, follow the valley further west. The road winds between high rock faces and is the most comfortable route towards the desert. Around the eastern part of the gorge you will encounter several mounted Bokoblins. If you want to do the following Side Quest, now is a good time to take the horse from one of the opponents: Shoot the rider from the saddle, approach the animal from behind, get on and calm it down. The horse doesn’t have to have particularly good stats.
Optional – Side Quest “Horse Trade”: Further west in Gerudo Valley you will meet the traveler Zucchi. His horse ran away and he is looking for a replacement. If you bring him a normal-sized horse, he will buy it for 300 Rupees. An animal from the Bokoblins is ideal for this. Don’t accidentally sell a horse you’re attached to: after the trade, it belongs to Zucchi and cannot be brought back.
Stays on the road afterwards. On the further way we can collect two Koroks practically without any detours. Look out for the natural rock bridges that span the gorge high above the road.
Optional – Korok: At the first clearly damaged rock bridge over the road, climb a short distance down to the middle, broken area. Leaves sparkle there. Examine the sparkles and the Korok appears.
Optional – Korok: A little further northwest, another damaged rock bridge leads over the road. Look into its central opening. A small balloon floats there. One hit with an arrow is enough to get the next Korok seed. The precision bow typical of the Gerudo will later be useful, especially for such distant targets.
At the western end of the canyon you finally reach the stable of the gorge. We don’t just use it as a resting place: around the stable there is a shrine, several Side Quests, a dog’s treasure and a Korok. The location is also an excellent starting point for the Wasteland Tower.
Kay Noh Shrine – Electric Power
Optional – Shrine: South or slightly above the stable is the Kay Noh Shrine. Activate and release it now, because its teleport point will save us a long journey back.
In the first room there is an electrically charged ball in front of you. Insert it into the right round device. The circuit is closed and the door opens. In the next area, first go to the right and defeat the little guard. A second energy ball hangs from the ceiling on a rope. Shoot the rope with an arrow, pick up the fallen ball and place it in the free device on the left.
This causes the conveyor belt to start moving and move a large block so that you can move forward. A Treasure Chest with a Small Key is waiting behind the obstacle. Take it and return to the locked gate. There’s another small guard waiting behind it, which you eliminate before you move on to the final puzzle.
In the following room, electrical cables run through pools of water. On one side you can already see how the metal blocks transmit the electricity. Transfer this principle to the interrupted side: Move the metal blocks with the magnetic module so that a continuous conductive connection is created between the power source and receiver. You don’t have to press the blocks together exactly; they just need to be close enough together for the electricity to jump.
Before you go to the priest, turn around again and look up. There is a metal chest on a raised ledge. Pull it down with the magnetic module. Inside is a Gerudo Scimitar. You can then reach the priest and receive the next Spirit Orb.
Gorge Stable: Korok, Dog Treasure and Desert Preparation
Return outside. A narrow, high rock column rises directly next to the stable. Optional – Korok: Climb to the top and lift the single stone there. With Revali’s Gale, the short climb is now hardly worth mentioning.
Optional – Treasure Chest: There is also a dog running around at the stable. Put fruit or Meat in front of his snout several times and wait until he has eaten it. As soon as he has gained enough trust, he runs away and leads you to a chest hidden in the floor. Follow him and take out the chest with the magnetic module. Inside are 10 Ice Arrows. They are a welcome addition to the upcoming Gerudo region.
Also talk to the painter at the stable. He recognizes the souvenir photo with the oasis and explains that the location shown is the Desert Bazaar. Since we’re passing there anyway, we can collect the corresponding memory the normal way.
Before you move on, take care of the heat protection. The Goron City anti-fire armor does not protect against the desert heat. You need food or medicine with a cooling effect. You can cook cooling medicine using a Frost Dragonfly or a Frostwing and any suitable monster part. Frosted melon dishes also work. If possible, make more than one portion, as it will still take some time to acquire the Gerudo clothing.
At night the problem turns around: The Gerudo Desert then gets cold. Since we were already in the Rito village, you can simply put on your cold-resistant clothing. So we don’t have to waste additional warm meals.
Optional: Dash!
Optional – Side Quest: At the stable you will also meet Pirou. He wants to have an incredible 55 Spurtlings and promises a diamond in return. Since Spurtlings have been growing on numerous rock faces since the beginning of the game, it’s worth taking a look at the material inventory first.
If you have already accumulated 55 pieces through our trip so far, hand them over directly and take the diamond with you. If you are still missing mushrooms, just accept the task. It would be inefficient to specifically farm 55 Spurtlings on the surrounding cliffs. Continue collecting missing specimens on future trips and only return once the quantity is complete.
Optional: Disappeared in the Valley
Optional – Side Quest: For our route, however, the task “Disappeared in the Valley” is particularly favorable. Speak to Sesami at the stable. He was traveling with four friends when the group was attacked by monsters in Gerudo Valley. Sesami managed to escape, but Oliff, Flaxel, Canolo and Palme did not return.
From the stable, go a little east into the ravine and look up. Numerous old wooden walkways, ladders and platforms run along the rock walls. That’s exactly where Sesami’s friends are being held by Bokoblins. Instead of immediately running back to the stable after rescuing her, we combine this task with our upcoming climb to the Wasteland Tower.
Climb up the wooden walkways. Revali’s Gale saves a lot of time on the steeper parts, but the ladders and platforms also lead all the way up. On the footbridges you meet the four missing people one after the other. Everyone is harassed by Bokoblins. Eliminate the enemies before speaking to each person. Bows are particularly useful on the narrow walkways: a hit in the head can kill a Bokoblin immediately or at least throw him off his platform. Just be careful not to get thrown into the deep gorge yourself.
After you have spoken to a rescued person, he will make his own way to the stable. You don’t have to escort anyone. Therefore, work your way up from platform to platform until all four missing have been found. You can check at any time in the quest log whether someone is still missing.
Once you reach the top of the gorge, we will not return to Sesami. From here the path to the Wasteland Tower is significantly shorter than from the valley floor. Head towards the Spectacle Rock on the highlands and use the Sheekah Tower, which is visible from afar, as your orientation.
Reach Desert Tower and reveal map
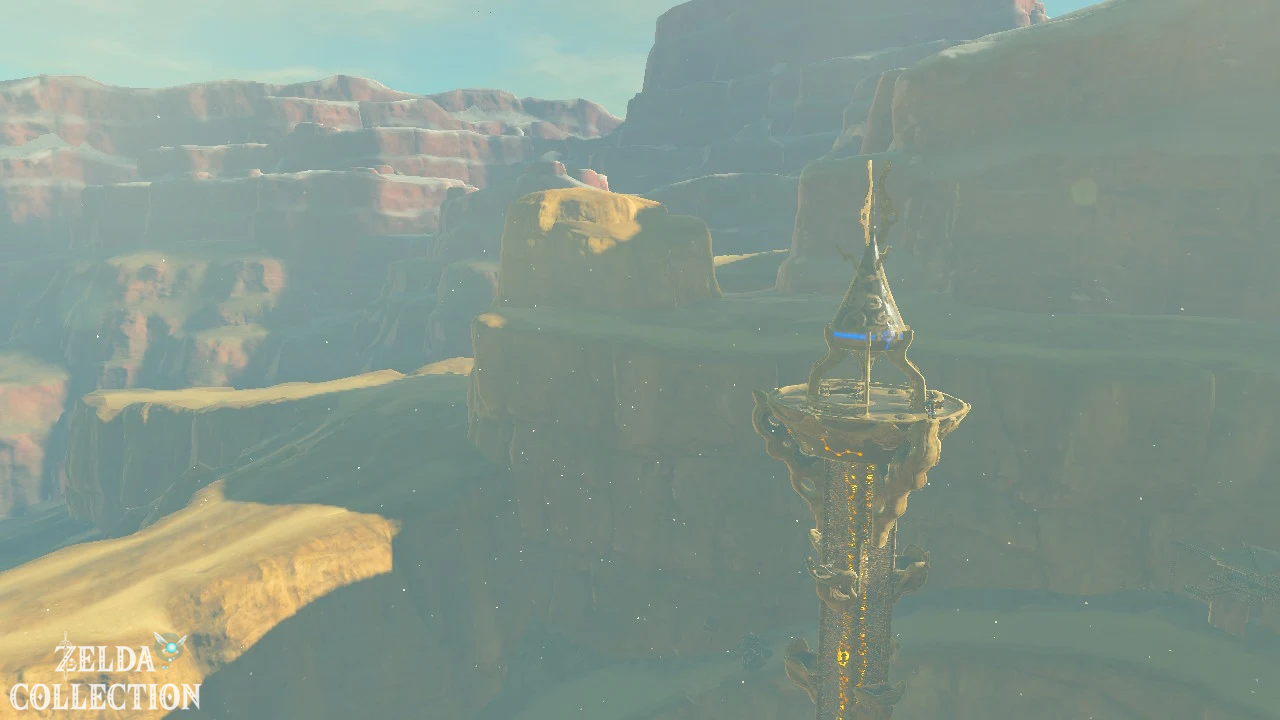
The Wasteland Tower stands on the northern part of the Spectacle Rock. The real problem is not its height, but the dark morass around its base. If you jump in, Link sinks and is reset to the edge.
Since we have already freed Vah Medoh, Revali’s Gale is the most convenient solution. Look for an elevated spot on the edge of the morass, create the updraft and glide towards the sloping stone slabs or directly to an accessible platform on the tower. Pay attention to the wind and land a little earlier on a safe ledge instead of trying to force the entire route with a risky glide.
If Revali’s Gale is currently charging, the tower works even without the ability to stretch. The morass responds to the cryomodule. Create ice blocks as stepping stones and work your way to the southern side, where several large stone slabs are leaning towards the tower. Alternatively, the metal boxes lying around with the magnetic module can be used as additional aid. As soon as you reach the first sloping stone slab, you can switch to the actual tower.
The subsequent climb is uncomplicated, but the resting platforms are relatively far apart. Wait at each platform until Link’s stamina is fully restored. Activate the checkpoint above. The Sheikah Slate now reveals the Gerudo Desert and the entire Wasteland Tower region. From up here you can already see Vah Naboris in the southwest, moving through the sand like a huge mechanical camel.
Now our order pays off. Teleport you from the tower directly back to the just completed Kay Noh Shrine. This will take you back to the gorge stables without having to cover the entire difference in altitude.
Speak to Sesami again. If all four friends are saved, he thanks you with a Golden Rupee worth 300 Rupees. This completes “Disappeared in the Valley”.
Through the desert gate into the Gerudo Desert
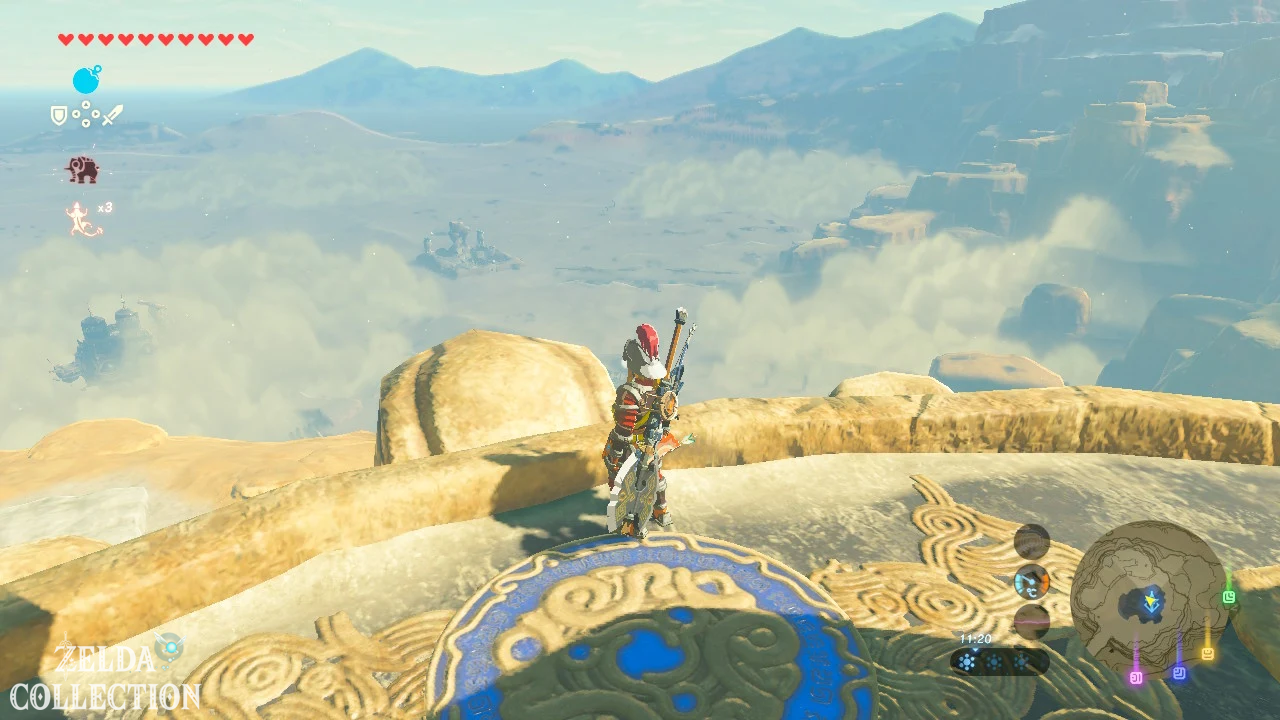
Then leave the stable to the southwest. Just a few steps further, the narrow gorge opens up and reveals the mighty Gerudo Desert. The useful use of a normal horse also ends at the Gerudo desert gate: horses can’t go any further in deep sand. Simply leave a registered animal behind; You can pick it up later at any stable.
Optional – Korok: Before you finally descend into the sand, go immediately east of the desert gate to the higher rock step south of the path. There is a single small stone there. Axyl it up and take the next Korok seed with you.
Optional – special weapon: Below this area lies a metal chest on a lower rock step. Pull them in with the magnet module. Inside is a Gerudo Bow. Its attack value is not exceptionally high, but it has a long range and zooms in closer to distant targets when aiming. It is excellent for Korok balloons and other precise shots. Photograph him directly for the Hyrule Compendium if necessary.
Now activates a portion of cooling medicine or a dish with heat protection if you are out and about during the day. The heat damage doesn’t necessarily start immediately at the entrance, but it quickly becomes a problem on the open path to the bazaar. At night you wear the cold-resistant Rito clothing instead.
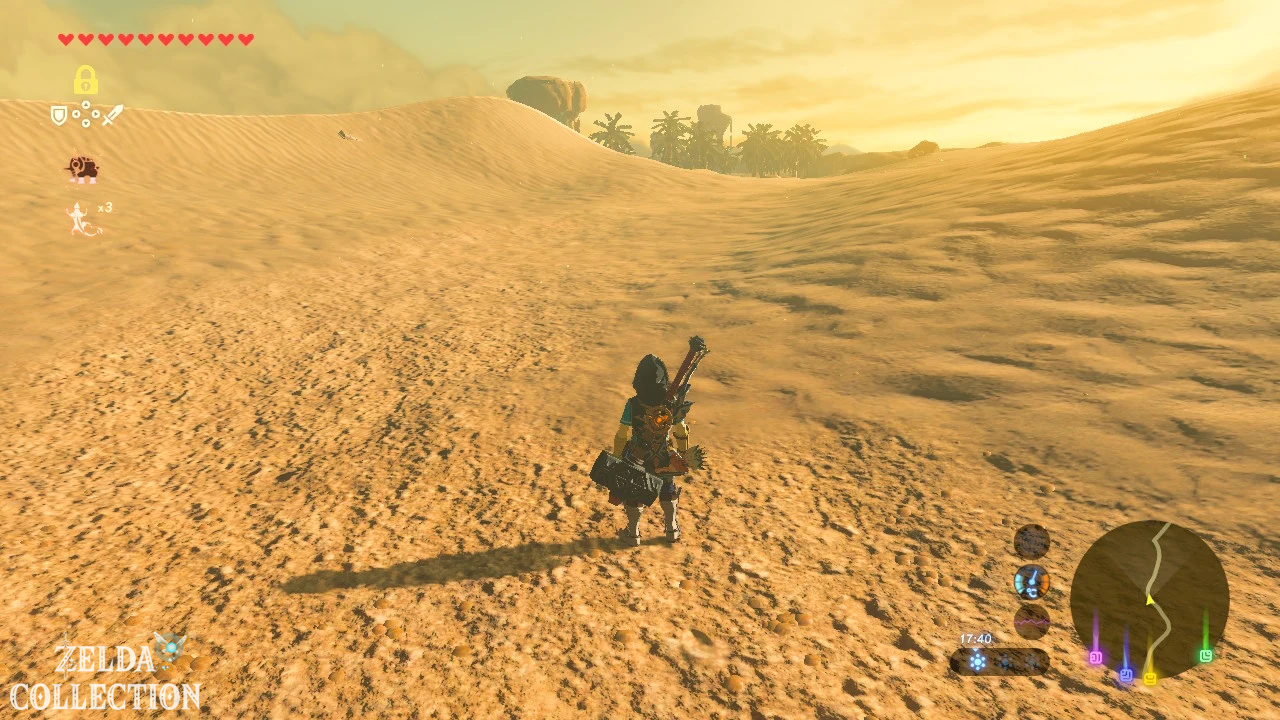
Follow the clearly visible stone markers and the path to the southwest. You will soon get your first impression of Vah Naboris and its enormous dimensions. Don’t try to reach the Titan directly now. Its surroundings are extremely dangerous because of the strong lightning and the Gerudo will only give us the necessary help for the attack later.
Desert Bazaar and the Yiga Attack memory
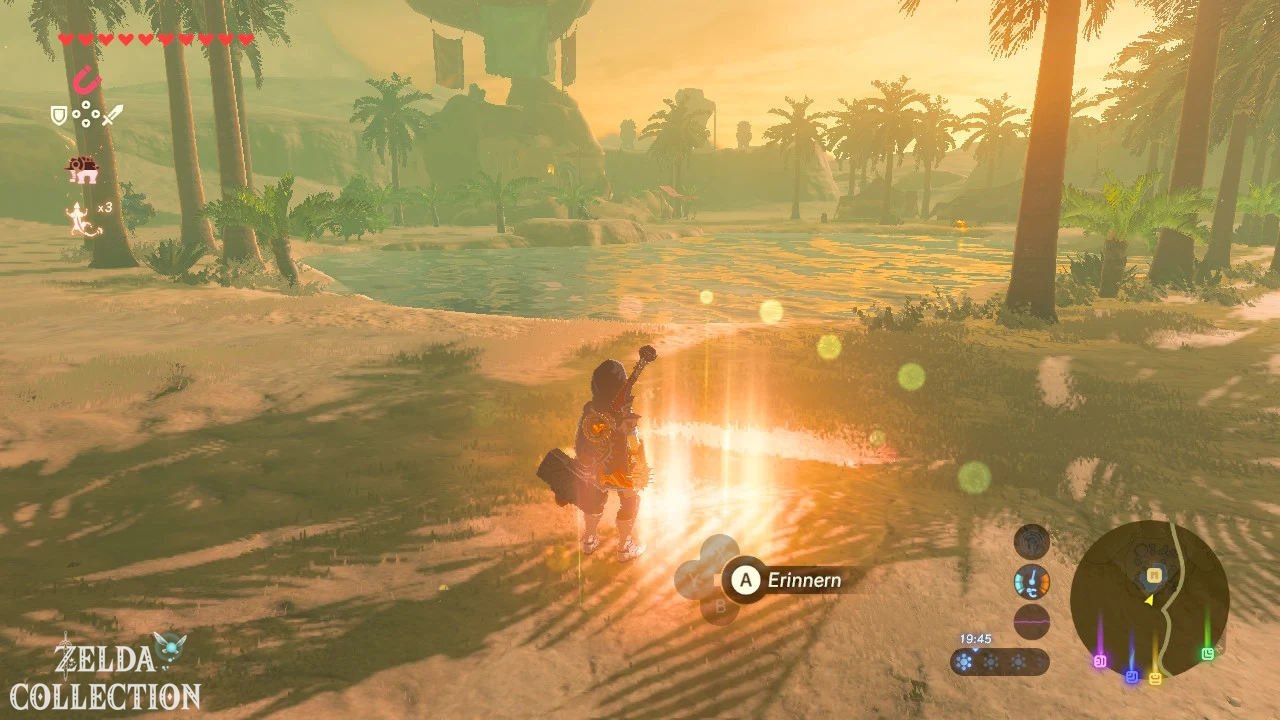
Palm trees, a small lake and several dealer stalls finally appear in the middle of the sand dunes: the desert bazaar. The oasis is the most important stopover on the way to Gerudo Town. Take your time here, as there is a lot of content in a small space.
Optional – Reminder: First go to the opposite side of the small lake so that the bazaar buildings are behind the water. There the familiar glowing spot on the floor begins to shimmer. Examine them and Link remembers the Yiga Attack, in which Zelda was attacked by members of the Yiga gang 100 years ago. The find is one of the memories in Breath of the Wild. Since the place is directly on our main route, this memory should definitely not be left for a later round of collecting.
An Ice Guy
Optional – Side Quest: Sitting by the water is the Rito Guy, which is suffering from the desert heat. He starts the task “A Remedy for the Heat” and wants a cooling medicine. If you have already cooked a portion at the stable as recommended, you can complete the task immediately.
If not, you need an animal with a cooling effect – for example a Frost Dragonfly or a Frostwing – and at least one monster ingredient. Cook both together to make cooling medicine. Do not mix insects with normal cooking ingredients such as Meat or fruit, otherwise only dubious food will be produced. Give the medicine to Guy and you will receive 50 Rupees.
Treasure Chests and dog at the desert bazaar
Optional – Treasure Chest: Activates the magnetic module at the small lake and searches the water. Inside is a metal chest with a Silver Rupee worth 100 Rupees. Pull it to the bank and open it.
Optional – Treasure Chest: There is another metal chest in the sand behind the inn. It also becomes visible with the magnetic module. Pull it out of the ground and take the Purple Rupee worth 50 Rupees. Both chests are so close to the bazaar that there is no reason to get them later.
Optional – Dog Treasure: A dog also lives at the desert bazaar, which leads to a special treasure. Feed him fruit or Meat several times and stay close to him. As soon as he has gained enough trust, he starts running. Follow him to the spot where he stops and take out the buried chest there. Inside is a knight’s bow. If your bow inventory is full, it is usually worth leaving a weaker standard bow for it.
Optional: Rhondson for Tarrey Town
Optional – Tarrey Town: The Gerudo Rhondson sits in front of or next to the desert bazaar inn. It is important for the Side Quest “On Expansion Course” in Tarrey Town.
What matters is your current progress with Hudson. If you have already sent Greyson from the south mine to Tarrey Town, then handed over the requested 20 bundles of wood and Hudson is now specifically looking for a Gerudo whose name ends in “-da”, speak to Rhondson now. Tell her about Tarrey Town and she will set off for Akkala. This means we complete this step exactly where our main route passes anyway.
If Hudson has not yet reached this order in your game, Rhondson cannot be recruited in a meaningful way. In this case, just remember their location. We are not forcing an additional teleport to Tarrey Town at this point.
Optional: Go away, sandstorm!
At the bazaar you will also find Nobiro, who is looking towards a huge sandstorm. Speak to him and start the shrine task “Go away, sandstorm!”. The Dako Tah Shrine is hidden in the storm.
We record the task in the diary, but don’t immediately run deep into the sandstorm. The shrine is off our direct route to Gerudo Town and the poor visibility makes the search unnecessarily time-consuming. We will later connect Dako Tah with the remaining shrines in the northern part of Gerudo Desert. The complete walkthrough is also included in the existing guide to the Shrines at Wasteland Tower.
Korok at Desert Bazaar
Optional – Korok: Before you head to Gerudo Town, go a short distance southeast of the bazaar to the large bones sticking out of the sand. At the southeast end of the bones you will discover a yellow flower. Touch her. The flower disappears and reappears somewhere else on the bones. Follow the sequence of flowers across the entire formation until a white flower finally appears. Touch them too and you will receive the Korok Seed.
Then return to the bazaar and head southwest. Gerudo Town can already be clearly seen from here. Activates heat protection again if the effect has expired.
From Desert Bazaar to Gerudo Town
The path between the bazaar and the city is largely open. Stay roughly on a direct southwest course. You will already encounter sand seals in the area, but without the equipment that will be available later, it is not necessary to capture one now. You can easily reach the city on foot.
Optional – Korok: Several large rocks protrude from the sand approximately between Desert Bazaar and Gerudo Town. Another yellow flower grows on one of them. Touch them and follow the line of flowers that appear over the various rocks. The last white flower reveals another Korok. This seed is practically on our direct line to the city and should therefore be taken with you straight away.
The closer you get to Gerudo Town, the more obvious the problem of our next section becomes: male travelers are not allowed to enter the city. The Gerudo guards at the main gate immediately send Link back. Before we take care of that, let’s solve the shrine right in front of the walls.
Daqo Chisay Shrine – The Full Picture
Optional – Shrine: To the right of the main entrance of Gerudo Town is the Daqo Chisay Shrine. We will also solve it completely immediately. The entire puzzle is based on completing electrical circuits using metal objects.
After entering, first go left. There is a metal barrel and a large metal cube there. Look at the glowing cables on the ground: There are gaps between individual round contact surfaces. Metallic objects transmit electricity through these gaps.
Places the first metal barrel with the magnet module at the end of the long active line so that it bridges the first gap. Then take the large metal cube and place it at the now active end of the circuit. If both are positioned correctly, the leftmost grille opens. Behind it is a second metal barrel.
For the next grid you have to redistribute the three items. Now start with the shorter line on the left side of the central power source. Bridge the first gap with a barrel, the next with the second barrel and the last with the metal cube. The electricity reaches the switch and opens the grate in front of a metal chest.
Opens the chest. Inside is a electric sword. The empty chest doesn’t become useless afterwards: Since it’s made of metal, we need it as a ladder itself. Use the magnetic module to pull them out of their niche.
Now bring both barrels, the metal cube and the empty chest to the right side of the shrine. Start there at the short line that comes from the central power source. Bridge the individual interruptions one after the other with one barrel, the second barrel and the metal chest. Finally, place the large cube between the two raised contacts on the wall. Once the circuit is completely closed, the large right-hand grille opens. Behind it is a second metal cube.
For the last goal you only need the two dice. Two lines end at contact surfaces on the left and right at the foot of the stairs to the priest. Place a metal cube on each side. Both circuits are closed at the same time and the gate to the altar opens. Get the next Spirit Orb from the priest.
The Daqo Chisay Shrine is particularly valuable as a teleport point, because we will switch between Gerudo Town, Desert Bazaar and the northwestern part of the desert several times during the upcoming tasks.
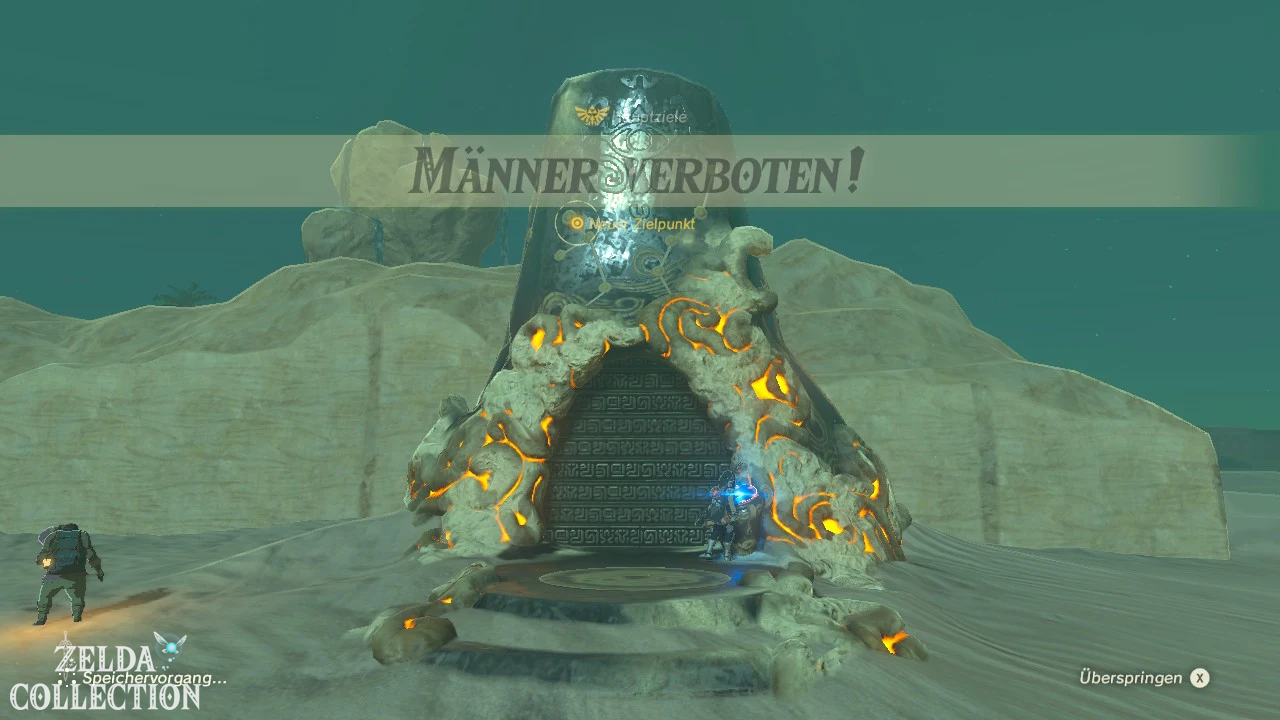
Gerudo Town and the main target “Men banned”
After the shrine, go to the main gate of Gerudo Town. As expected, the two guards don’t let Link pass. In Gerudo society, men – the so-called Vooi – are forbidden from entering the city.
Then talk to Benja near the Daqo Chisay Shrine or in front of the entrance. He has also been trying to find out how to get into the city for some time. From him you will hear about a person who apparently got in despite the ban. This starts the main goal “Men forbidden”.
This is exactly where this section ends. On the way to Gerudo Town we completely solved three shrines, activated the Wasteland Tower, found several Koroks directly on the route, completed or started two large Side Quests in Gerudo Valley, recovered two dog treasures, collected the Gerudo bow, regained the memory “Attack of the Yiga” and the Desert bazaar largely completed.
In the next chapter we solve “Forbidden for men”, get the Gerudo clothes and enter Gerudo Town. Several important ones for a complete score are waiting there Side Quests, equipment and preparations before moving on to Riju and finally the Divine Beast Vah Naboris.