

Our Breath of the Wild Walkthrough begins where Link’s memories begin: in the mysterious Shrine of Resurrection. After a hundred years of sleep, the hero awakens with no weapons, no memories and initially almost no clothes. You don’t yet know what happened to Hyrule or why an unknown female voice is calling Link. This first chapter takes you from awakening through the first pieces of equipment and an already accessible Korok to the tower of the Great Plateau. We consciously only take optional things with us that are practically directly on our path. The big collecting round across the plateau only follows in the next chapter, as soon as the four Sheikah modules make the hidden treasures and Korok puzzles accessible much more efficiently.
Link awakens in the Shrine of Resurrection
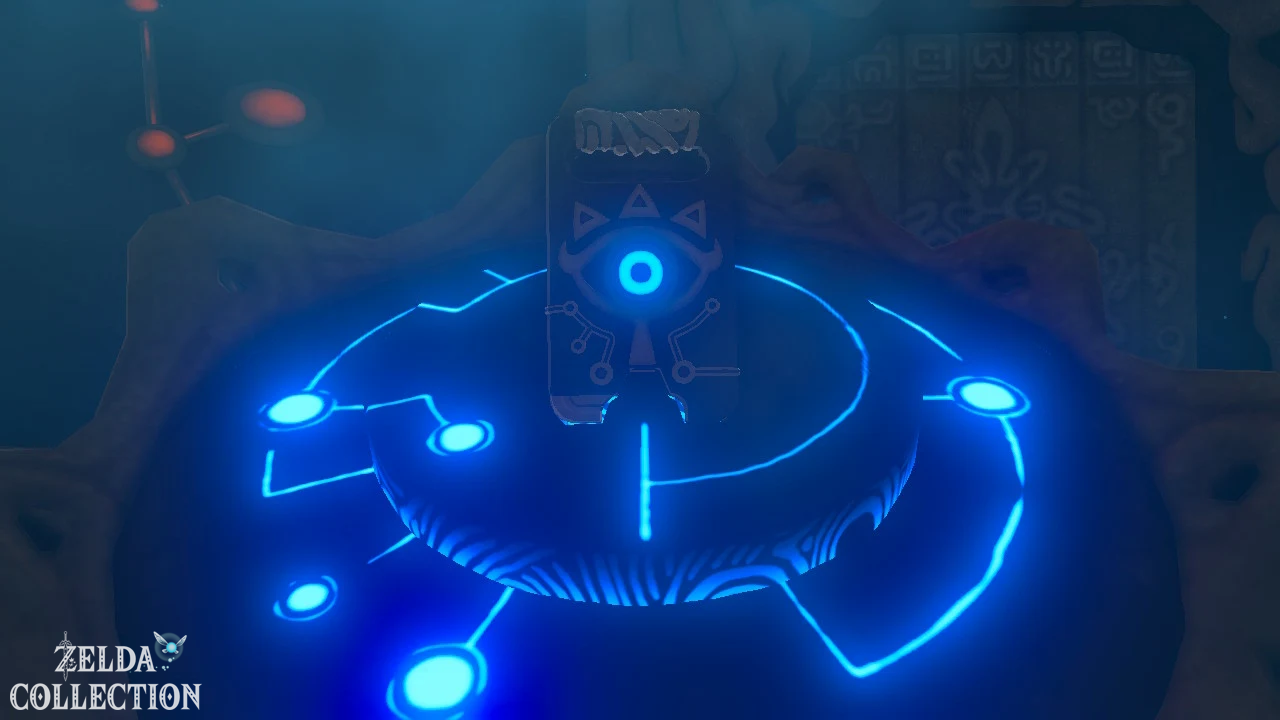
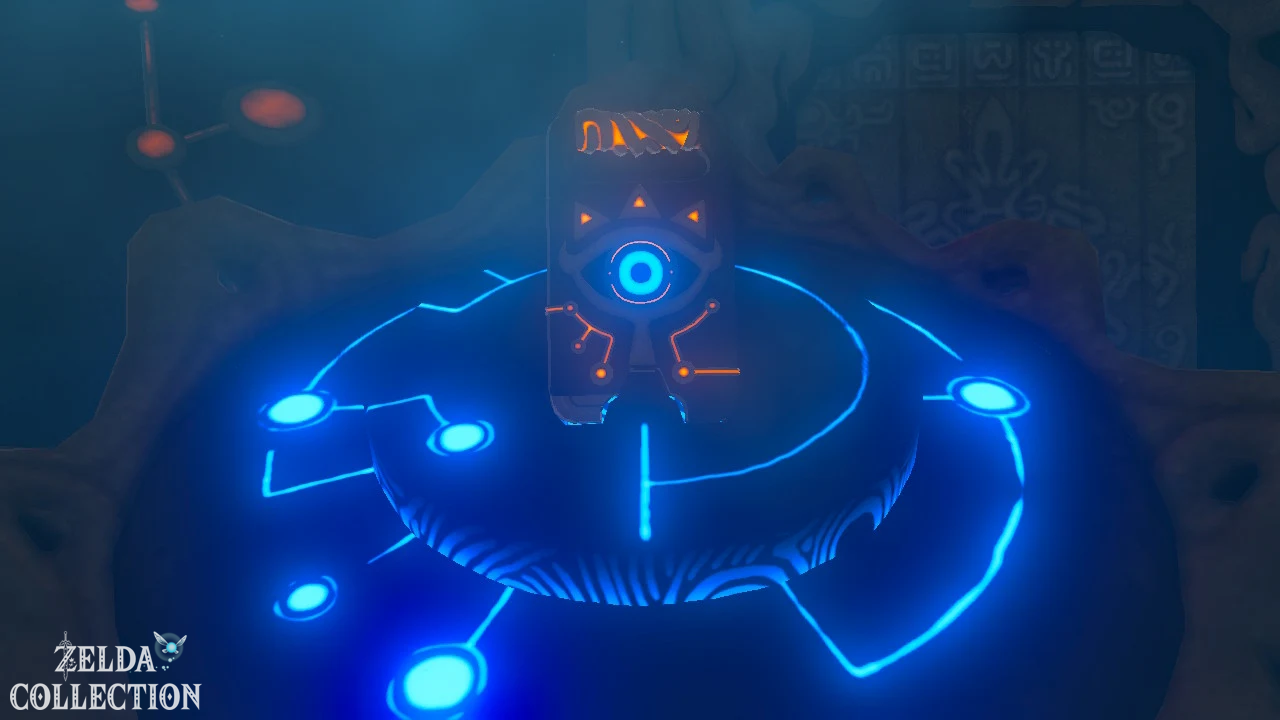
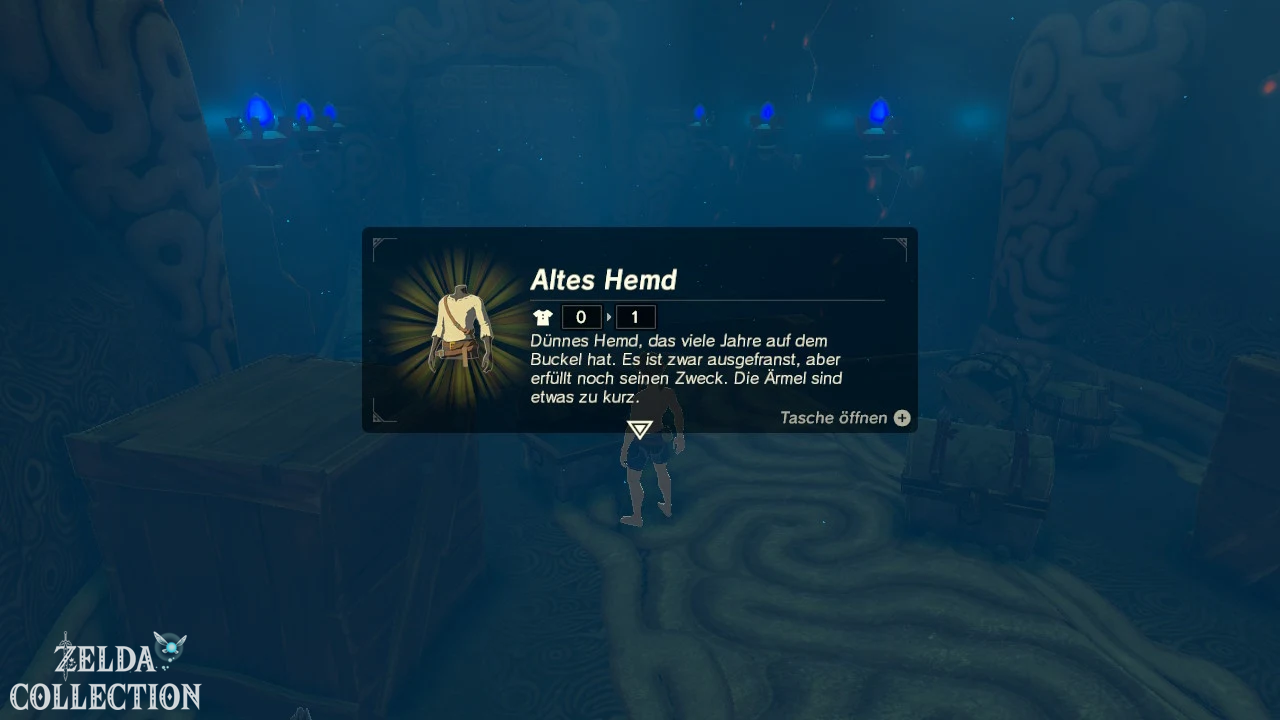
After the opening sequence you can control Link for the first time. Go to the glowing pedestal in the room and examine it. Link receives the Sheikah Slate, which takes over map, binoculars, fast travel, Sheikah modules and numerous other functions for the rest of the adventure. The door behind you will then open automatically. In the next room there are two Treasure Chests. Be sure to open both: Inside are the Old Shirt and the Old Pants. Then open your inventory and put on both items of clothing. Their defense values are low, but every point of protection helps in the first few battles.
Then place the Sheikah Slate in the next terminal. The shrine’s large gate opens and daylight floods in. Follow the corridor, climb up the short rock wall and pay attention to the green stamina wheel for the first time. Climbing, sprinting and later swimming use up stamina. If the circle is completely empty while climbing, Link will lose his footing – a mechanic that will accompany you throughout the entire journey.
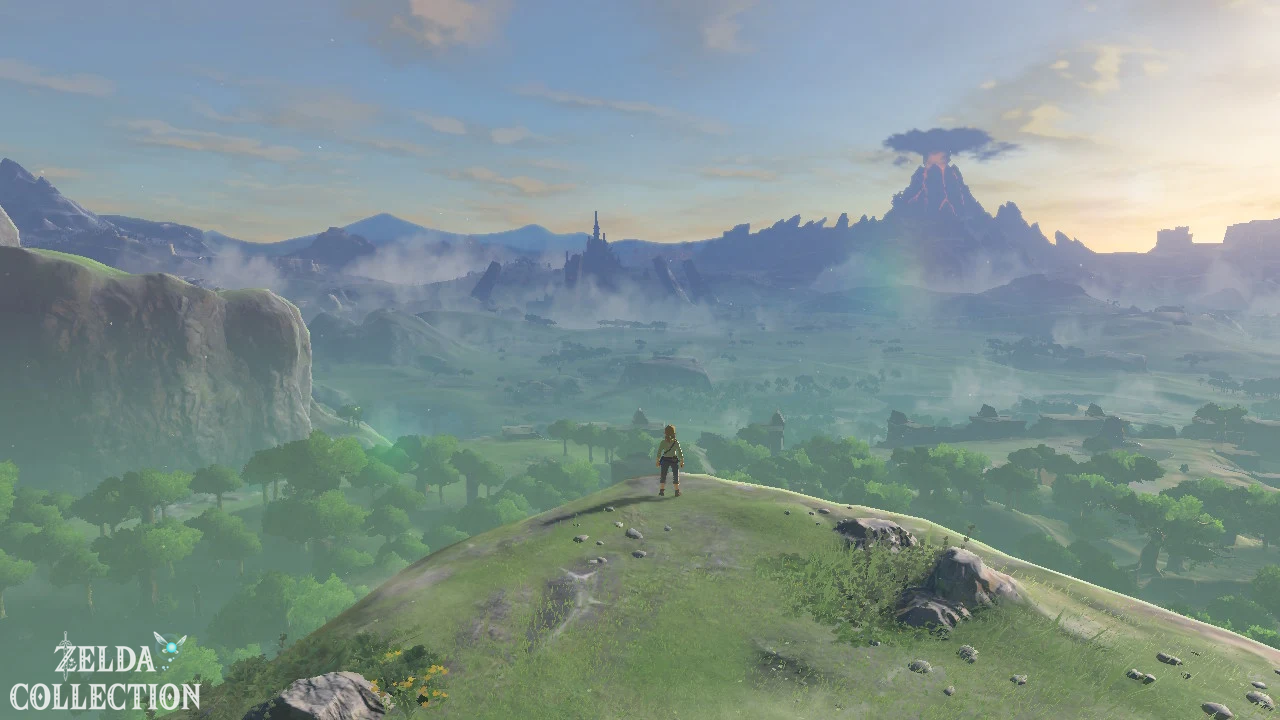
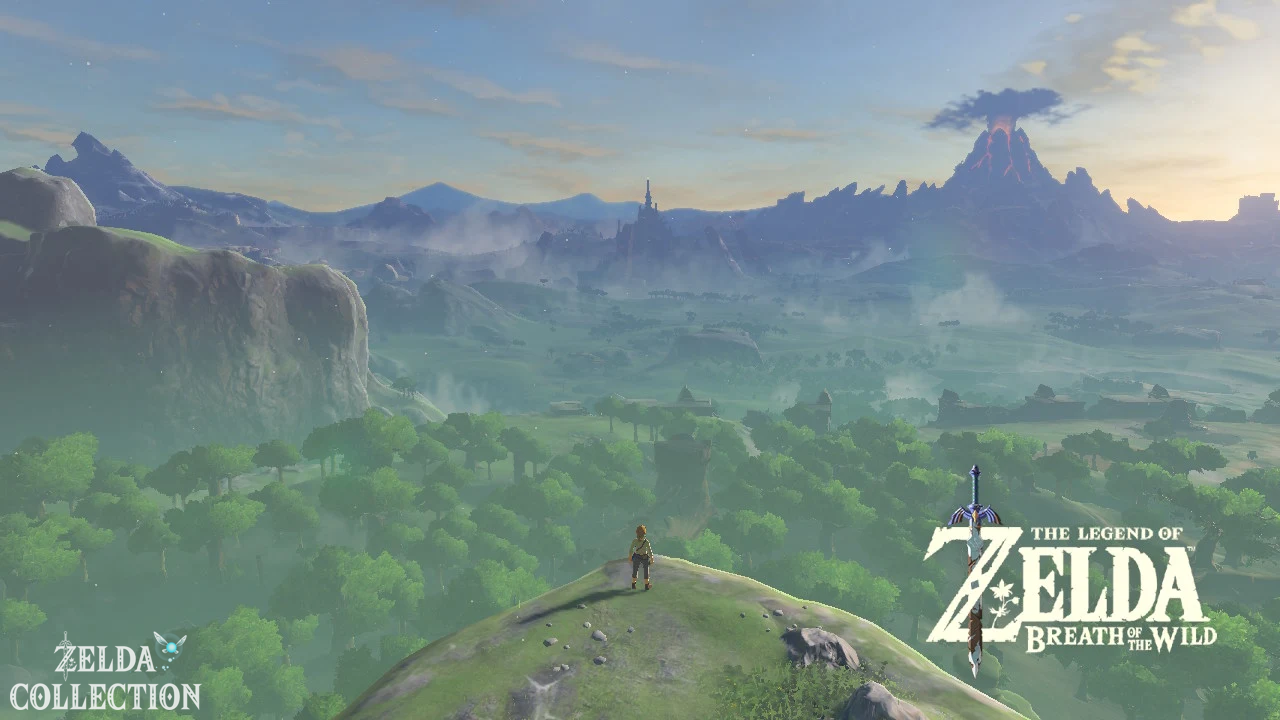
When you reach the top you leave the shrine of life. A tracking shot shows the destroyed kingdom of Hyrule for the first time and makes it clear how open Breath of the Wild is. You can theoretically start walking in different directions from here, but for our optimized solution we first follow the intended route over the Great Plateau.
The first weapon and important materials
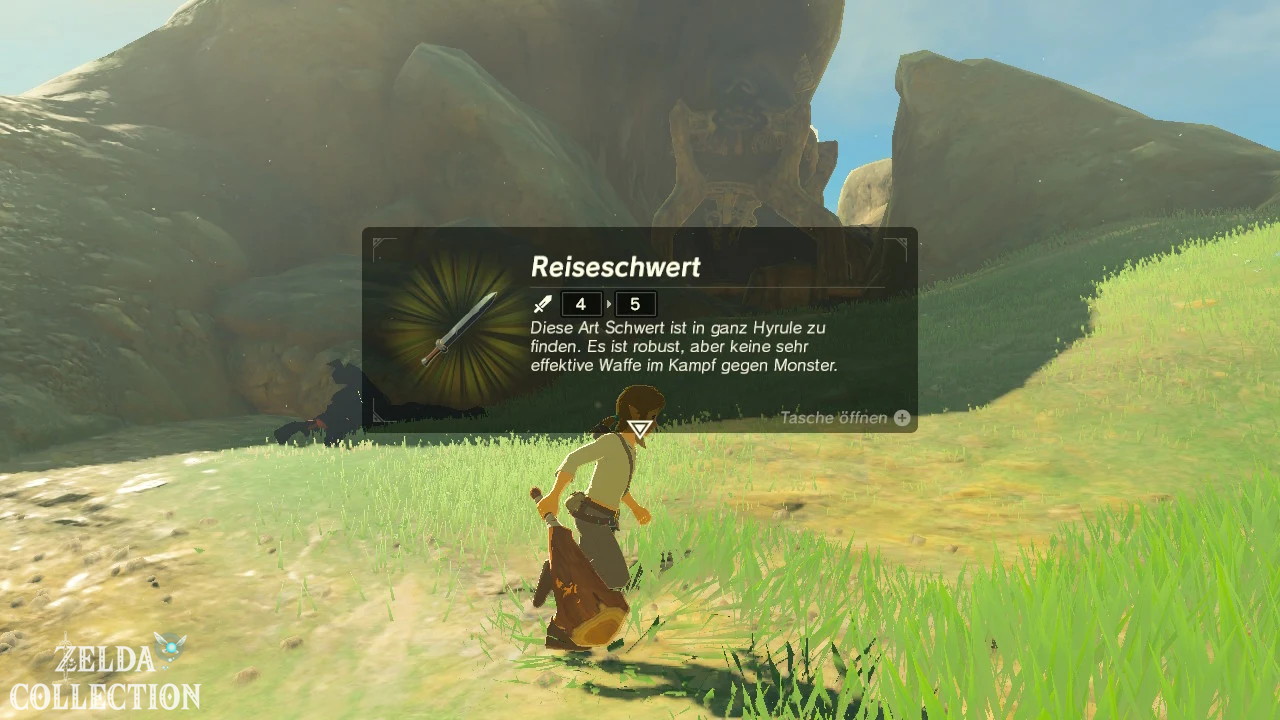
Just outside the shrine, near the path, lies a branch. Axyl it up and equip it as your first weapon. One branch doesn’t last long, but it’s enough for the first Bokoblins. Along the way, also collect Hyrule mushrooms, apples and everything else that can be reached without a detour. Materials do not take up limited inventory space and are later used for cooking, medicine, armor upgrades, or selling. You can find an overview of the numerous raw materials later in our guide to the ingredients and materials in Breath of the Wild.
So get used to one of the most important rules for the entire solution: plants, mushrooms, fruits, monster parts and small animals will be taken with you if you pass them directly. However, we won’t send you across the map for every single Hyrule mushroom. Our goal is a complete and at the same time efficient game state.
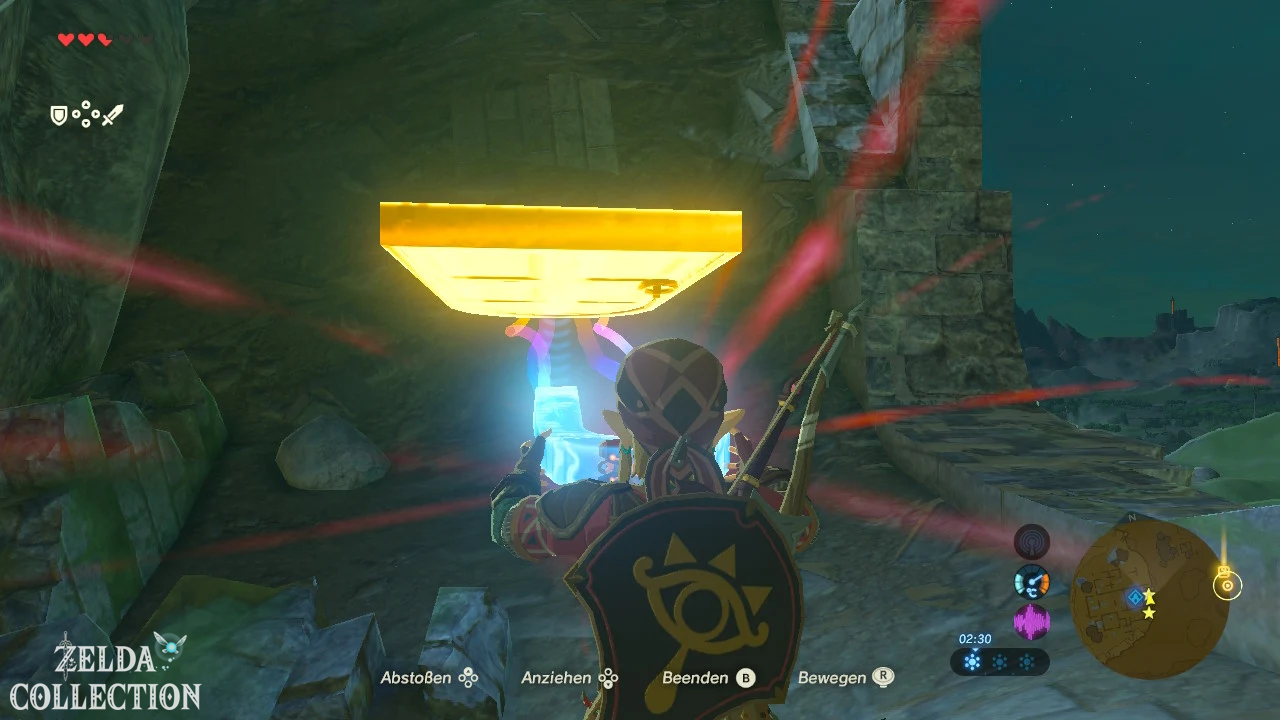
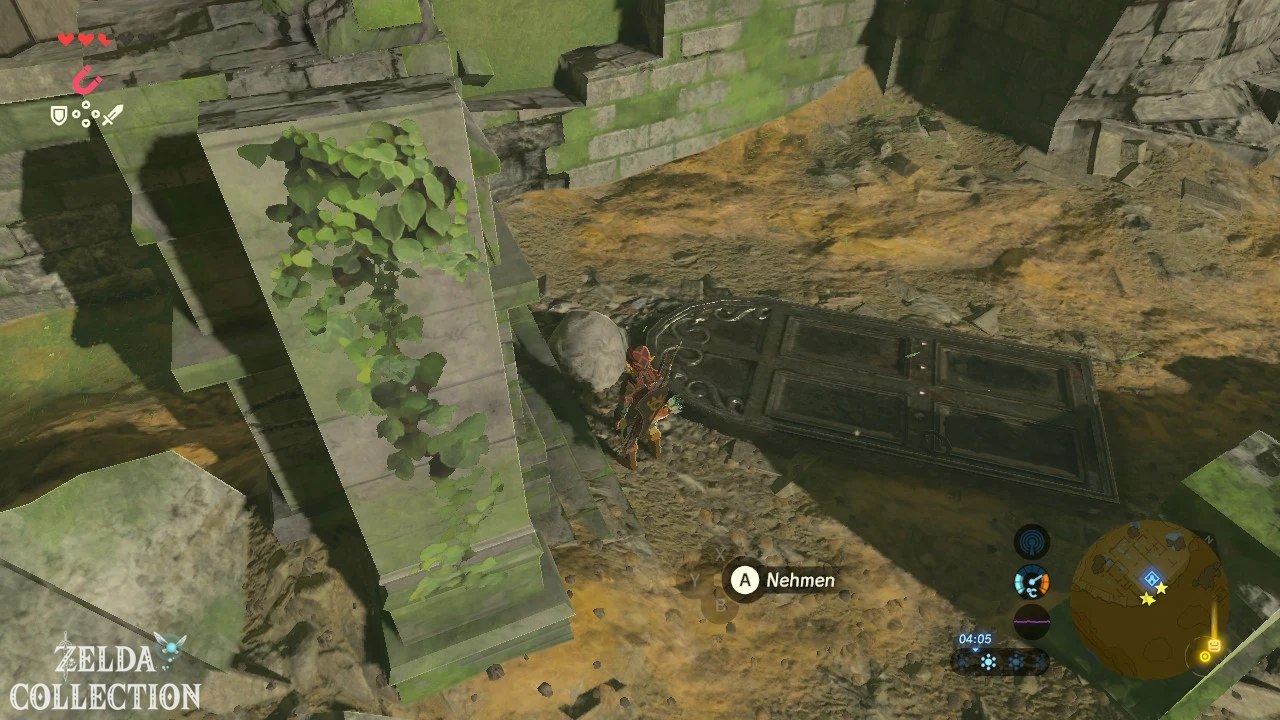
The old man at the campfire
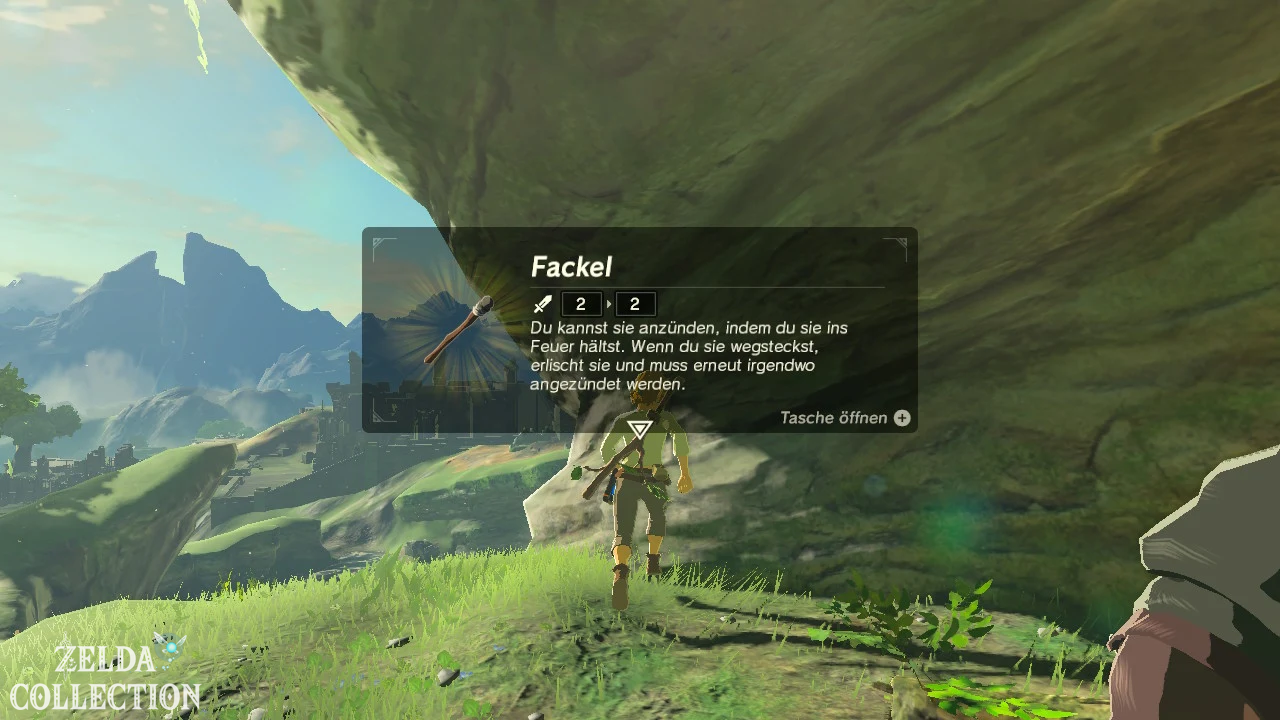
Follow the slope down and you will discover an old man at a campfire. Talk to him. He doesn’t reveal much about his identity yet, but at least tells you that you are on the Great Plateau. In his immediate surroundings you will find a torch and a little further a lumberjack ax. Take both with you. The ax causes more damage than the simple branch and at the same time is excellent for felling trees. We will later use the torch to transport fire and keep ourselves warm for a short time in cold regions.
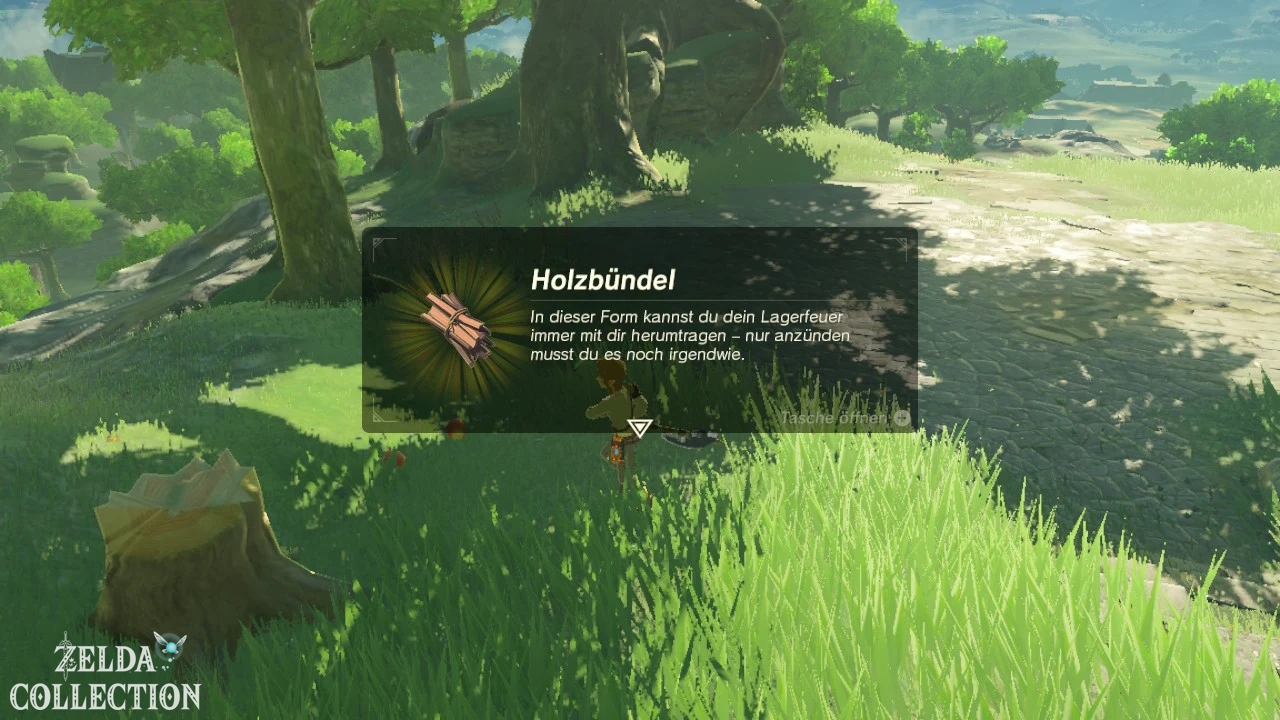
Feel free to try cutting down a tree with an axe. Then hit the felled trunk again and you will get a bundle of wood. Wood is later needed for campfires and several Side Quests, including Link’s own house. However, you don’t have to create a large supply at this point; We’ll get to much better places to collect wood later.
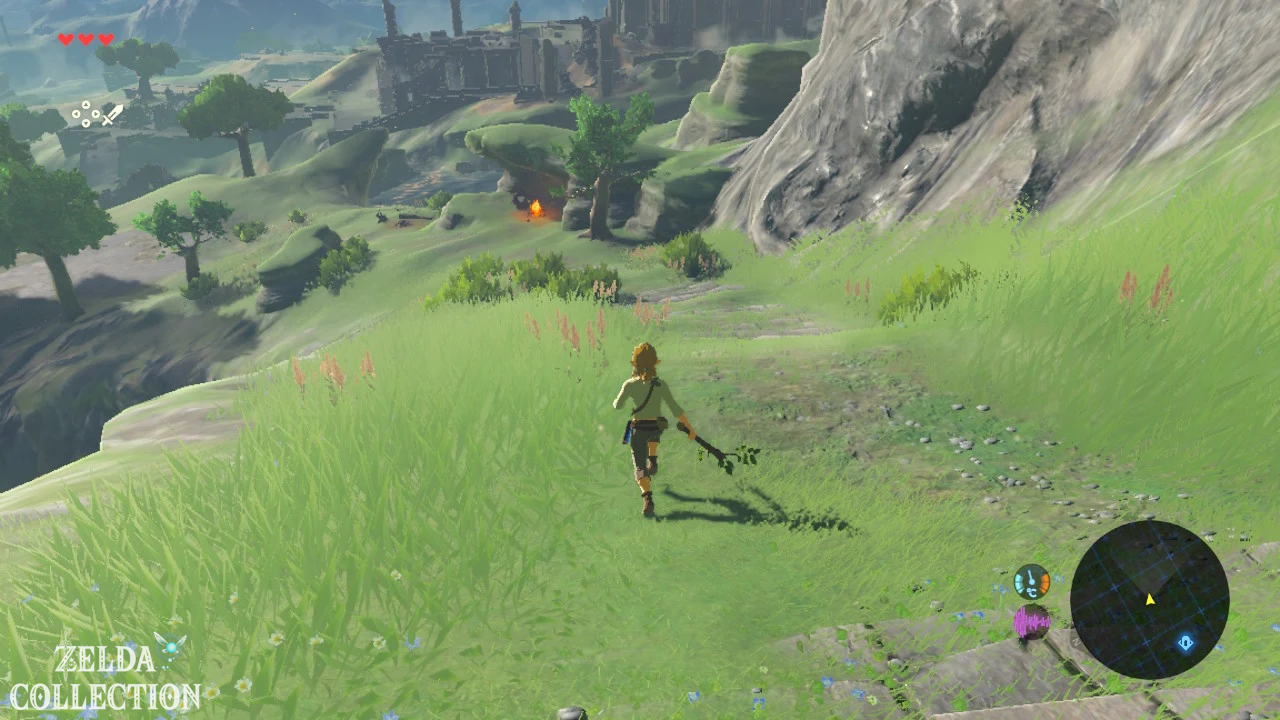
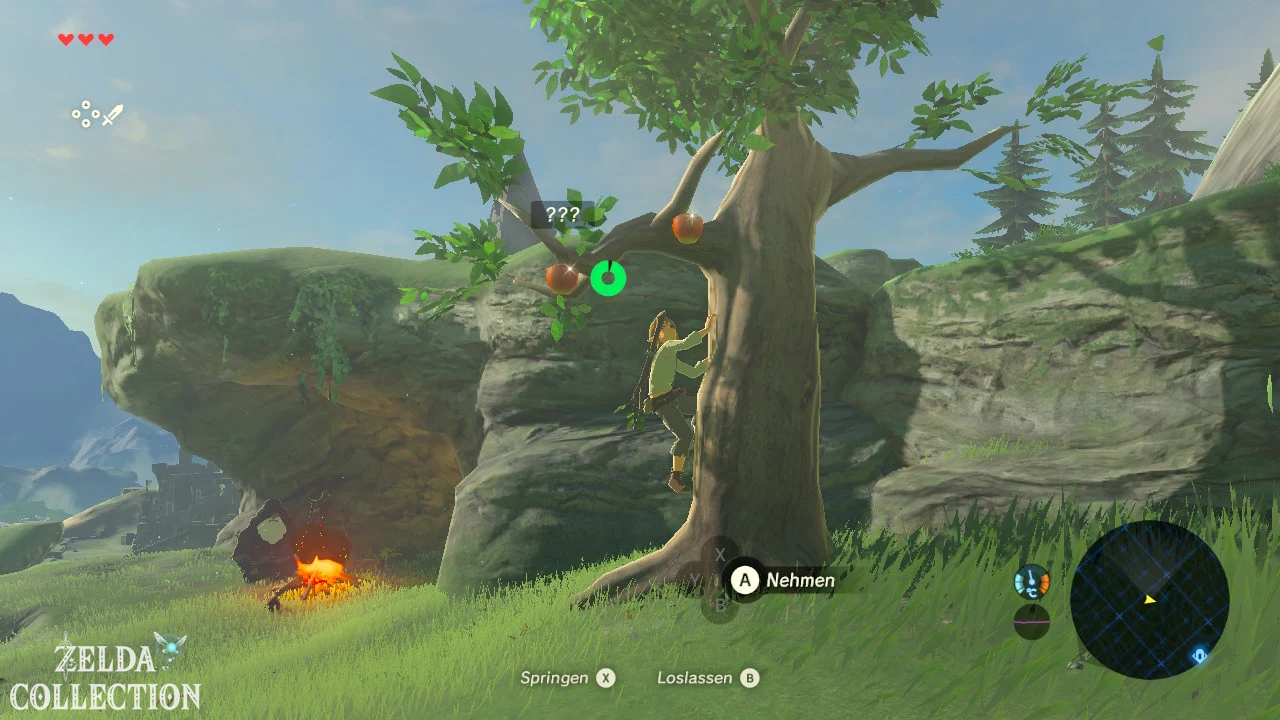
Optional: Korok 1 of 900 directly at the start
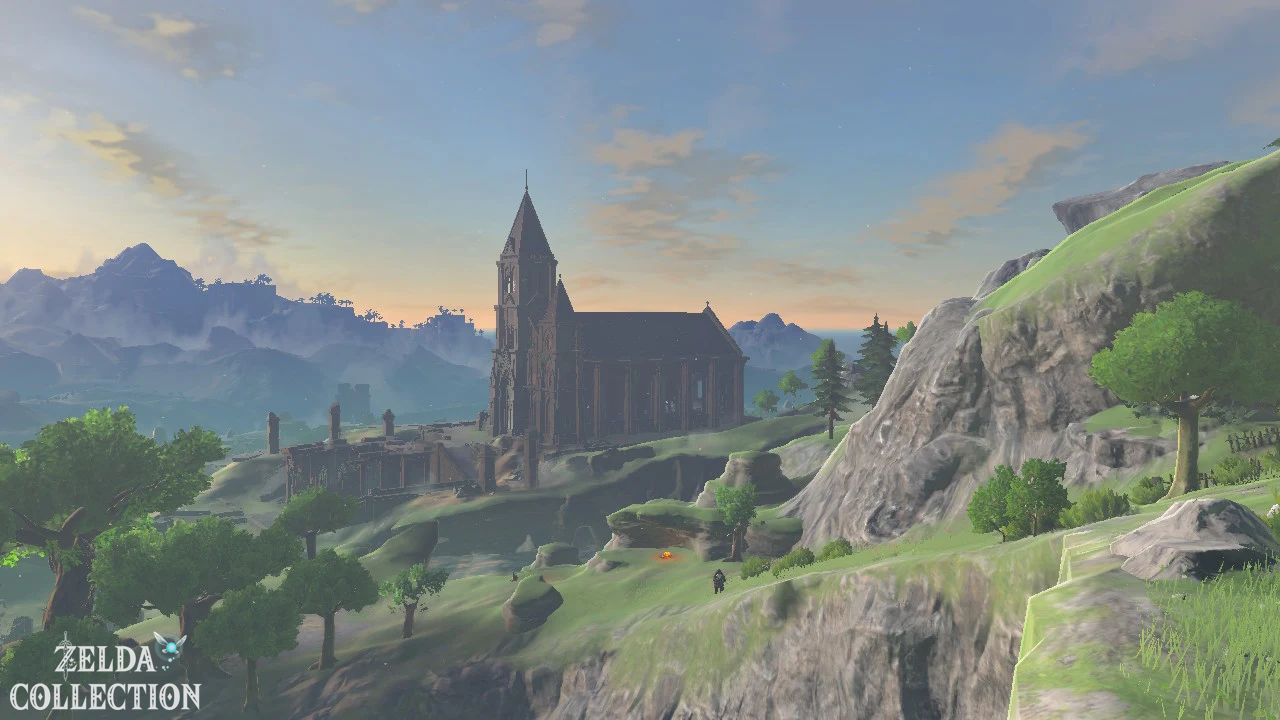
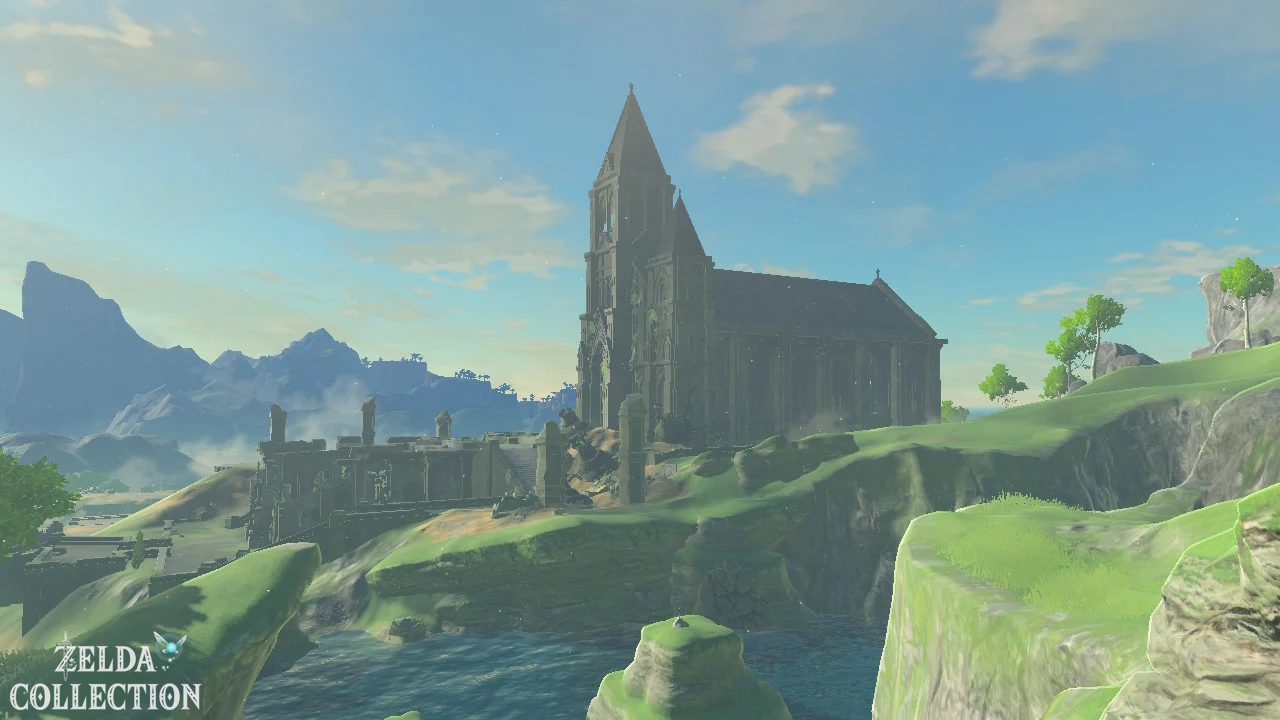
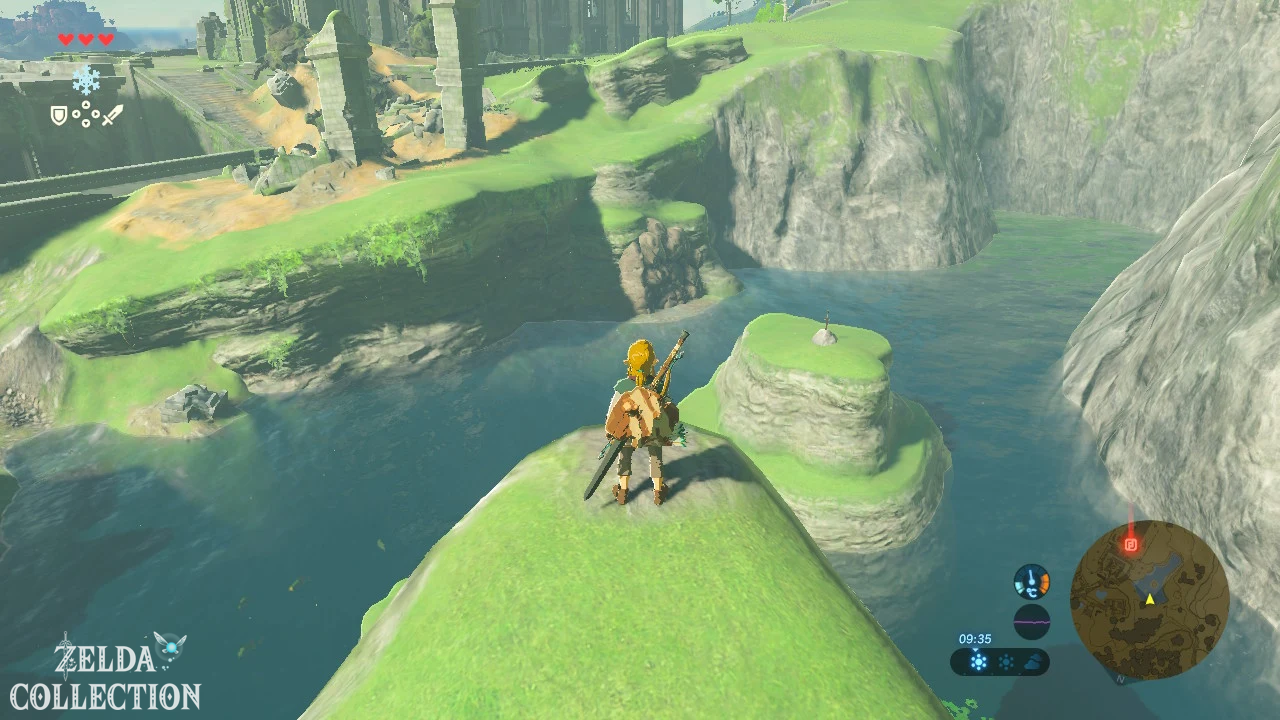
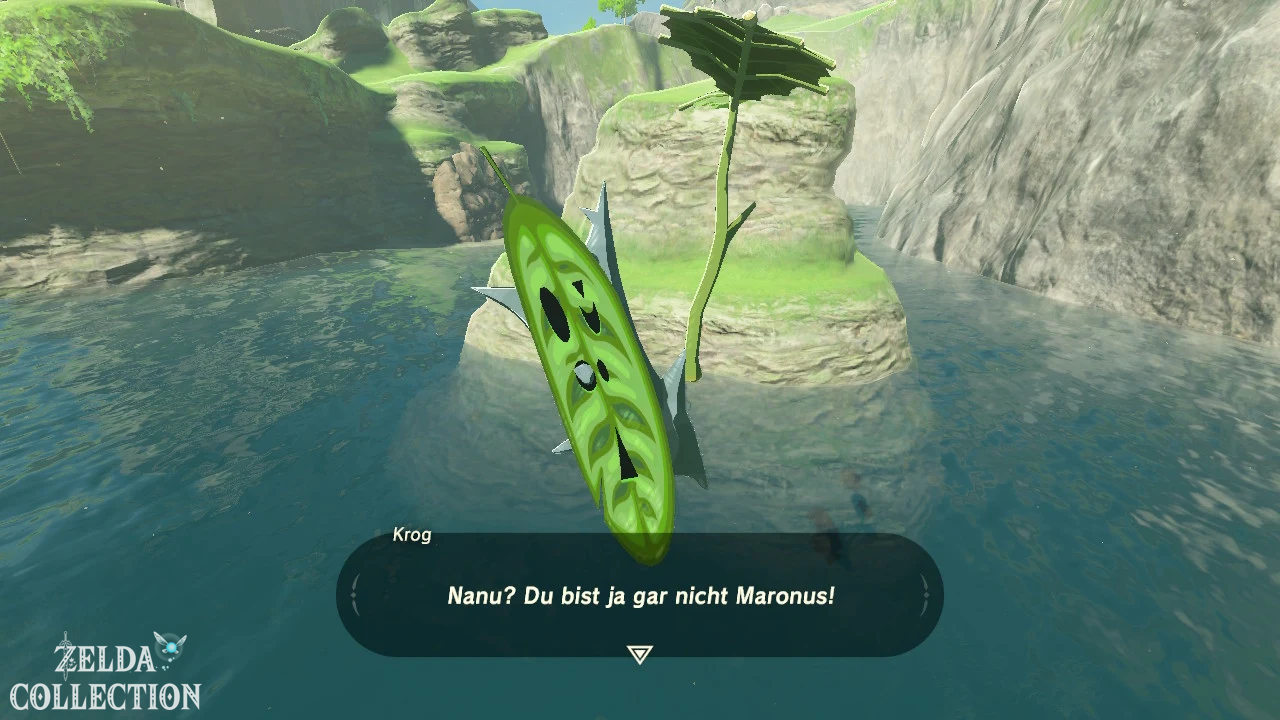
[Optional – recommended] You can collect the first Korok just a few minutes after waking up and it is practically right on our path. Head from the Old Man’s Campfire towards the Time Temple Ruins. To the right or below a small ledge there is a pool of water. In it, water lilies form a clearly visible circle. Jump from the ledge right into the middle of this circle. As soon as Link lands in the water, a Korok appears and gives you the first Korok Seed.
A total of 900 Korok Seeds are hidden in Hyrule. We will not catch up on them as a gigantic collection campaign shortly before the end, but rather integrate them into the normal solution path regionally. There are numerous other Koroks s on the Great Plateau, but many of them require magnetic modules, bombs, cryomodules or the Paraglider. That’s why we’ll just take this practically free find with us and do the rest of the useful plateau krogs in the next section.
Optional and highly recommended: Get Hylian Trousers for free
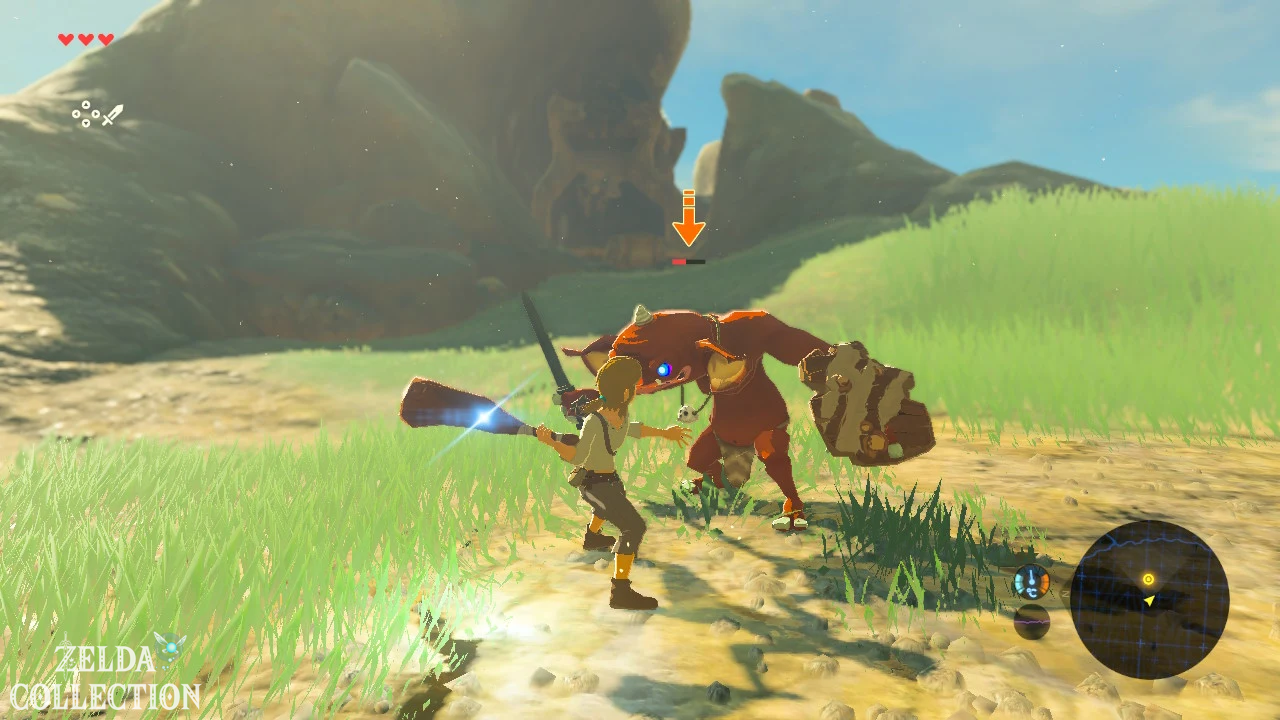
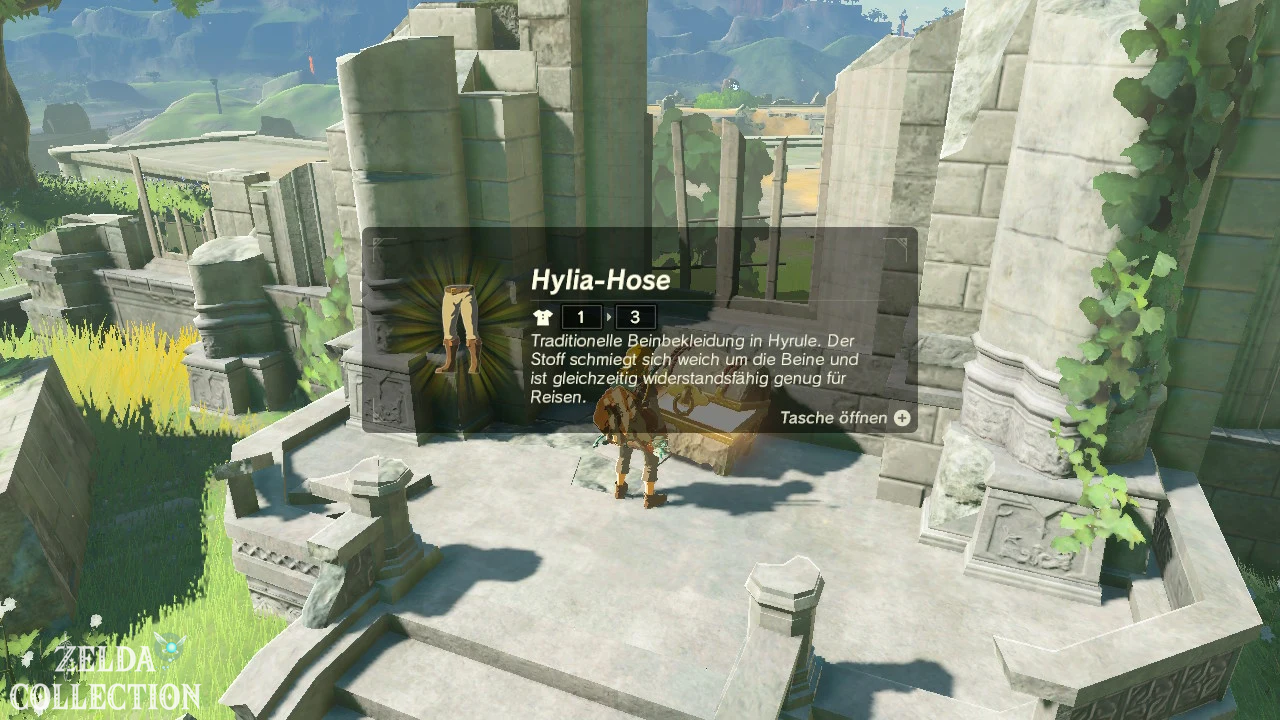
[Optional – highly recommended] Before you head straight to the yellow objective marker, we take a short detour to the ruins northeast of the large time temple. In one of the small square ruin buildings there is a Treasure Chest, which is guarded by a Bokoblin. Defeat the enemy with your ax or a Bok weapon you have now found and open the chest. Inside lies the Hylian Trousers.
Puts them on immediately. With a base value of 3, it offers significantly more protection than the Old Pants from the Shrine of Resurrection and can be further improved later with a Great Fairy. You can also buy the Hylian Trousers in stores later, but here you can get them completely free. For an optimal passage, it would therefore be a complete waste to leave this early find behind. We’ll cover more equipment in more detail later in our existing guide to armor in Breath of the Wild.
The distant voice and the yellow target marker
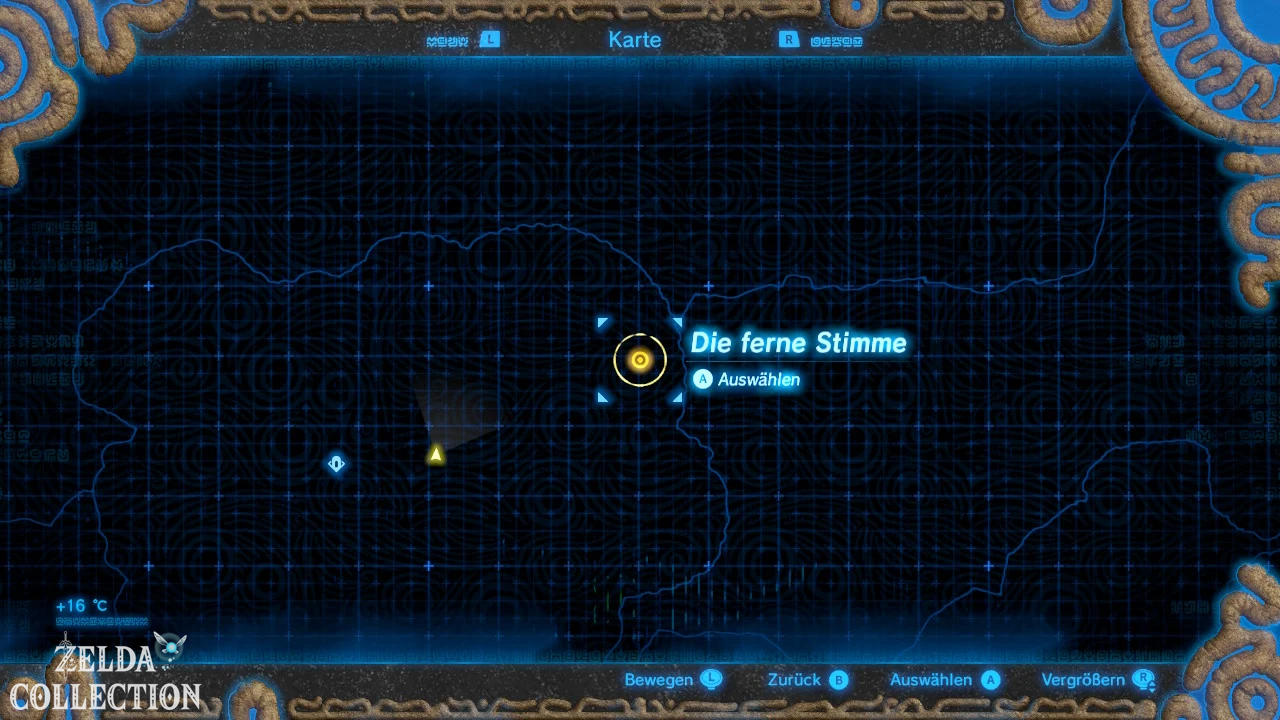
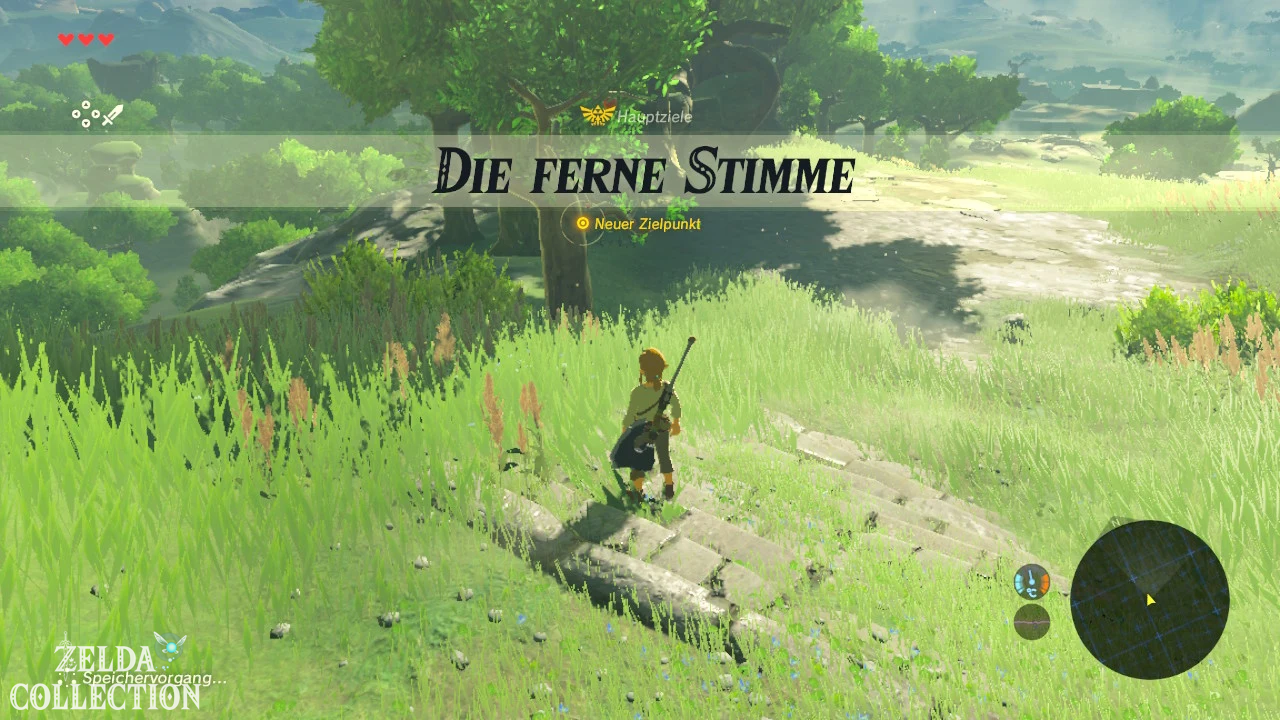
After a short while, Link hears the mysterious female voice again. She tells him to go to the location marked on the Sheikah Slate. This begins or makes the main goal “Follow the Sheikah Slate” more concrete. Open the map with the minus key. A yellow dot shows your destination northeast on the plateau.
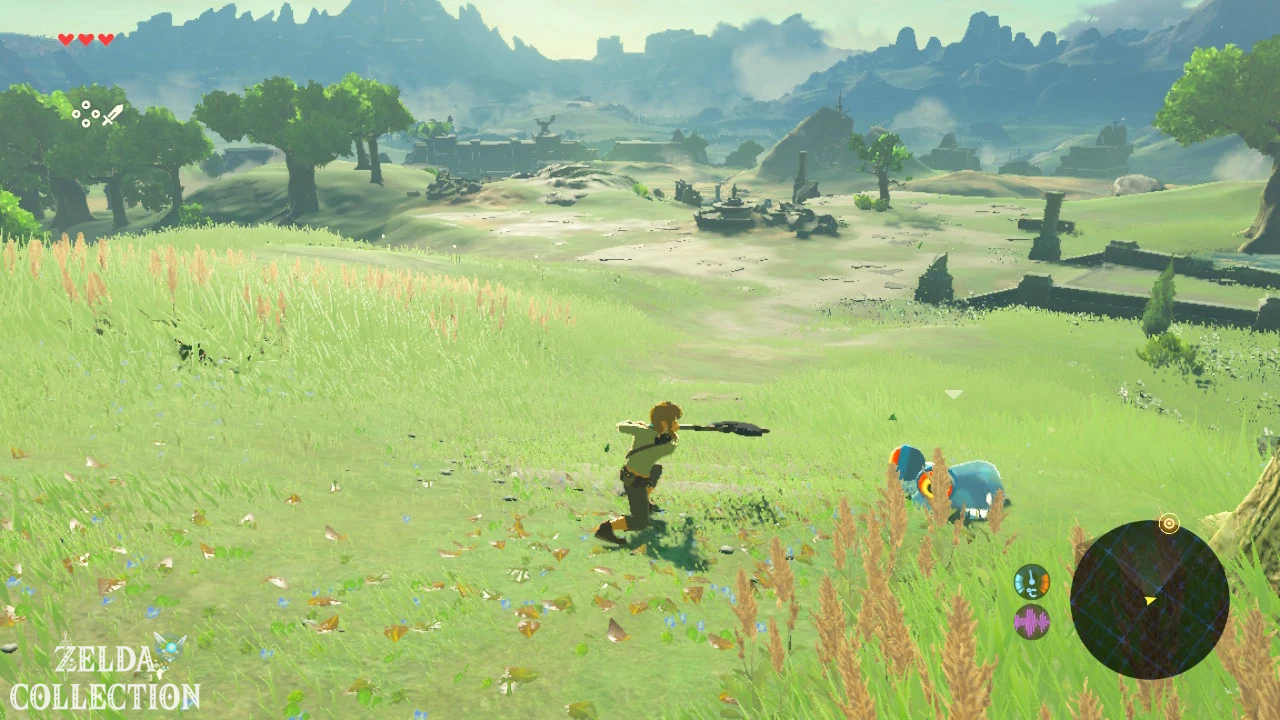
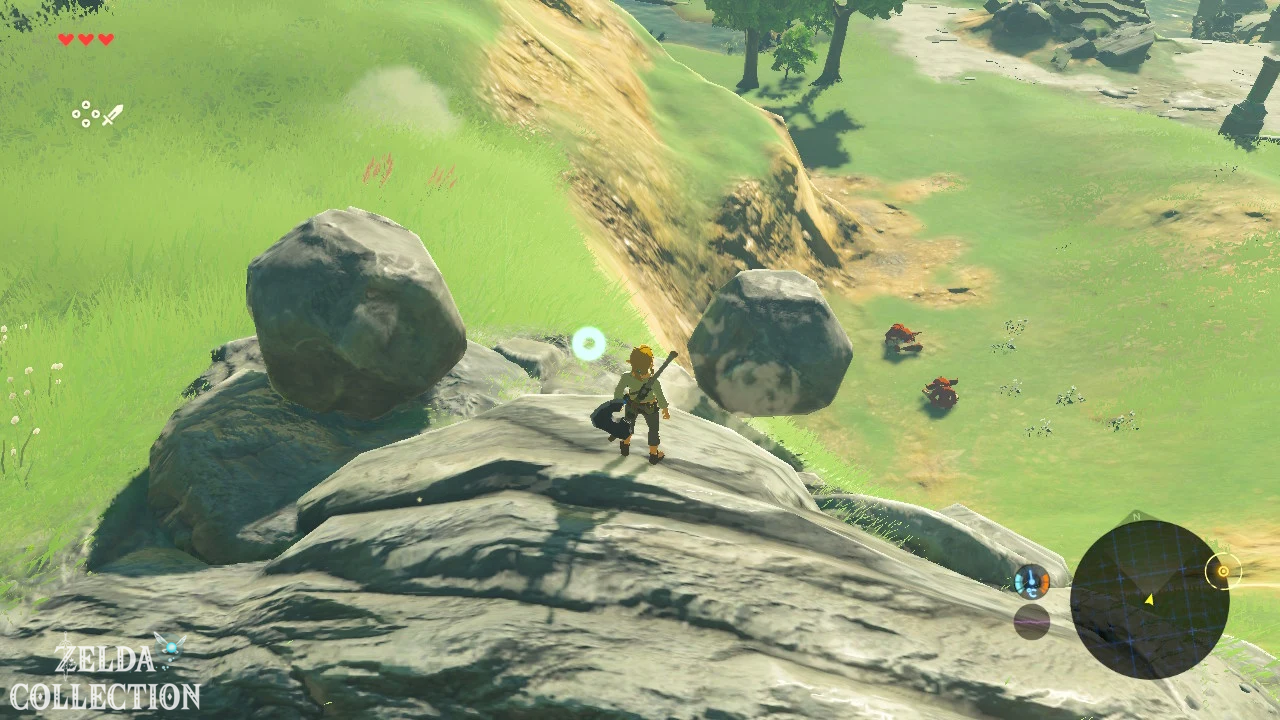
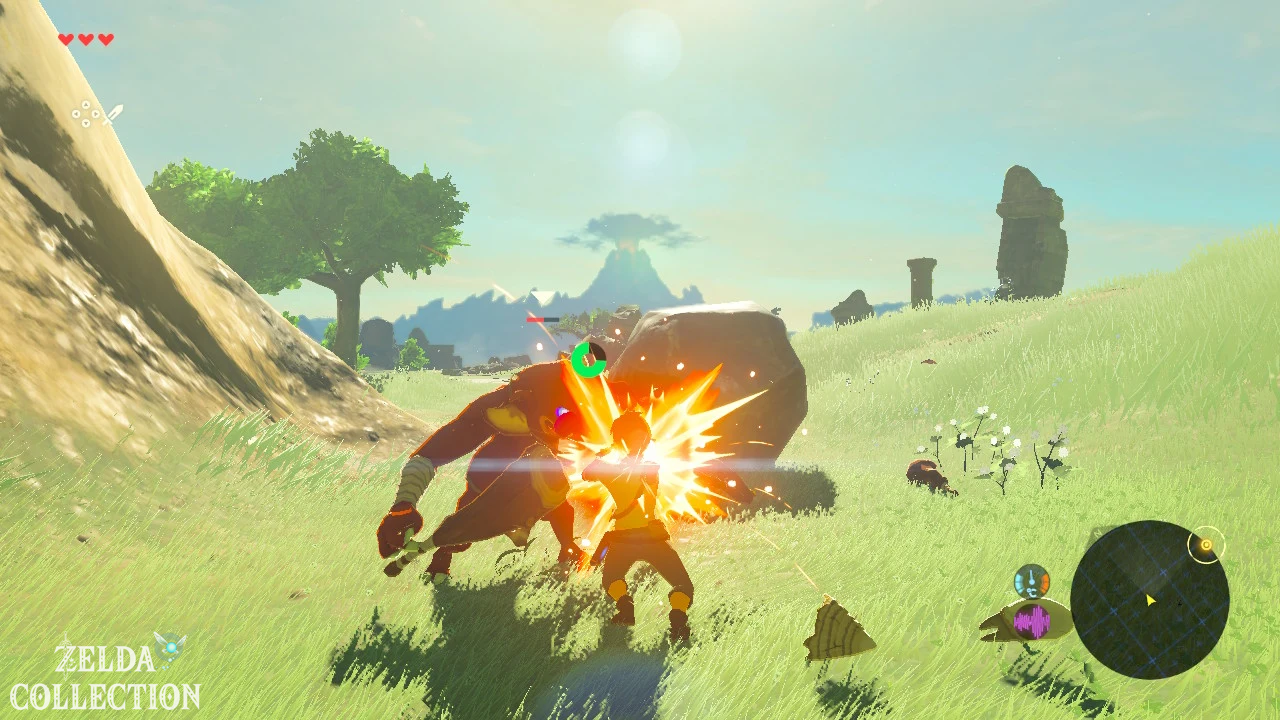
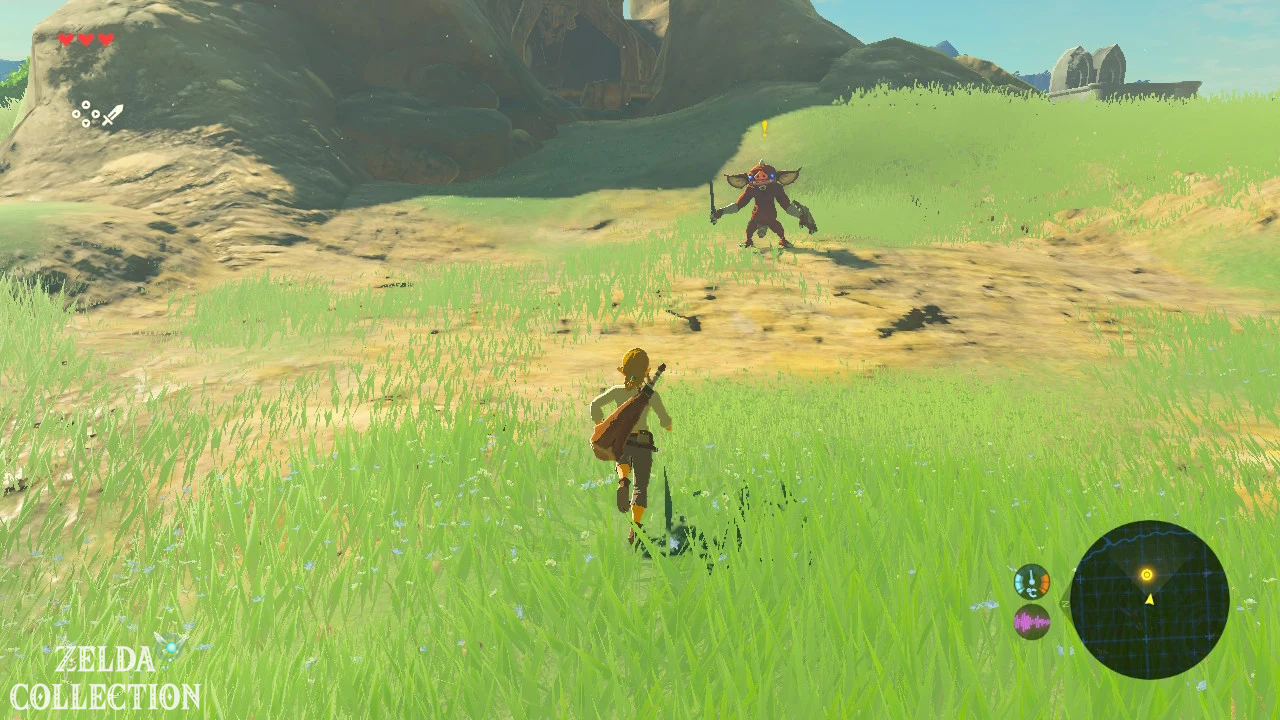
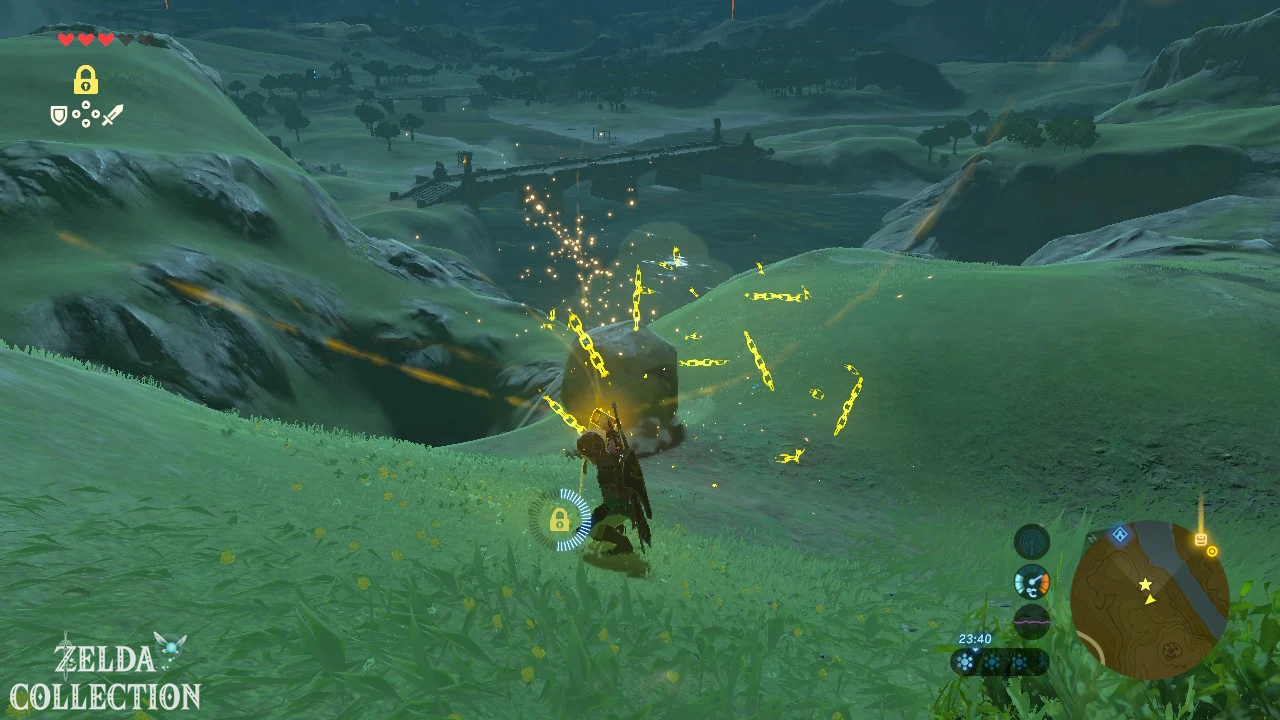
Don’t just run blindly straight ahead, but use the path for your first combat experiences. Bokoblins can be targeted, blocked and defeated with normal attacks. It is often even more efficient to use the environment. There are large rocks on a hill that you can push down the slope to bury enemies underneath or at least seriously injure them. Then be sure to collect their weapons, shields and monster parts. Weapons in Breath of the Wild have a limited durability and will eventually break. It is therefore normal to constantly pick up new equipment and later replace damaged weak weapons with better ones.
You don’t have to attack every group head-on, especially in the first few minutes. If several Bokoblins are standing together, you can sneak up, use higher ground or simply walk past. Our goal is to have a complete score – not to destroy every group of enemies every time we pass by.
The Tower of the Great Plateau
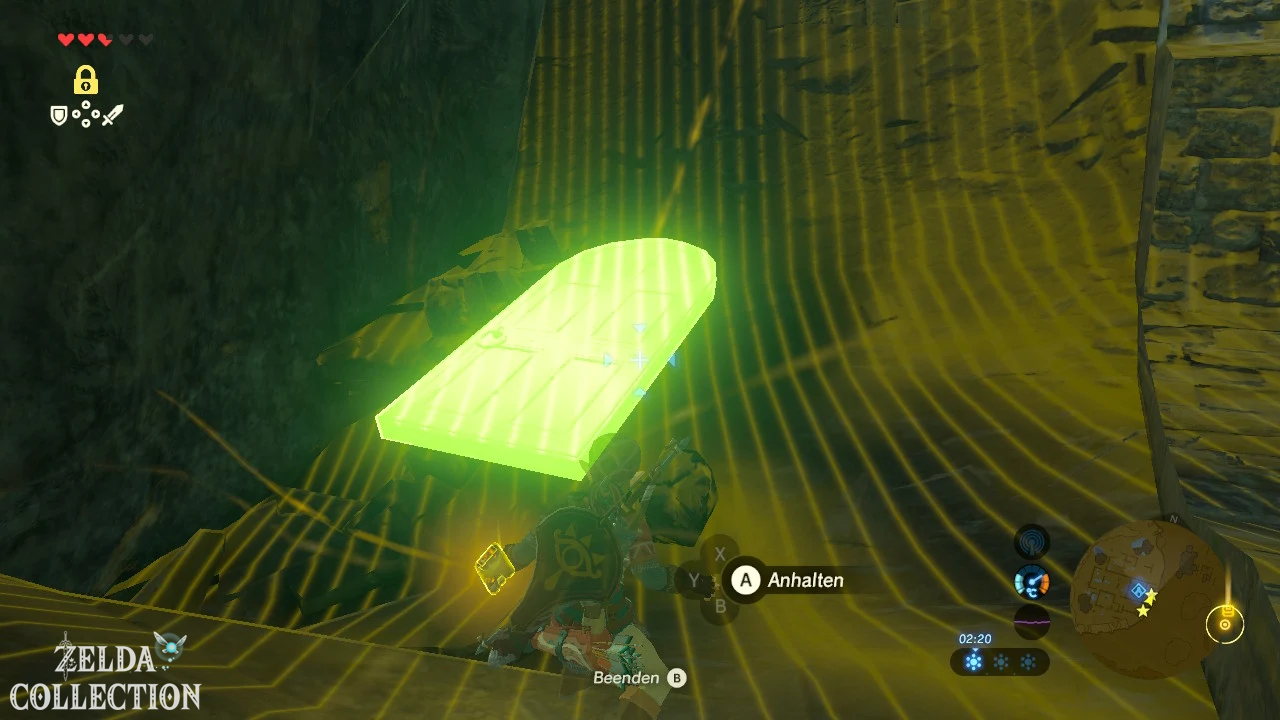
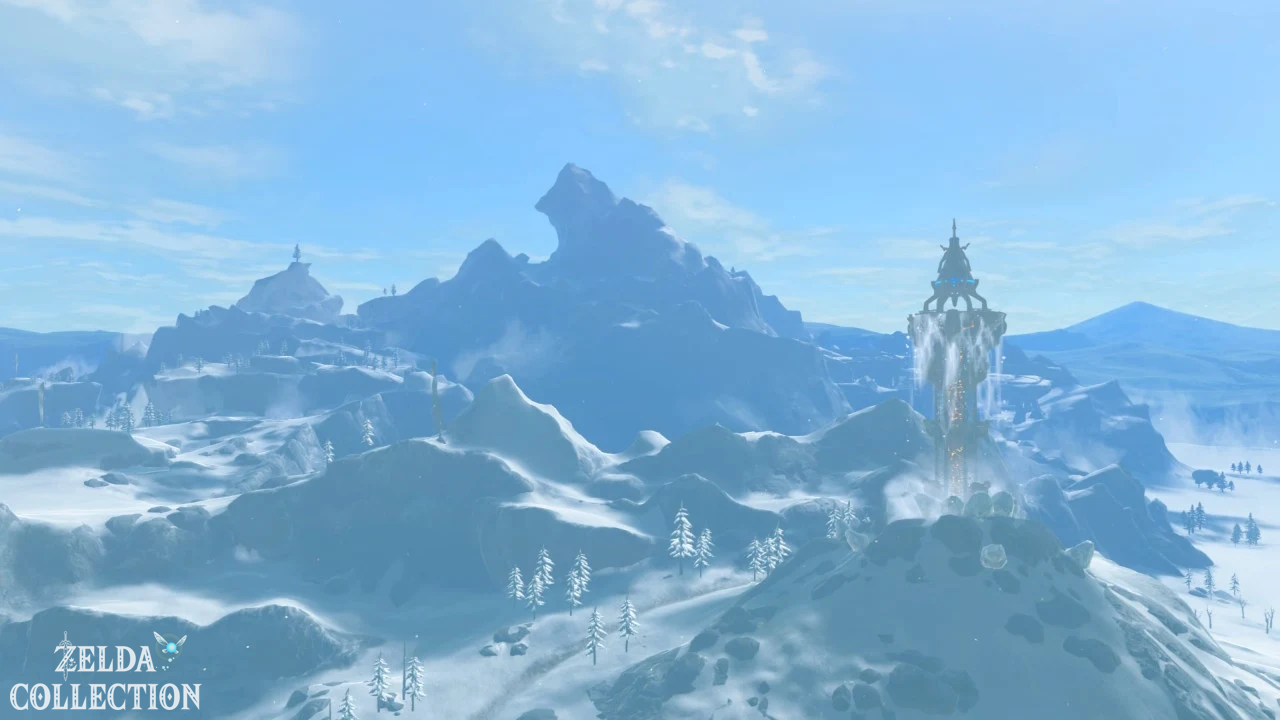
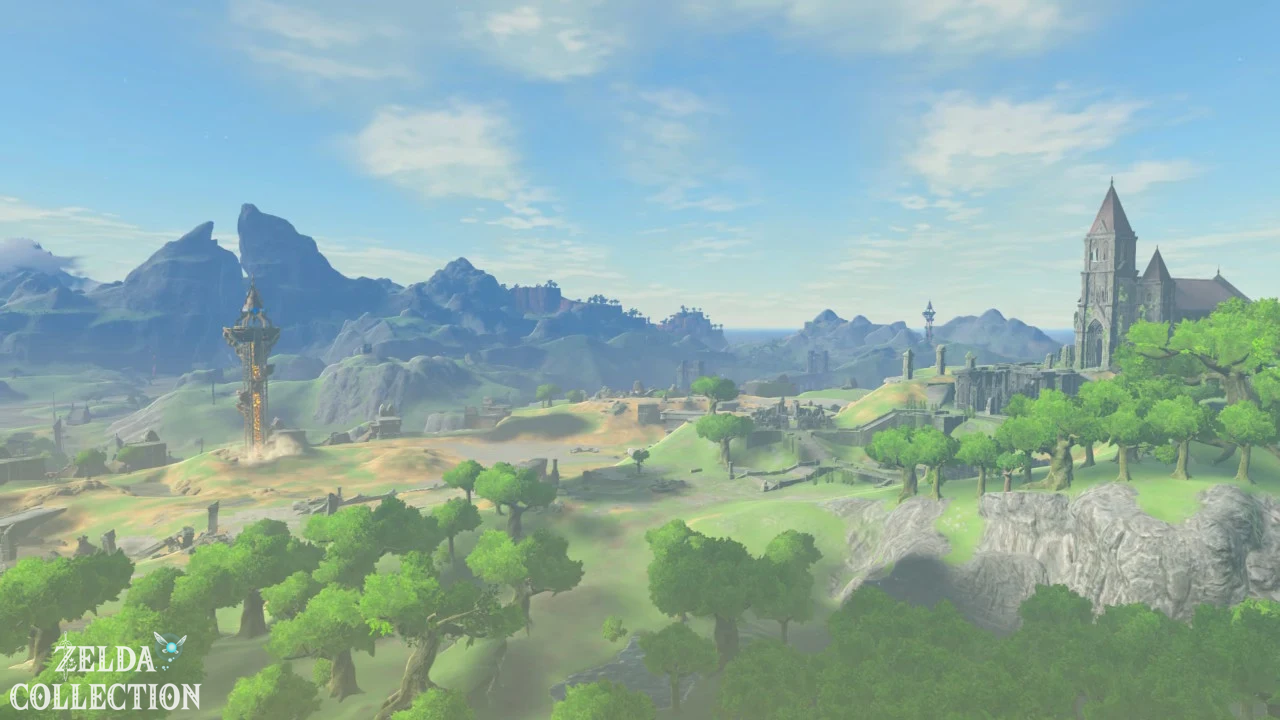
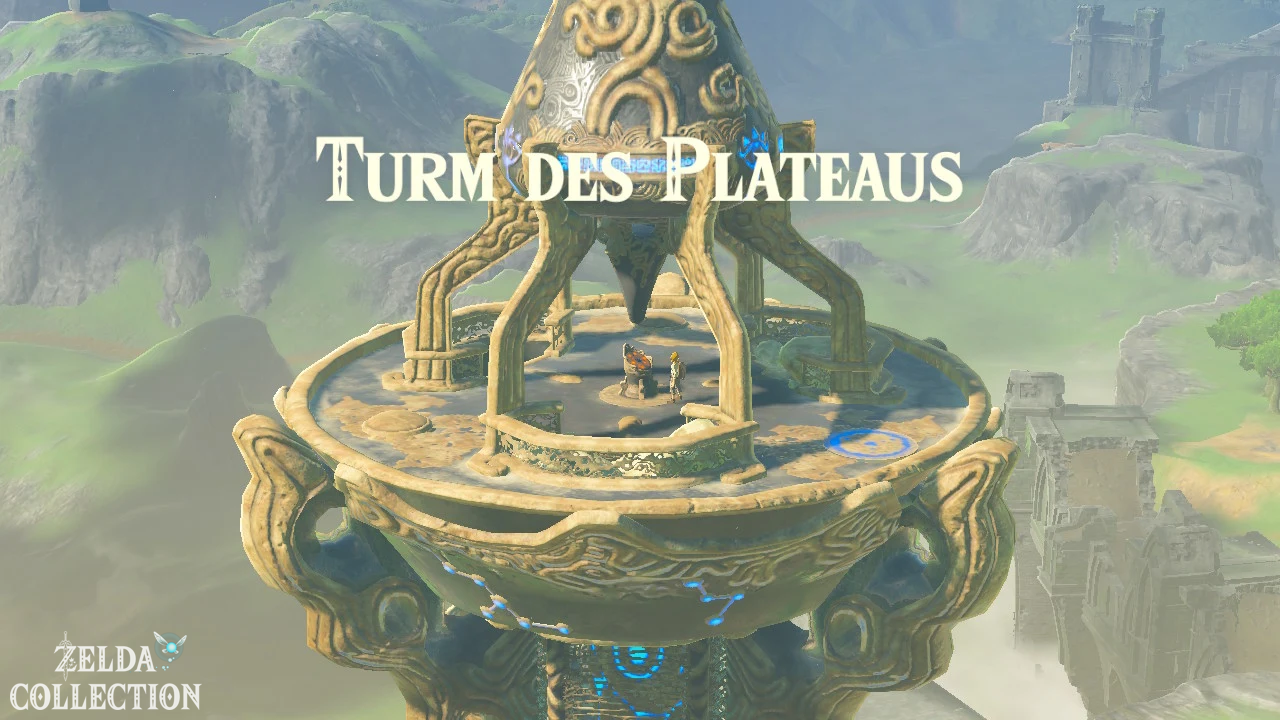
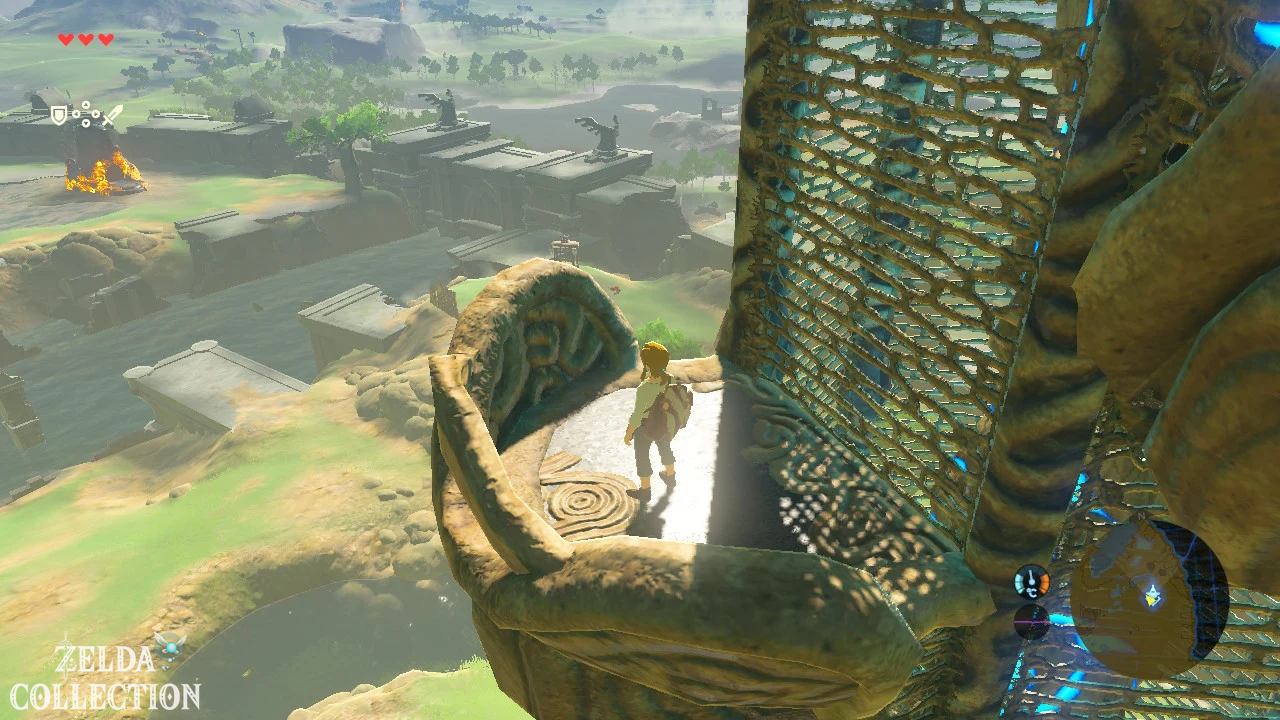
Follow the yellow markings to a sheikah facility that is partially sunk into the ground. There is another terminal in a depression. Insert the Sheikah Slate. Link not only activates the system in front of him: huge Sheikah towers begin to rise from the ground all over Hyrule. The platform that Link is standing on also moves up and becomes the Tower of the Great Plateau.
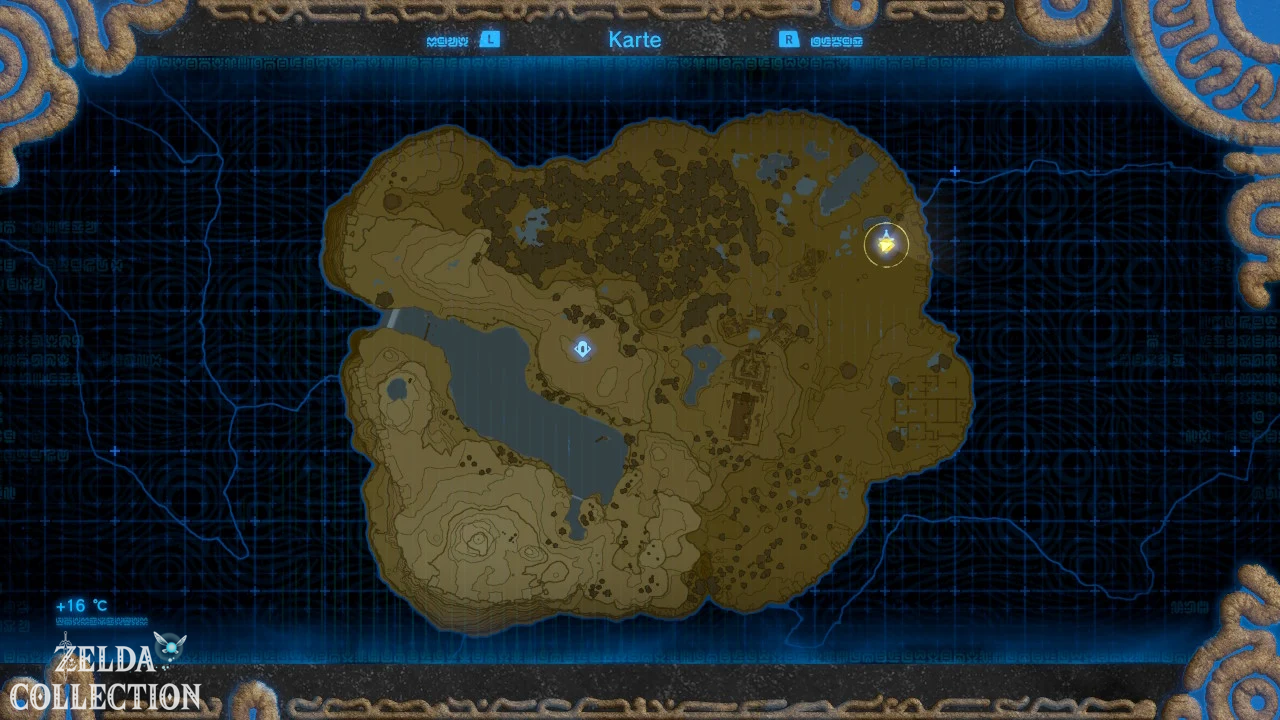
Once at the top, the regional map is transferred to the Sheikah Slate. The Great Plateau now appears in detail on the map with its contour lines, bodies of water and important landscape features. The remaining regions Hyrule’s initially remain largely empty. It is precisely this principle that accompanies us throughout the entire adventure: in each larger region we go to the relevant tower as early as possible, activate it and thereby receive the complete map of the surrounding area.
Activated towers also serve as fast travel destinations. This will become important in just a few minutes when we mark the remaining shrines on the plateau and teleport between locations we have already visited. The old man will explain the actual binoculars and pin functions to you in more detail.
View of Hyrule Castle and the Calamity Ganon
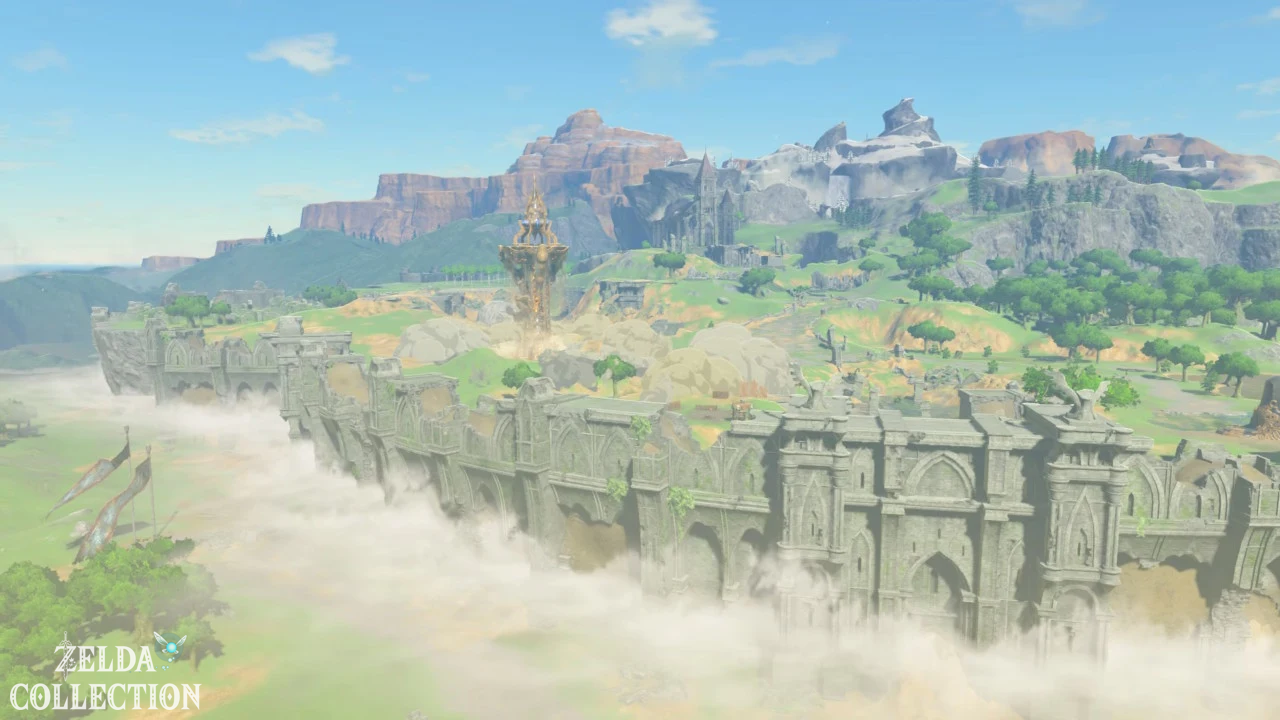
Once activated, Link’s attention turns to Hyrule Castle. The voice warns him that the Calamity Ganon trapped there is becoming stronger and stronger. In a playful way, you could actually set off for the castle very early later on – Breath of the Wild gives you an unusual amount of freedom. However, a direct attack would make no sense for our Walkthrough. Link currently has three hearts, hardly any armor and only improvised weapons. We therefore first build up equipment and health, free the four Divine Beasts and integrate the most important optional content along the way.
With the tower up, the main goal “Follow the Sheikah Slate” is completed. This ends the first major section of our new Walkthrough.
Descend safely from the tower
Don’t just jump off the tower now. Link doesn’t yet have a Paraglider and a fall from this height would be fatal. Instead, look through the opening or over the edge and lower yourself onto the individual platforms of the tower in a controlled manner. From there it goes bit by bit down to the ground. You can also climb parts of the tower, but you should always keep your low stamina in mind.
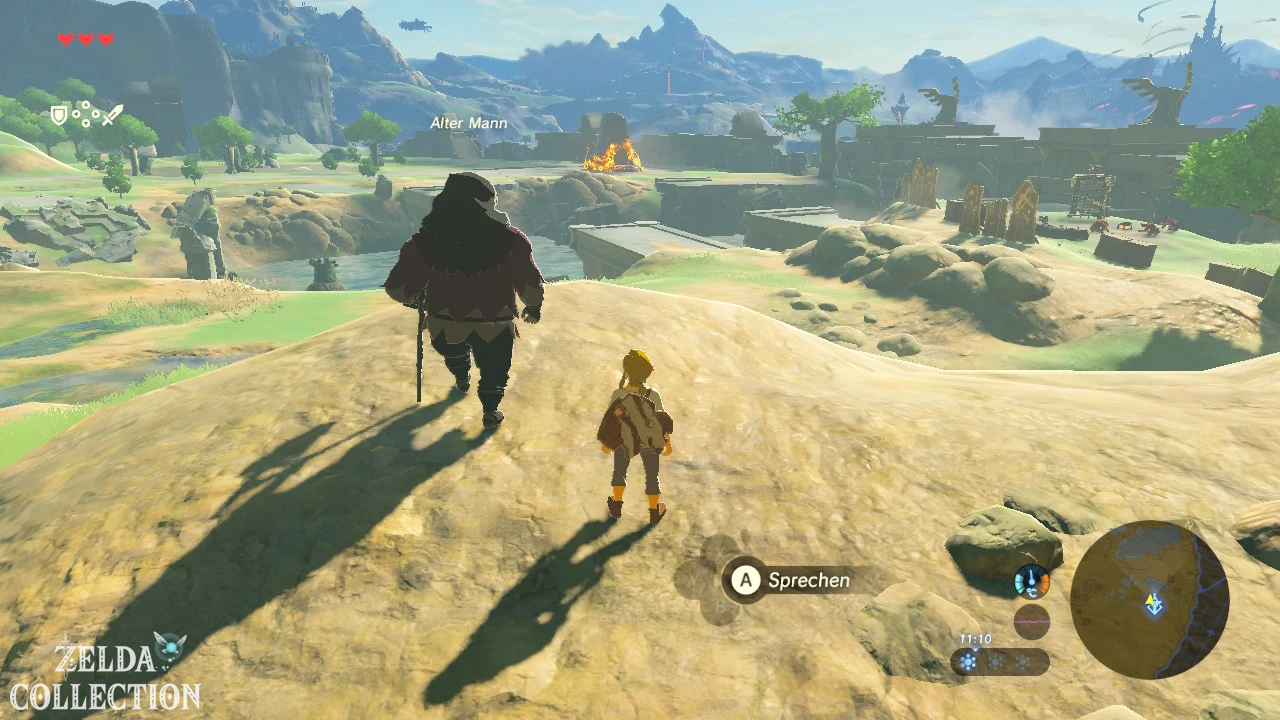
When you reach the bottom you will experience for the first time how the old man floats down to you with a Paraglider. This is exactly the tool we need to safely overcome the high walls surrounding the Great Plateau. In principle, the man would be willing to let Link have it – but not without something in return. He points out a shrine that glows orange nearby and first asks for its treasure.
This begins the next main objective “The Isolated Plateau”. In the following chapter we solve all four shrines on the plateau in an optimized order, get the magnet, bomb, stasis and cryo module, get permanent cold protection, take the useful Korok seeds and valuable Treasure Chests with us and finally leave the plateau with the Paraglider.
Continue on the Great Plateau
Our next destination is the nearby Oman Au Shrine. There we get the magnetic module – and with it the first ability that can be used to solve several previously unreachable chests and Korok puzzles on the plateau. We then connect the three remaining shrines together so that we can take cold protection, important equipment and optional collectibles with us without unnecessary running back and forth. You can find the previous ZeldaCollection section under The Isolated Plateau.