

With the Paraglider in your bag, Hyrule is truly open to you for the first time. King Rhoam has asked Link to travel to Kakariko Village and find Impa there. We could theoretically glide cross-country straight to the village, but that would be a bad idea for an optimal solution: There are several extremely valuable early rewards on the intended route to the east. We first get the two Korok seeds, which only become available on the Great Plateau with the Paraglider or after leaving the starting area for the first time, then solve the Bosh Kala shrine, activate the Dueling Peaks Tower and thus unlock the Sheikah sensor. Between the mountains we also pick up the Climbing Headscarf from the Ree Dahee Shrine before reaching our first stable, taming a horse and activating the Ha Dahamar Shrine as an important fast travel point.
We are deliberately not clearing out all of West Necluda. There are numerous other shrines and dozens Koroks in the Dueling Peaks Tower region, including the two shrines on the peaks of the Dueling Peaks. With Link’s current stamina, the climb takes an unnecessary amount of time. We will later integrate these collectibles into our detailed Necluda round. If you would like to look up individual shrines independently, you will still find the valid special guide to the shrines at the Dueling Peaks Tower on ZeldaCollection.
Main objective “Impa the Wise” begins
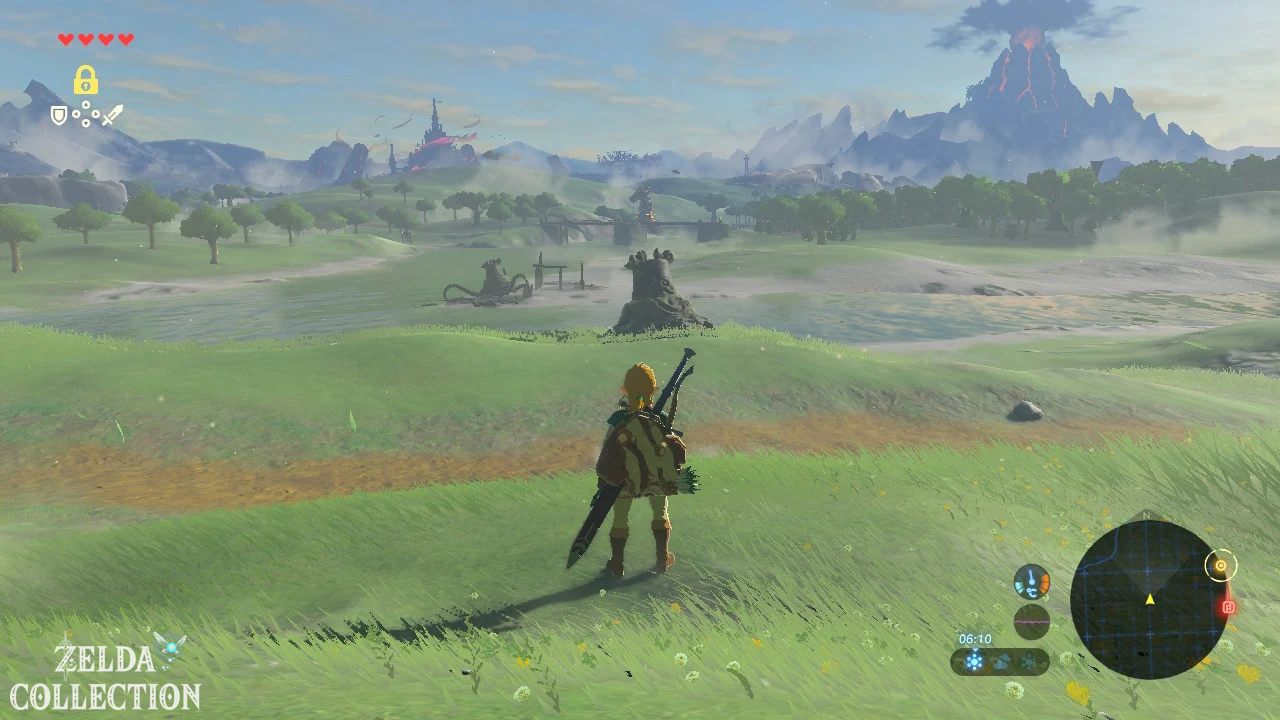
After King Rhoam’s revelations at the Temple of Time, you have two main goals: defeat Ganon and seek out Impa. We won’t think about the final boss for the time being. Instead, open the map and orient yourself East. There are the mighty twin mountains, which you can clearly see from the plateau. Kakariko Village is behind it or northeast of it. The path to get there forms our guideline for the next two chapters.
Before you finally slide down, briefly check your equipment. The winter doublet is no longer absolutely necessary on the following route, but can still be useful due to its higher defense. Also pick up a usable bow, a shield, and at least one one-handed weapon. Below the plateau, even normal enemies are a little more dangerous than during the tutorial.
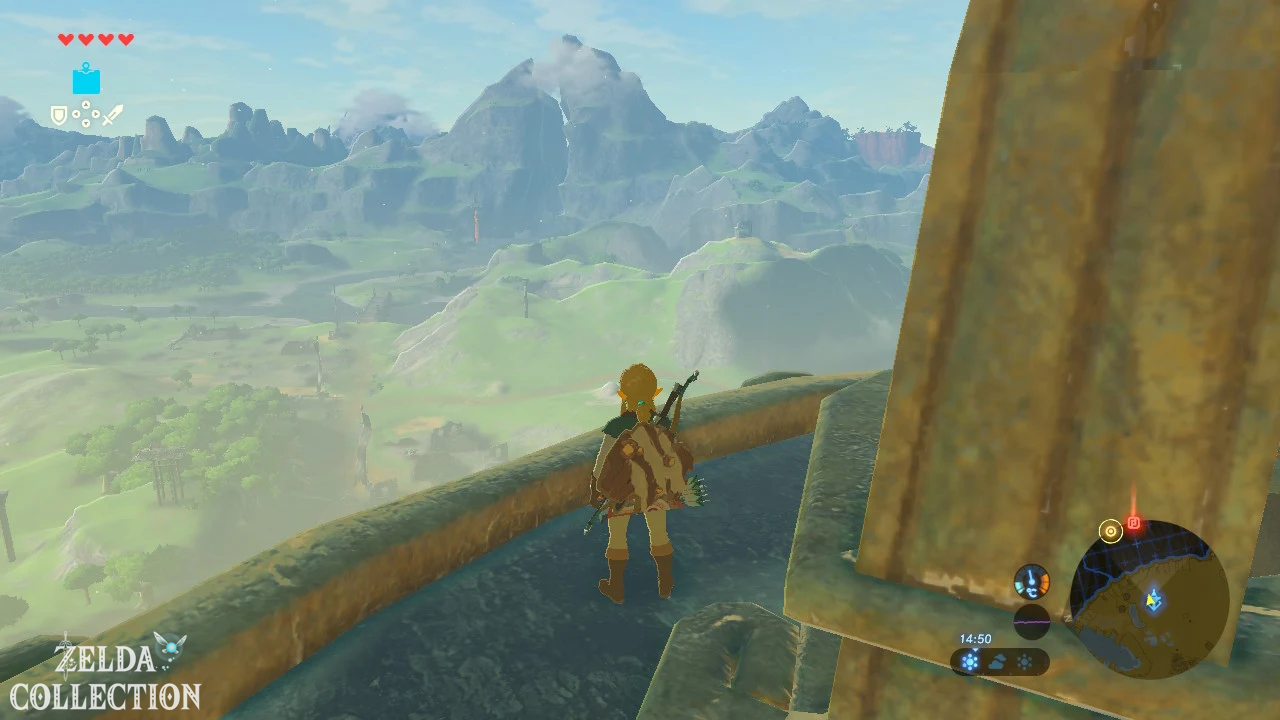
Optional: First really leave the plateau
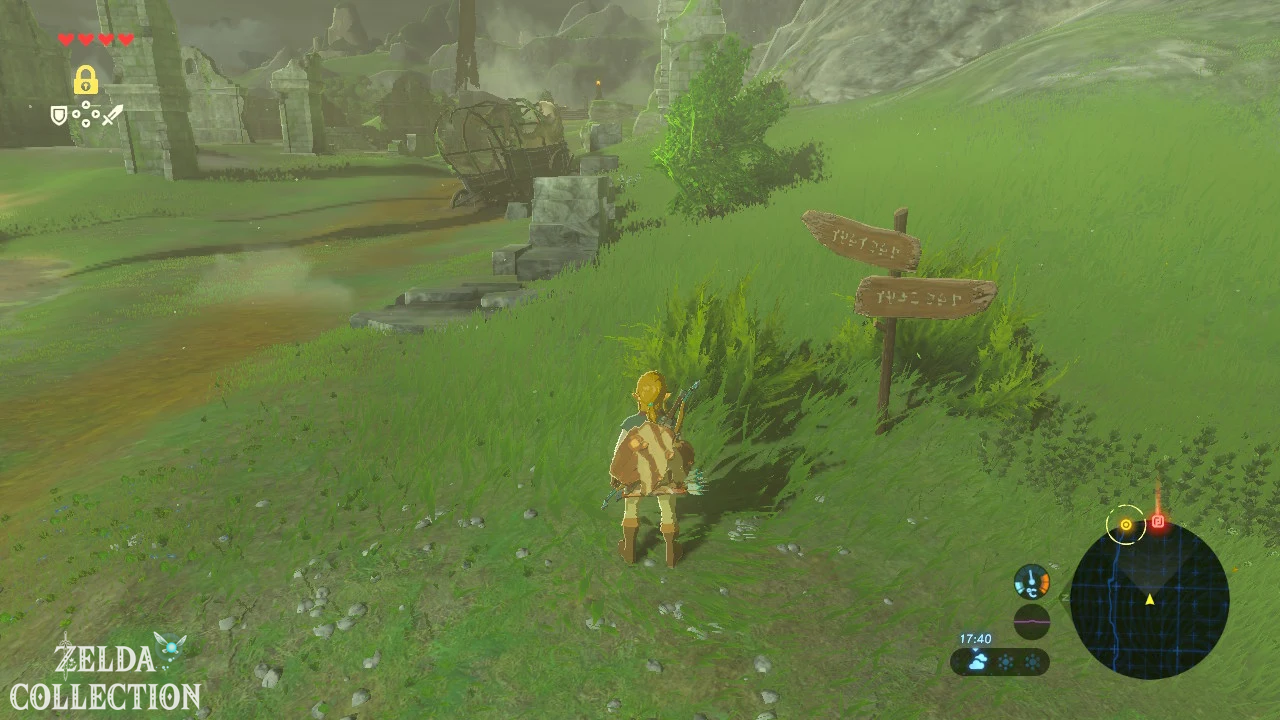
[Optional – required for 100%] One of the 900 Koroks has an unusual unlock condition: it can only appear after Link has actually left the Great Plateau at least once. Therefore, jump down from the eastern edge or the citadel with the Paraglider and land somewhere on the ground outside the plateau border. Once you enter Hyrule, the condition is met.
Open the map immediately afterwards and teleport yourself back to the Shrine of Resurrection. Go to the chamber where Link awakened after one hundred years at the beginning of the game. A glittering fairy dust now moves above or directly next to the old bedroom. Examine it and the next Korok will appear. This seed was deliberately not available at the start of the game and would have been easy to miss without this short return journey.
Optional: Korok below the eastern plateau cliff
[Optional – required for 100%] Then teleport to Ja Baij Shrine in the Eastern Abbey. Run to the southeast or eastern edge of the plateau and look carefully over the cliff. Deep below you there is a small ledge at the foot of the rock face. Although this find is part of the map region of the Great Plateau, it is actually located below the high cliff and could not be reached safely beforehand without a Paraglider.
Jumps off and immediately opens the sail. Slides onto the heel in a controlled manner. There is another large metal plate or door there. Lift it away with the magnet module and examine the small stone underneath. You get the last of the three plateau krogs, for which the Paraglider or actually leaving the plateau is a prerequisite.
From here we don’t have to go back up. We are already on the right side of the plateau and continue our way east.
Optional: First Korok in the Dueling Peaks region
[Optional] There is a small hill just a little northeast of the base of the plateau. On its southeastern side you will find a low cave entrance. A typical Korok flower task begins inside: First there is a single yellow flower. Touch them and then look for the group with two flowers, then three, four and finally five. As soon as you have completed the sequence, another Korok will appear.
You will encounter such flower puzzles all over Hyrule. The rule always remains the same: individual flowers or groups with increasing number of flowers determine the order. Since this puzzle is almost directly on our path, we take it with us straight away.
Bosh Kala Shrine – Gone with the Wind
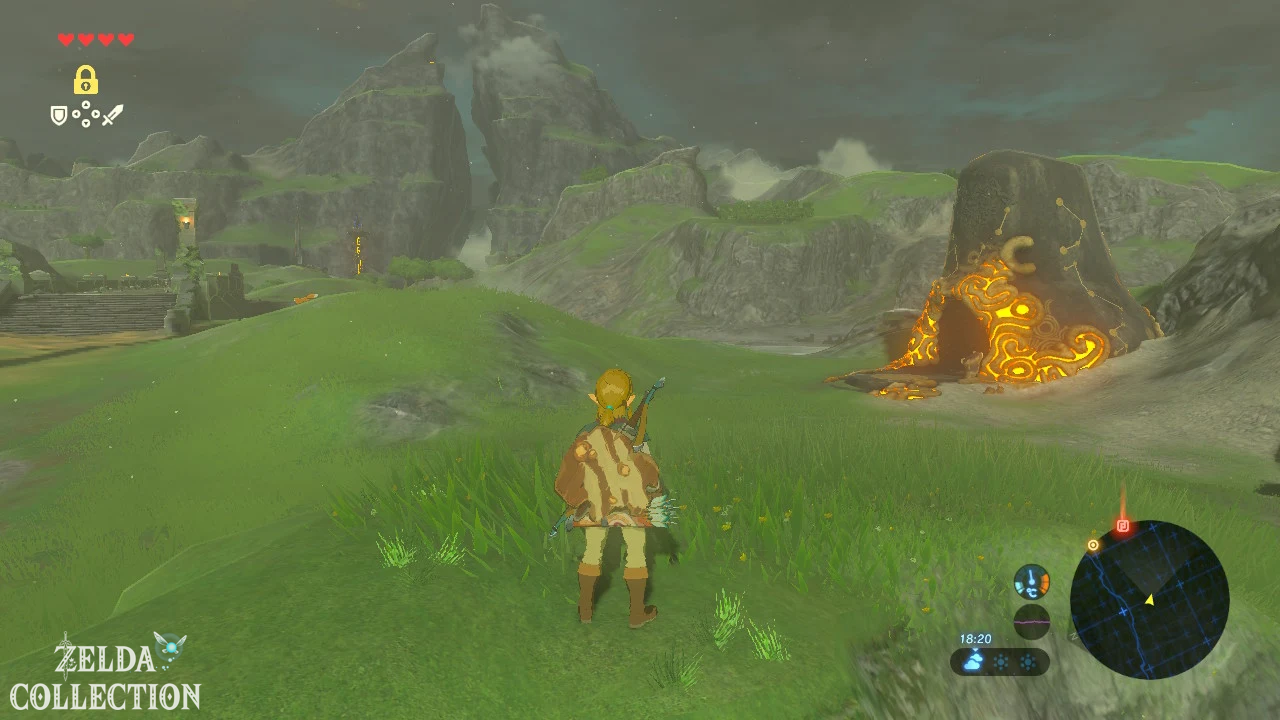
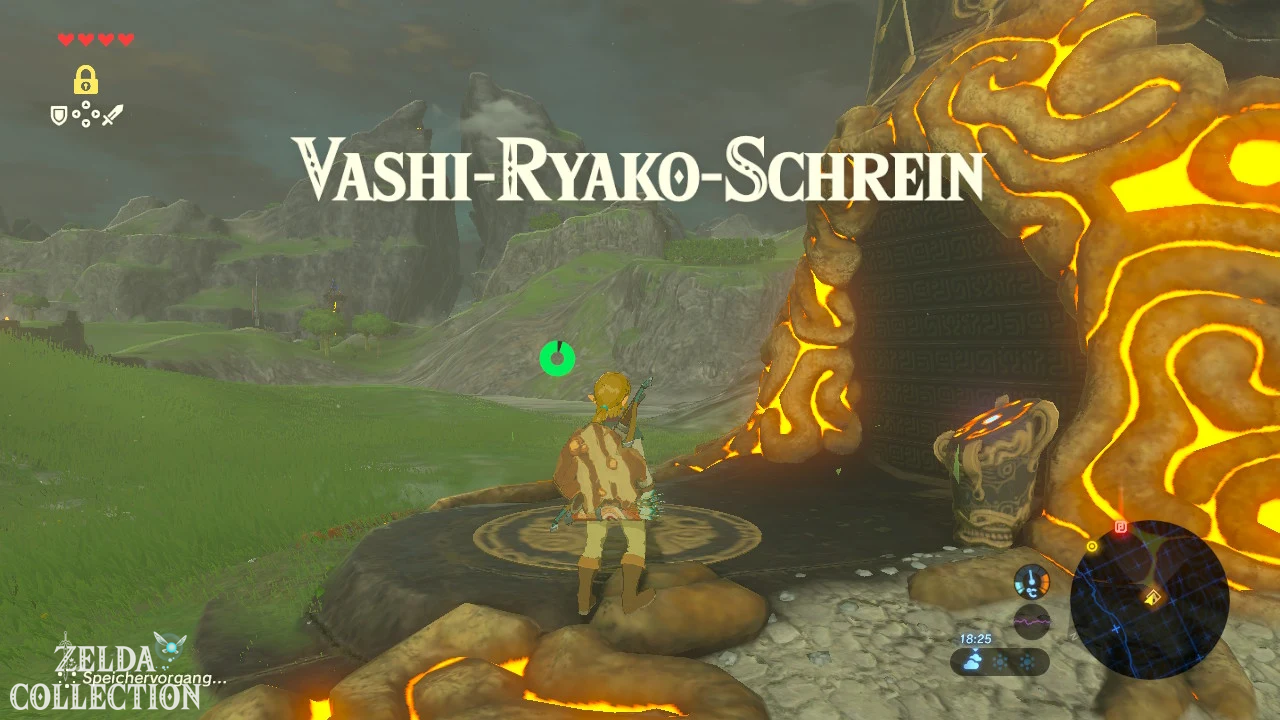
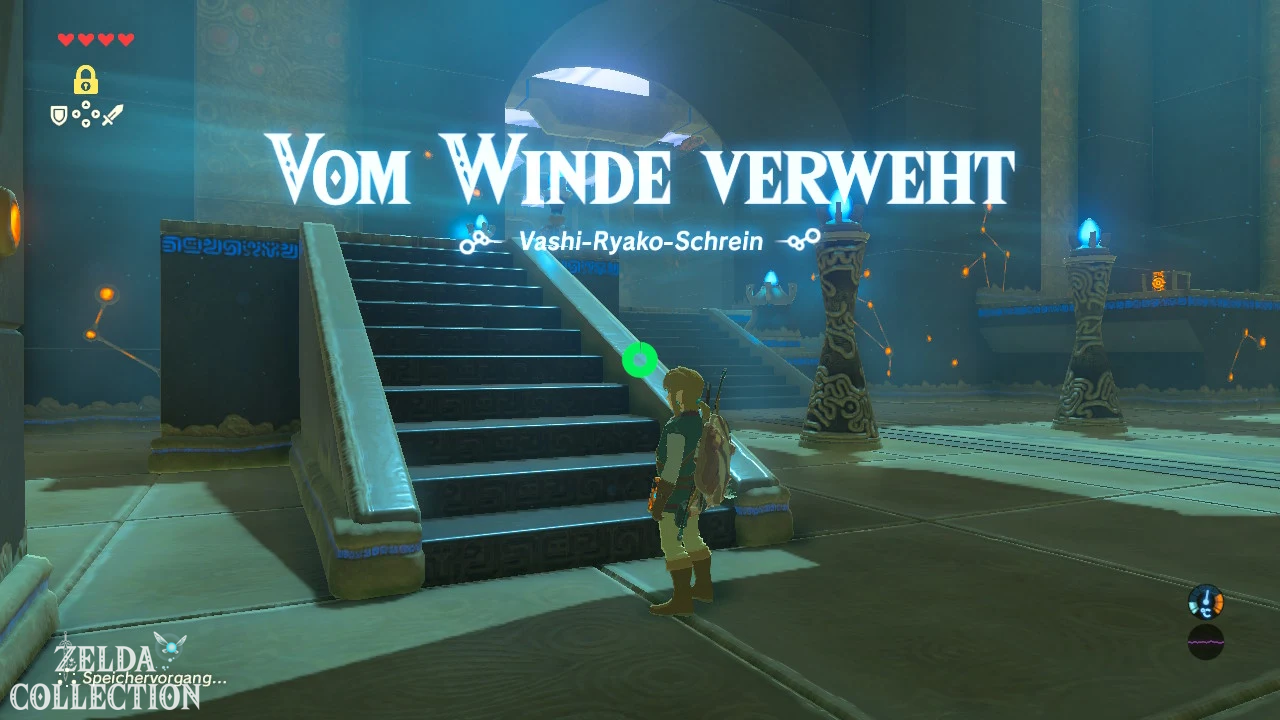
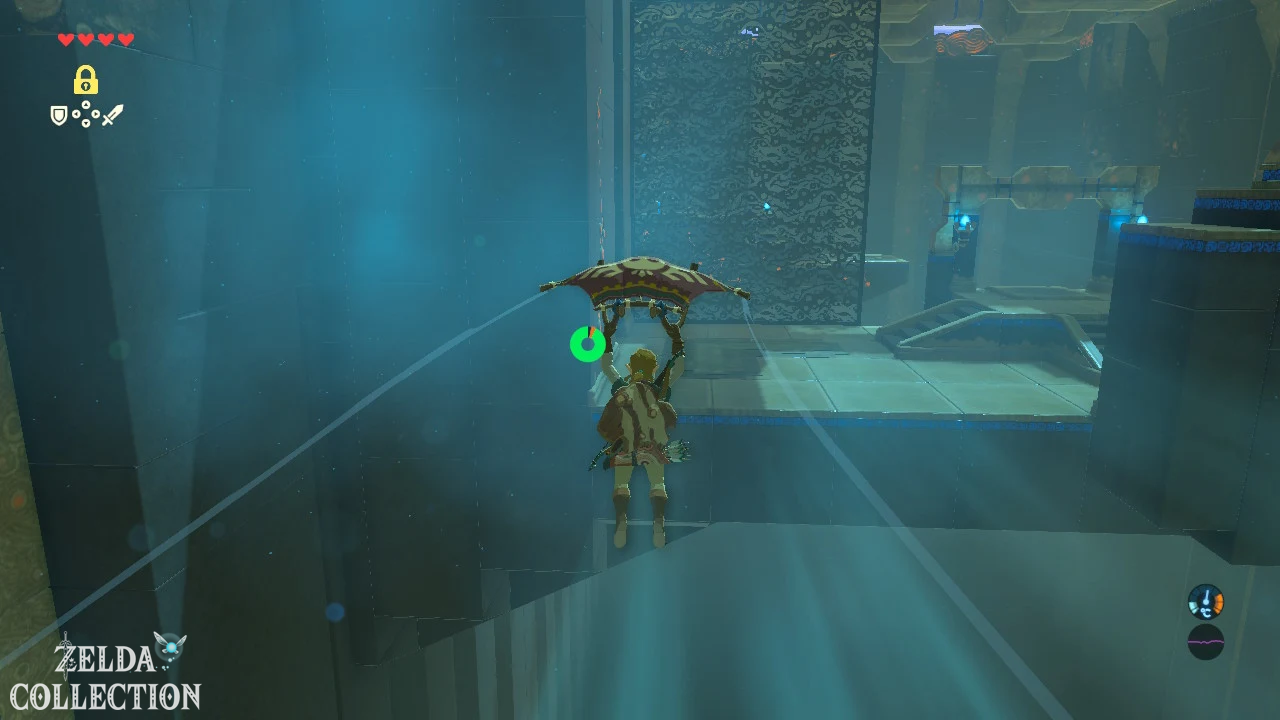
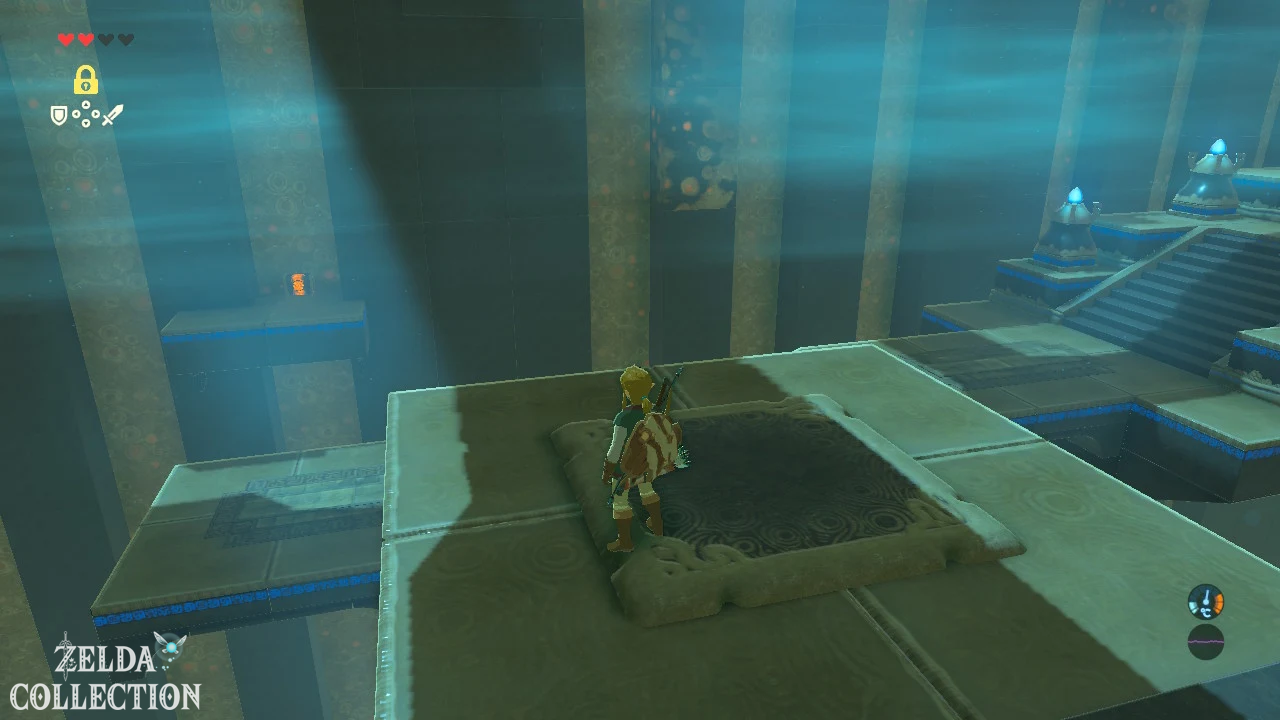
Now follow the path east towards the large stone bridge over the Hylia River. Still in front of the Prologia Bridge you discover the next shrine that glows orange. Activates the Bosh Kala Shrine and enters it. Since we just received the Paraglider, this shrine is the perfect introduction to an important mechanic: upward currents can carry Link up or over large gaps with the sail open.
Go up the small stairs in the first room and stand in front of the fan. Jump into the airflow and immediately open the Paraglider. The current will carry you to the opposite platform. First turn there to Treasure Chest and glide over. Inside lies amber. Then use the next stream of air to move deeper into the shrine.
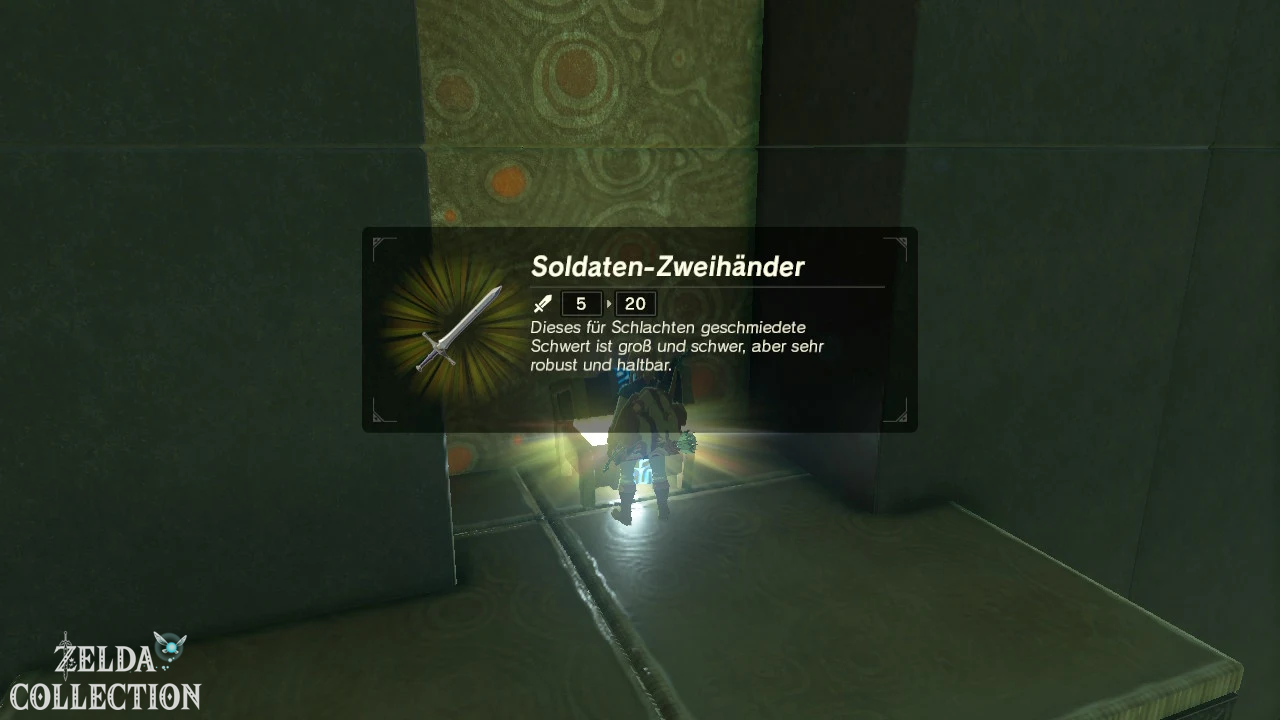
Repeat the principle in the large room. Let the fans carry you over the abyss and land on the designated platforms. Shortly before the altar you could run directly to the priest, but to the left or to the side there is a much more valuable second Treasure Chest waiting. Take some running time, jump off the edge and open the Paraglider as early as possible. The jump is close, but easily doable. In the chest is a Soldier’s Two-Handed Sword, which does excellent damage at this early stage.
Return to the altar and receive the next Spirit Orb. Since we take many shrines with us on our route, we soon reach four signs for the next heart or stamina upgrade.
The Prologia bridge
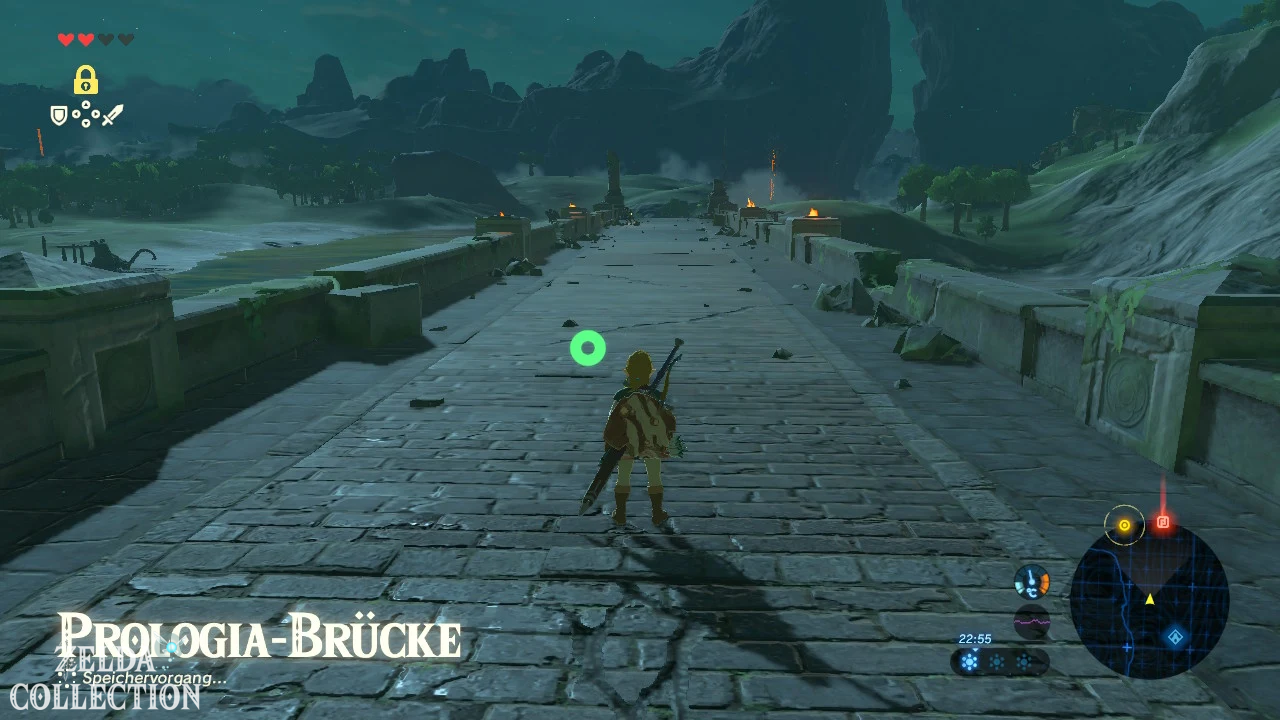
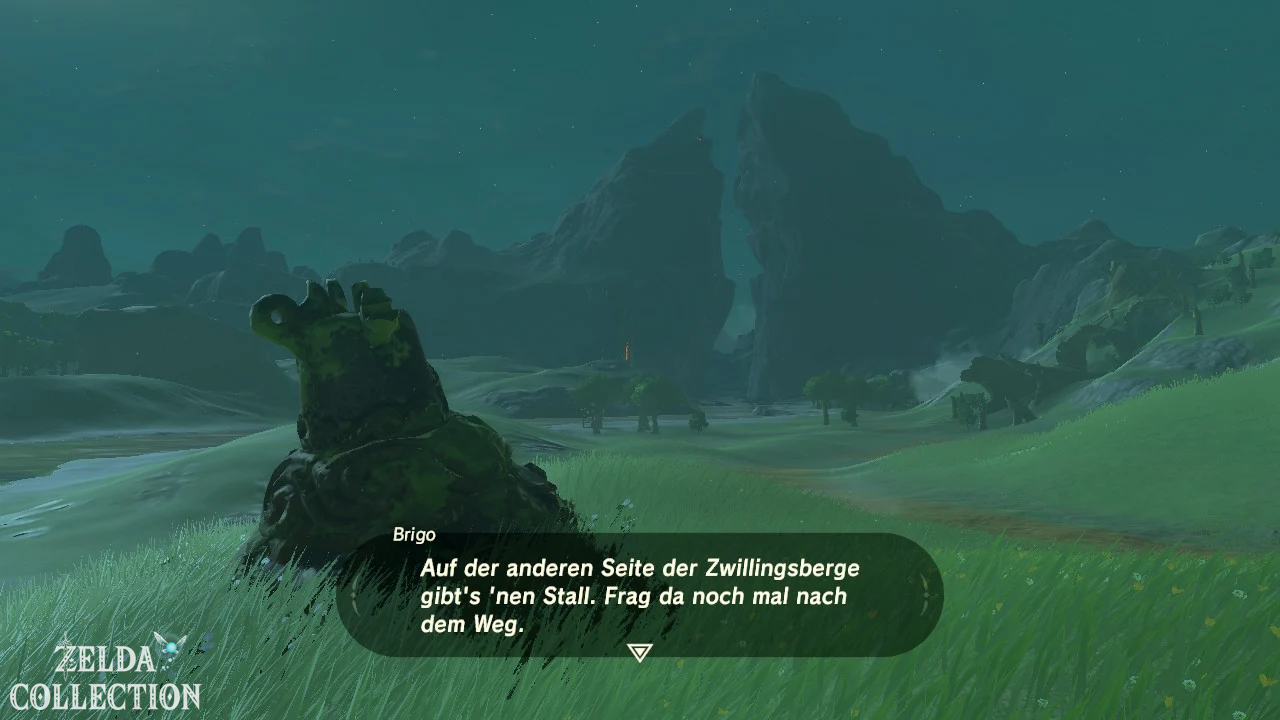
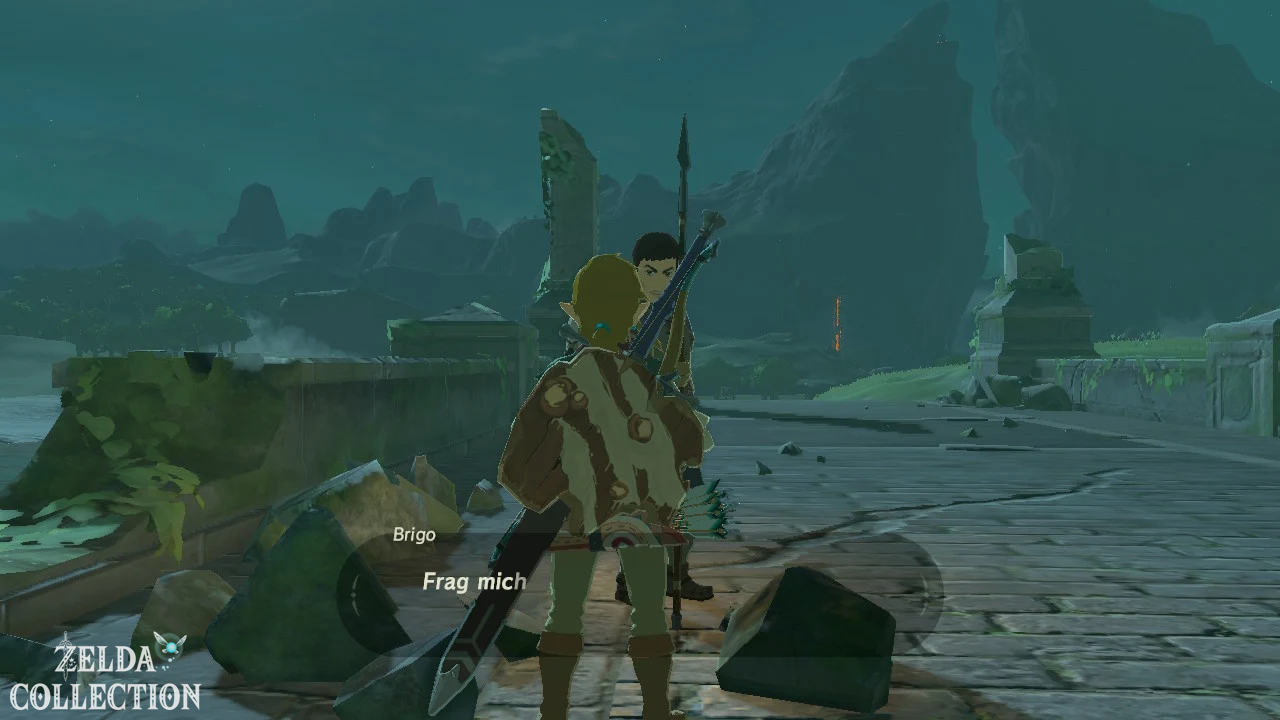
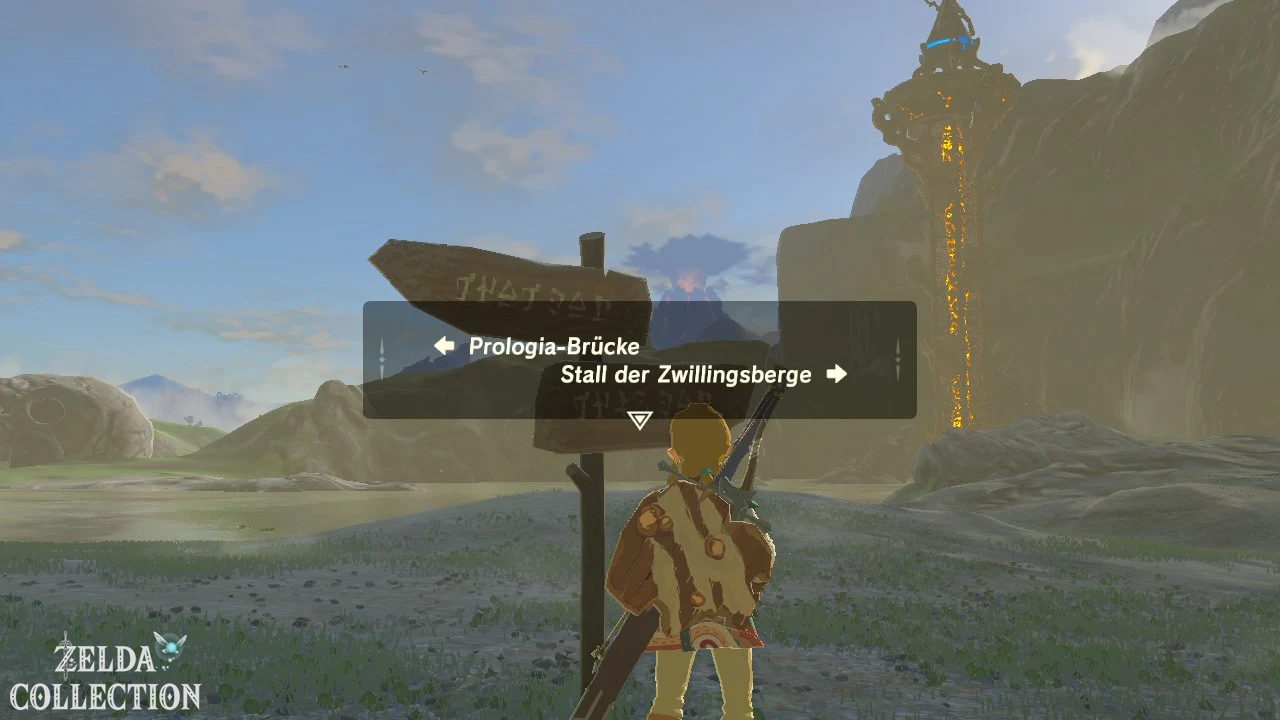
Leave the shrine and follow the road east. A little later you will reach the long Prologia bridge over the Hylia River. On the way, speak to Brigo, who is patrolling the bridge. He warns Link about the dangers of the wilderness and can also give you information about the surrounding area and the route to Kakariko Village. The road behind the bridge leads practically straight towards the Dueling Peaks.
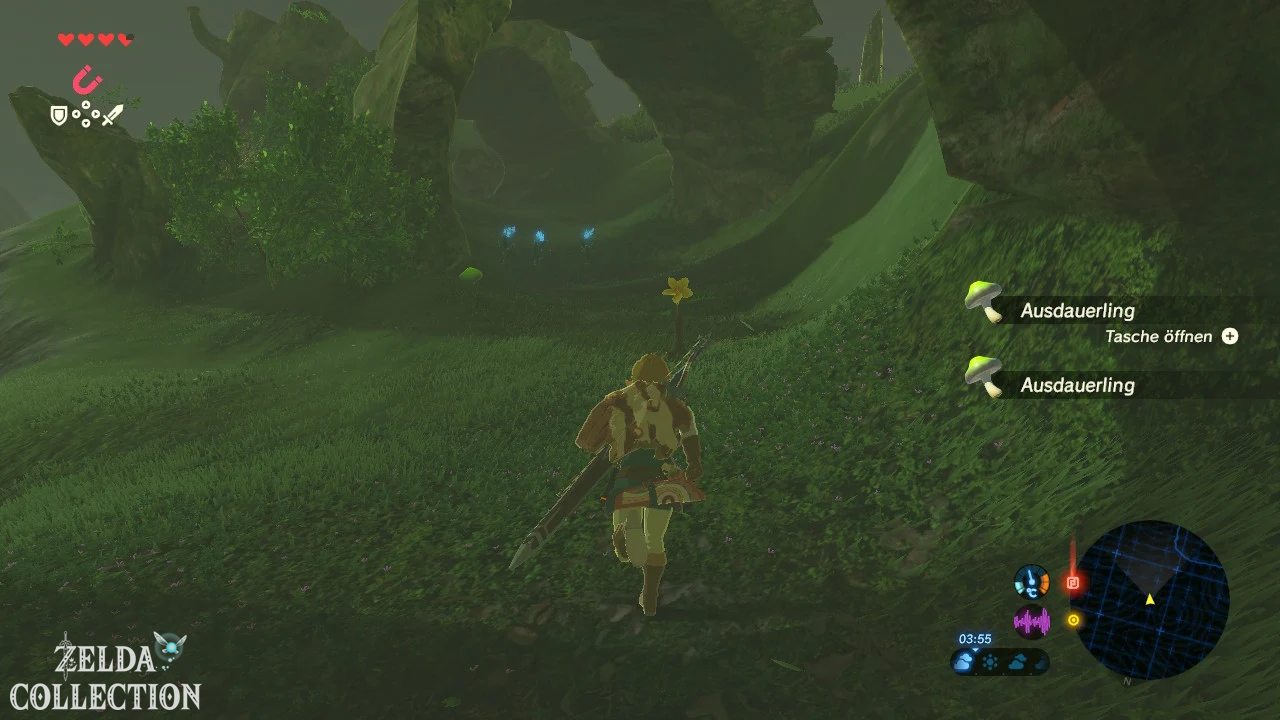
There are also some Endurances growing at the western end of the bridge. Take her with you. Dishes with stamina items replenish some of Link’s stamina and are ideal, especially in the first few hours, to save a climbing attempt that has taken a little too long.
Optional: Korok and purple Rupee under the Prologia bridge
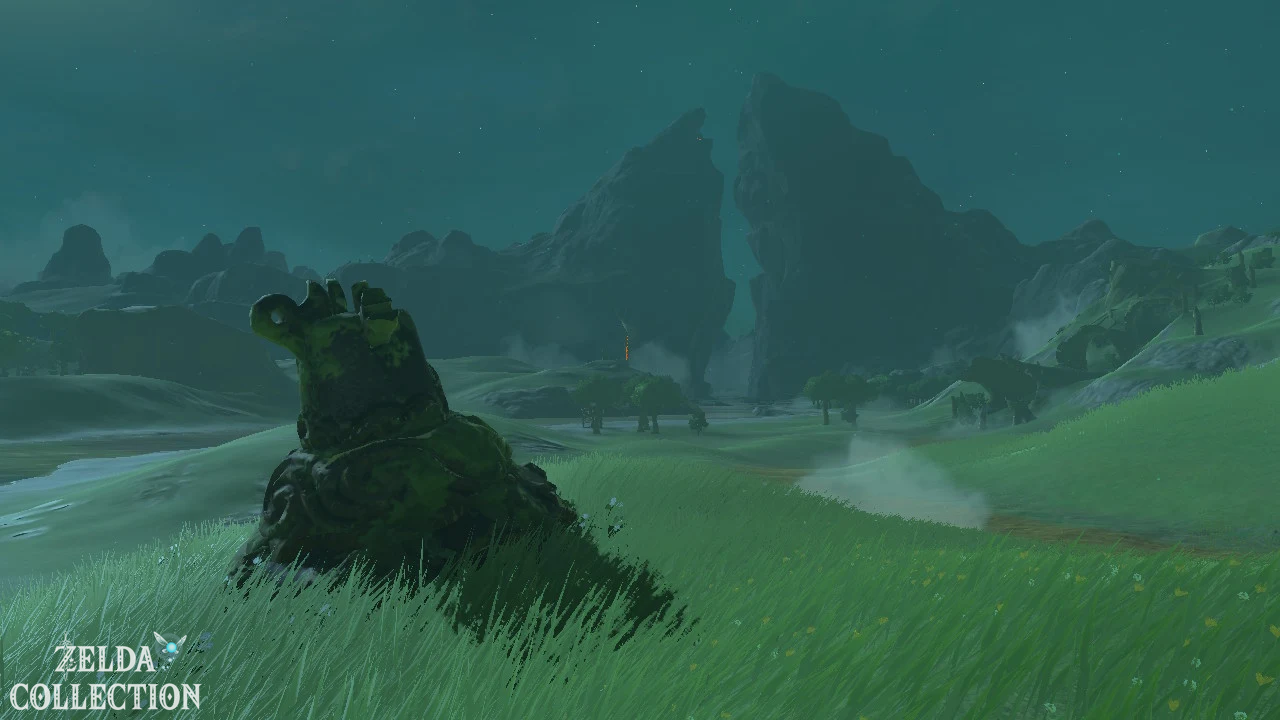
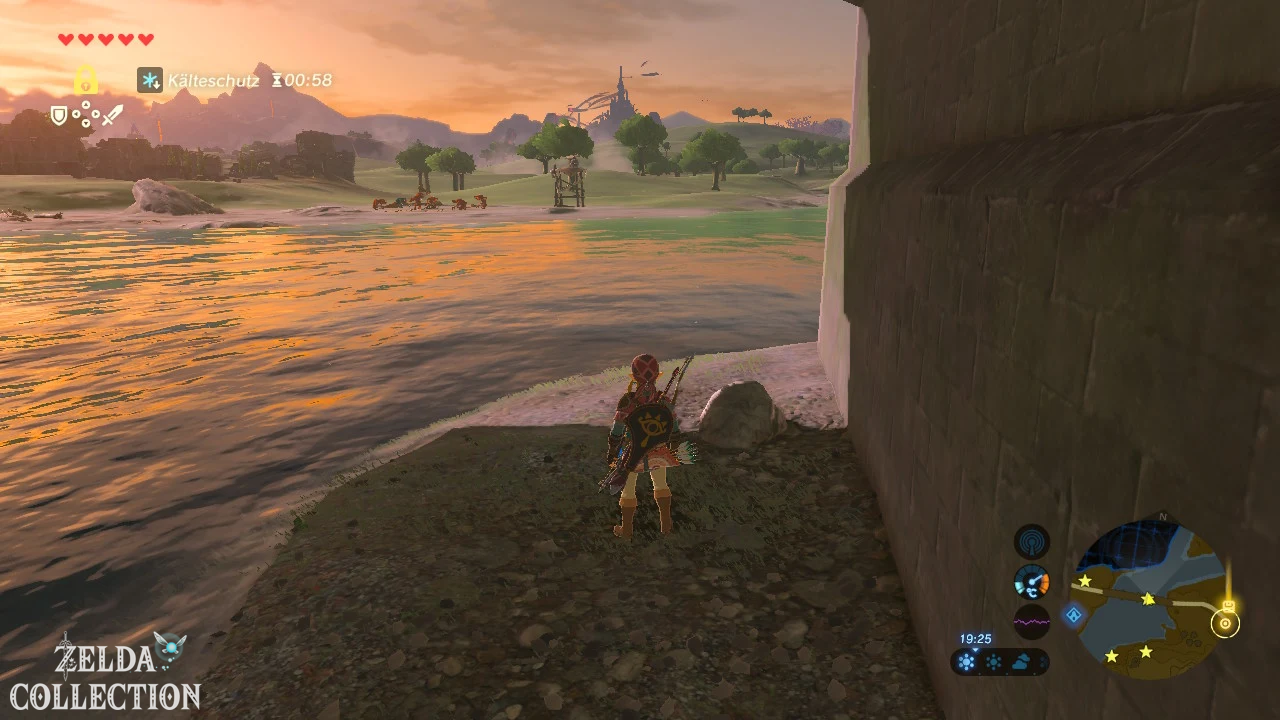
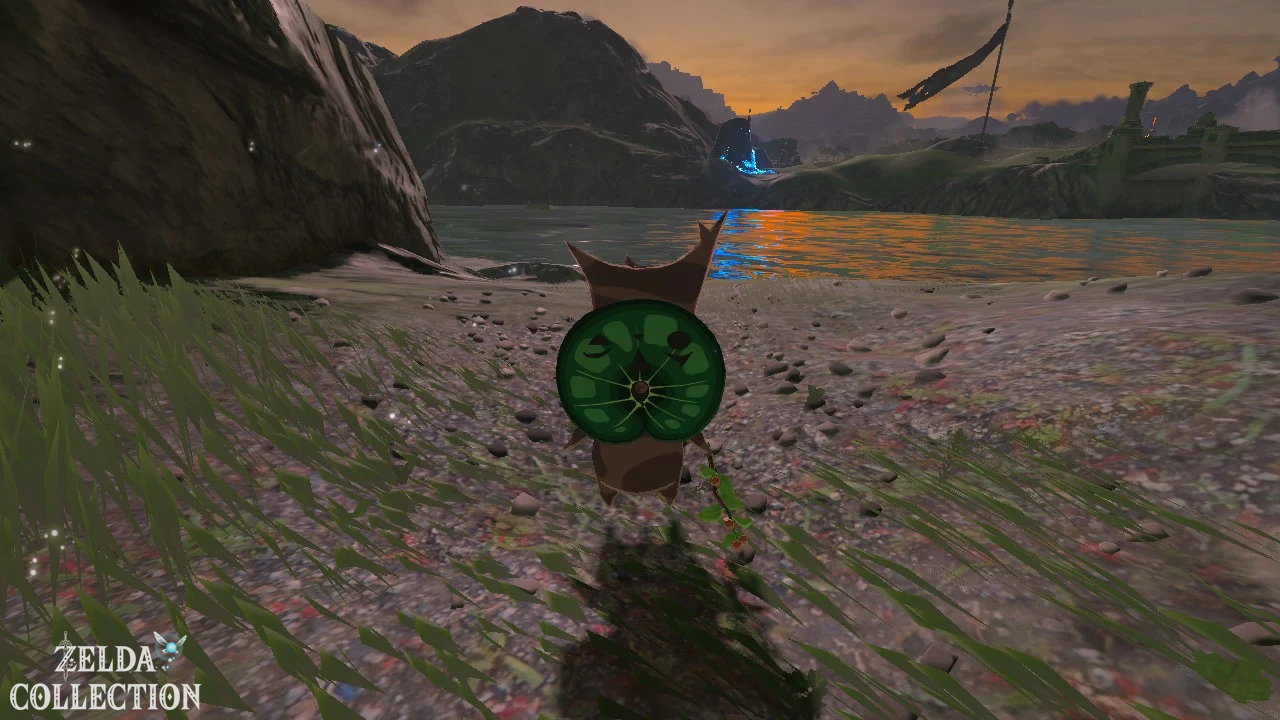
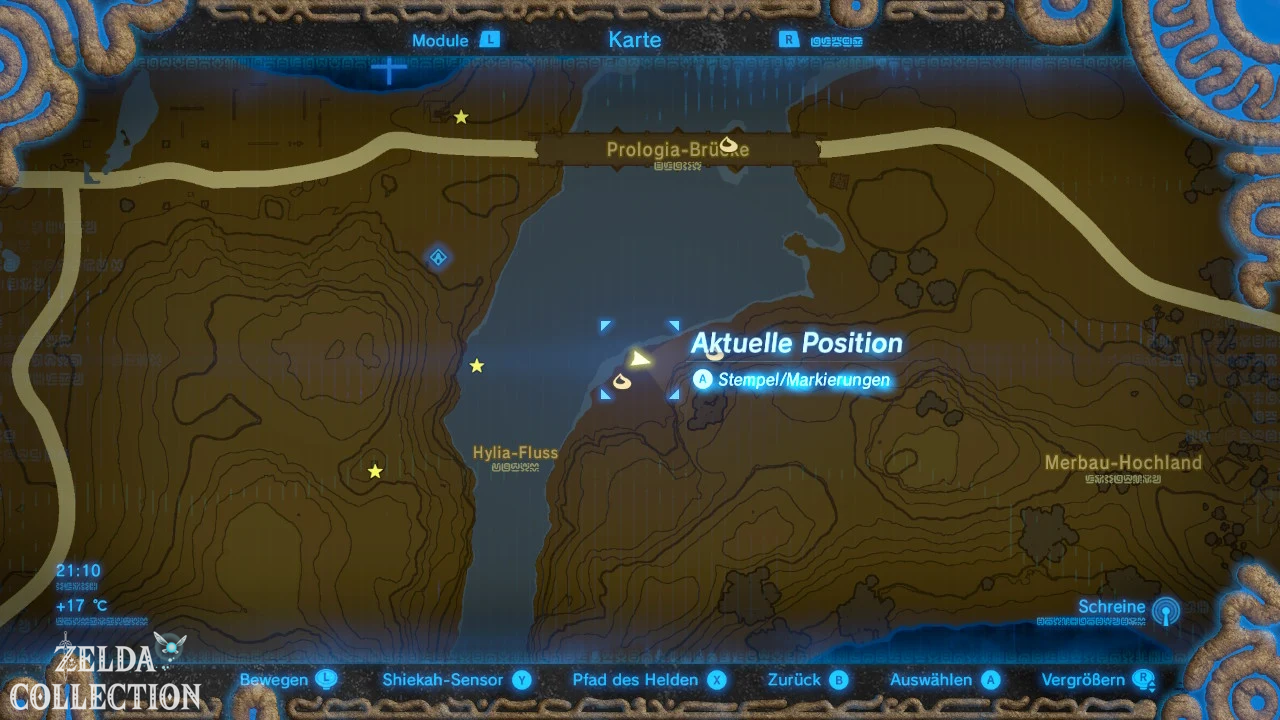
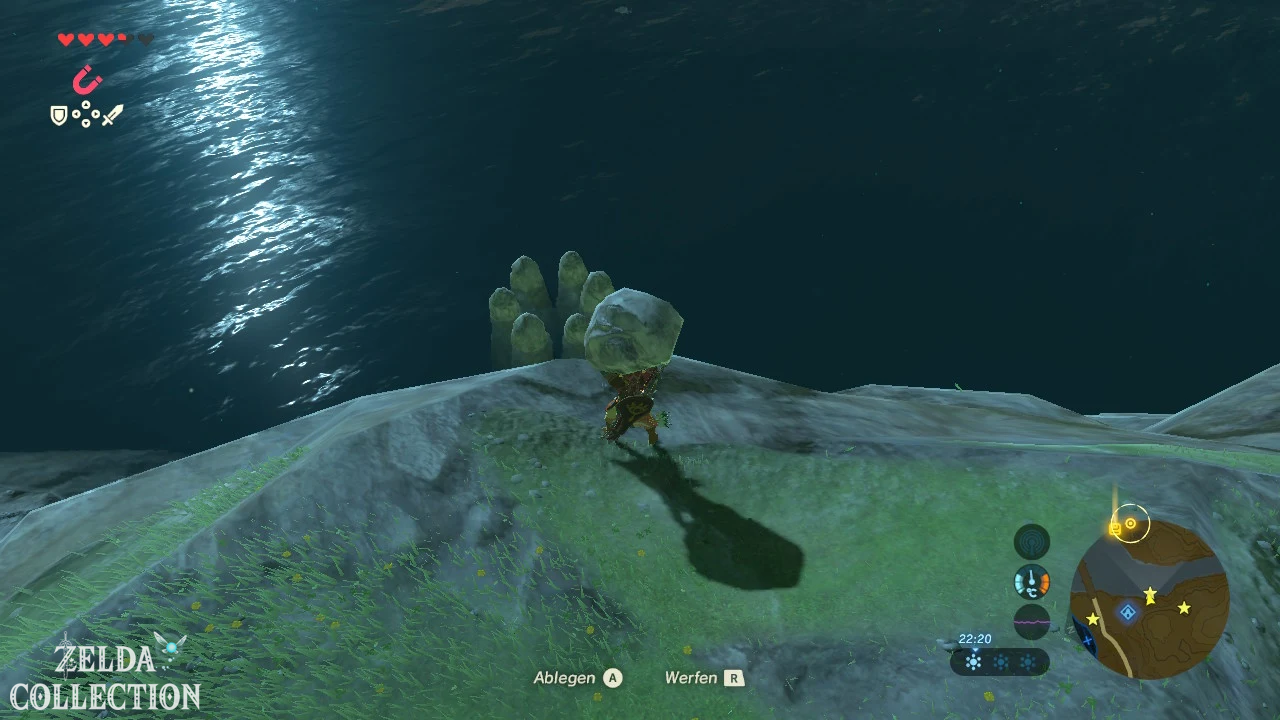
[Optional – recommended] There are two rewards hidden under the bridge. Look down from the middle of the bridge. There is a small stone on or near a sandbank under one of the middle pillars. Slide down and lift it up – underneath sits a Korok.
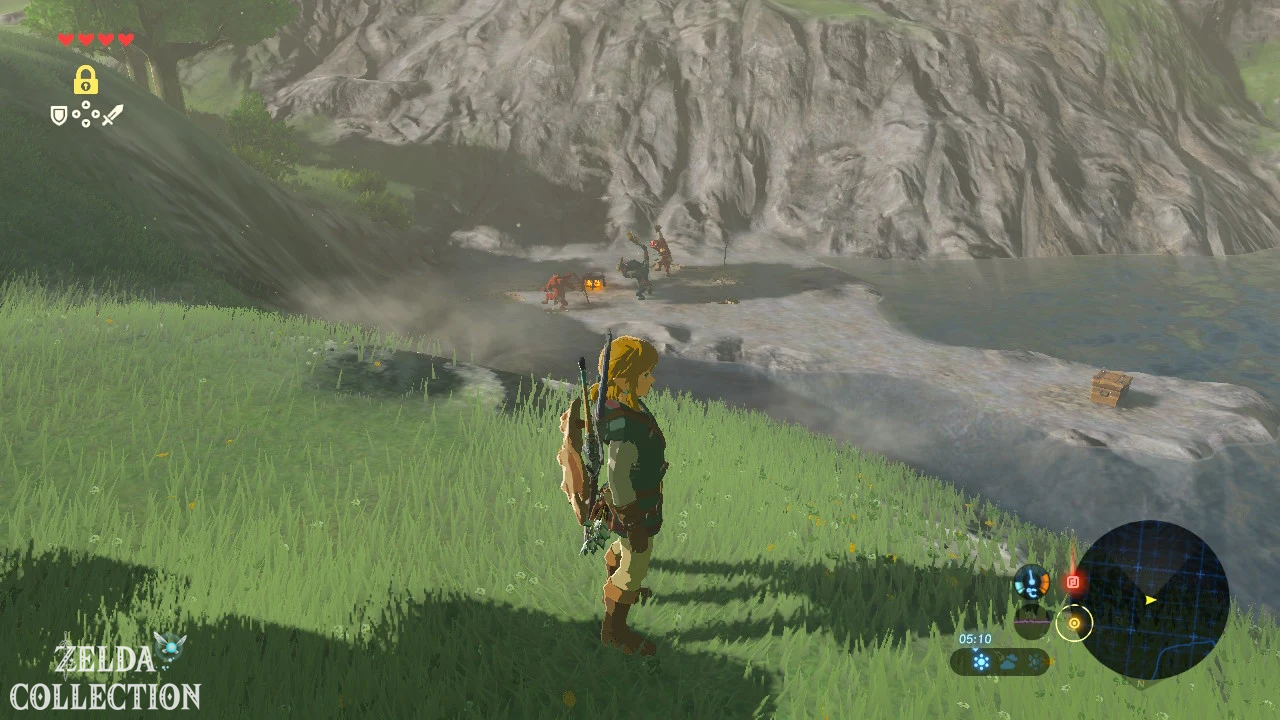
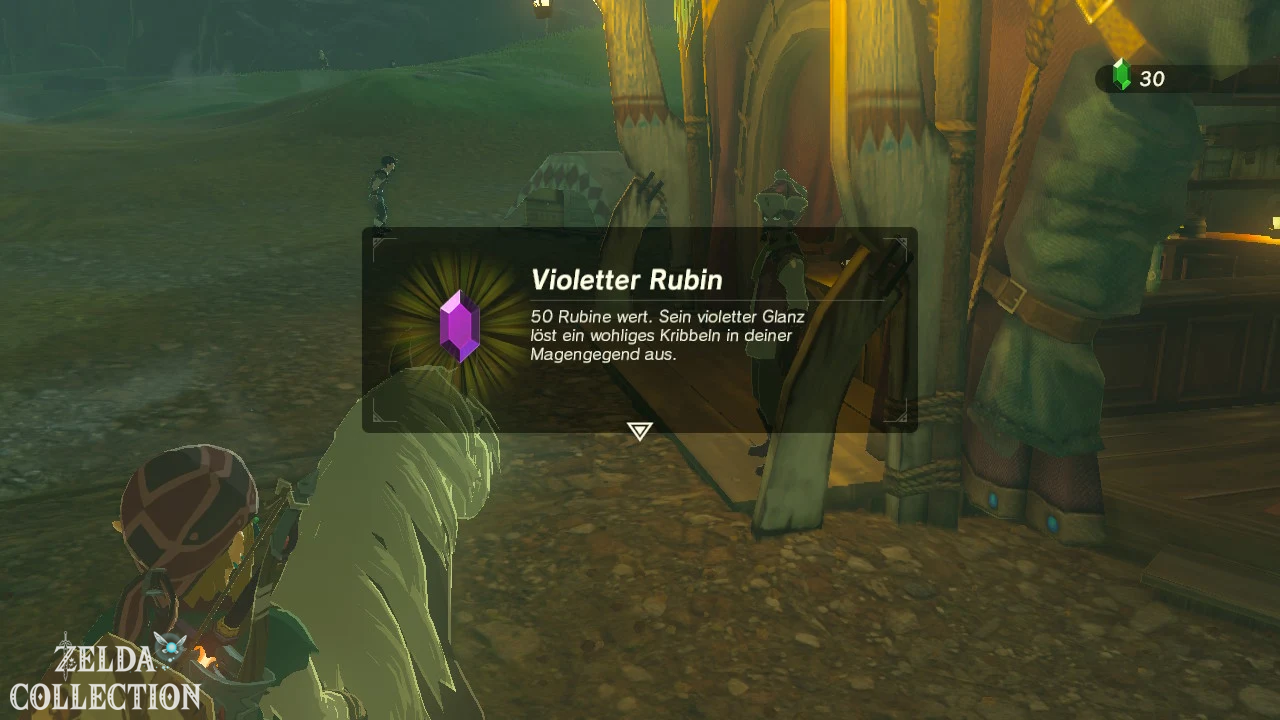
There is also a metal Treasure Chest in the water under the bridge. Activates the magnetic module and pulls them to the shore or onto the sandbank. Inside is a purple Rupee worth 50 Rupees. Be sure to take him with you. We will need 20 Rupees at the stable to register our first horse, and money will also be needed for armor, Great Fairies and numerous Side Quests.
Then climb up to the eastern bank and follow the road again.
To the Dueling Peaks Tower
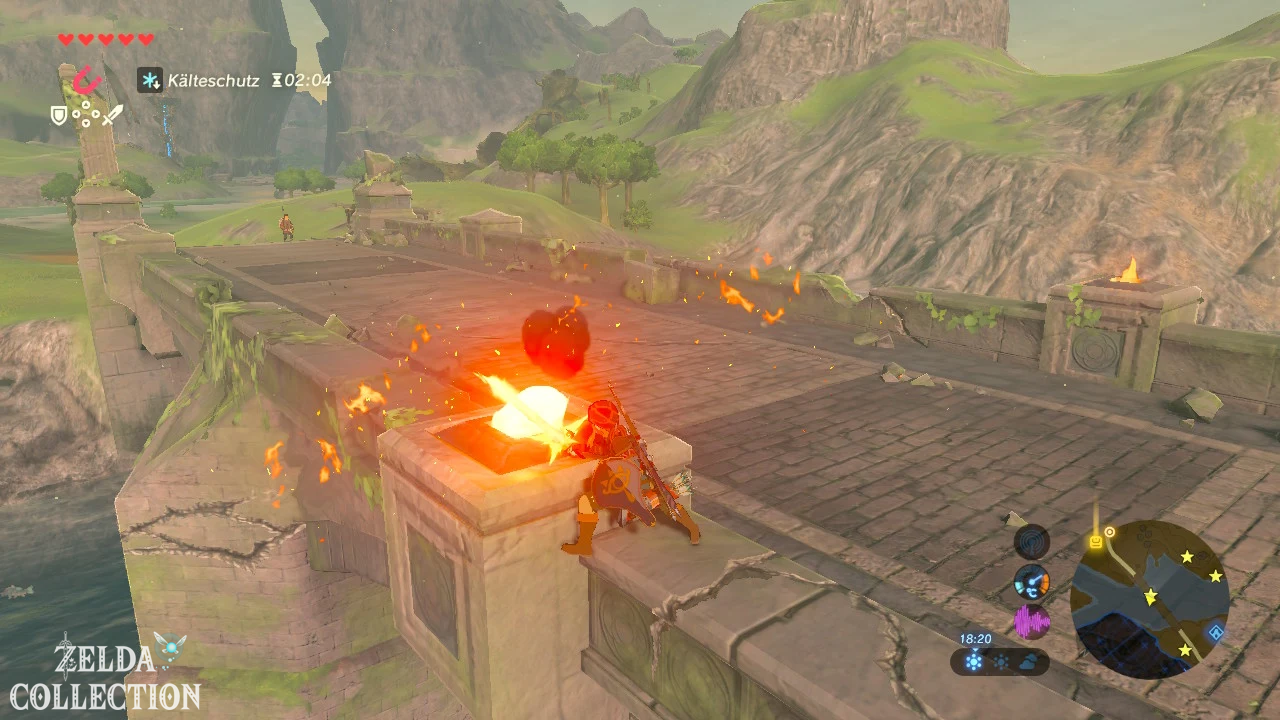
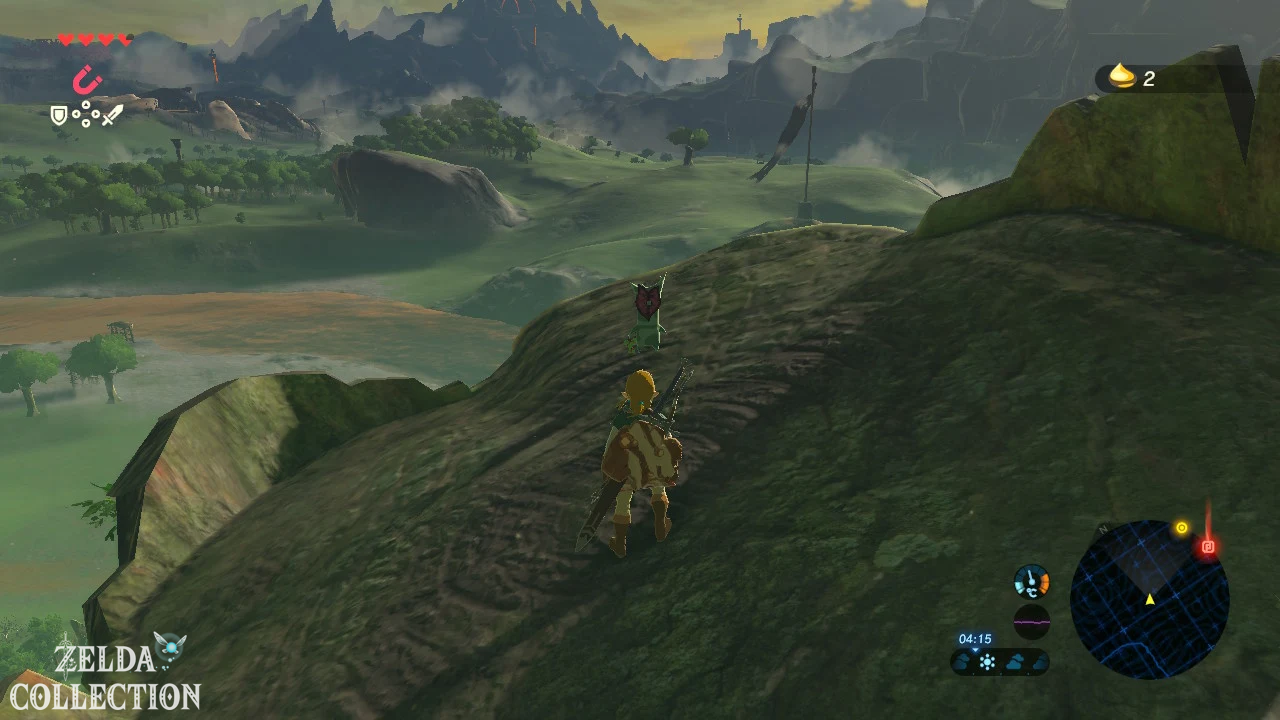
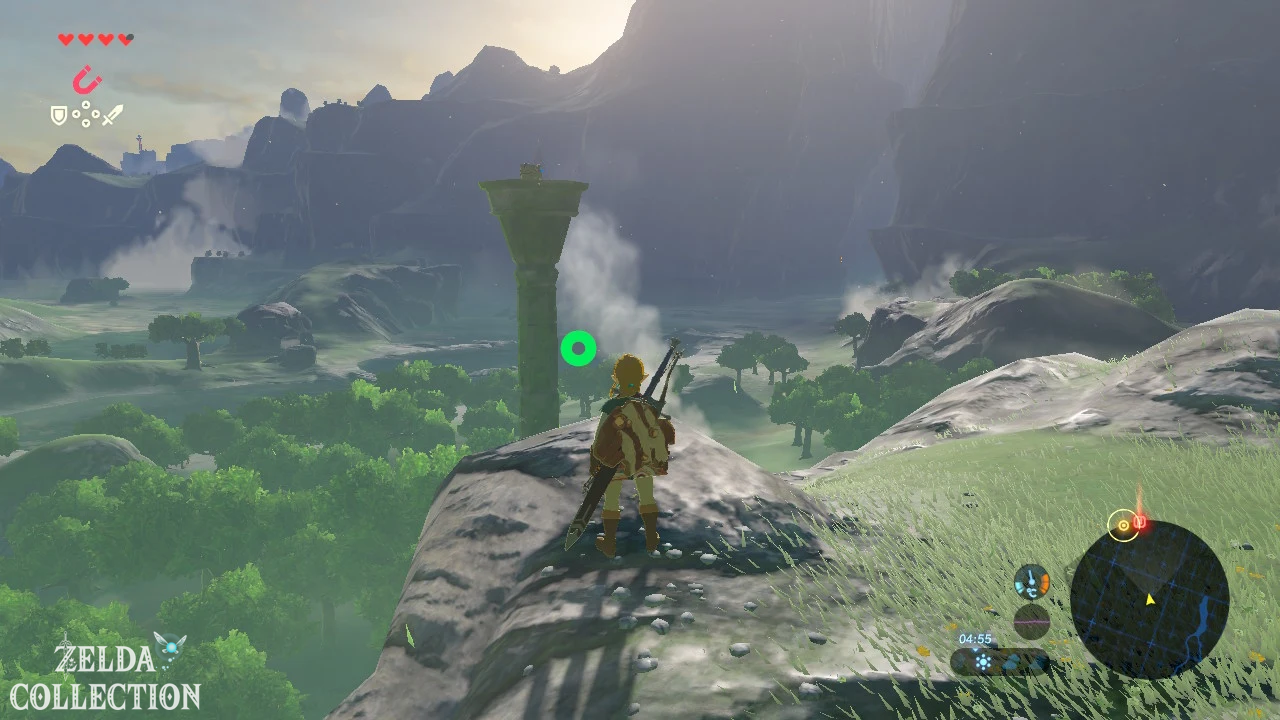
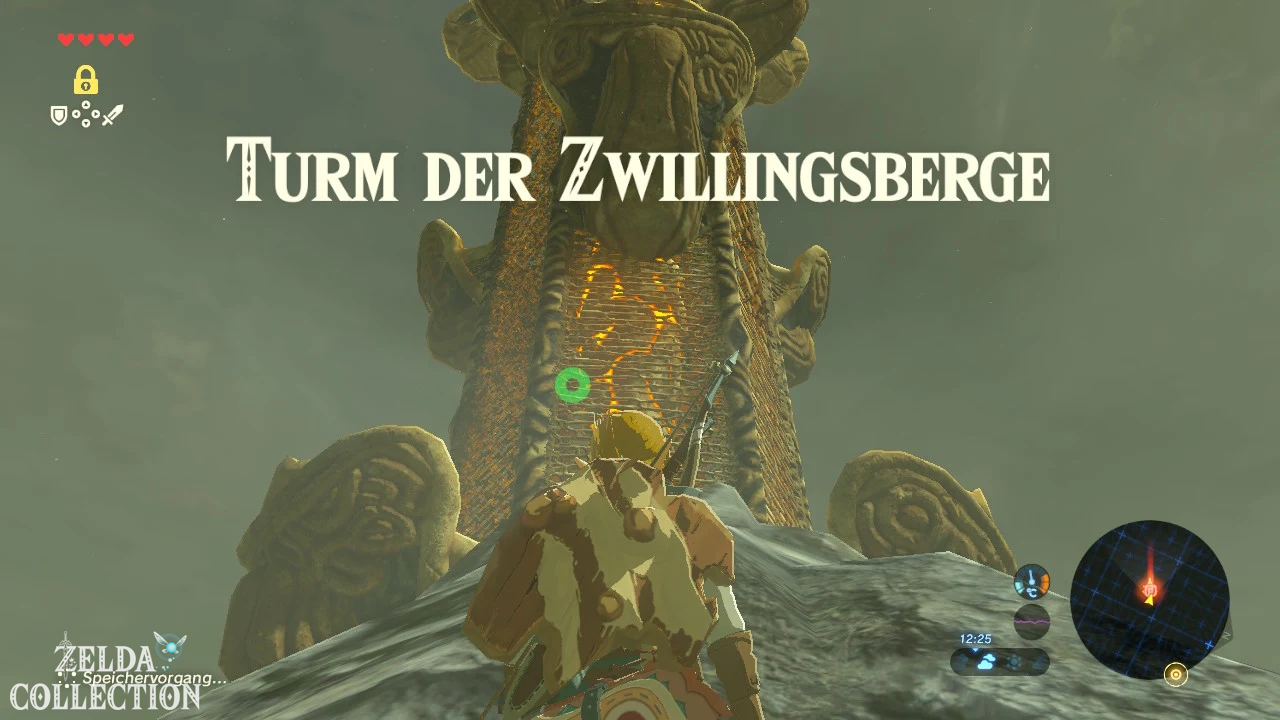
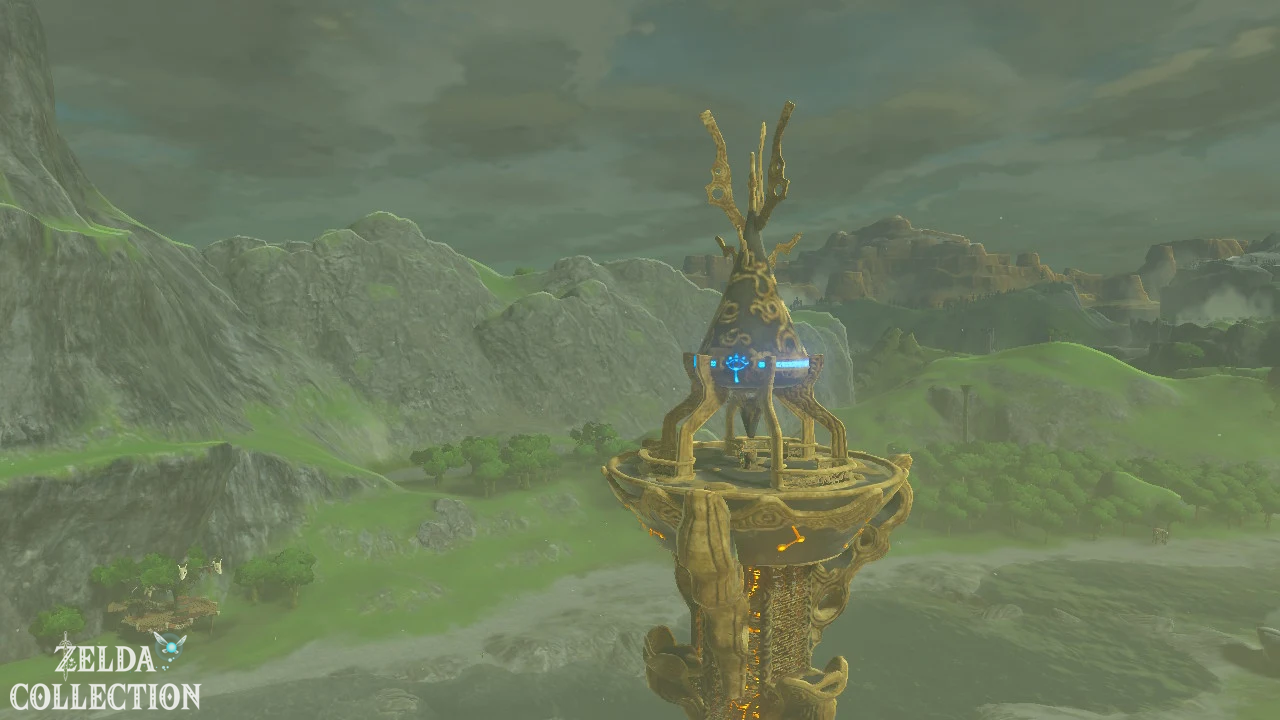
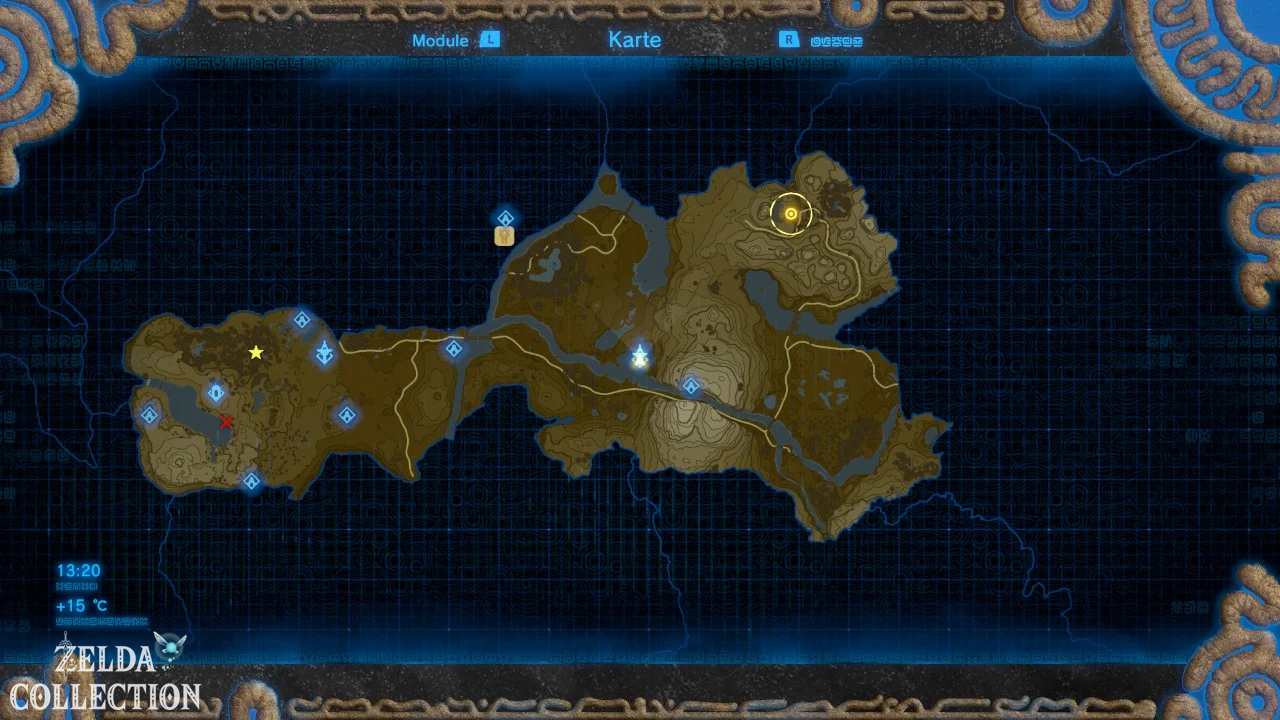
The two huge mountain ranges can no longer be overlooked. However, before you walk directly between them, let’s look for the Dueling Peaks Tower. It stands west or southwest of the actual gorge in the middle of the river area. You can already see it clearly from the street.
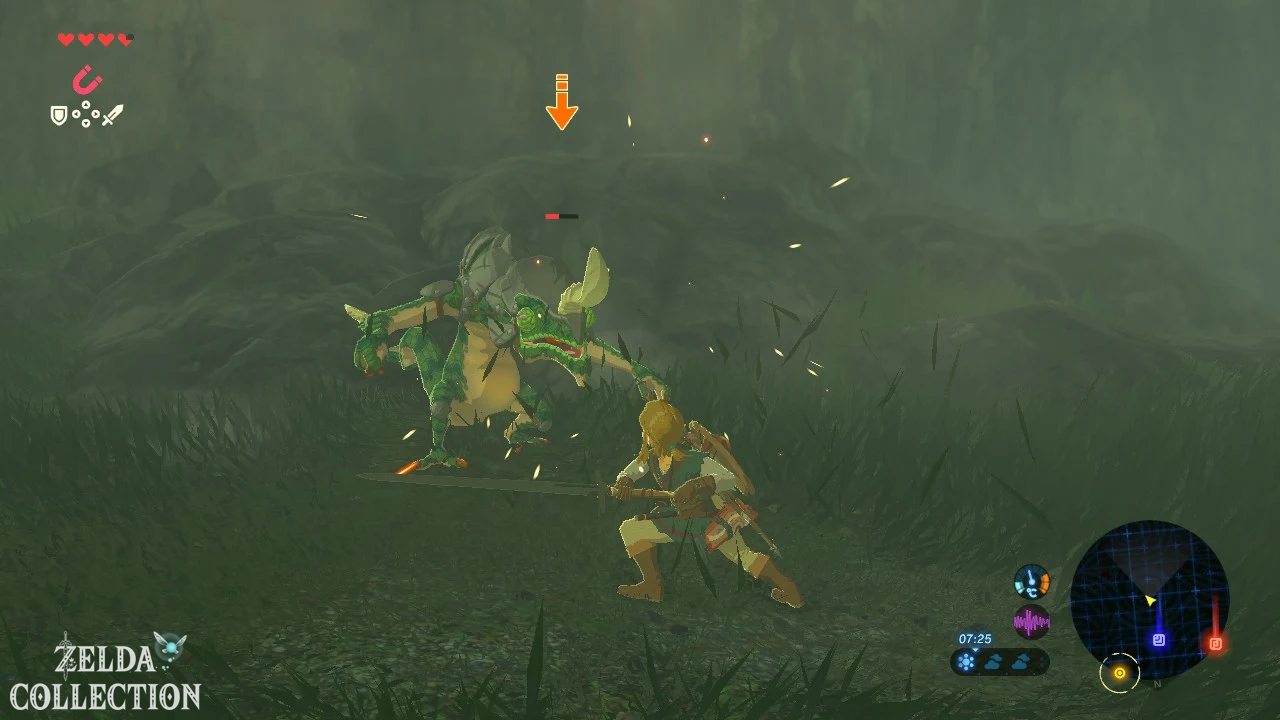
The access is much more harmless than with many later towers. The biggest problem is some water octoroks that shoot rocks at you from a distance. Hold your shield up or move sideways as soon as a projectile comes flying towards you. A perfectly timed shield block can even knock the stone back and defeat the Octorok. If possible, collect the dropped Octorok Balloons – they will be useful for some creative puzzles and experiments later.
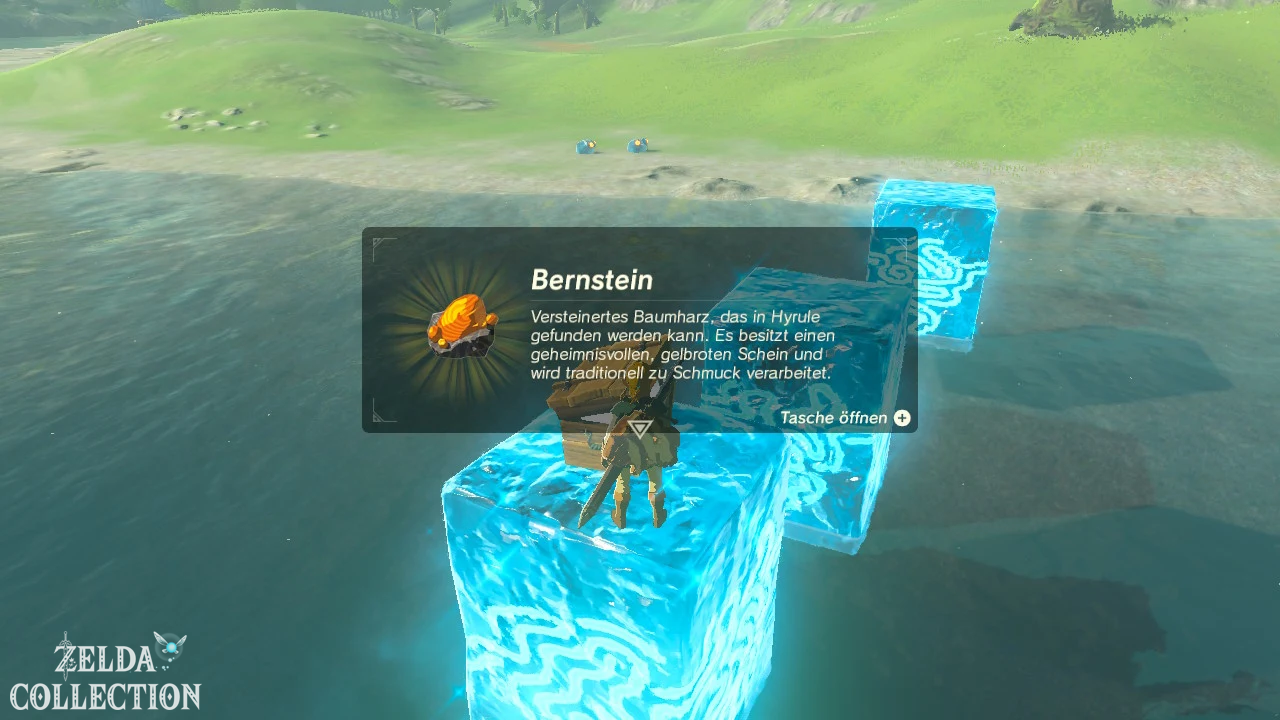
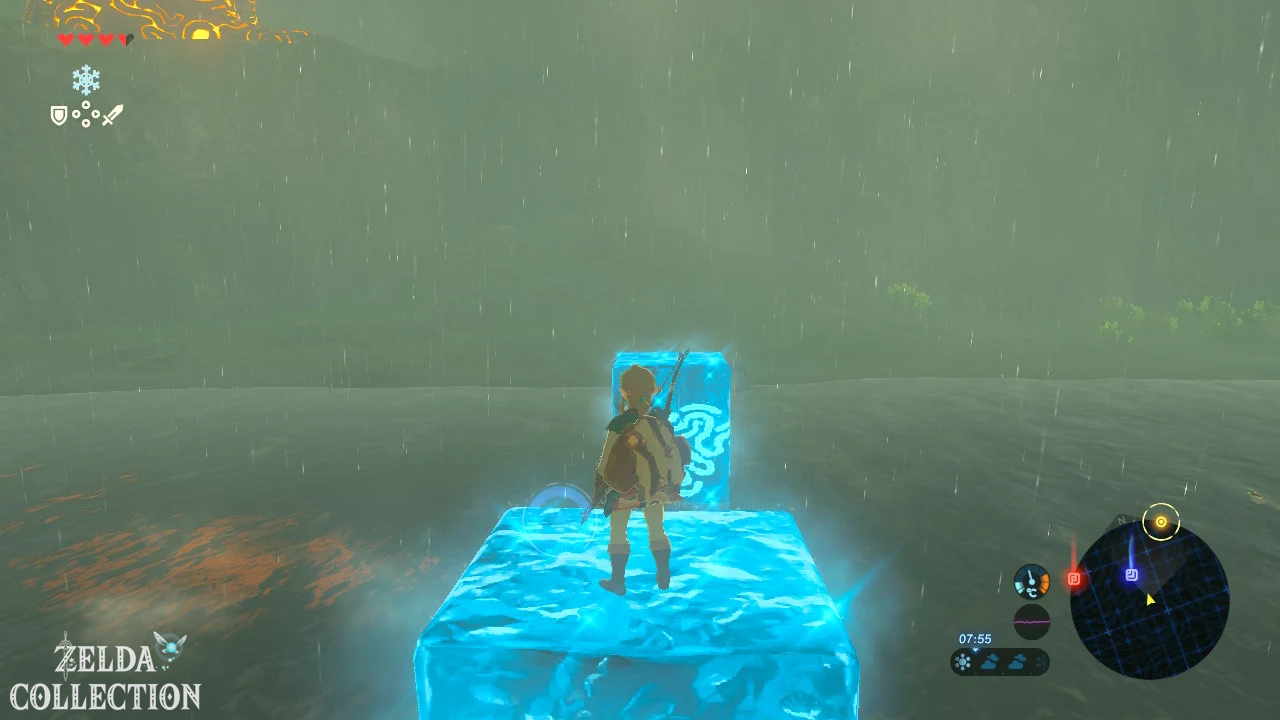
To get to the tower, you can walk through the shallow water or swim short distances. The cryo module is even safer: it creates ice columns one after the other, jumps from one to the next and crosses the river without using up stamina. The normal ascent begins at the tower itself. Use each platform as a resting point to allow stamina to fully regenerate before climbing to the next one.
Dueling Peaks Tower and Sheikah Sensor
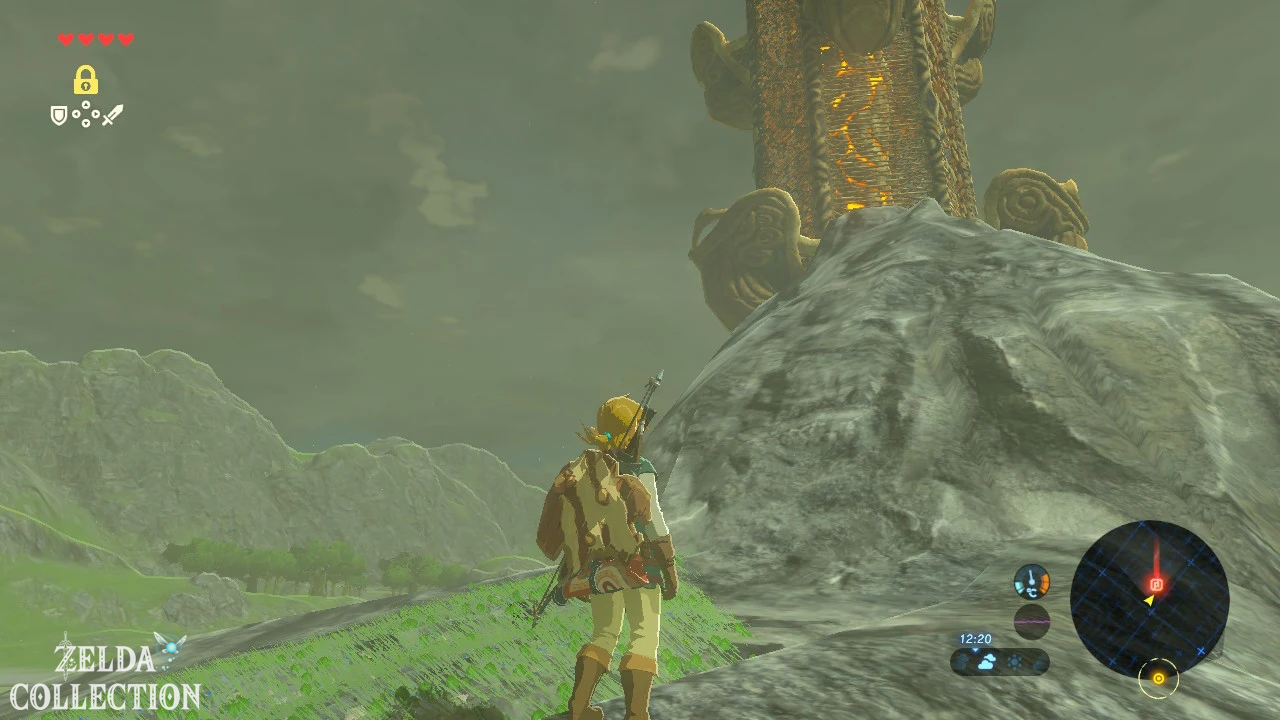
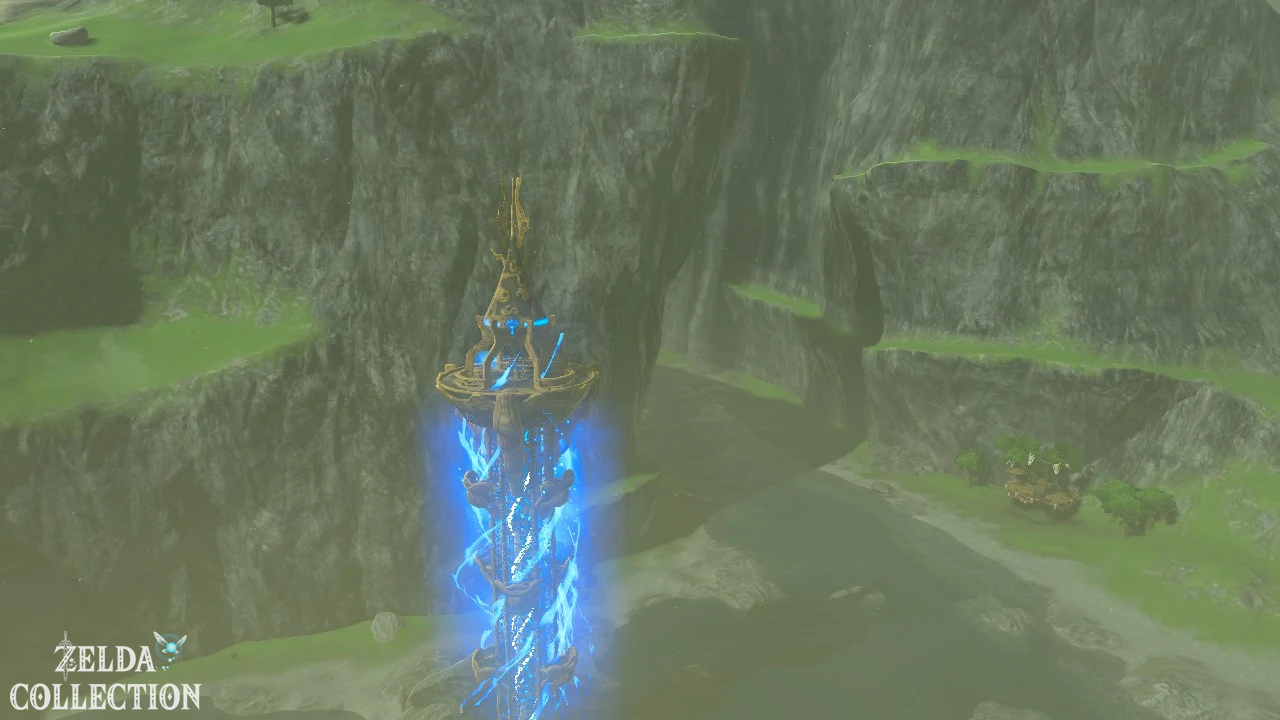
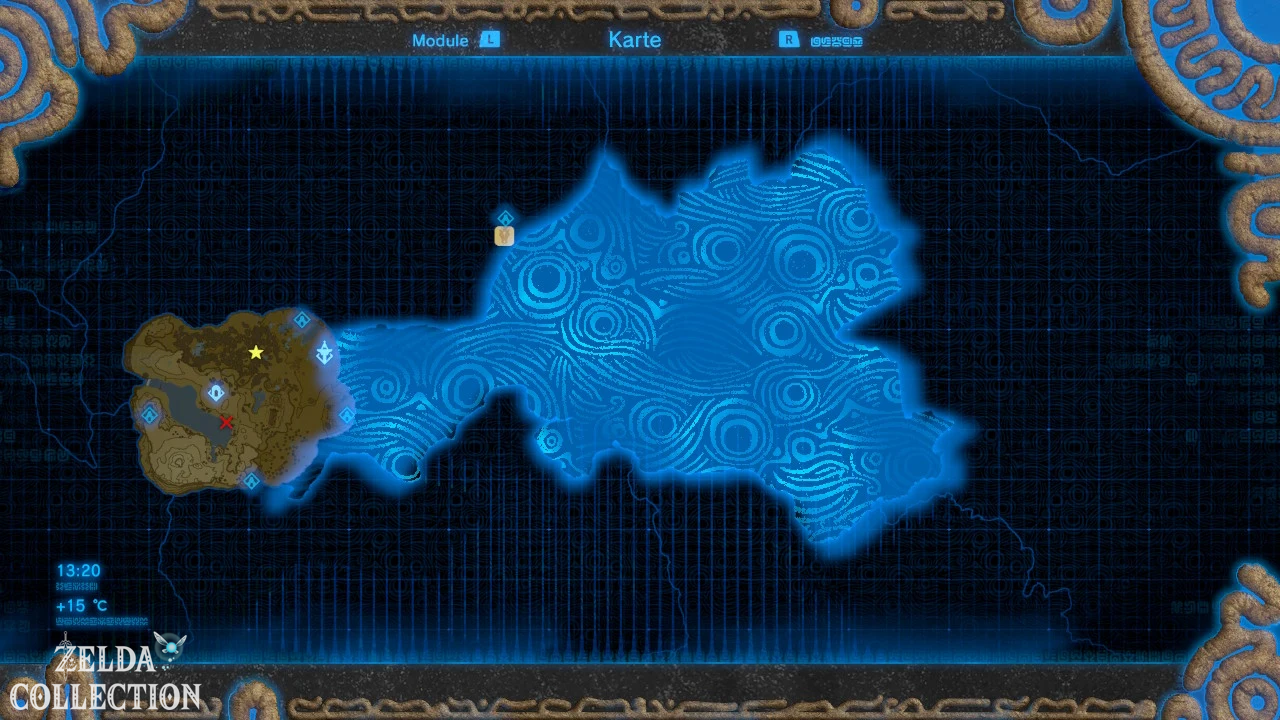
Activates the terminal above. The map of West Necluda and parts of southeastern Inner Hyrule is transferred to the Sheikah Slate. Even more important this time, however, is a new upgrade: the stone receives the Sheikah sensor.
From now on, the sensor icon will start flashing and a beep will sound if there is an unfinished shrine nearby. If you move in the right direction, the signals will become stronger or faster. If you move away from the target, they become weaker. Get used to using the sensor early on as a supplement to the visual search – there are many shrines hidden in caves, ravines and dense forests that are barely visible from a vantage point.
Later we can even improve the sensor in Hateno Village so that it no longer just detects shrines, but practically every object, enemy or resource that is photographed.
Don’t climb to the peaks of the twin mountains yet
[Optional – deliberately postponed until later] There are two more shrines on both peaks of the twin mountains: Shee Vaneer and Shee Venath. Their puzzles belong together: the arrangement of balls in one shrine provides the solution for the other. You can attempt the climb now, but with Link’s small stamina bar it’s unnecessarily laborious.
We therefore deliberately leave both shrines lying there. In the Ree Dahee Shrine we get the climbing headscarf right away, and later we also expand Link’s stamina. On our full Necluda circuit, we return to the peaks and solve both shrines along with the Koroks there. This will save you significantly more time than if you had to laboriously climb up every meter of rock.
Through the gorge of the twin mountains
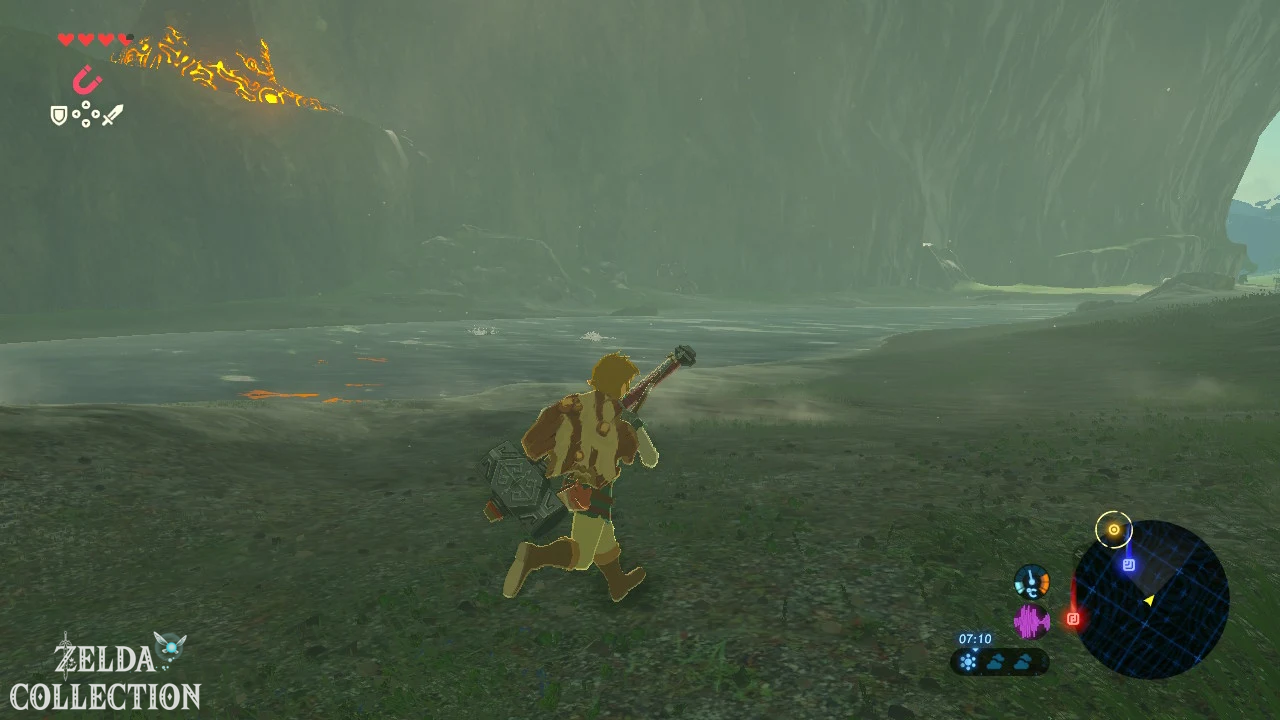
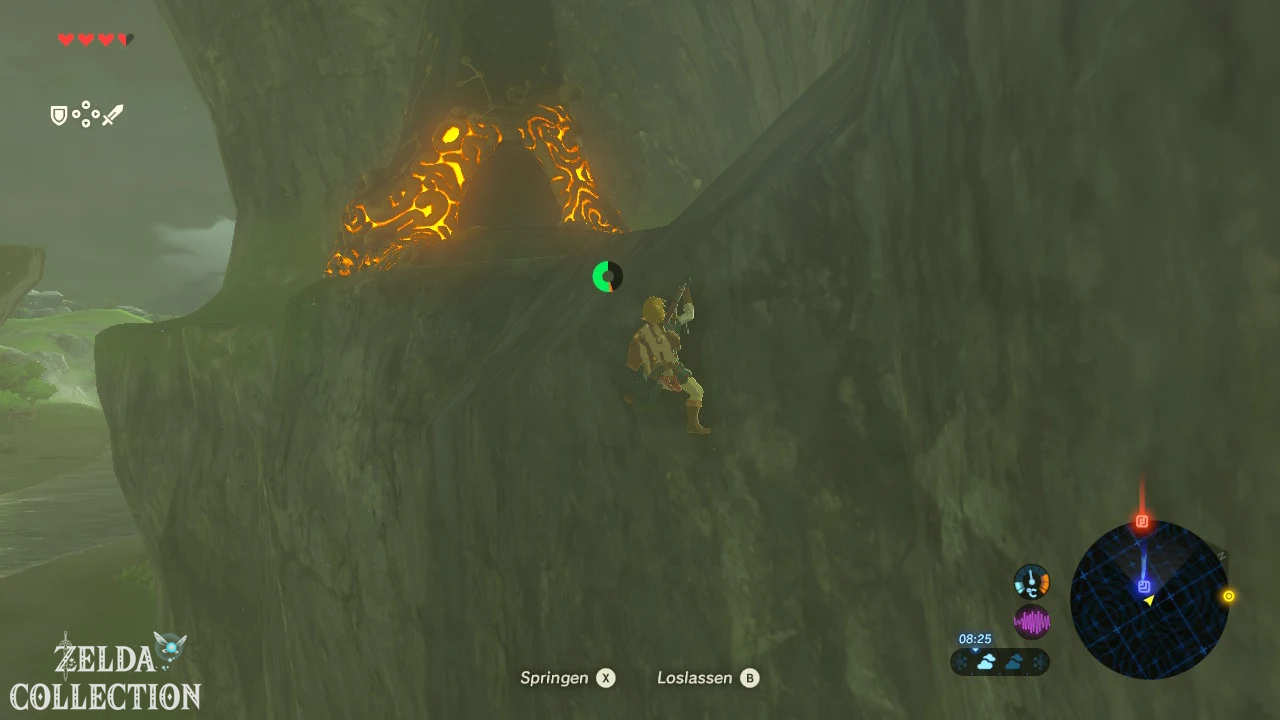
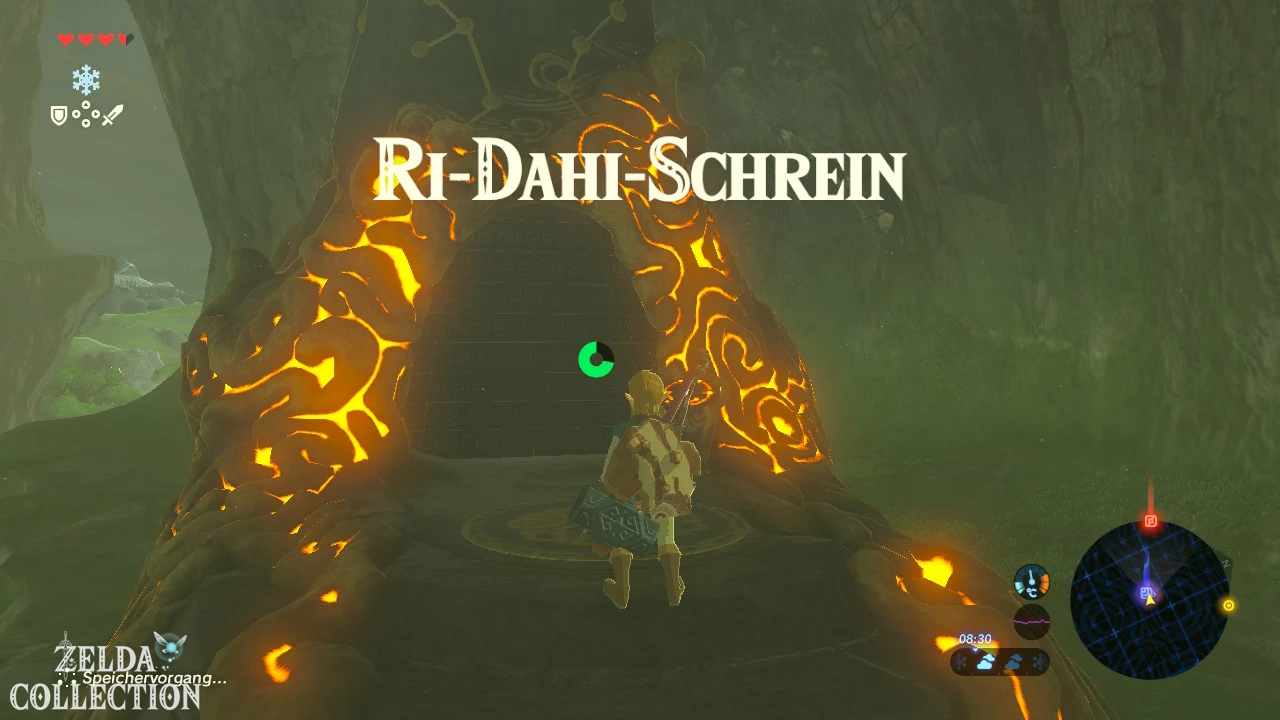
Glide from the tower back to the road or river and follow the path directly between the two mountains. The massive chasm initially appears to be a long corridor, but contains one of the game’s most important early shrines. As you walk, keep looking at the northern rock face. The Ree Dahee Shrine appears on a slightly elevated ledge.
The entrance can be climbed from the path. If it rains, wait a moment if necessary, as wet rock faces make climbing unnecessarily difficult. First activate the shrine as a fast travel point and go inside.
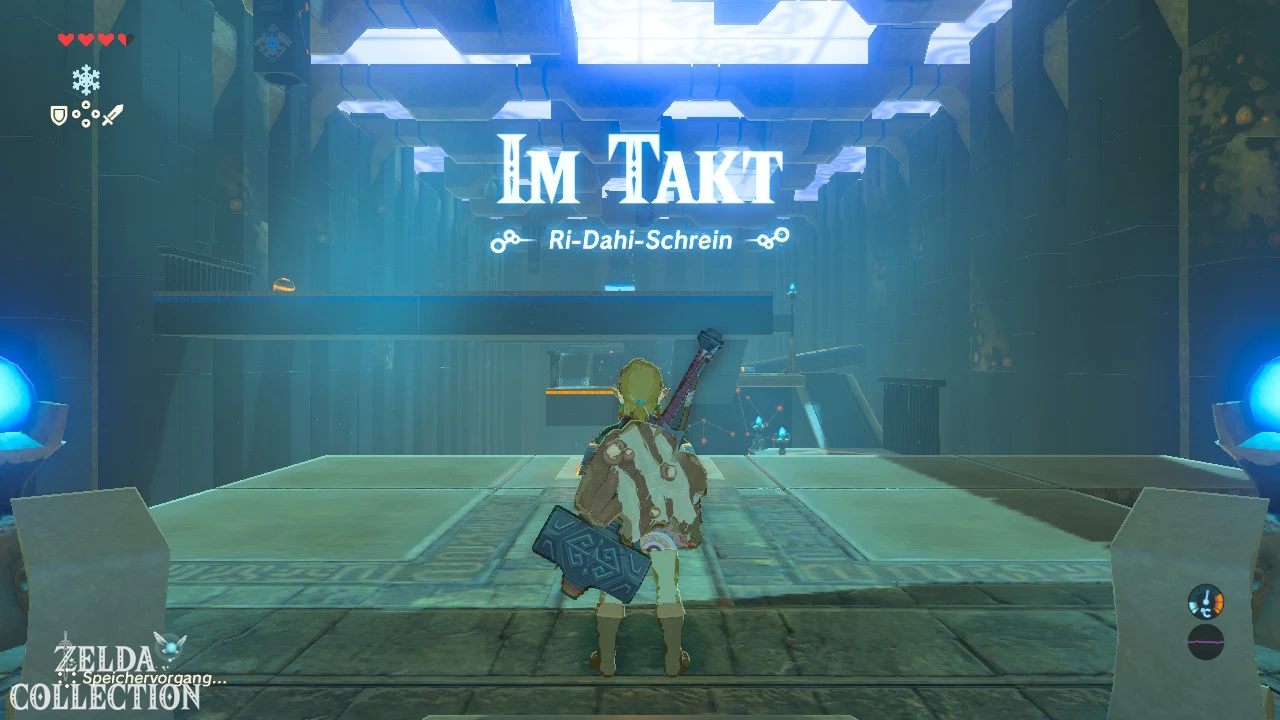
Ree Dahee Shrine – In Beat
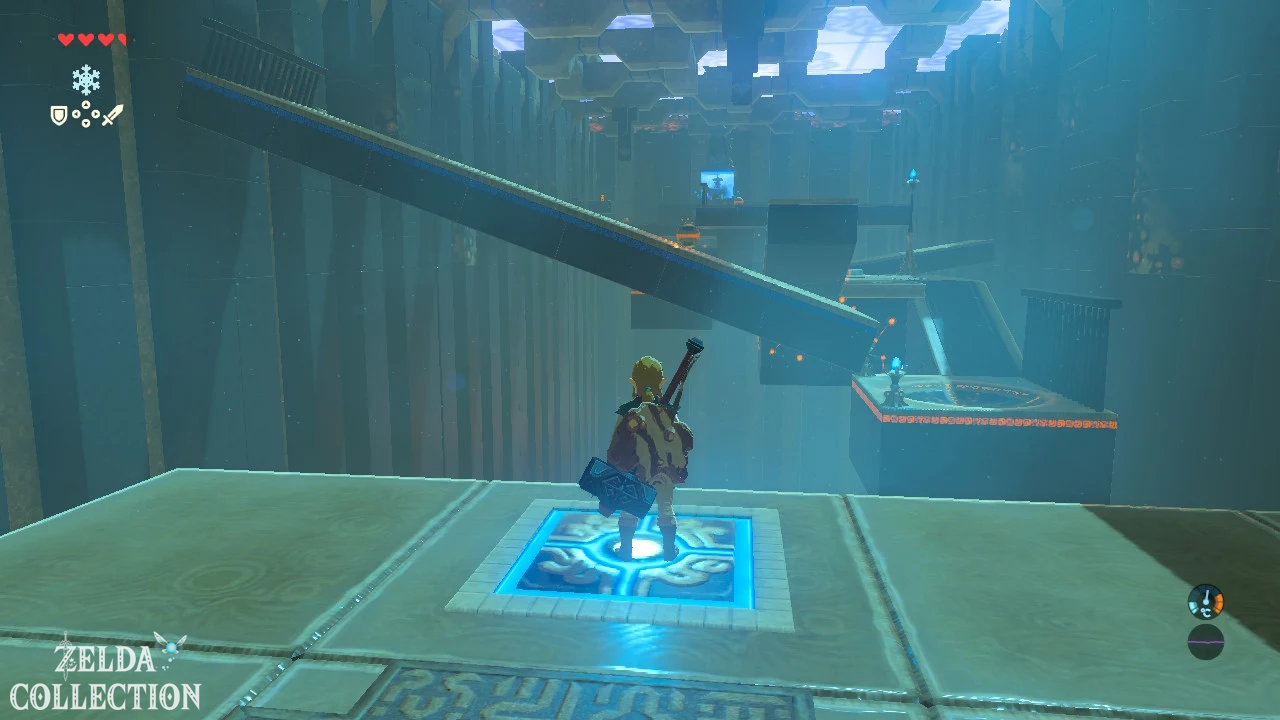
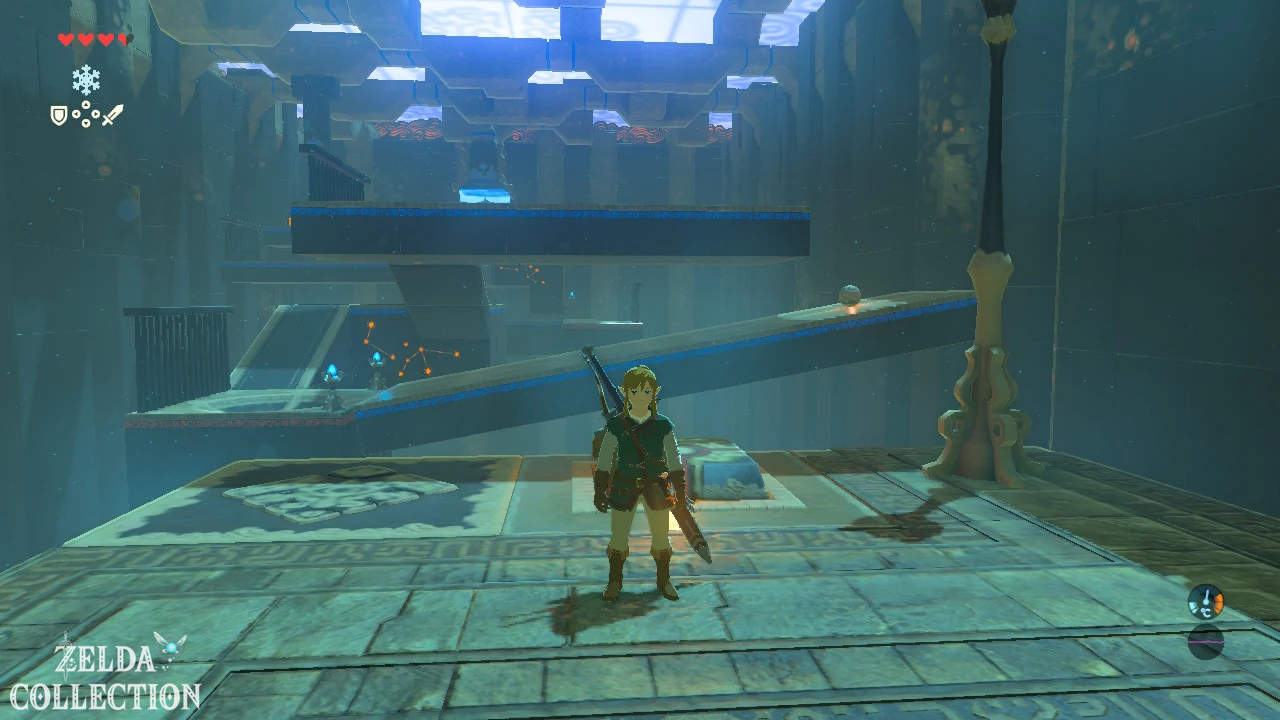
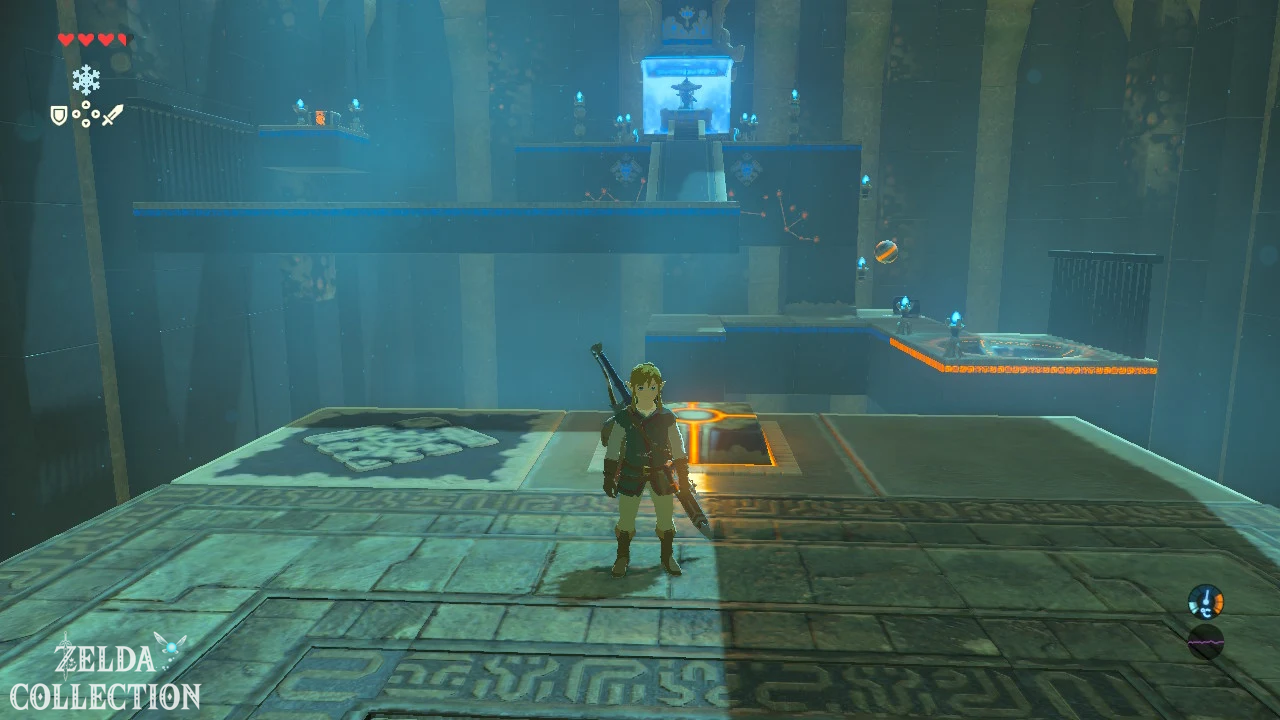
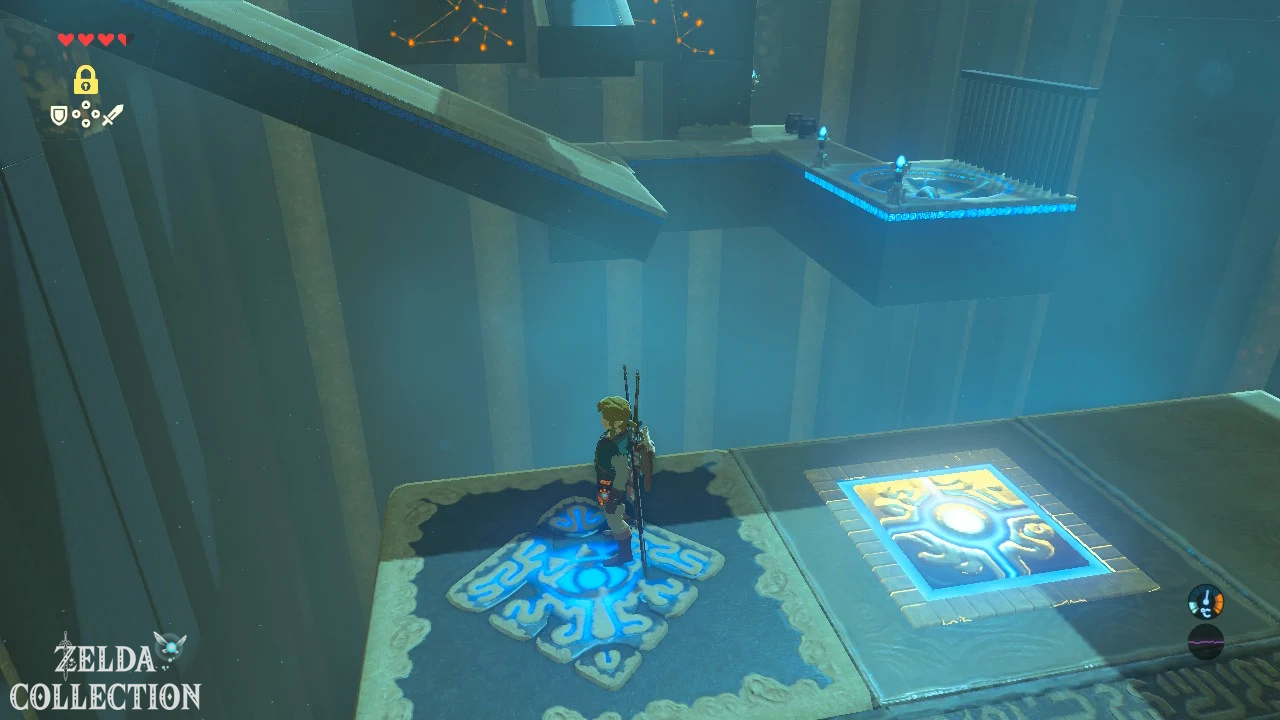
Ree Dahee Shrine is based on floor switches and tilting platforms. The goal in each case is to move a ball into a recess by cleverly tilting it. In the first section you simply stand on the square Floor Switch. The opposite platform tilts, the ball rolls into the hole and a transport platform starts moving. Drive it to the other side.
In the second puzzle there are two platforms one behind the other. Just step on the switch briefly and then down again so that the ball rolls bit by bit to the right. Repeat this in a controlled manner until she moves from the first to the second platform and finally ends up in the depression. Standing permanently on the switch would accelerate the ball too much and send it into the abyss.
For the third puzzle you need a little more timing. Stand on the switch and wait until the ball has almost reached the end of the platform. Exit the counter at this exact moment. The platform snaps back and throws the ball over the abyss directly into the target hole. This causes the last transport platform to move out.
Optional, but definitely take with you: The climbing headscarf
[Optional – highly recommended] Don’t go to the altar yet. To the right or below the last level are several metal barrels. Grab one of them with the magnetic module and transport it back to the last Floor Switch. Place the barrel on top. This means the platform remains permanently tilted.
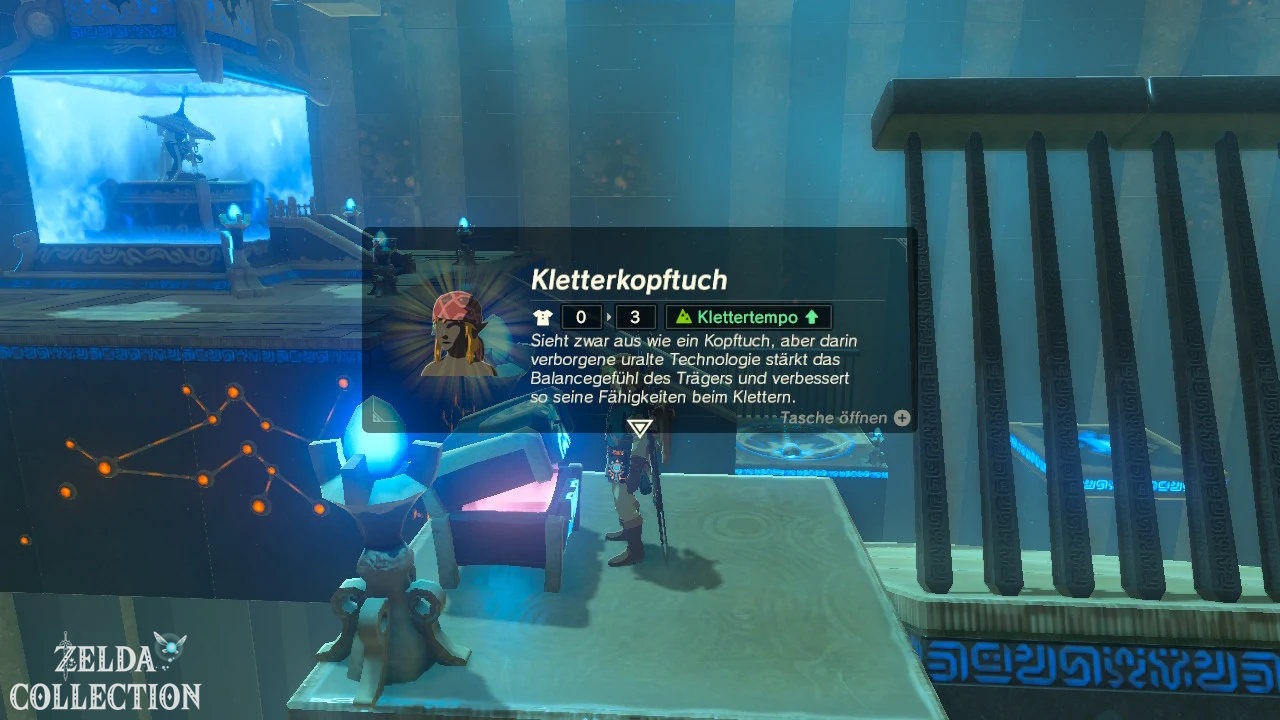
Return to the last level and walk across the now raised platform to the raised Treasure Chest. Inside is the climbing headscarf. Puts it on immediately. In addition to three points of basic defense, it increases Link’s climbing speed and is part of the three-part climbing set. Especially in a game where we’re constantly climbing cliffs, towers and mountains, this is one of the most valuable early pieces of equipment.
We’ll get the other two parts of the set later on our route. If necessary, you can find additional armor pieces and their Locations in our valid ZeldaCollection special guide to the armor in Breath of the Wild.
Then go to the priest and take the Spirit Orb with you.
Continue to the Dueling Peaks Stable
Leave Ree Dahee and follow the river further east. You finally cross the entire gorge and reach the Big Brother Bridge. Behind you you can already see a large building whose roof is shaped like a horse’s head: the Stable of the Dueling Peaks.
Stables are spread throughout Hyrule and become extremely important to the rest of the Walkthrough. Here you can register horses and pick them up again regardless of where they were originally caught, sleep, cook, meet dealers and start numerous Side Quests. Many stables also have a nearby shrine that serves as a convenient fast travel point.
Ha Dahamar Shrine – Trailblazing Water
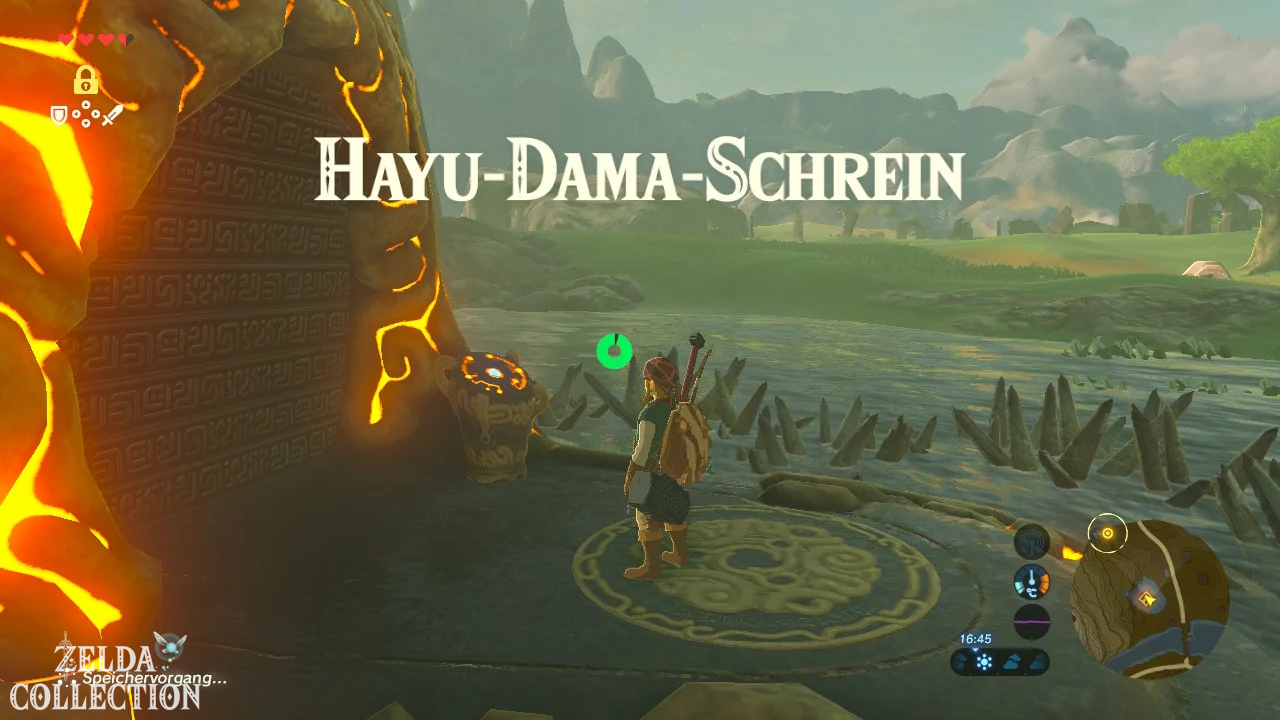
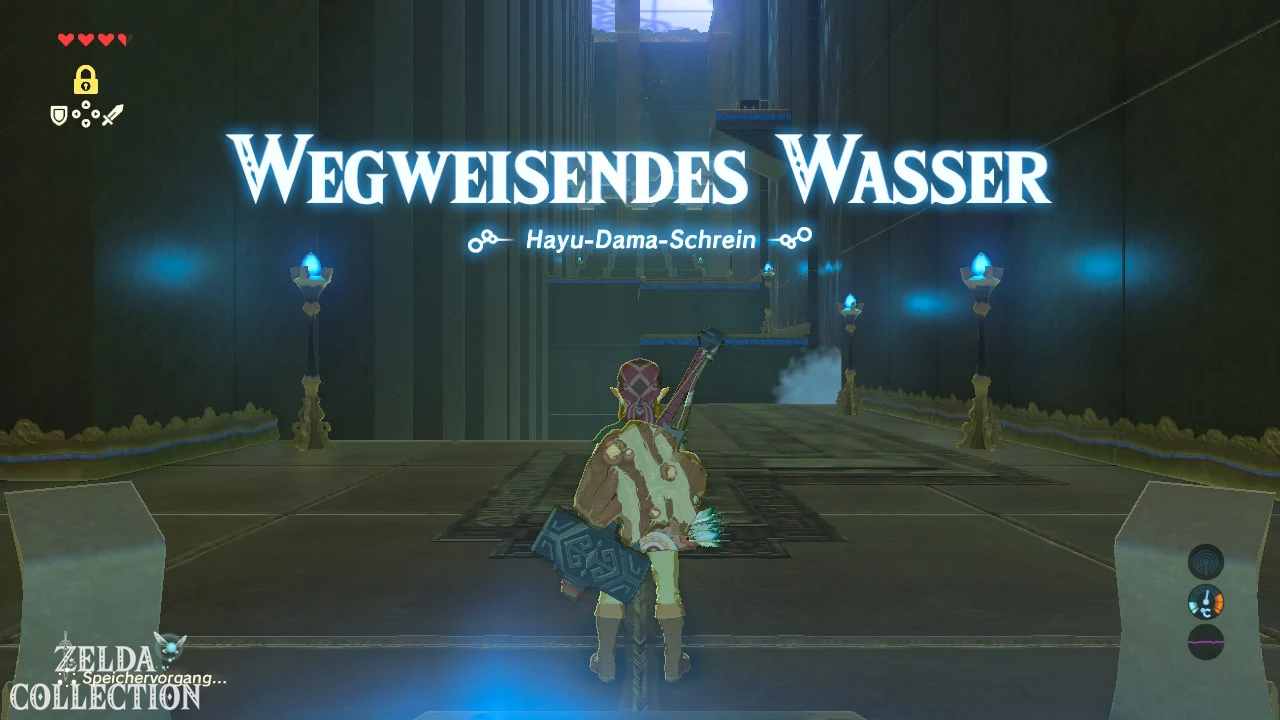
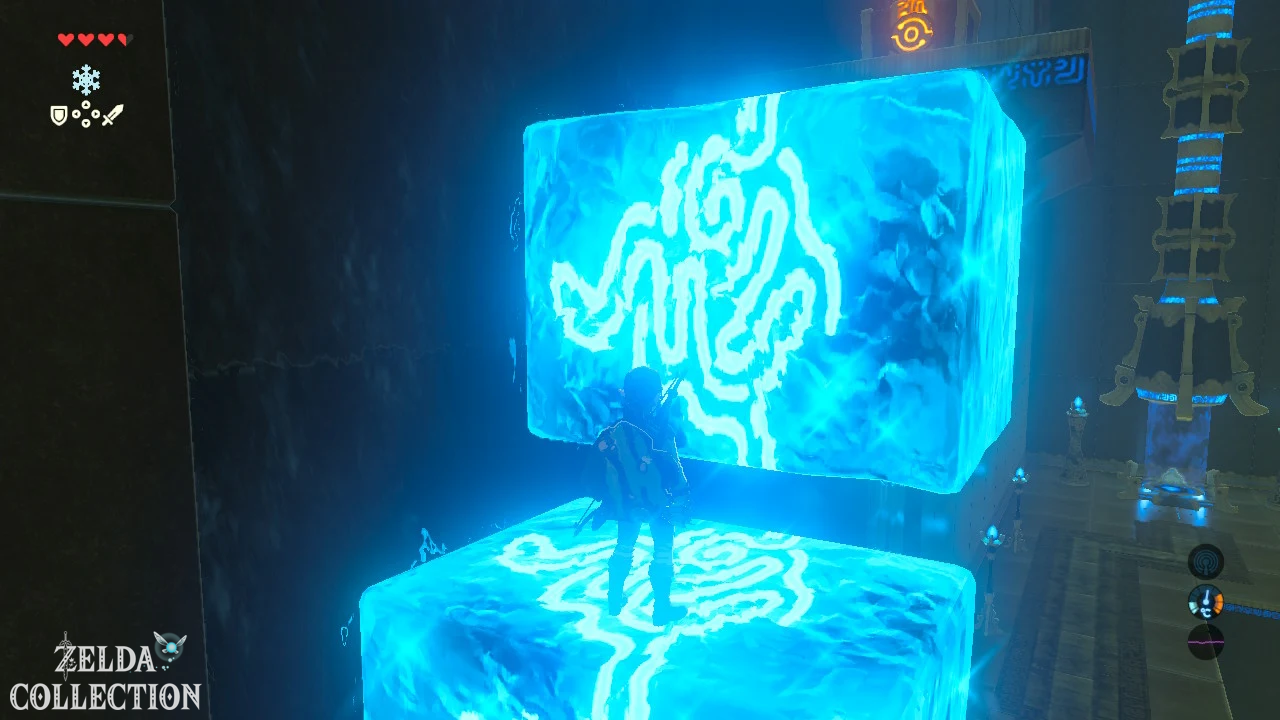
Before we deal with the horses, let’s secure the fast travel point first. Directly west of the stable in the shallow water is the Ha Dahamar Shrine. Thorns block direct access. Use the cryo module to create an ice column in the water right next to the thorns, climb up and jump from there to the safe area at the entrance. Activate the shrine and go inside.
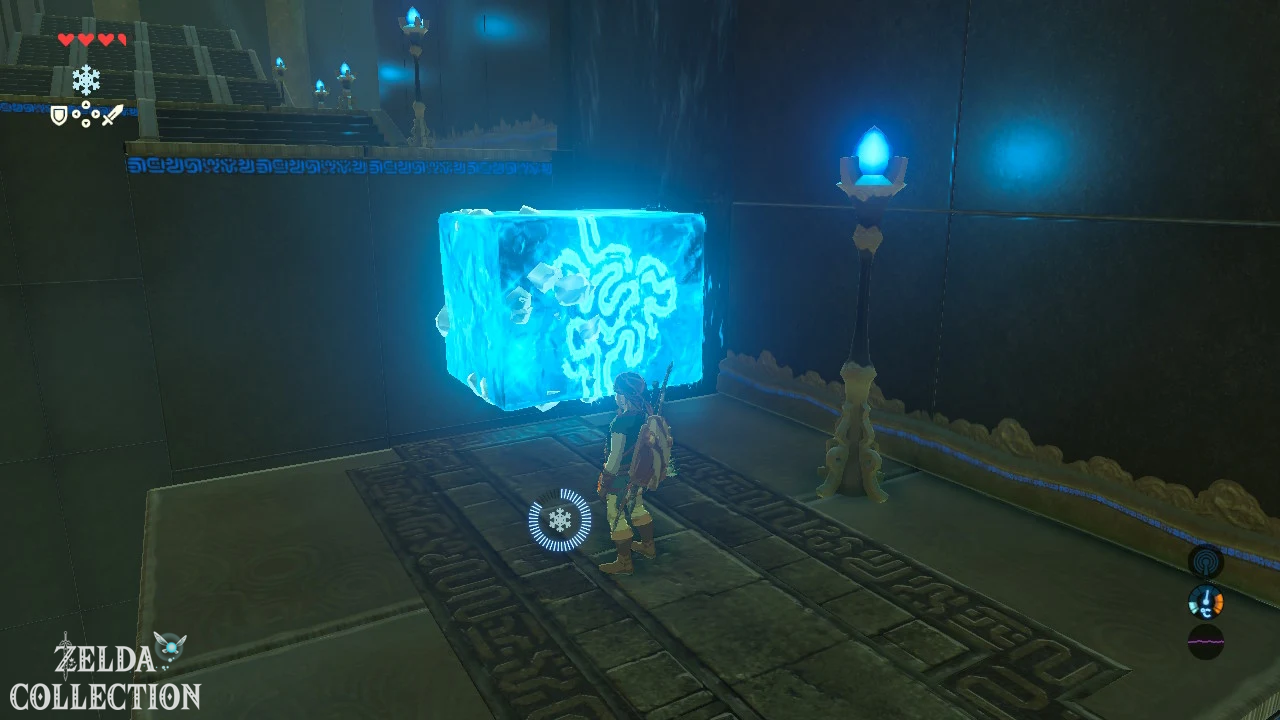
In the first room, water blocks the path again. Create a block of ice and climb to the next level. Water then flows vertically down a wall. The cryomodule doesn’t just work on horizontal water surfaces: creates a horizontally protruding ice block directly on the water wall and uses it as a platform.
After you get past the section, turn around and look up. There is a Treasure Chest on an elevated ledge. Create more ice blocks on the water wall – each higher and slightly offset – to create a small staircase. Climb up and open the chest. You will receive a purple Rupee worth 50 Rupees.
Ha Dahamar: Deflect the ball with ice blocks
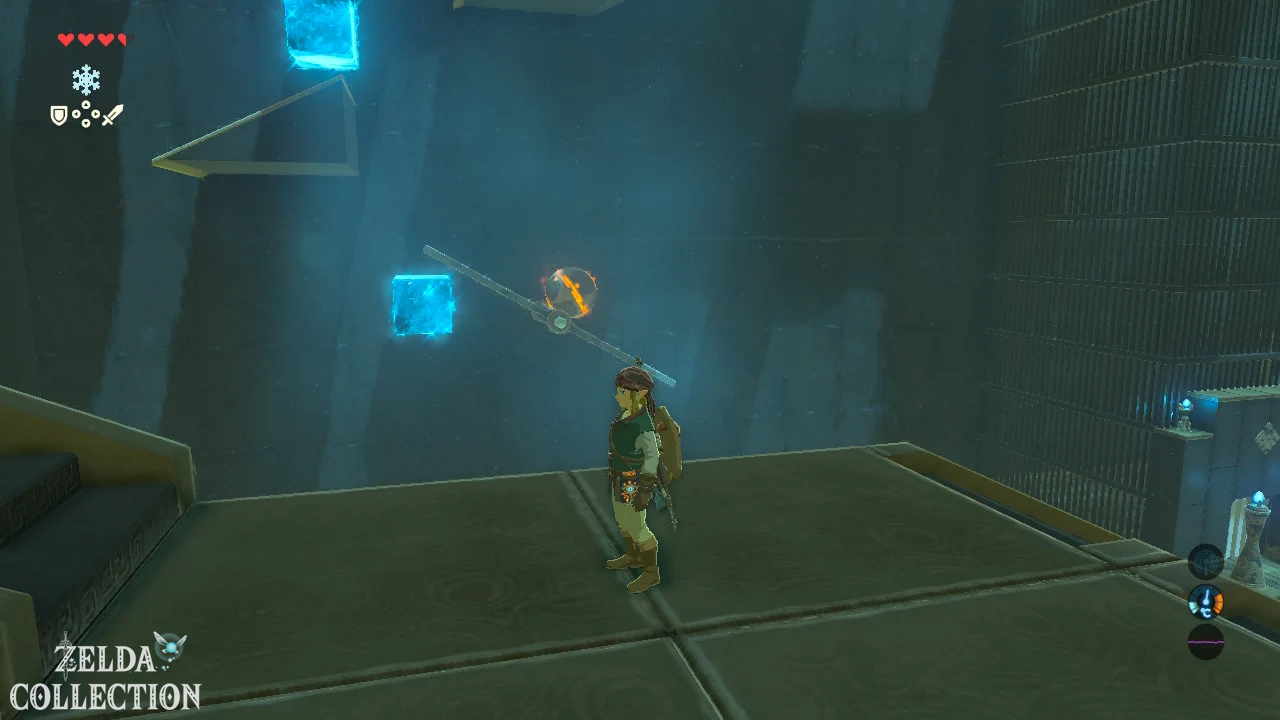
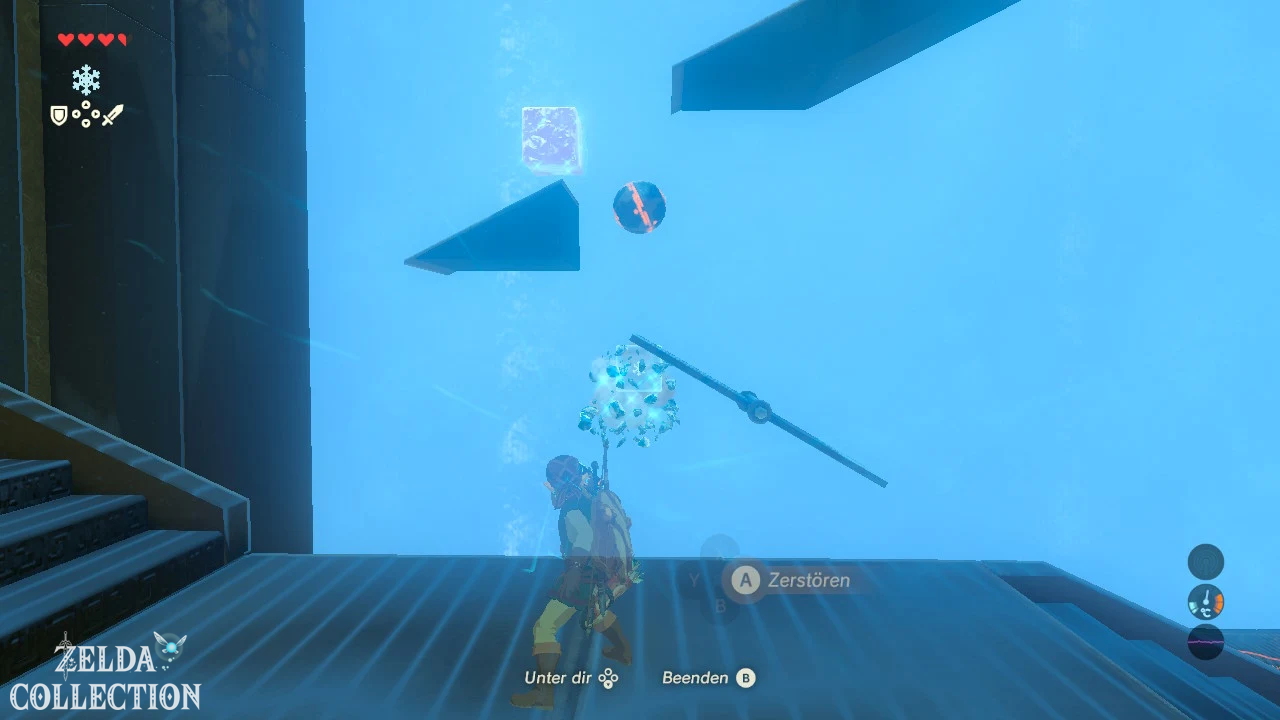
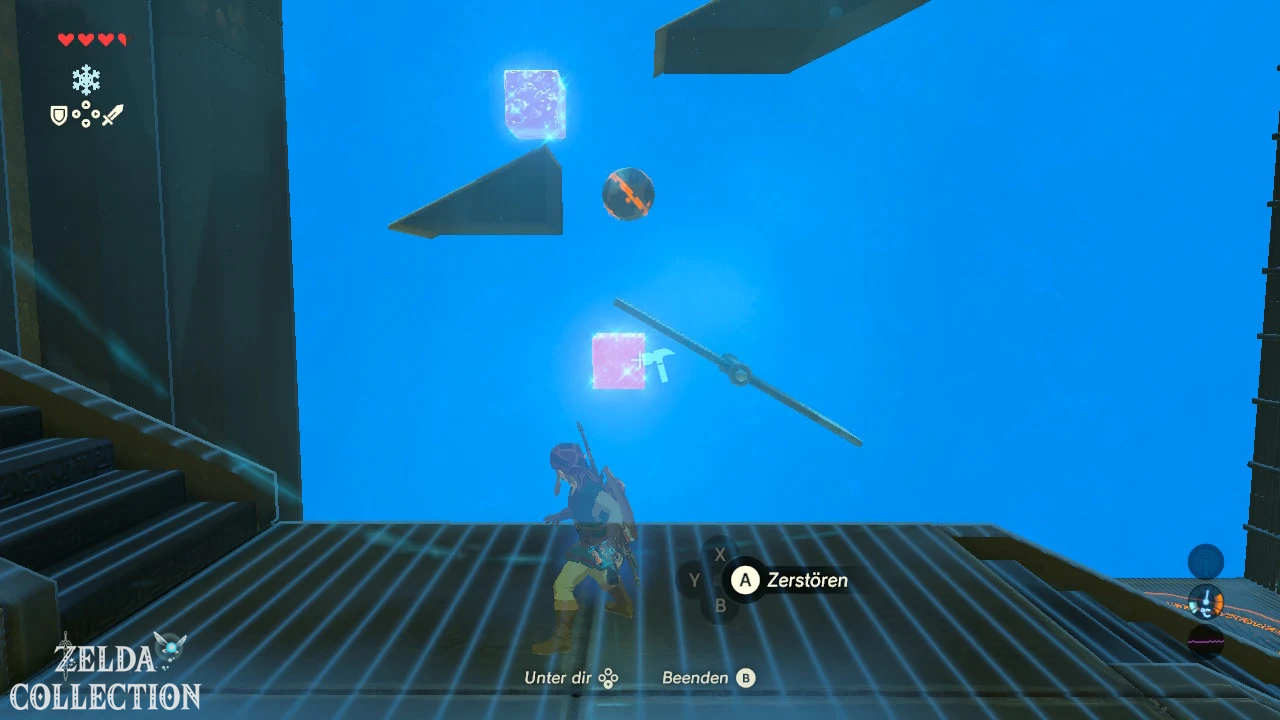
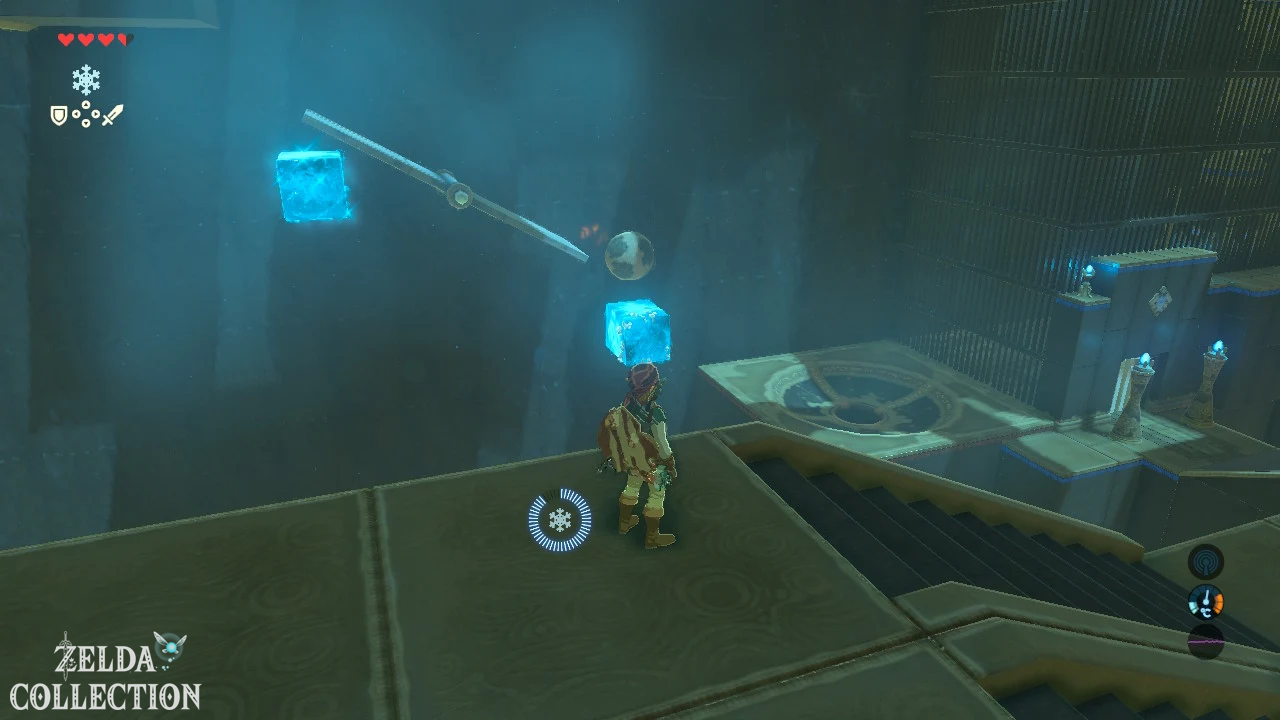
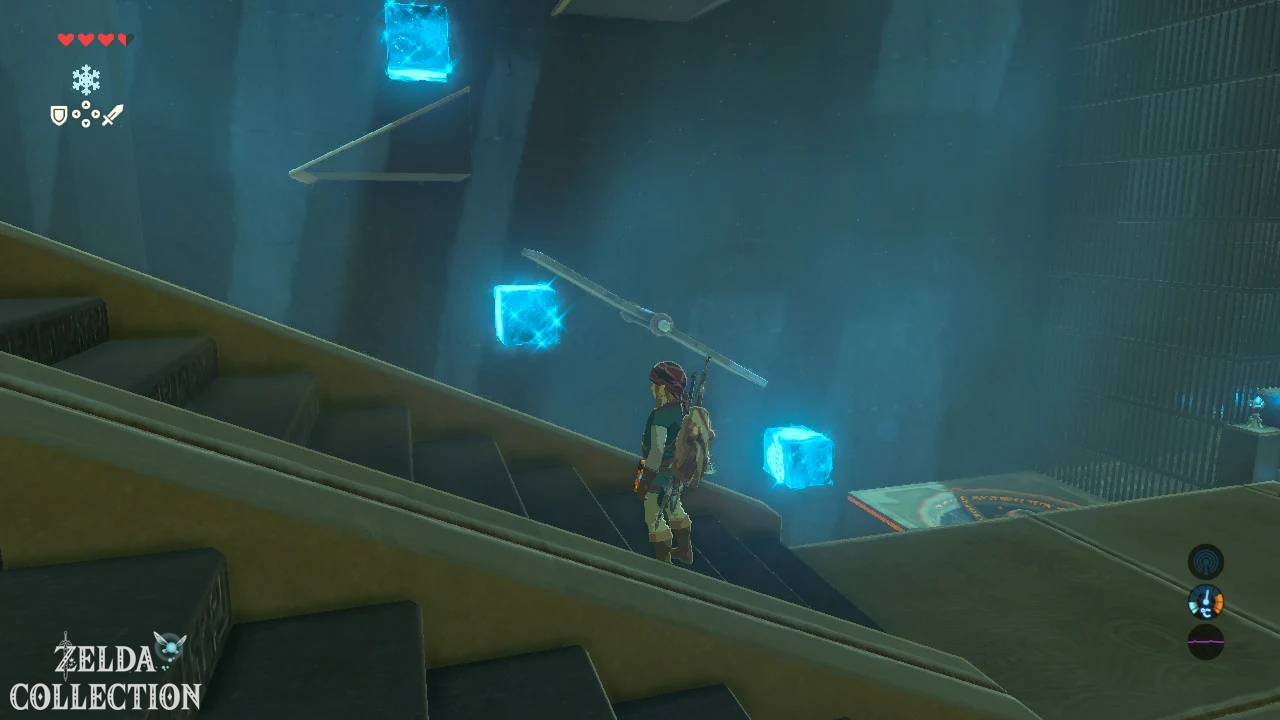
In the last room, balls keep falling down a sloping structure and then fall into nothingness. Instead, the ball must go into the target recess on the right side. This puzzle is also solved exclusively with the cryomodule.
First creates a block of ice between or under the sloping watercourses so that the rolling ball does not fall into the abyss, but is directed to the next surface. Then place a second ice block under the left end of the large seesaw. This will fix the rocker at a suitable angle. The next ball hits it, rolls to the right and finally falls into the target well.
As soon as the ball lands correctly, the gate to the priest opens. Get the Spirit Orb. From now on, Ha Dahamar Shrine remains our fast travel point for the Dueling Peaks Stable.
The first stable and the most important functions
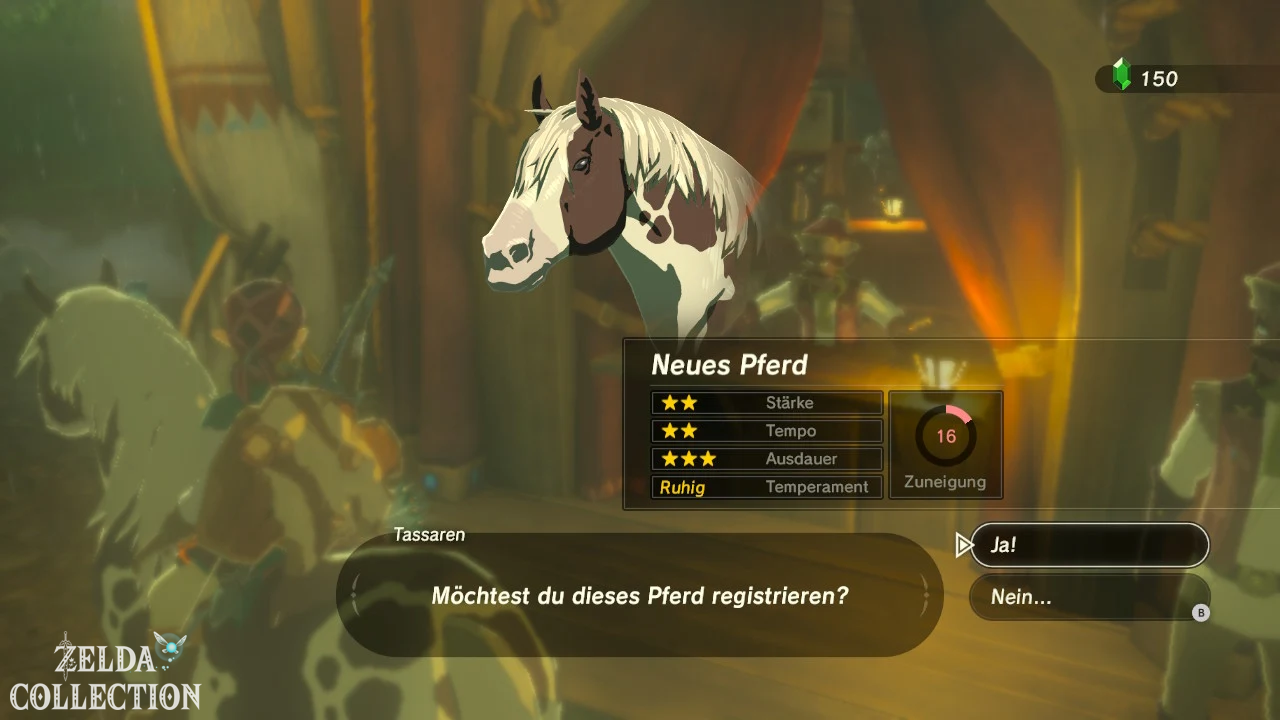
Now go to the stable. Speak to the owner at the counter and listen to the introduction to the horse system. A registered horse can later be picked up from almost any stable Hyrule’s, regardless of where you last left it. You can initially register up to five horses in total.
Registration costs 20 Rupees. In return, the animal automatically receives a saddle and bridle and you can give it a name. Registered horses won’t just get lost if you continue on foot. This makes the first stable an important milestone on our journey.
A complete overview of taming, horse stats, Epona, special mounts and later Ancient Horse Gear can be found in our internal guide Horses – Epona and Ancient Horse Equipment.
Side Quest: The tomboy
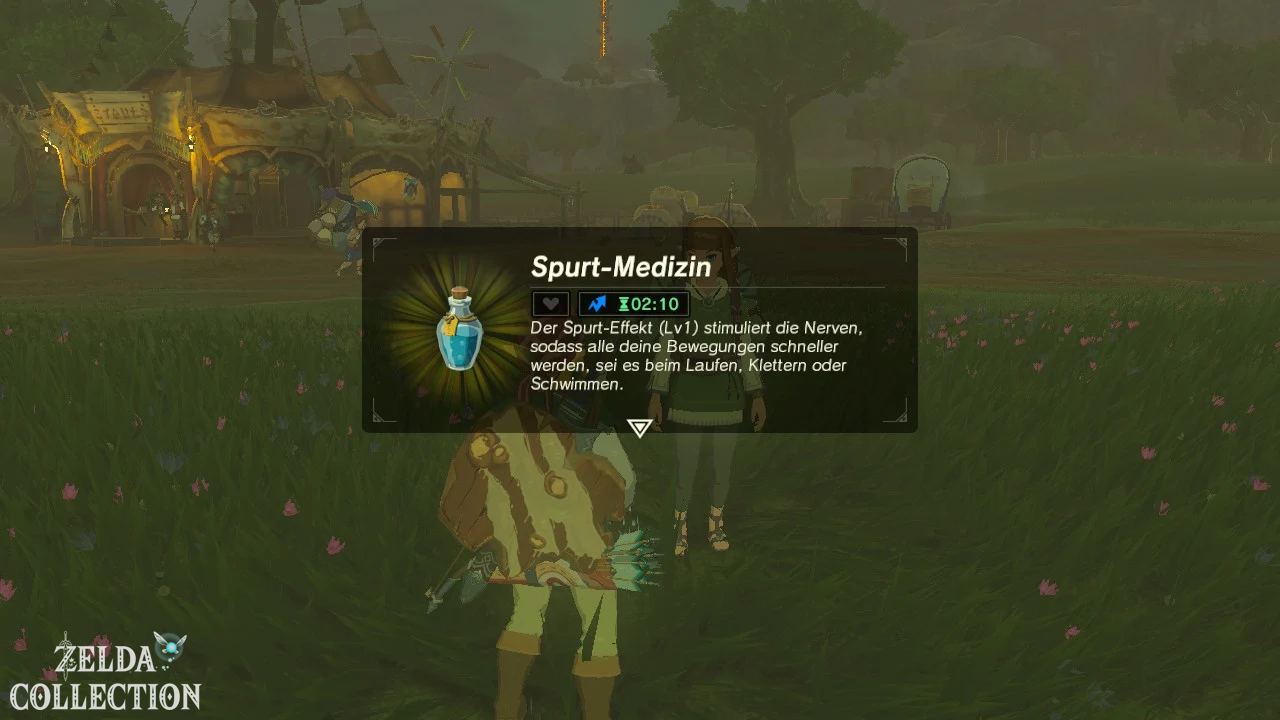
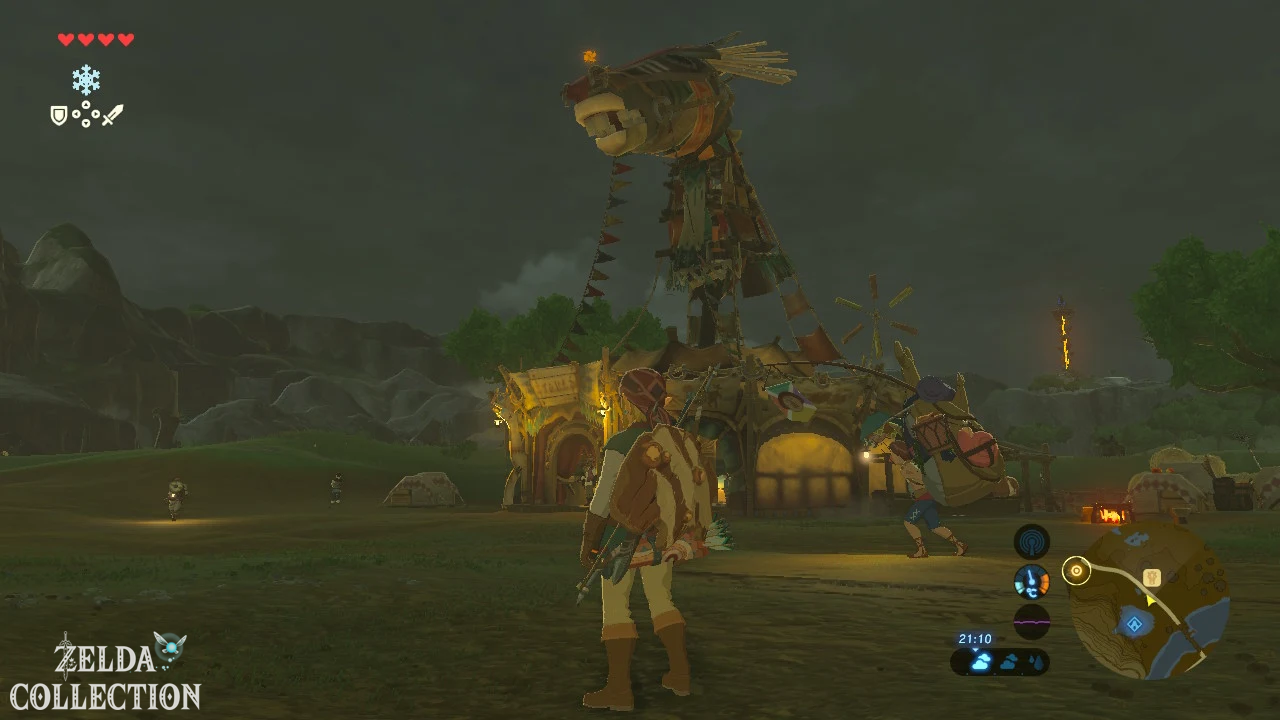
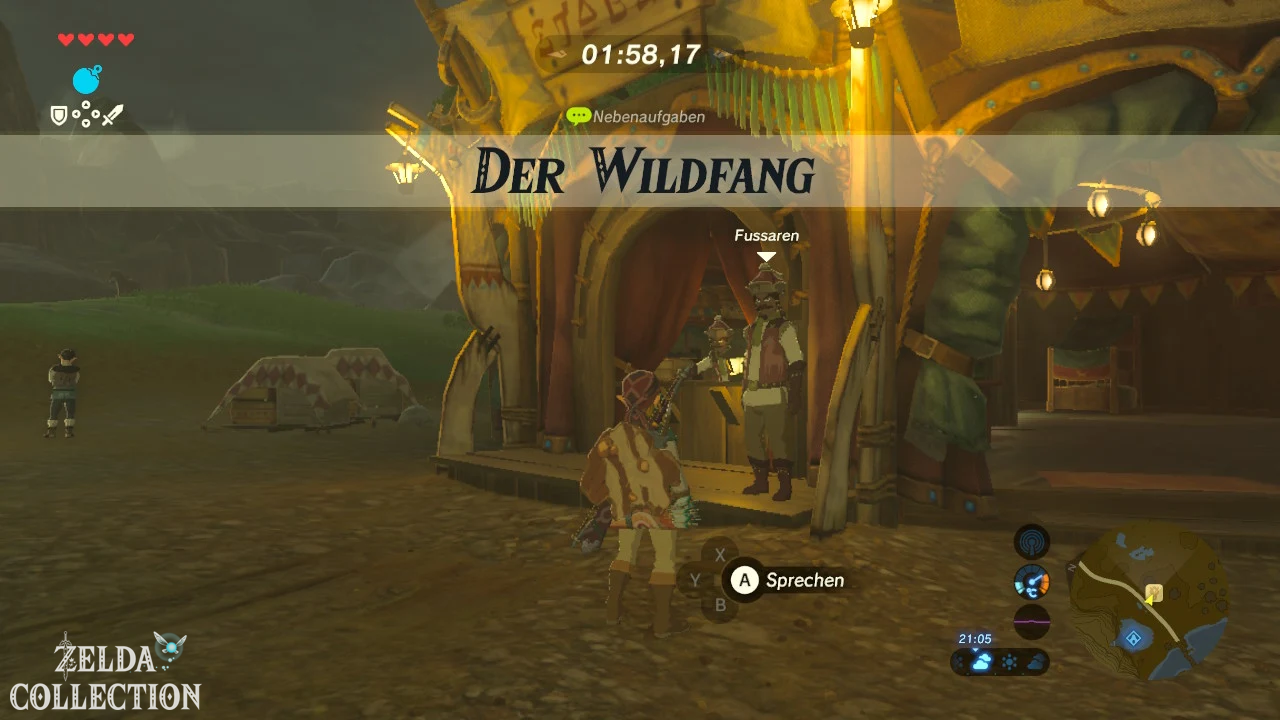
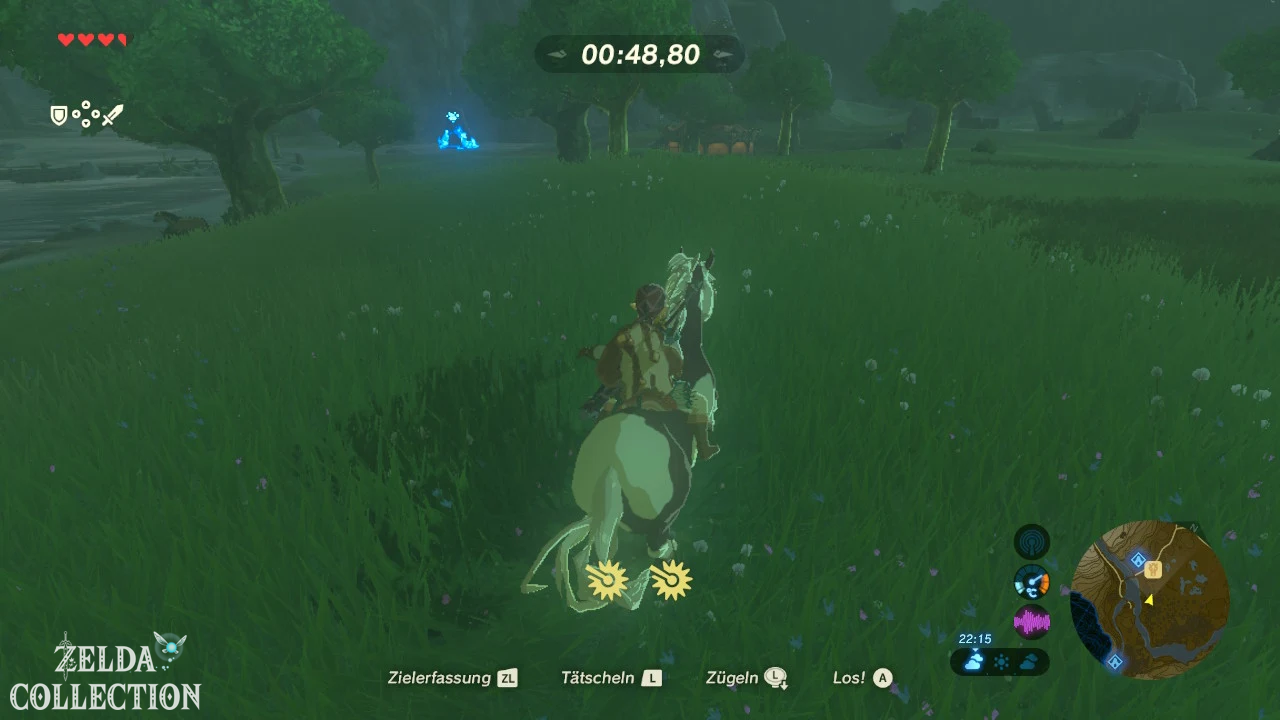
[Optional – recommended] Don’t register any horse right away. Talk to me first Fussars at the stable. He claims to be the second best horse tamer in the area and challenges Link within two minutes to catch a wild horse and bring it back to him. This is where it begins Side Quest “The Wild Catcher”.
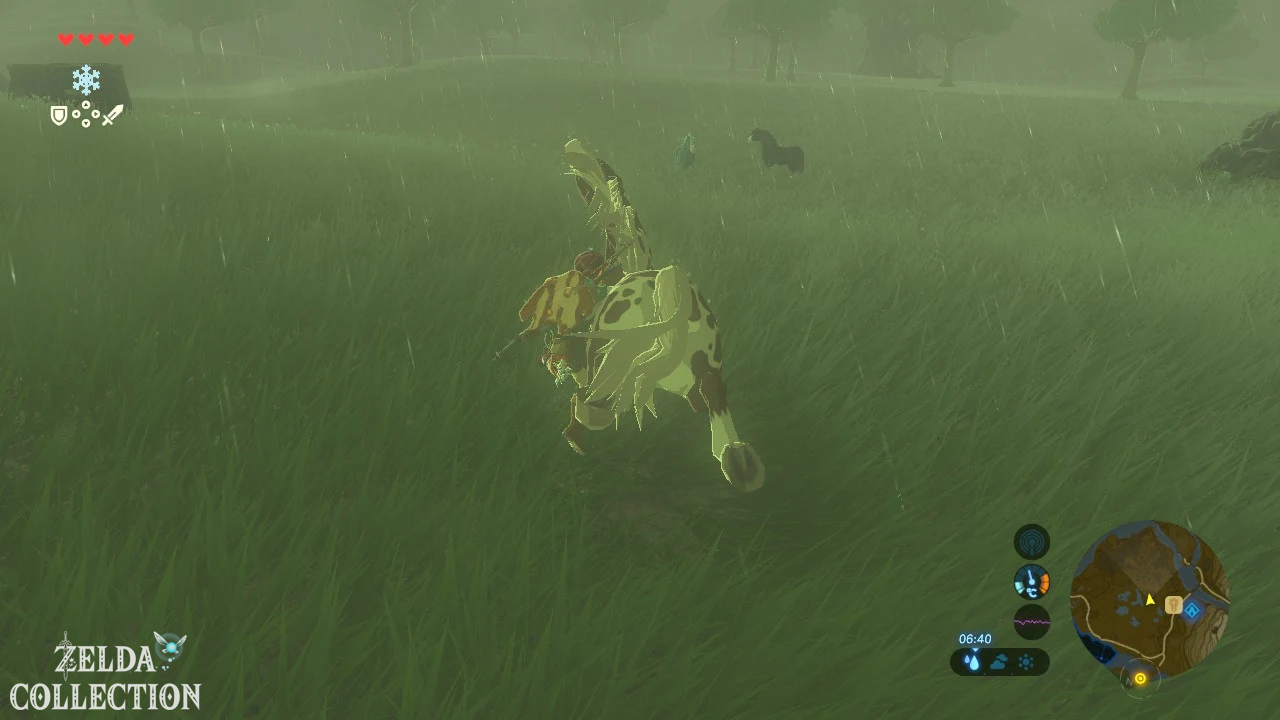
The time only starts when the challenge is accepted. Immediately run to the meadows east or southeast of the stable. Several horses graze there. For Link’s first attempt we recommend a piebald horse. These animals usually have weaker stats than solid-colored horses, but are much easier to tame with Link’s small initial stamina.
Press the left stick in and slowly sneak up on a horse from behind. As soon as the screen appears, press A and jump onto his back. If the animal begins to buck, press L repeatedly to calm it down. With a simple piebald horse, the existing stamina is usually sufficient.
Immediately ride back to Rensa and talk to him while you are sitting on the horse or standing right next to it. If it took you less than two minutes, you will get 50 Rupees. This means that Side Quest not only pays for our efforts, but also directly finances the subsequent registration.
Register the first horse
Ride your new horse to the stable counter and pay 20 Rupees. Give the animal a name. This officially makes it part of your collection and can be picked up from other stables later.
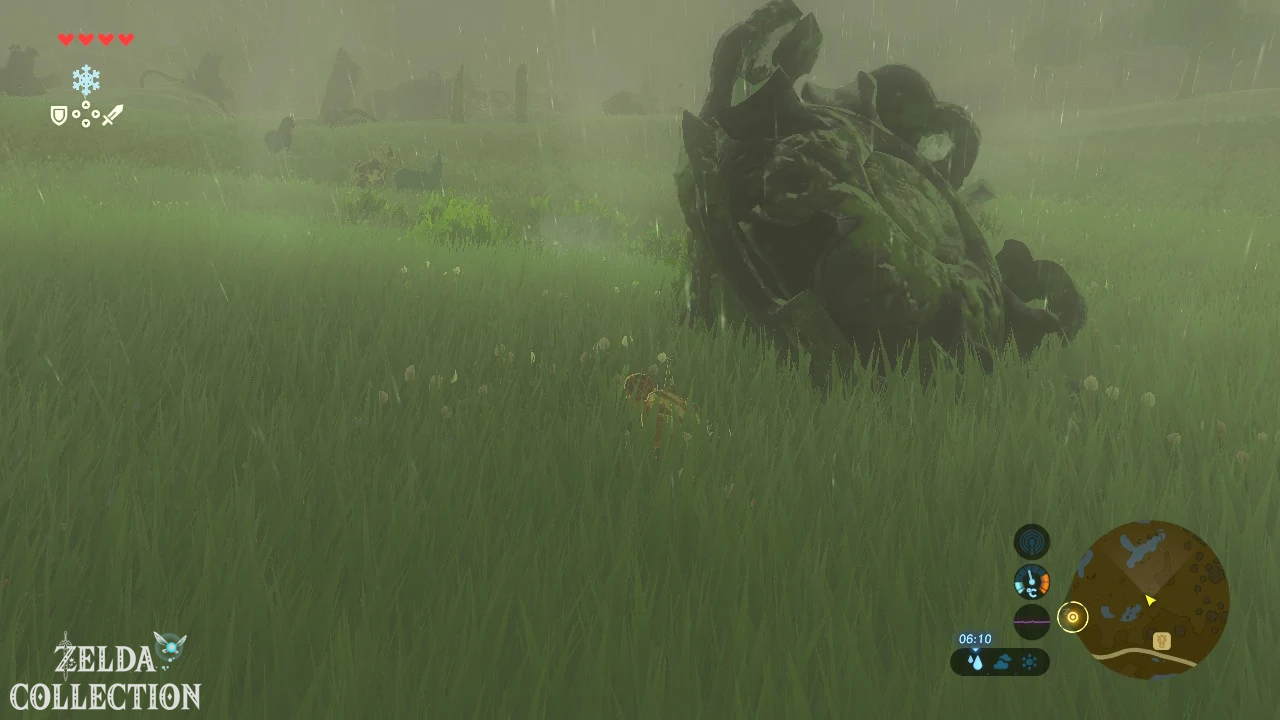
The horse will not trust you completely at first and will occasionally steer against your direction. Calm it regularly with L, especially if it reacts correctly to your steering movements. Small hearts indicate that the bond is increasing. You can further improve the relationship by standing in front of the horse and, for example, letting apples fall out of your hand so that it eats them.
If you already have enough stamina through a different playing style or stamina dishes, you can of course try to tame a monocolored horse instead. These are more difficult to calm down, but on average have better speed and endurance values. However, a simple horse is completely sufficient for the journey to Kakariko Village.
Optional: Korok on the stable
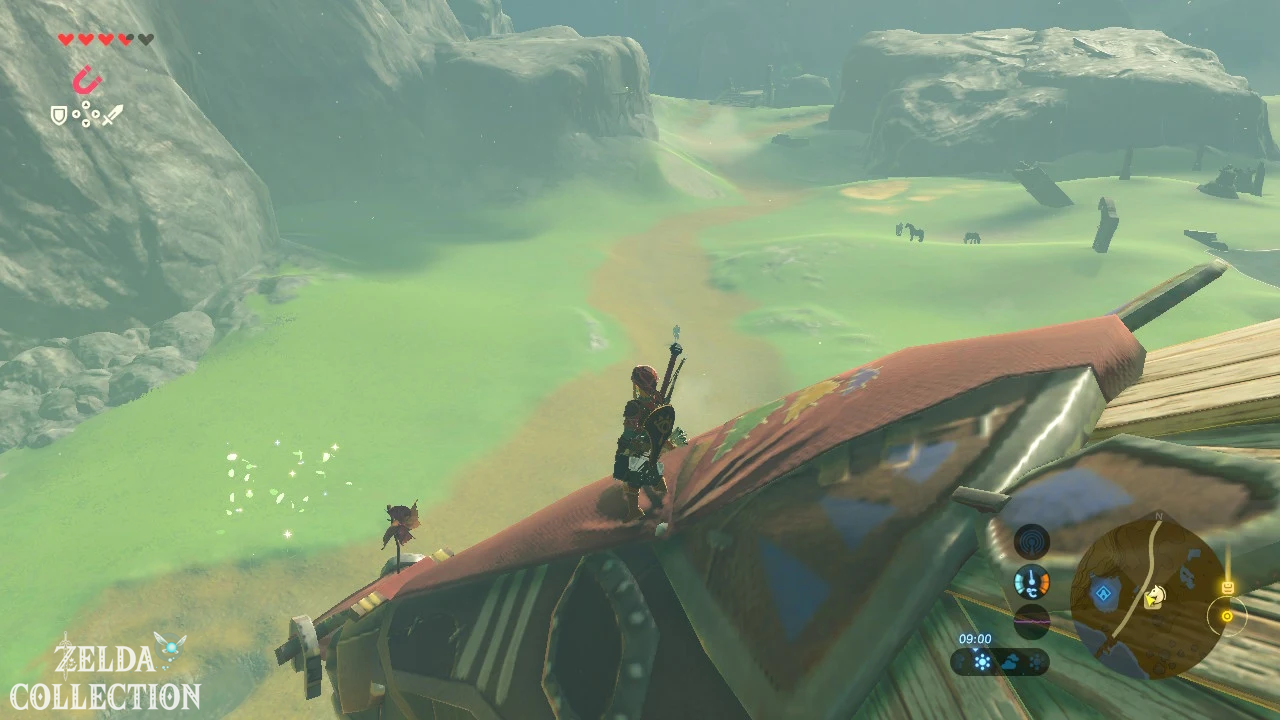
[Optional] Climb to the roof of the stable and continue to the top of the large horse head. There is a small wind turbine or a glittering dot there. Examine the glow and another Korok appears. The find costs practically no detour, so we take it with us straight away.
Optional: The dog and a silver Rupee
[Optional] There is also a dog running around at the stable. Like several stable dogs in Hyrule, he can lead Link to hidden treasure if you treat him kindly and feed him multiple times. Place some apples or pieces of meat on the ground in front of him and wait for him to eat them. After enough food, the dog finally runs away and leads you to a buried or hidden Treasure Chest. At the Dueling Peaks stable it contains a silver Rupee.
This treasure is not a unique collector’s item and therefore not mandatory for 100%. However, since we are here anyway and apples are plentiful, it is an easy early source of money.
Optional: The Great Robber King – just start now
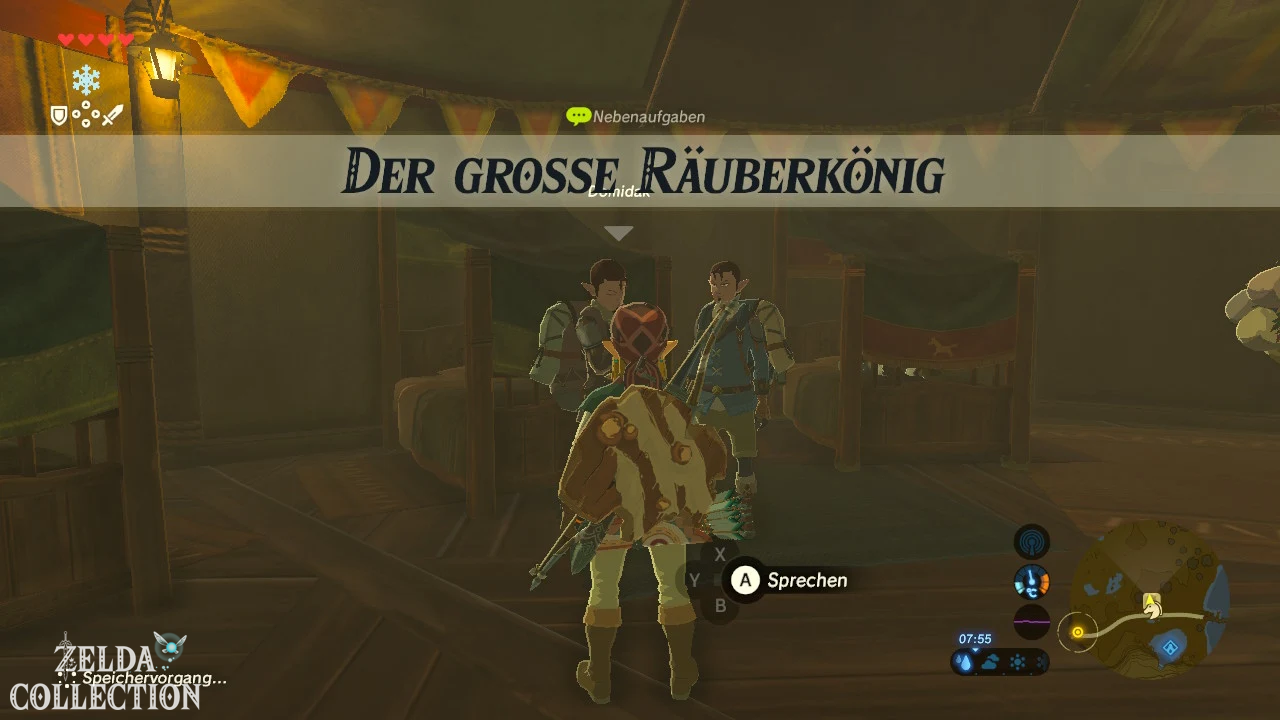
[Optional – complete later] In the stable, Domidak and Prissen are talking about the robber king’s treasure Misko. For 100 Rupees they will tell you the complete puzzle and start the Side Quest “The Great Robber King”. The treasure lies south of the Dueling Peaks at the source of a river behind a blastable wall and contains several gems and valuable equipment, including a fire sword.
You can complete the task now, but for our optimized route this means a significant detour in the wrong direction. At most, we accept the quest and solve it later during our full Necluda exploration, when we are heading south of the stable anyway. If your Rupees are currently in short supply, you can even wait until then to pay the 100 Rupees – the treasure cannot be missed.
Why we don’t solve all the shrines in the region yet
With the tower activated, the map shows a whole range of interesting locations. For example, you can discover the Toto Sah Shrine south of the stable, look for the Hila Rao Shrine to the west or north, or climb to the two peaks of the twin mountains. All of them belong to the nine shrines in this tower region.
For our solution, we deliberately stop the completion here. Ree Dahee immediately made sense because of the climbing headscarf, Ha Dahamar was right next to the stable and Bosh Kala was right on our route. The other shrines, on the other hand, pull us far away from the main path or become much more comfortable with a little more perseverance. We won’t lose anything if we do them all together later in Chapter 6.
Continue towards Kakariko Village
From the stable the main road leads north. That’s exactly where we start in the next chapter. Our horse speeds up the journey significantly, and along the road awaits one of the most important encounters of the early game: Hestu. With the Korok seeds we have now collected, he can expand Link’s limited weapon, bow and shield space.
We then reach Kakariko Village and take care of the main goal “Impa, the Wise” in detail. Waiting there is the Ta’loh Naeg Shrine with combat training, several easily accessible Koroks and Side Quests, the Hylian armor, the first Great Fairy and finally Impa’s explanation about the four Titans and Link’s past. We’ll therefore treat Kakariko Village as its own comprehensive chapter, rather than just ticking off these important systems in passing.