

With the titan card of Vah Rudania the dark part of the dungeon is over. Sunlight shines through the opened areas of the mechanical salamander and five orange terminals appear on the map. At the same time, Rudania’s most important mechanic is now available to you: You can use the map to turn the entire titan 90 degrees on its side and then return it to its normal position. What was just a wall becomes the floor, narrow struts become walkways and balls suddenly roll in a completely different direction.
If you followed the last chapter, you have already collected the chest on Rudania’s tail with the ancient screw as well as the three chests in the first dark room. Before we start with the terminals, we complete the second room. The Eyes of Hatred should already be destroyed; If there is one left, kill it now with a normal arrow. There are a total of three more chests in this room. You will receive a knight’s bow and two 5 wooden arrows. This means that seven of the eleven Treasure Chests from Vah Rudania have been completed.
Axyl up the knight’s bow if possible. Wooden weapons and many common bows ignite in the extreme heat of Death Mountain, while the Knight’s Bow is a reliable choice for the later boss fight. You shouldn’t waste the five Ice Arrows from the first room either. Fireblight Ganon is sensitive to ice and is particularly easy to unbalance with targeted hits to the eye.
Vah Rudania: First terminal
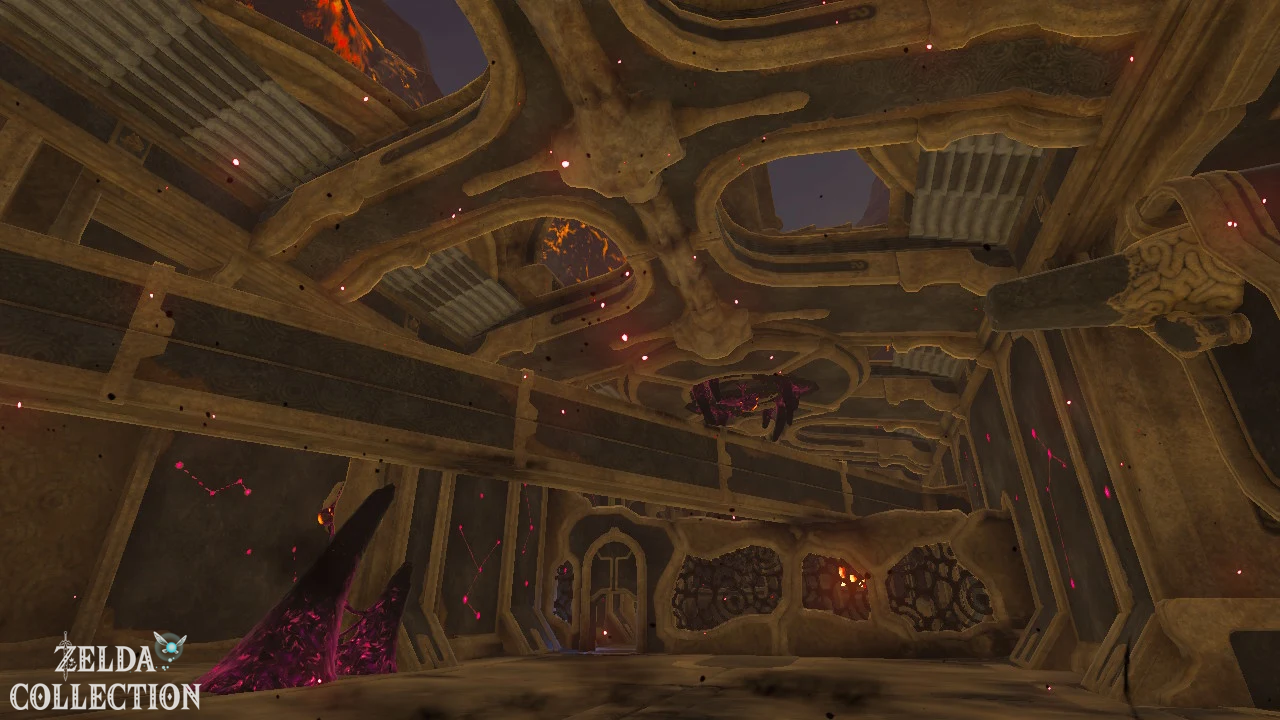
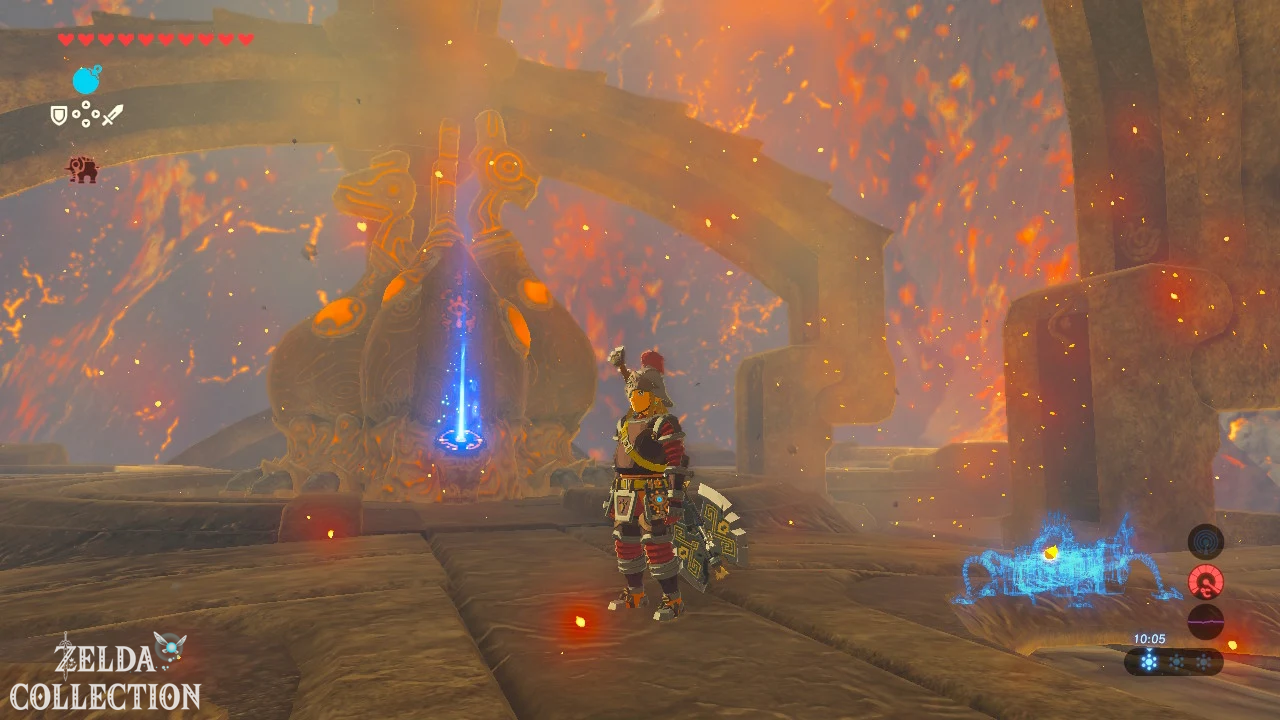
Let’s start with the terminal, which is almost right next to the map room. Go out of the room with the guidestone back into the large hall. On a side wall you can see the orange glowing terminal, which is currently so inconveniently positioned that Link cannot reach it from the Titan’s normal position.
Stand in front of it a little distance away and open the titan card. Select the second position and confirm the movement. Rudania tilts 90 degrees to the side. Stand still while turning and be careful not to slip over an edge. Once the Titan is fully tilted, the terminal that was previously mounted on the side is in an accessible position. Run across the newly created ground or glide over the last piece with the Paraglider and insert the Sheikah stone.
The first terminal is activated. If Link falls past the platform while turning, nothing is lost: straighten Rudania again, return to the starting position and repeat the process. Thanks to Revali’s Gale, which we have already received on our previous route, you can now easily compensate for small differences in altitude.
Second terminal and Ancient Gear
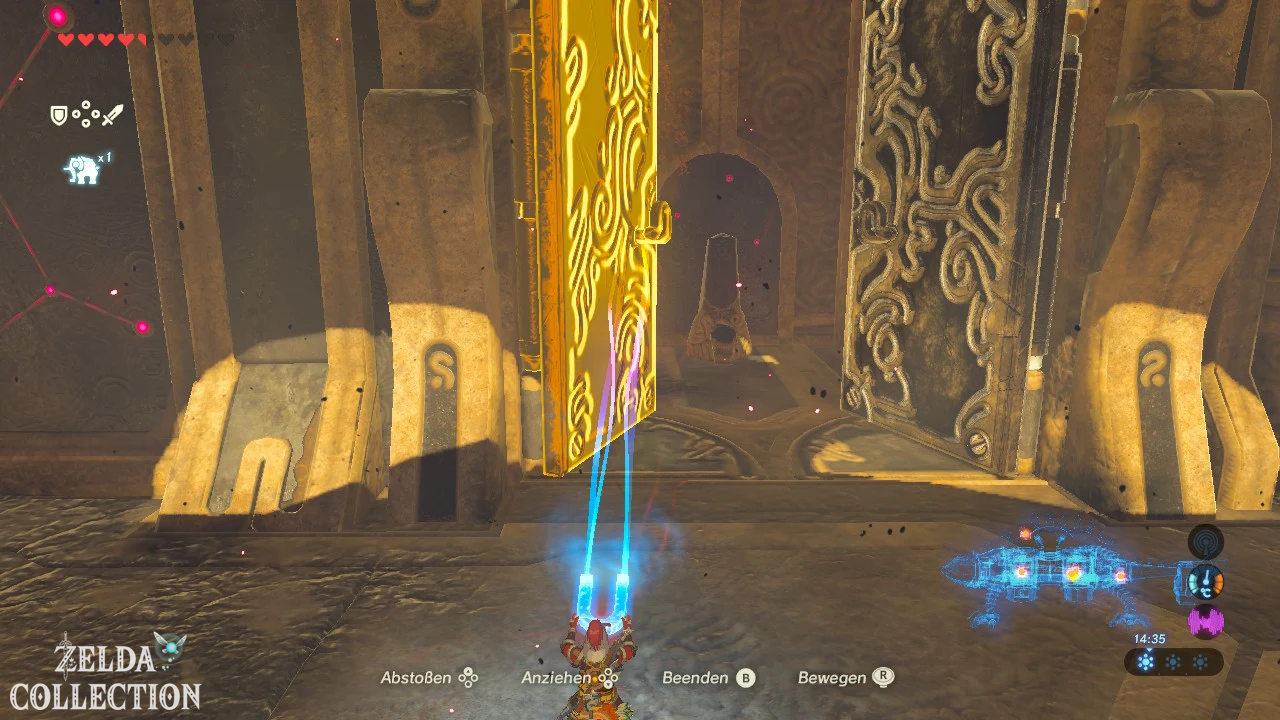
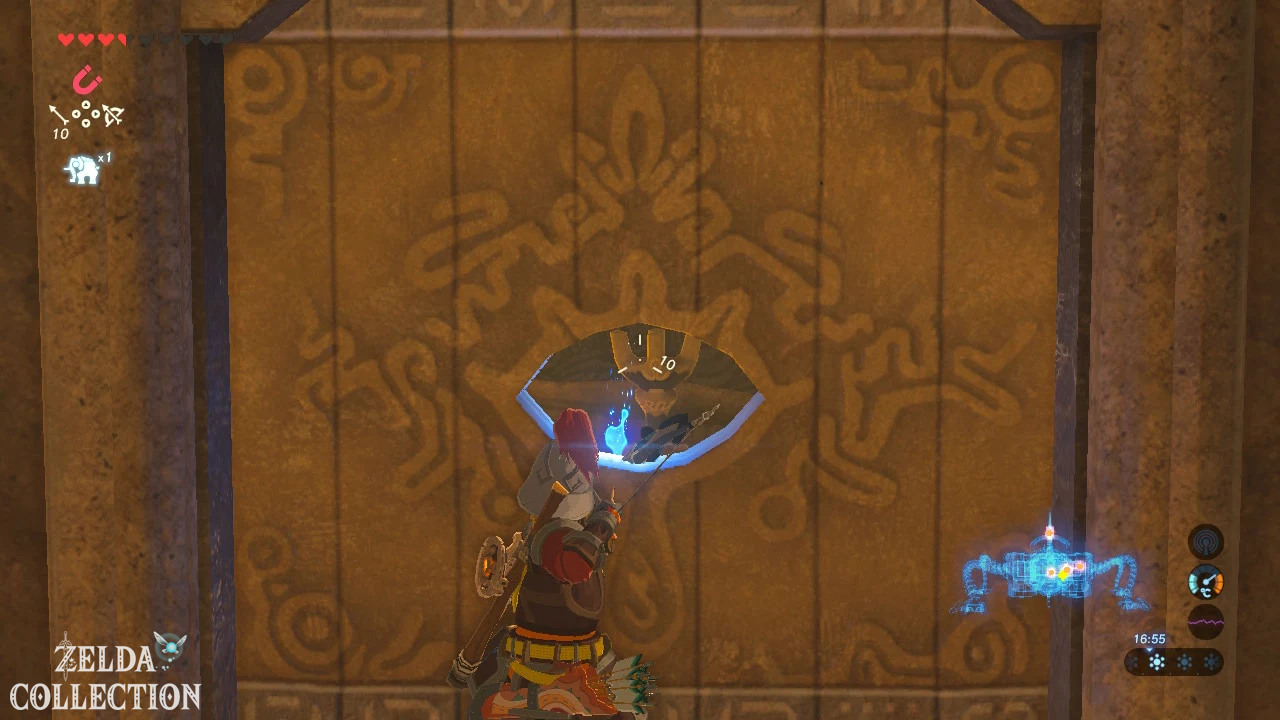
Return to the front area of Rudania. Near the entrance, the two large metal doors stand out. Although they can be moved with the magnetic module, they are held together by wood and dry vines. You don’t need a fire arrow for this. Draw a normal arrow, briefly hold its tip in one of the blue flames at the entrance and then shoot the burning arrow at the wood. Of course, a fire arrow also works.
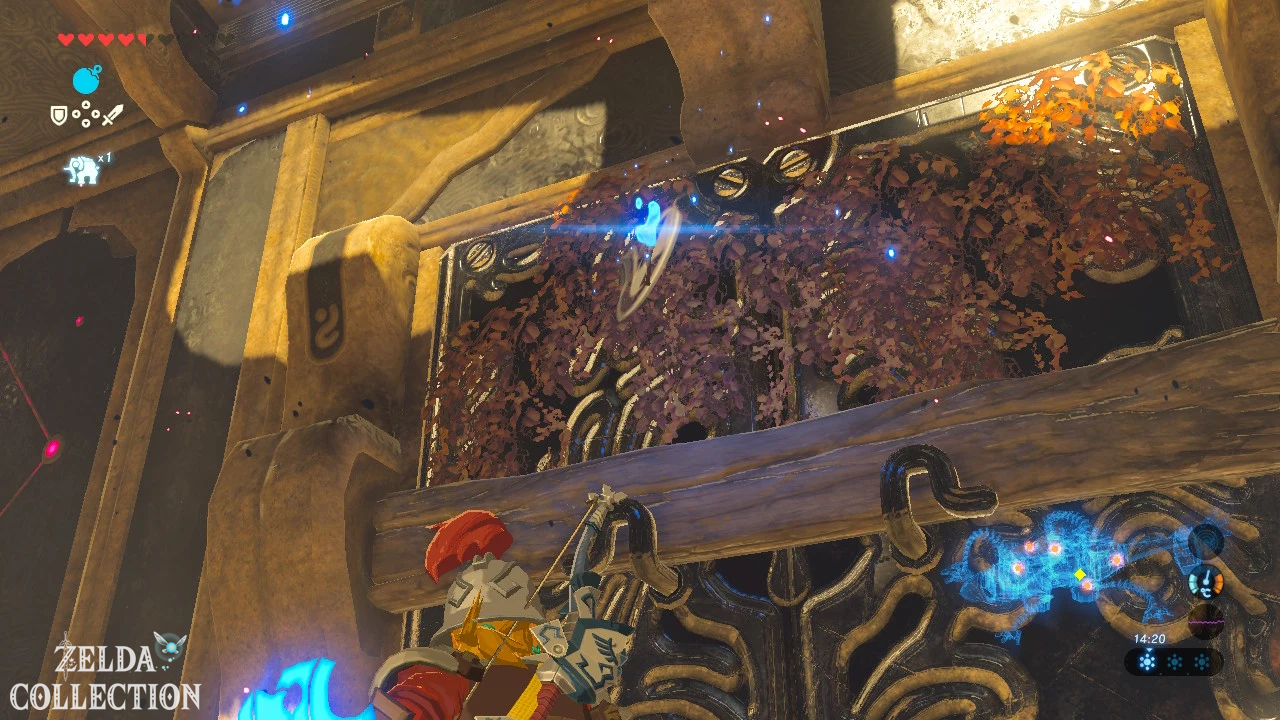
Wait until the wood and vines are completely burned and then open both metal doors with the magnetic module. Behind it is the second terminal. Don’t activate it immediately, but first look up. More flammable plant material hangs above the terminal. Ignite it with an arrow. A Treasure Chest falls to the ground and gives you a Ancient Gear.
Then activates the terminal. This means that two out of five terminals have been completed and at the same time one of the four missing Treasure Chests has been collected.
Third Terminal: Blue Flame and Wall of Fire
Back in the main room you will find a locked grate with a small opening not far from the entrance. Behind it there is an unlit fire bowl. You can’t pass the torch through the gap, so instead you light a normal arrow from the blue flame and shoot it through the opening. As soon as the blue flame jumps onto the bowl, the door opens.
In the room behind it, several beams of fire block the way to the next terminal. First look up. Dry leaves and wood hang from the ceiling. Shoot a flaming arrow into it and take a step back to be on the safe side. The wood burns and a big one Metal cubes falls to the floor.
The cube is the key to the puzzle. Open the map and tilt Vah Rudania 90 degrees. Thanks to the new alignment, the flames now run in such a way that you can position the metal cube with the magnet module in front of it. Push it close to the fire beams and use it as a movable shield. Go to the other side of the cube and move it little by little so that Link always remains shielded from the flames.
As soon as you have reached the cordoned off area behind the fire wall, open the map again and put Vah Rudania back in its normal position. The terminal is then aligned correctly and can be used. Activates the third terminal. The fire traps are no longer a problem and you can leave the room again.
Knight’s arch on the large ramp
For the remaining two terminals we have to get on Rudania’s back. Put the Titan back on the side. In the main room, a long, ribbed structure becomes a walkable ramp that leads outside. Doesn’t go all the way to the top straight away. On the side of this ramp is an easily missed Treasure Chest.
Stand approximately at the height of the chest and carefully turn Vah Rudania back to its normal position. As the ramp rotates, your link moves to the side that immediately becomes an accessible ledge. Doesn’t just fall down, but corrects Link’s position with small steps as he turns. As soon as Rudania stands still, you can open the chest. Inside lies another knight’s bow.
You have now opened nine of Vah Rudania’s eleven chests. If your bow inventory is full, compare the values. You can easily replace a severely damaged or significantly weaker bow with the fresh knight’s bow.
Hidden chest under Vah Rudania: 100 Rupees
Optional – Treasure Chest: The best hidden chest in the entire Titan is not inside, but in a small room at the bottom of Rudania. Since we have to go outside anyway, we’ll get her now with minimal detours.
Move over the large ramp onto Rudania’s back and tip the titan onto its side. Move carefully towards the head or front legs. At the bottom you see black mud of hate and a glowing eye. Shoots the eye from a safe distance. This causes the mud to disappear, revealing a small ledge.
Use the Paraglider to lower yourself down Rudania’s side and glide towards the large round joint on her body. There is a small opening nearby that is easy to miss from above. Slides in. In the locked room there is a Treasure Chest with a Silver Rupee, i.e. 100 Rupees.
Then press the switch in the room. The grate to the inside of the titan opens and you can return without risky climbing attempts. If you fail the approach, simply teleport to the entrance of Vah Rudania and try again. The dungeon progress you have already achieved is retained.
Ancient Core on Rudania’s back
Now all that’s missing is a Treasure Chest. Return outside again via the ramp and move on Rudania’s back towards the conspicuous spiked ridge. When the Titan lies on its side, several of these spikes or struts become narrow walkways. Destroy every Eye of Hate you can see along the way. One of them later blocks access to the terminal.
The last Treasure Chest is on one of the struts further out. With Rudania lying on her side, carefully work your way there. Avoid hectic jumps: A fall is much more likely here than an attack by an opponent. Open the chest and you will receive a Ancient Core.
The reactor core is the most valuable material reward in Titan and should definitely not be left behind. So now you have it all eleven Treasure Chests in Vah Rudania open.
Fourth terminal on Rudania’s back
Stays in the area of the spike ridge. Stand at the transition between the body and one of the large struts and turn the titan back into its normal position. The surface you are standing on straightens up as you move. Move Link so that he ends up on the top of the ridge and doesn’t slide down the side.
Follow the narrow path towards the head. The next terminal is initially still surrounded by the mud of hatred. Look for the corresponding eye on a neighboring spike and hit it with an arrow. Once the mud disappears, the terminal is free.
Activates the fourth terminal. If the climb up the ridge is too difficult for you, Revali’s Gale is an excellent shortcut. The Titan can also be completely detached using its intended rotation mechanism.
Fifth terminal: The ball track
For the final terminal we need the blue flame again. Return to the interior of Rudania and the entrance area. Light your torch there. From now on you shouldn’t sprint or climb, because if you do that Link will put the torch away and the blue flame will go out.
Tips Vah Rudania on its side so that the long ribbed ramp leads outwards again. Run up with the lit torch. Once you reach the top, you are not allowed to climb up the rock or outer wall. Instead, stick to the narrow surrounding ledge. Position yourself so that you can stay on this path the next time you turn and align Rudania back to normal.
There is a previously unlit fire bowl nearby and a trapped glowing ball behind it. Carefully carry the blue flame to the bowl and light it. The grid opens and the ball begins its journey through a tube or along the rails in the Titan’s body.
Follow the path back inside. The ball does not automatically reach its target because the direction of the path changes due to the position of the Titan. Open the map and tilt Rudania on its side again. This causes the ball to continue rolling down the now sloping path.
At the bottom it stops at a metal obstacle. Activates the magnetic module and pulls the metal block out of its path. The ball continues to roll and falls into the designated recess. This will open the grid to the final terminal.
Go in and activate the fifth terminal. Daruk’s voice speaks one last time and points you to the main controls on Rudania’s back. Before we use them, check your inventory again. All eleven chests should be open, because once the Titan has been completely freed, you will no longer be able to enter its interior normally.
Preparation for Fireblight Ganon
The main control is located in the large open area on Vah Rudania’s back. Fully heal Link and prepare for battle. Good armor, some healing dishes and at least one usable shield make the fight much more relaxed. Your equipment must still be suitable for the extreme heat of Death Mountain. Therefore, leave flammable wooden equipment in your inventory and use metal weapons, the knight’s bow or other heat-resistant equipment instead.
If you have followed our route so far, Mipha’s Grace, Revali’s Gale and the Master Sword are already available to you. The Master Sword is an excellent melee weapon here. Ice Arrows are ideal for targeted hits from a distance.
Optional – Hyrule Manual: As soon as the boss appears, briefly switch to the Camera Rune and photograph Ganon’s fire curse. The enemy is part of the Hyrule Manual and disappears from the normal game after this fight. A good photo right at the beginning saves you from having to buy the entry later.
Enables the main control. From the mud of hatred materializes the enemy who defeated Daruk 100 years ago: Fireblight Ganon, tormentor of the titan Vah Rudania.
Fireblight Ganon – Phase 1
Fireblight Ganon is large and cumbersome, but has enormous reach with his massive sword. Keep a close eye on the opponent and don’t try to hit him blindly. His two most important melee attacks can be distinguished very reliably. If he swings horizontally to the side, you dodge it with a backflip. If he moves the sword from top to bottom, you will jump sideways. With the right timing, a Flurry Rush starts, in which you can land several free hits.
If you don’t feel comfortable with perfect evasive maneuvers, you can play more defensively. Keep a sufficient distance, run sideways around Fireblight Ganon and wait for his long attack animation to end. Then it remains open for a moment. The Master Sword or a strong one-handed weapon allows you to take several quick hits before backing away again.
The even easier way is via the arch. The large blue glowing eye is Fireblight Ganon weak point. A precise hit will send him reeling and can force him to the ground. As soon as that happens, sprint to him and attack in melee. Ice Arrows are particularly effective, but normal arrows are also sufficient.
Occasionally the boss will retreat and throw smaller fireballs. Keep moving and move sideways out of their trajectory. They are much less dangerous than his sword as long as you don’t stop. Use the main controls and the elevated portions of the arena as a guide if necessary, but don’t rely on them for every attack to stick.
After about half of his health, the second phase begins.
Fireblight Ganon – Defeat phase 2 with bombs
Fireblight Ganon now surrounds himself with a massive burning barrier. In this state, normal arrows and melee attacks do practically nothing. At the same time, it begins to suck in air and fire, forming a huge fireball above itself. Don’t let him finish charging this attack.
Switches to a long-range bomb, most conveniently the round bomb. Throw it towards the boss while the suction is active. Fireblight Ganon automatically pulls the bomb towards him. Once it reaches his fire vortex, ignite it. The explosion breaks through his protection and throws the boss to the ground.
Run to him immediately and use the opportunity to score as many melee hits as possible. With the Master Sword, a large part of the remaining health can be withdrawn in a short time. As soon as he stands up again, you distance yourself again.
His sword is now surrounded by flames, leaving burning marks on the ground with some attacks. These areas of fire simultaneously create updrafts. You can therefore open the Paraglider, let it carry you up and shoot at Ganon’s eye from the air in slow motion. Especially with ice arrows, this is a very safe way to stagger your opponent again.
Towards the end of the fight, Fireblight Ganon can also aim a red aiming beam at Link and prepare an energy shot similar to a Guardian. Once the red laser appears, don’t stop. Sprint across the line of fire or put a massive obstacle between you and the boss. Experienced players can also reflect the attack with a perfect shield block, but this is not necessary for victory.
Repeat the bomb tactic when the flame shield forms again, using any stun for melee attacks. A final hit ends the fight and Ganon’s fire curse dissipates.
Heart Container and Daruk’s Protection
After the victory, a Heart Container appears. Be sure to record it before activating the main controls. You can then move freely on Rudania’s back again. Once you have collected all eleven chests following our route, there is nothing left to do here.
Now activates the main control. The game warns you again that you will no longer be able to enter Vah Rudania as before. Only confirmed once the Heart Container is collected.
Daruk’s spirit is finally free. The Goron Knight takes control of his Titan again and, in gratitude, gives Link his warrior ability Daruk’s Protection. As soon as you block with ZL, a reddish protective shield forms around Link. An enemy attack is completely intercepted and many attackers are thrown back. Even sentinel rays can be reflected automatically.
Daruk’s Protection has three charges. Only when all three are used up does the ability begin to fully recharge. For particularly easy opponents, you should continue to block normally with your shield and save Daruk’s shield for strong attacks, guards or difficult opponents. Like the other warrior abilities, Daruk’s Protection can also be temporarily deactivated in the inventory.
[DLC] With “The Champions’ Ballad” the ability can later be upgraded to Daruk’s Protection+. To do this, however, all four Titans must first be freed. The associated tests therefore only follow in the later section on the ballad of the Champions.
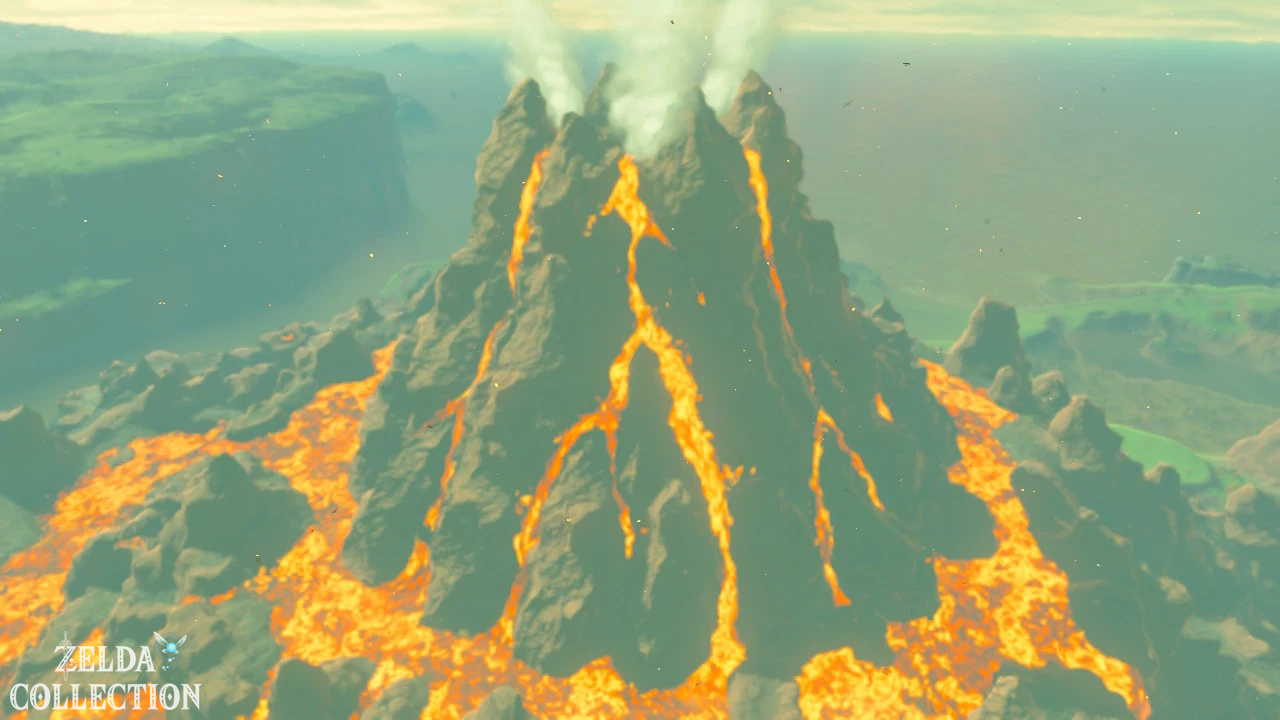
After the cutscene, Vah Rudania climbs to the top of Death Mountain and aims his massive energy beam at Hyrule Castle. The third titan of our route is back on Link’s side.
Back to Goron City and the mountain splitter
Link ends up back in Goron City after completion. Yunobo watched the events from the village and even thinks he recognized Daruk on the summit. Then talk to Bludo again. This completes the main objective “Divine Beast Vah Rudania”.
Bludo also gives you the treasure in his home. Go into the house immediately behind or next to his seat and open the large chest. Inside lies the Mountain Cleaver, Daruk’s personal two-handed weapon. With an attack power of 60, the Mountain Cleaver is one of the strongest weapons you can guarantee to get at this point. It is also ideal against rock opponents and for destroying ore deposits.
Optional – Hyrule Compendium: Photograph the Mountain Cleaver immediately after opening the chest. The weapon has its own entry in the Hyrule Handbook. You can then use them or display them later in Link’s house as a souvenir.
Don’t be afraid of permanently losing the warrior weapon. If the mountain splitter breaks, the Goron blacksmith Rohan can remake it in Goron City. For this you need a rock splitter, a diamond and five flints. However, it is precisely because of the diamond that new production is relatively expensive, which is why the mountain splitter should not be wasted on normal ore mining.
Optional: Gemstone trading with Ramella
Optional – Side Quest: After the liberation of Vah Rudania appears in Goron City the Gerudo dealer Ramella. Since we’re back in the village anyway, we’ll take care of them Side Quest immediately. Look for the flashy Gerudo that comes through Goron City is running and talk to her.
Ramella came to Eldin because of the rich gem deposits at Death Mountain and first wants to buy 10 amber. If you followed our route and regularly smashed ore deposits, you should already have the required amount. Give her ten amber and you will receive 500 Rupees. This completes the Side Quest.
Ramella then remains as a special gem dealer in Goron City. She looks for ten specimens of a certain type of gemstone and pays more for them than usual dealers. So don’t sell all the Rupees, sapphires, topazes or diamonds at random: some of them will be needed later for armor improvements and the new production of the warrior weapons.
We combine more distant tasks around Lake Darunia, Gorko Cave and the remaining shrines and Koroks of Eldin with our own route through the northern part of the region. For our main route, the stay in Goron City ends here. With Vah Ruta, Vah Medoh and Vah Rudania we already have three titans on our side. Next, the journey to the southwest Hyrule’s leads to the Gerudo Desert and the last titan in our order: Vah Naboris.